
Amongst other parts I have gathered for this second round of mods I got a solid steering shaft. However I don’t think I’ll need to install it, steering is very light but still direct so I believe my rag joint is still okay. Listed it in the classifieds if anyone with a sn95 rack is interested.
You are using an out of date browser. It may not display this or other websites correctly.
You should upgrade or use an alternative browser.
You should upgrade or use an alternative browser.
Progress Thread 95 2-Top Cobra Build Thread- Never ending
- Thread starter Essn95
- Start date

-
Sponsors (?)
Finally got around to installing the coilovers but ran into a few issues. My 18x9 wheels up front rubbed your against the coilovers so I needed to add a 1/4” spacer to give myself the clearance. At the same time I installed new Moog wheel bearings and energy suspension poly sway bar bushings. On the test drive there was a very loud clunk and the wheel had very weird camber. Come to find this

So took the opportunity to just replace the entire control arm with new bushings. $160 later on Amazon the Dorman units arrived and installed surprisingly seamlessly.


Got the ride height adjusted to my liking and ended up about .5-.75” lower all around then I was on the B springs. Alignment appointment is set for this coming Friday and then she will be back on the road!
Final stance


So took the opportunity to just replace the entire control arm with new bushings. $160 later on Amazon the Dorman units arrived and installed surprisingly seamlessly.
Got the ride height adjusted to my liking and ended up about .5-.75” lower all around then I was on the B springs. Alignment appointment is set for this coming Friday and then she will be back on the road!
Final stance

The top bolt on the strut to spindle is a small slotted hole that has a little adjustability.
Since the tire hits the spring, loosen the top bolt and pull out on the strut and that will make a tiny big more clearance from the tire to spring. Do this to both side and it may eliminate the need for the spacer.
Assuming it’s not done already
Since the tire hits the spring, loosen the top bolt and pull out on the strut and that will make a tiny big more clearance from the tire to spring. Do this to both side and it may eliminate the need for the spacer.
Assuming it’s not done already
Thanks for the tip, I tried to pull out the strut and then tighten but it was still rubbing unfortunately. With the spacer it gives me just enough clearance. On the bright side it brings the tire flush with fender, I would like to do the same on the rear but the fender lip design back there doesn’t allow it without rolling it pretty aggressively.The top bolt on the strut to spindle is a small slotted hole that has a little adjustability.
Since the tire hits the spring, loosen the top bolt and pull out on the strut and that will make a tiny big more clearance from the tire to spring. Do this to both side and it may eliminate the need for the spacer.
Assuming it’s not done already
WhiteCobra95
Mod Dude
- May 2, 2006
- 570
- 145
- 74
More bad news as expected. Just left the alignment shop this morning and they brought me to the line rack to confirm my suspicions. The BC Coilovers caste camber plates did not allow enough adjustability to get rid of all the negative camber. The machine shows that we are maxed out at -3 deg of camber, although it really doesn't appear as bad visually. Naturally my worry with this is tire wear. My tires are directional so I can only rotate front to back to prolong the life of the tires. We got the toe dialed in so that will help the wear. Short of modifying the slots in the strut tower which I will absolutely not be doing, is there anyway to get rid of this camber?
You could try a pair of camber bolts. They replace the top bolt on the strut in the front, and allow you to add or subtract camber as necessary. However, they only add or remove 1.25 to 1.75 degrees of camber, (depending on the brand) which isn't enough. Stock camber is around -0.5 degrees according to my Google searches. I've been running a pair of these on my 94 Cobra clone for many years.
Might need to give those a try, I want to try and get closer to stock spec. Alignment shop is nice enough to take it back in and adjust it again when I decide to change things up. I would like to get it back on a different rack to see, the camber is hardly visible to the eye.You could try a pair of camber bolts. They replace the top bolt on the strut in the front, and allow you to add or subtract camber as necessary. However, they only add or remove 1.25 to 1.75 degrees of camber, (depending on the brand) which isn't enough. Stock camber is around -0.5 degrees according to my Google searches. I've been running a pair of these on my 94 Cobra clone for many years.


Just when I thought I was all done with mods…
My goal with this car was to keep it to simple, reversible mods due to the fact it is a rare Cobra. However, I have decided that I never want to sell this car. It was my first car and that holds a special sentimental value especially growing up seeing my dads 94. I have seen far too many people regret selling their first car and not be able to buy it back. In light of this decision, I want to make the car how I want it to be, not worrying about resale for the next guy. So the next stage for my Cobra involves forced induction!
My goal with this car was to keep it to simple, reversible mods due to the fact it is a rare Cobra. However, I have decided that I never want to sell this car. It was my first car and that holds a special sentimental value especially growing up seeing my dads 94. I have seen far too many people regret selling their first car and not be able to buy it back. In light of this decision, I want to make the car how I want it to be, not worrying about resale for the next guy. So the next stage for my Cobra involves forced induction!

Went back and forth between On3 single turbo and a vortech v3 system. After debating the install and final outcome I desired, I decided on the latter. Now I’m still in college with limited funds so I will start slowly accumulating the parts needed as funds allow. Here is the basic list I have outlined based on my searches, please chime in if you have recommendations to improve this list. My goal is to make the same power my CTS-V does, 380whp

Switching up to Ford Racing 47 lb/hr injectors based on tuners recommendation. Still planning to run the lightning maf. Walbro 255 high pressure pump, AEM boost & wideband gauges, and a pillar pod all on the way. All that will be left is the big ticket item in the blower kit. When funds allow, that will be on the way as well.
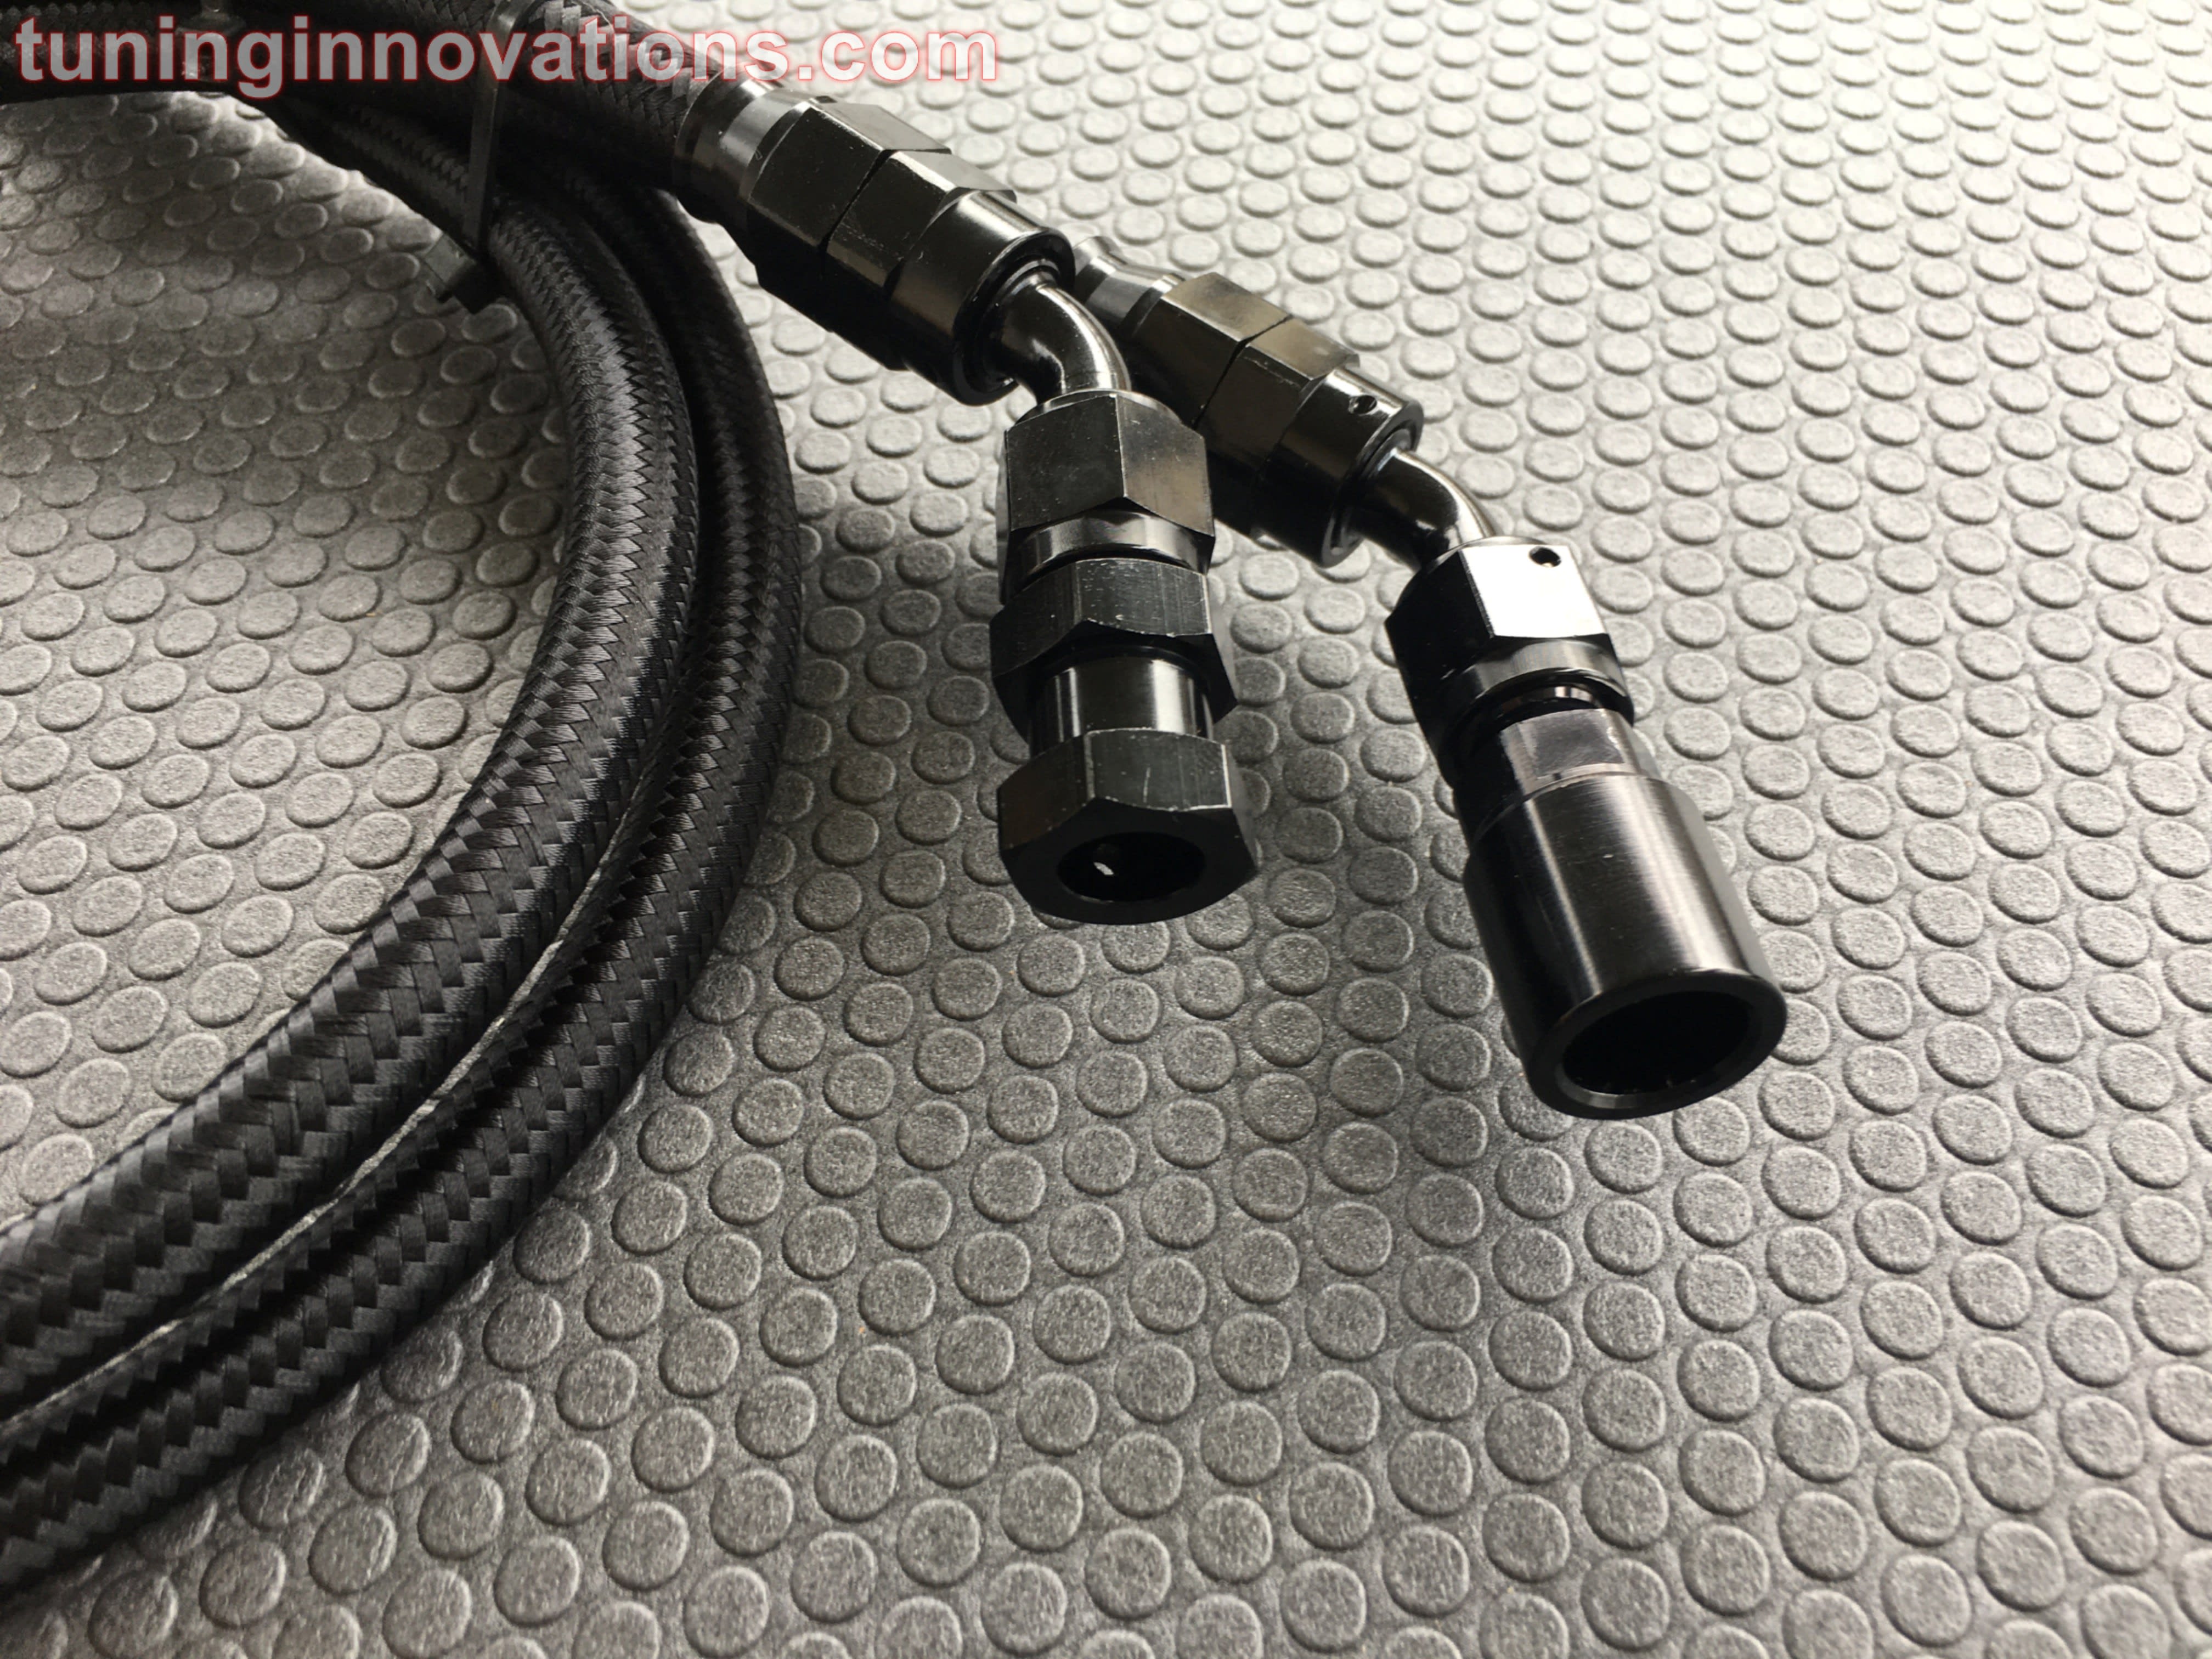
Also ordered up a set of braided fuel lines from Ted Jenkins in order to get some preventative maintenance done for fire tsafety purposes. I have been meaning to do this for a while being that this is a daily driver and would like the peace of mind. Will also address a slow coolant leak I have near the thermostat housing before adding boost to the equation. Want the car in optimal healthy shape before the big mods begin. Here's the link to the fuel lines for the SN guys out there.
 tuning-innovations.ueniweb.com
Also ordered up a set of braided fuel lines from Ted Jenkins in order to get some preventative maintenance done for fire tsafety purposes. I have been meaning to do this for a while being that this is a daily driver and would like the peace of mind. Will also address a slow coolant leak I have near the thermostat housing before adding boost to the equation. Want the car in optimal healthy shape before the big mods begin. Here's the link to the fuel lines for the SN guys out there.
Custom Built Braided Stainless Steel Hoses P/N 601 3 SETS IN STOCK. More in July
Custom built in house. Direct fit. No modifications needed. Lifetime warranty. Pump gas, race fuel, E-85. Inquire for international shipping.
tuning-innovations.ueniweb.com
WhiteCobra95
Mod Dude
- May 2, 2006
- 570
- 145
- 74
Please let me know how the fuel lines work out. I'm curious given the age of these lines. Did I read the web site correctly that they offer replacements for both the fuel tank to the hard-lines and the hard-lines to the fuel rail?
It sounds like you're ready to get pretty serious with engine. This seems like a well through-out plan. For the injectors, make sure that they provide the necessary cal data like the slopes and battery-offset curve.
It sounds like you're ready to get pretty serious with engine. This seems like a well through-out plan. For the injectors, make sure that they provide the necessary cal data like the slopes and battery-offset curve.
Will do, just got word that my lines were built and have been shipped out today. They do offer replacements for both of those fuel line locations. I am sure at some point I will get the ones done by the tank as well.Please let me know how the fuel lines work out. I'm curious given the age of these lines. Did I read the web site correctly that they offer replacements for both the fuel tank to the hard-lines and the hard-lines to the fuel rail?
It sounds like you're ready to get pretty serious with engine. This seems like a well through-out plan. For the injectors, make sure that they provide the necessary cal data like the slopes and battery-offset curve.
As for the injectors, I believe this is what the tuner would be after information wise. The Ford Racing parts seem to have easier access to this info compared to the Deastchwerks which is why I assume he preferred these injectors to be utilized.
https://performanceparts.ford.com/parts/ics/m-9593-lu47.pdf

VHB tape? I had to look that up.Mounted up in the pillar pod. Planning on using some VHB tape rather than screws.
I would have used a 3M trim tape before. This sounds good at -40 to 160, with jaunts up to 200 degrees.
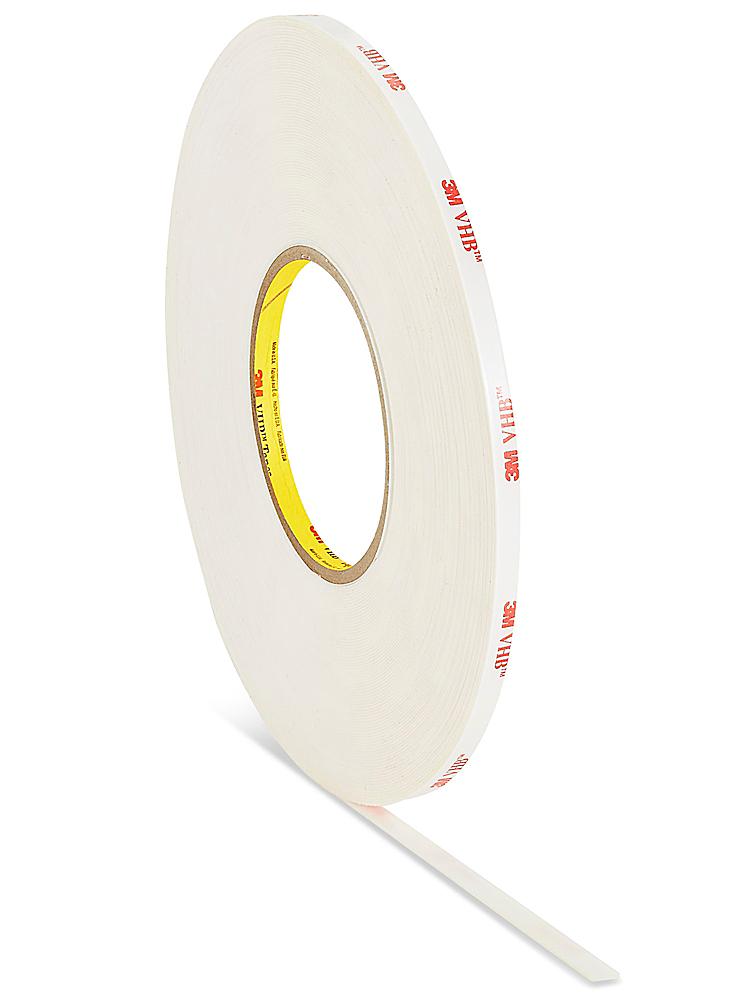
3M 4932 VHB Double-Sided Foam Tape - 1/4
25 MIL 21st Century tape. Replaces rivets, bolts, screws, welding and liquid adhesives. Incredible VHB strength guarantees a strong bond. Bonds slick or glossy surfaces such as polystyrene, polypropylene, and powder-coated materials. Easily attach stiffeners to cabinets. Temperature range is –40...
 www.uline.com
Similar threads
- Replies
- 6
- Views
- 1K
- Replies
- 1
- Views
- 3K