Build Thread Enola- Finishing touches

Let me start by saying that transmission work is time consuming, and that if the trans is out of the car by God do the valve body then and not under the car... like an idiot... like me.

I did the transgo recalibration kit in the 44R70W I opted for all the firm shift options just short of "race car" it was not hard to follow the directions and tackle each step one at a time. I honestly think some guys make a bigger deal out of this than is needed.

I did not get pictures, I am filthy my work area is clean but only because I threw away the cardboard I used to stop a petrol disaster... I have more transmission fluid on me than the cardboard did I think.

For me this is a major hurdle I just crossed, next up is to finish off the engine bay and then tackle the transmission harnesses.

If you are wondering the transmission looked ok inside and the fluid did not smell burned. I did have stuff on the magnet in the pan but the likelyhood of this trans ever having been serviced is nil.
 
  • Like
Reactions: 3 users
  • Sponsors (?)


Today's list.

-a arms, k member torqued
- sway bar spacers installed with new bolts, along with shortening the links.
You cannot come on here, and talk about the sht you've done w/o any pics to prove it. Do you have any idea of how much pending sht I have that isn't " complete" yet? If I talked about the stuff I've done w/o providing pics, it would takes pages....
But I'm waiting...till I have something I can say is " done".
before I have to do it over again.
 
Last edited by a moderator:
  • Like
Reactions: 1 user
Ah... pictures of torqued bolts..... look just like un-torqued ones.
I can get a picture of my swaybar modification in the morning. To be honest what I am doing now seems very pedestrian compared to my previous build, and I dont want to post nonsense pictures of the "thing" I did.
 
Ah... pictures of torqued bolts..... look just like un-torqued ones.
I can get a picture of my swaybar modification in the morning. To be honest what I am doing now seems very pedestrian compared to my previous build, and I dont want to post nonsense pictures of the "thing" I did.
If the progress is so trivial that it isn’t worth pics....I’ll just wait till it is before saying anything.
If I’m only talking about the “thing” I did.
But....
Since I don’t always get on here just to talk about the thing I did, and am always on here talking about things other people should/could do...and since I have a buttload of sht that I’ve done, but ain’t posting anything till I’m done with it,...maybe we’ll both just use this pic for now and call it a day.
78C7044B-B2ED-4DA2-8995-EDACEF85C6FD_zpsiugj58af.jpg

that’ll have to do pig....that’ll have to do.
 
  • Haha
Reactions: 2 users
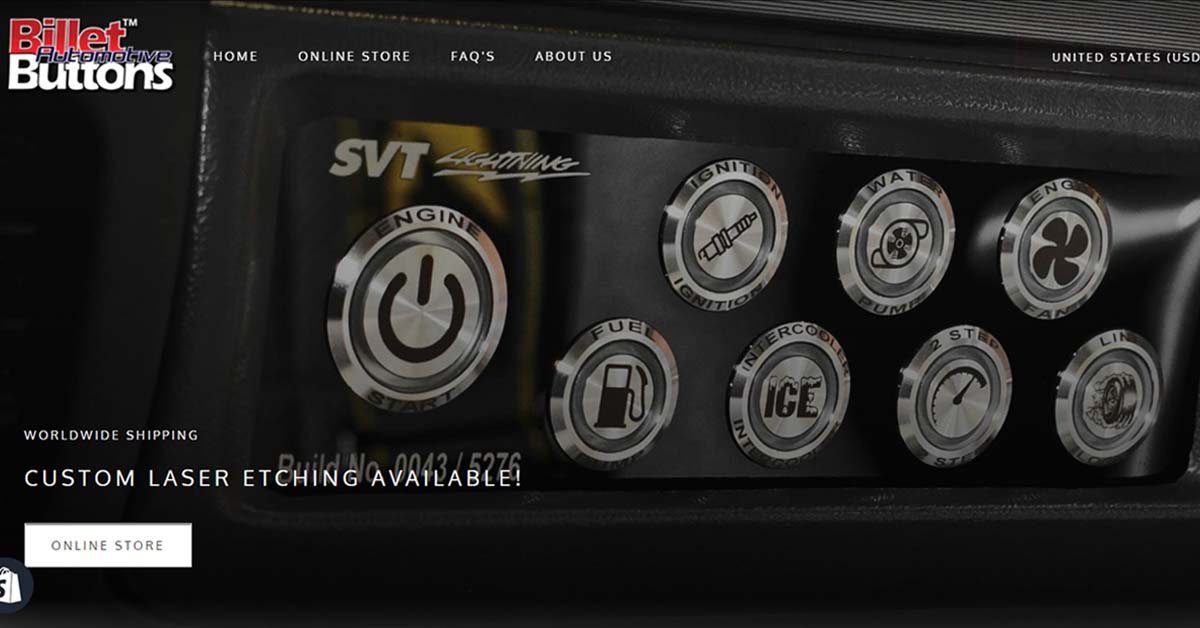
I just found an awesome website for those who want custom buttons for non standard applications.

 
  • Hell Yeah!
  • Like
Reactions: 2 users
I used 1/4 inch steel flat stock cut and drilled. I think I used 3 of them per side to clear my Canton oil pan. There's a lot of force on that bar to twist it. I wouldn't trust those heavy wall sleeves. May not bend but solid would be better.
 
  • Agree
Reactions: 1 user
You know I haven’t been on the site since my twins were born 4 months ago, but came across this
E02E8358-EF7F-4D2B-8AD9-7D520E25E25C.png

And i had to pop in to make sure @a91what hadnt gone off the reservation with dirty mike and boys.

Seems all is well carry on the great work.
 
  • Haha
Reactions: 1 user
Maybe I will alter the spacers... maybe not. The bracket they are bolted to is thinner than the spacer, the bracket holding the swaybar bushing is maybe a 1/16 thick.

Perhaps I'll meet you guys in the middle and weld a thick washer to each end.