
- Sep 20, 2005
- 14
- 0
- 1
Avic-D3 Installation Notes (Shaker 500 Stereo)
I ordered the head-unit from CartronixPlus.com it was $579+Shipping+Install Kit =$623
The install kit was kind of annoying how they sent me the harness for the non-Shaker stereo (70-5520), and then did not ship me the dash kit either. Later on based on an email, they said that the kit only includes basic install parts and they were upgraded parts, so they didn’t ship them. I got this shipped this week and wanted to be able to install it this weekend so I went out to look for the parts. Went to one Best Buy, got the XM Adaptor (GEX-P920XM) and the iPod Cable (CD-i200), but it took going to another Best Buy, and 2 other electronics stores to get the correct harness (70-5521). I then purchased the dash kit at Circuit City (95-5812). They were $20 each…with shipping, Crutchfield would’ve cost as much and I would’ve had to wait to get it shipped.
Installation:
Parts List:
Pioneer Avic-D3
XM Adapter (GEX-P920XM)
iPod Adapter (CD-i200)
Wiring Harness (Metra Part # 70-5521) *If you don’t have Shaker 500 you use #70-5520
Dash Kit (Metra Part #95-5812)
5V Fixed Voltage Regulator (Model 7805 from Radioshack) *Will mention later
Tools List:
Wire Clippers/Strippers
Soldering Iron/Solder (Could just crimp the wires together
Pack of heat-shrink from Radioshack (You could wrap everything in tape)
Hairdryer
Trim Removal Tool… (Not necessary but helpful)
Harness:
Since I wasted half the day getting all the parts, I didn’t end up starting until close to 3:00 in the afternoon. So I only planned on doing the harness because it gets dark quick and I didn’t want to have a half finished car.
The parts you will now have in front of you to make the harness are 2 from Pioneer, and 2 from Metra. The Metra Harness plugs into the existing ford harness such that you do not have do any work behind the dash other than plugging in. You can also take it out in the future if you please. Each harness has colors coming out of each that must be attached to the corresponding one on the other. I then made a spreadsheet of the colors to cross reference them from the Metra Harness to the Pioneer one. I was relieved that most were exactly the same color.
The first thing I did when putting it together was soldering together the main stuff, none of the tricky parts, just doing color to color. Make sure if you are going to use heat-shrink, to slide it on prior to twisting the wires together and soldering (made this mistake once or twice, had to use tape over the connections. Once you are done soldering, use the blow dryer to melt the heat shrink to the connection.


Bypass:
After this was done I did the bypass mod, which allows you to watch DVD’s while in motion as well as changing your navigation route. (I do not encourage watching DVD’s while driving, but having it is very helpful for the navigation)
1. Remove the Yellow/Black Mute Wire from the white Pioneer Harness. (You do this buy using a small screwdriver to pull up on the tab for that pin, and pull it out. You will then have to put it in the spot directly above it, but remember to turn it around so the flat part is facing out (mimic how you took it out))
2. Then you must ground that wire, as well as the Light Green Parking Brake Switch Cable. The Way I did this was make a large ground bundle containing those 2 wires, as well as the 2 black wires from the different harnesses, and the ground for the voltage regulator (check below) As an extra ground, I added the excess ground wire from the pioneer harness to it which has a spot for it to be screwed in (Not Necessary)

For more pictures, check out Necro’s Flash Tutorial: http://www.avic411.com/D3Bypass/album0.html
Grounded Wire Cluster
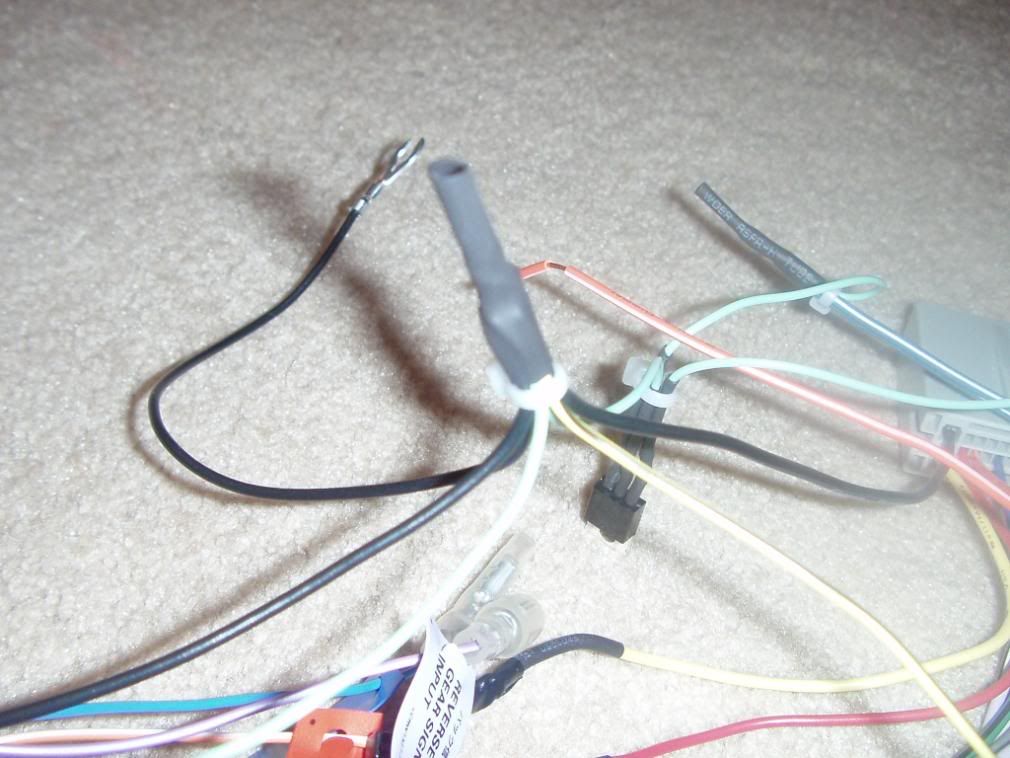
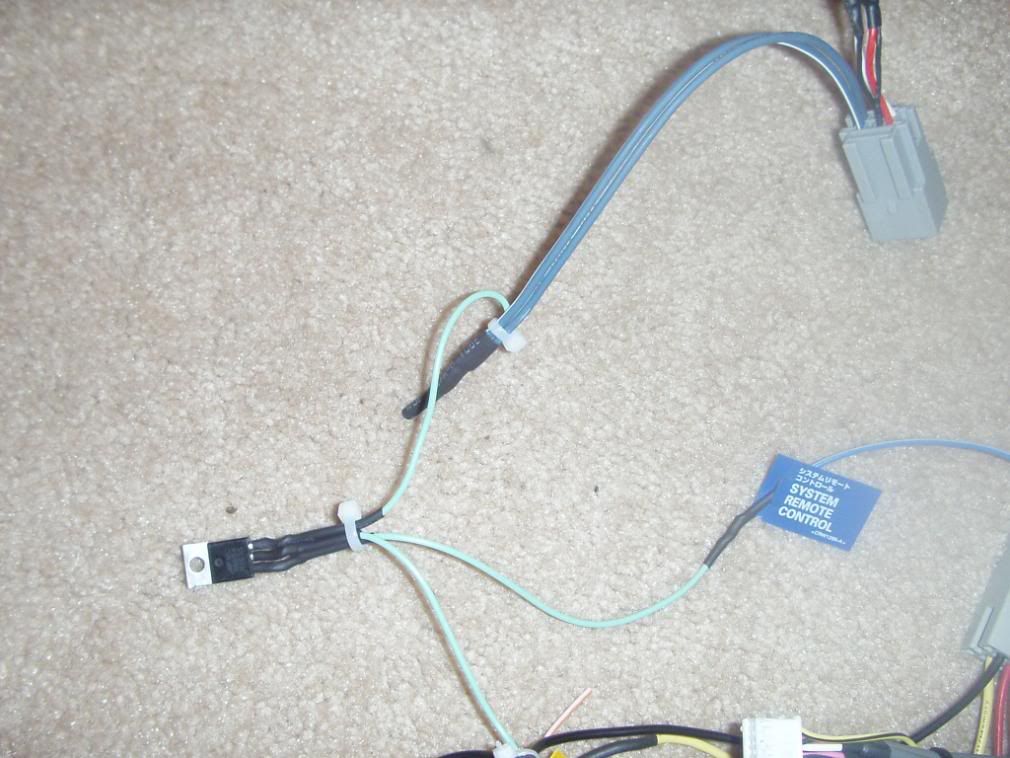
Voltage Regulator (Shaker 500 Only):
This is needed because the Ford Amplifiers in the Shaker 500 system require only a 5V turn on signal; however the Avic-D3 puts out 12V. This causes a popping sound to be heard every time the car starts up.
To fix this, you must put this regulator (7805 from Radioshack) in between the Blue/White System Remote Control output from the white Pioneer Harness (input) and the 2 Blue/White wires from the small Metra Harness (both go to the output) The middle of the regulator is for the ground. To make this easier, I took 3 pieces of the parking brake leftover wire and attached those to the Regulator, then to the other leads.
RCA Cables (Shaker 500 Only):
When attaching the 2 RCA Cables that come out of the smaller Metra harness, you simply attach the red and white into the red and white on the pioneer subwoofer out of the harness.
Wiring/Mounting/etc…
**Disconnect the Negative Battery Terminal Prior to touching any wires in the car
The Mess:
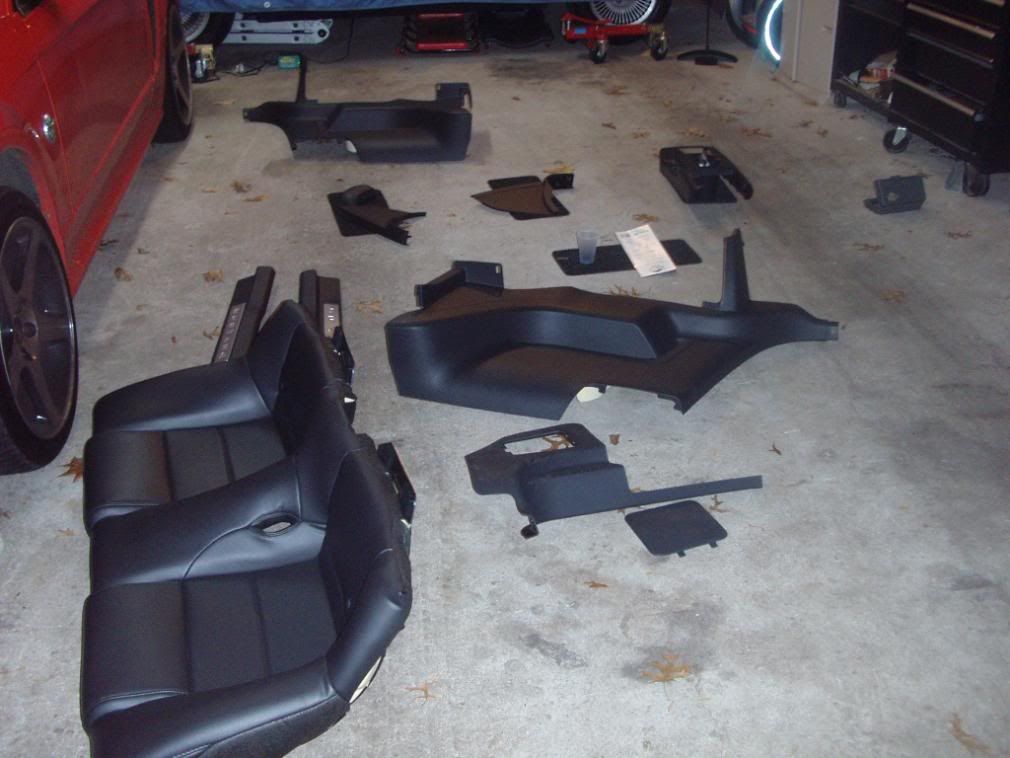
Dash Removal:
To remove the dash, you must open up the cubby box in the center console, and unscrew 2 Phillips head screws. Then simply unclip the shift boot (trim ring on automatics), and then pull up until it unsnaps. It may take some working to get it past the emergency brake.
Next step is to remove the 2 sail panels on either side of the dash board. (Pull away from dash)
Next, using a 9/32 socket screwdriver, unscrew 6? Screws down the side of the dash piece, and pull that out slowly, while reaching behind and unplugging all the connections. I wasn’t able to get one of the AC controls off (right side) and just ended up leaving it plugged in and swinging the piece around and have it hang there.
To remove the radio, you have just 4 more 9/32 screws to remove and then pull out; remove the wires and you’re done.
After I finished this I plugged in the Pioneer just to see if everything was functioning properly and my harness was made correctly.
Navigation/XM Antenna Wiring:
This was probably the hardest, most tedious part of the install. Many people have mounted the Navigation antenna underneath the dash, but because I had to run the XM antenna as well, I wanted to leave them both together and it seems like it would be easier for it to receive signal in the back.
To get the rear shelf out, you must remove a lot of stuff …..
First you must take out the lower rear seat bottom…you do this by pushing in on 2? Clips underneath it and pulling upward, fairly simple.
Next, remove the 2 door sill plates by pulling up on them (there is some DS tape holding parts of it on, not too strong.)
Then remove the 2 ¾ panels that are next to each seat. There are 3 tree-type pins holding them on…these require getting under them with a pair of needle nose pliers (or trim removal tool) and pulling them out. 1 is located underneath the seat part of it, and 2 more by the opening from the seat backs folding down then from there you just remove those 2 panels, and just slide out the rear deck.
To mount the antennas, I just put them on the supplied square metal pad, and then pinched the wires against the back of the tray when sliding it back in. (There is adhesive underneath the metal pad as well)
To get the antennas to the front, there is a huge clump of wires that runs down from the back all the way through the sill plates. Just use wire ties to hold the antennas to it, and your fine. Due to a short length of wiring, or at least to give my self some spare length. I cut underneath the passenger’s carpeting to the dash.
Mounting XM Box:
I originally was going to mount this box on top of the head-unit; however, they supply you with a very long thick IPBus Cable which when scrunched back there, takes up a lot of space and I could not push the Avic back in.
I then decided to pull the carpet back on the floor of the passenger’s side, up by the firewall. There is some insulation behind there that I squeezed it between there and the carpet, and it stays nicely and there is no hard surface for it to rattle either. I then used tie-wraps to hold the IPBus, Antenna, and Power Cables, to another set of wires running from the dash towards the XM Receiver box…how convenient.
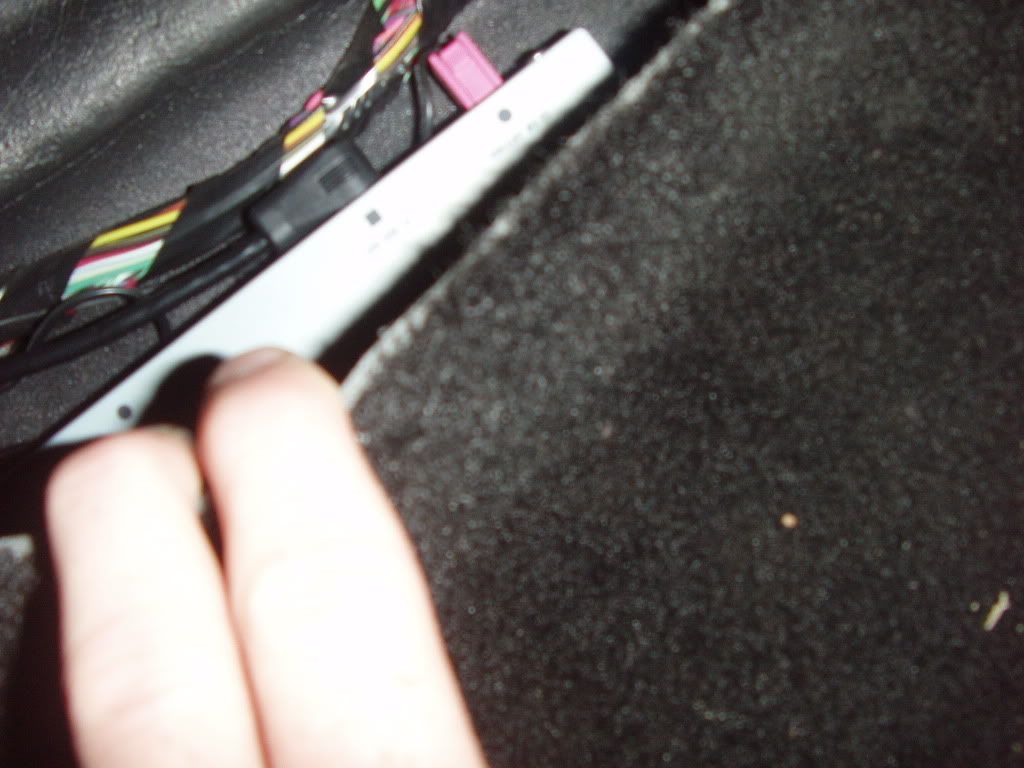
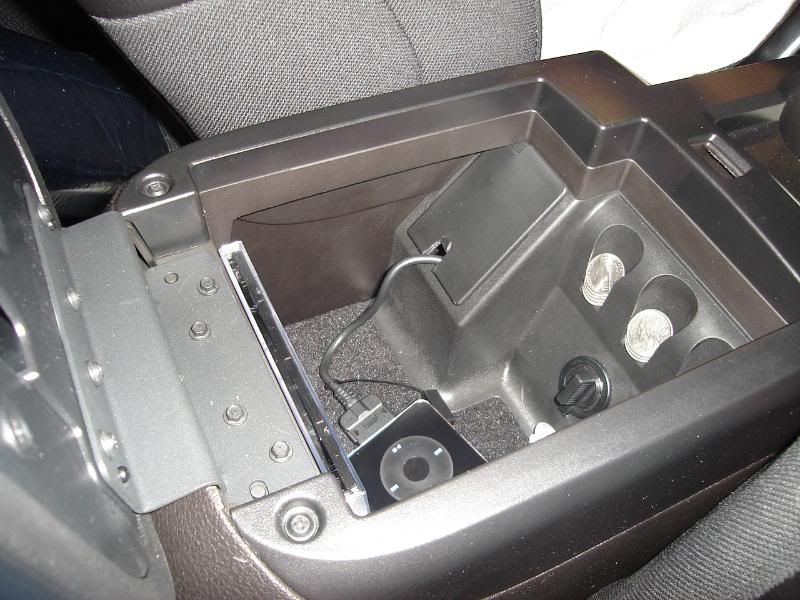
Running iPod Cable:
Since the center console had to be removed already, I ran the wire up there to the box in the middle. There is a little plate in there directly behind the Emergency brake. This pops right out. I then took a drill and made a semicircle on the bottom of it for the cable to come through. There is a clump of wires running through there as well, so just cable tie the cable to that clump, to keep it out of the way of the gearshift.
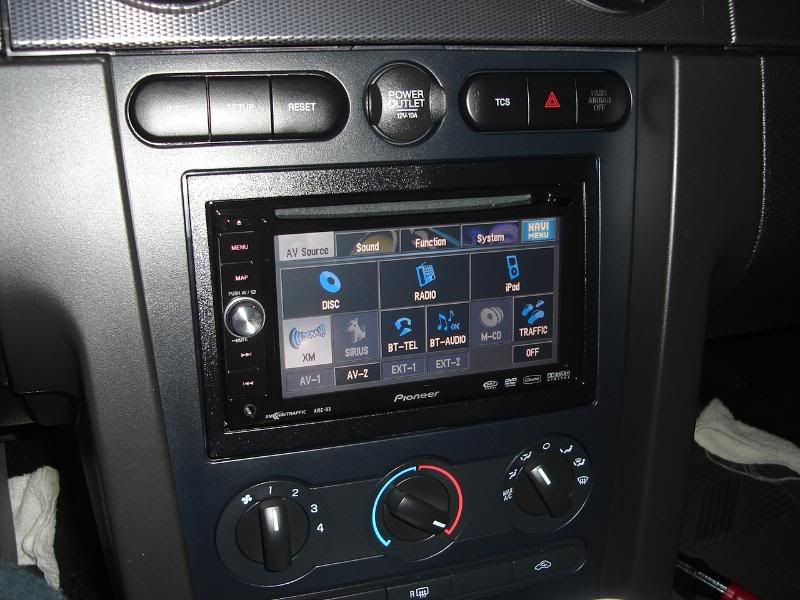
Putting in the Head-unit :
First you need to attach the Metra Dash Kit. You basically just clip the pieces together, and then screw it into the side of the Pioneer (screws supplied by them). There was a big problem though that the directions do not state. There are 2 tabs sticking out of the side in the back, the radio would not go in for me with these attached. So I cut off that un-needed section.
Now is the best part…plugging it in. After running all the wires, I was so happy that everything plugs in click click, and you are basically done. You then just have to slide it in, screw it in and then put everything back as it was.
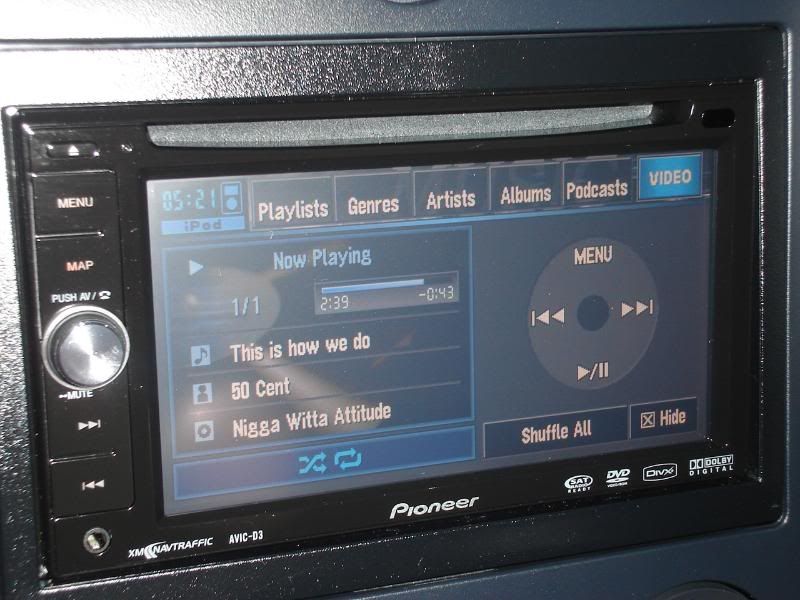
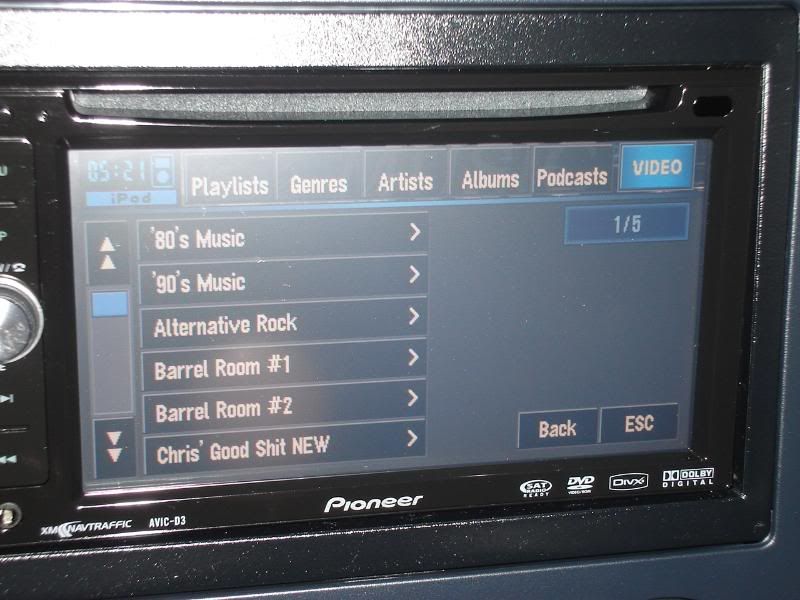
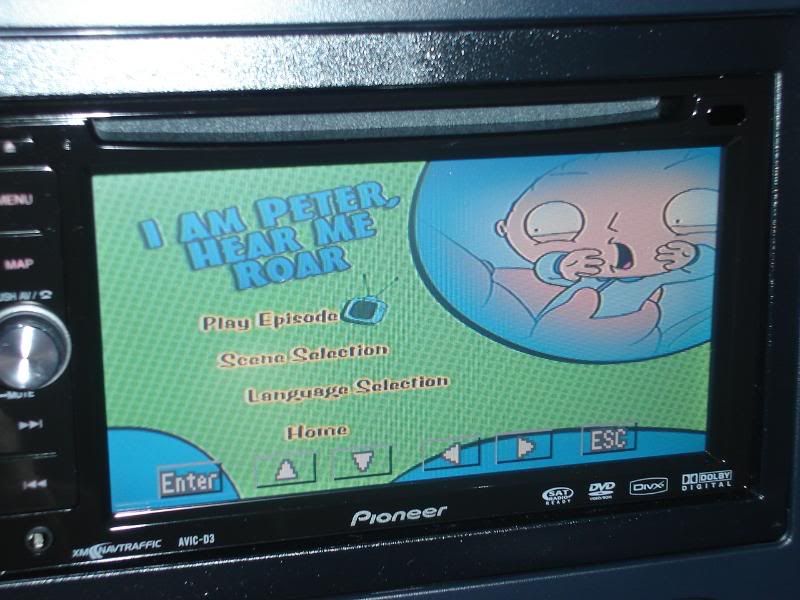
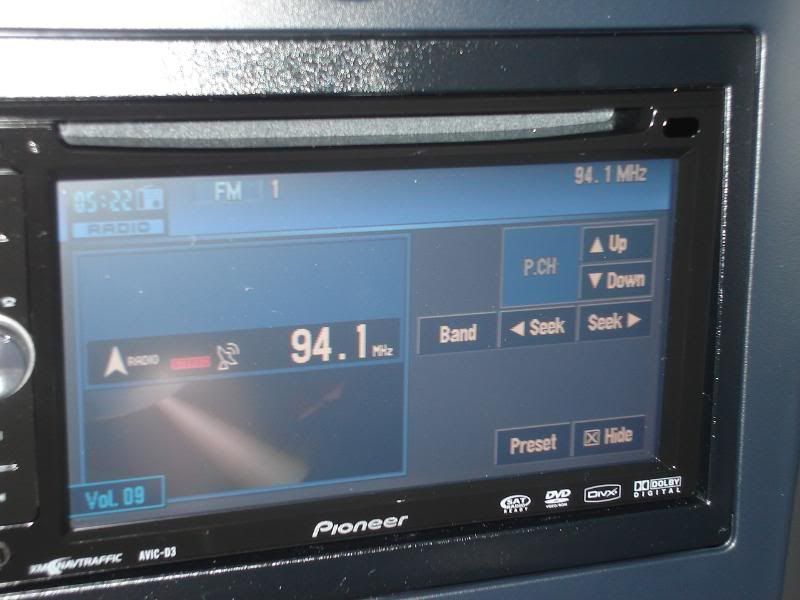
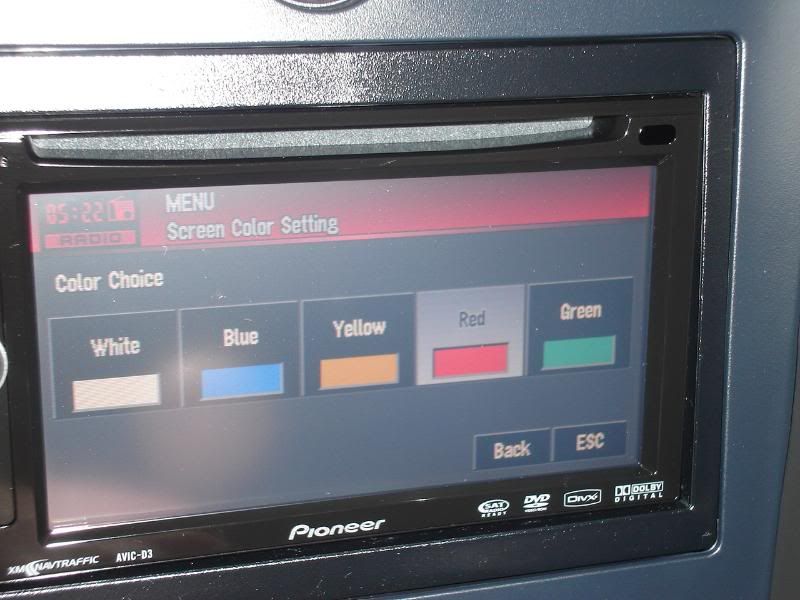
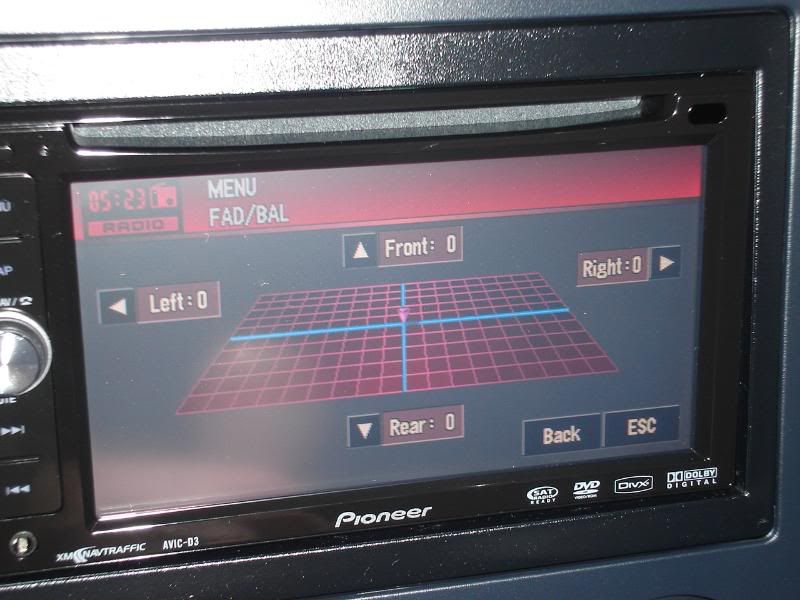
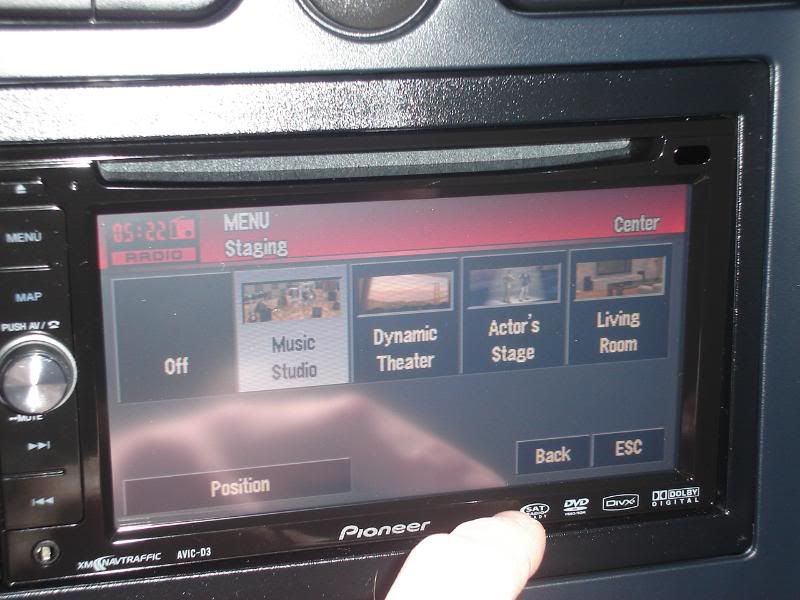
Some In-use Photos Courtesy of 1965 Coupe:
**When “Shaker 500 Only” is mentioned, it is meant to be not for the non-upgraded stock head-unit. I am unsure of use on the Shaker 1000, and what other specifics may need to be done.
**References and Pictures that helped me install/write this post come from Avic 411, 1965 Coupe, Necro, SatinSilverStang, MustangSourceForums and Tacobill -Thank You
I ordered the head-unit from CartronixPlus.com it was $579+Shipping+Install Kit =$623
The install kit was kind of annoying how they sent me the harness for the non-Shaker stereo (70-5520), and then did not ship me the dash kit either. Later on based on an email, they said that the kit only includes basic install parts and they were upgraded parts, so they didn’t ship them. I got this shipped this week and wanted to be able to install it this weekend so I went out to look for the parts. Went to one Best Buy, got the XM Adaptor (GEX-P920XM) and the iPod Cable (CD-i200), but it took going to another Best Buy, and 2 other electronics stores to get the correct harness (70-5521). I then purchased the dash kit at Circuit City (95-5812). They were $20 each…with shipping, Crutchfield would’ve cost as much and I would’ve had to wait to get it shipped.
Installation:
Parts List:
Pioneer Avic-D3
XM Adapter (GEX-P920XM)
iPod Adapter (CD-i200)
Wiring Harness (Metra Part # 70-5521) *If you don’t have Shaker 500 you use #70-5520
Dash Kit (Metra Part #95-5812)
5V Fixed Voltage Regulator (Model 7805 from Radioshack) *Will mention later
Tools List:
Wire Clippers/Strippers
Soldering Iron/Solder (Could just crimp the wires together
Pack of heat-shrink from Radioshack (You could wrap everything in tape)
Hairdryer
Trim Removal Tool… (Not necessary but helpful)
Harness:
Since I wasted half the day getting all the parts, I didn’t end up starting until close to 3:00 in the afternoon. So I only planned on doing the harness because it gets dark quick and I didn’t want to have a half finished car.
The parts you will now have in front of you to make the harness are 2 from Pioneer, and 2 from Metra. The Metra Harness plugs into the existing ford harness such that you do not have do any work behind the dash other than plugging in. You can also take it out in the future if you please. Each harness has colors coming out of each that must be attached to the corresponding one on the other. I then made a spreadsheet of the colors to cross reference them from the Metra Harness to the Pioneer one. I was relieved that most were exactly the same color.
The first thing I did when putting it together was soldering together the main stuff, none of the tricky parts, just doing color to color. Make sure if you are going to use heat-shrink, to slide it on prior to twisting the wires together and soldering (made this mistake once or twice, had to use tape over the connections. Once you are done soldering, use the blow dryer to melt the heat shrink to the connection.
Bypass:
After this was done I did the bypass mod, which allows you to watch DVD’s while in motion as well as changing your navigation route. (I do not encourage watching DVD’s while driving, but having it is very helpful for the navigation)
1. Remove the Yellow/Black Mute Wire from the white Pioneer Harness. (You do this buy using a small screwdriver to pull up on the tab for that pin, and pull it out. You will then have to put it in the spot directly above it, but remember to turn it around so the flat part is facing out (mimic how you took it out))
2. Then you must ground that wire, as well as the Light Green Parking Brake Switch Cable. The Way I did this was make a large ground bundle containing those 2 wires, as well as the 2 black wires from the different harnesses, and the ground for the voltage regulator (check below) As an extra ground, I added the excess ground wire from the pioneer harness to it which has a spot for it to be screwed in (Not Necessary)
For more pictures, check out Necro’s Flash Tutorial: http://www.avic411.com/D3Bypass/album0.html
Grounded Wire Cluster
Voltage Regulator (Shaker 500 Only):
This is needed because the Ford Amplifiers in the Shaker 500 system require only a 5V turn on signal; however the Avic-D3 puts out 12V. This causes a popping sound to be heard every time the car starts up.
To fix this, you must put this regulator (7805 from Radioshack) in between the Blue/White System Remote Control output from the white Pioneer Harness (input) and the 2 Blue/White wires from the small Metra Harness (both go to the output) The middle of the regulator is for the ground. To make this easier, I took 3 pieces of the parking brake leftover wire and attached those to the Regulator, then to the other leads.
RCA Cables (Shaker 500 Only):
When attaching the 2 RCA Cables that come out of the smaller Metra harness, you simply attach the red and white into the red and white on the pioneer subwoofer out of the harness.
Wiring/Mounting/etc…
**Disconnect the Negative Battery Terminal Prior to touching any wires in the car
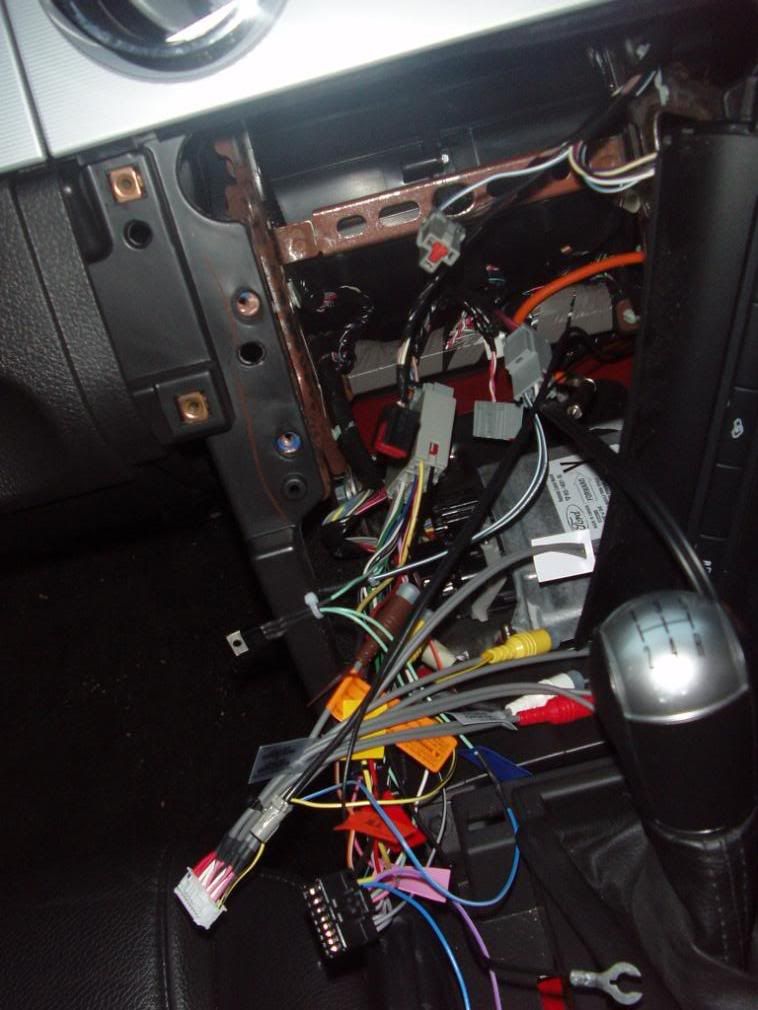
The Mess:
Dash Removal:
To remove the dash, you must open up the cubby box in the center console, and unscrew 2 Phillips head screws. Then simply unclip the shift boot (trim ring on automatics), and then pull up until it unsnaps. It may take some working to get it past the emergency brake.
Next step is to remove the 2 sail panels on either side of the dash board. (Pull away from dash)
Next, using a 9/32 socket screwdriver, unscrew 6? Screws down the side of the dash piece, and pull that out slowly, while reaching behind and unplugging all the connections. I wasn’t able to get one of the AC controls off (right side) and just ended up leaving it plugged in and swinging the piece around and have it hang there.
To remove the radio, you have just 4 more 9/32 screws to remove and then pull out; remove the wires and you’re done.
After I finished this I plugged in the Pioneer just to see if everything was functioning properly and my harness was made correctly.
Navigation/XM Antenna Wiring:
This was probably the hardest, most tedious part of the install. Many people have mounted the Navigation antenna underneath the dash, but because I had to run the XM antenna as well, I wanted to leave them both together and it seems like it would be easier for it to receive signal in the back.
To get the rear shelf out, you must remove a lot of stuff …..
First you must take out the lower rear seat bottom…you do this by pushing in on 2? Clips underneath it and pulling upward, fairly simple.
Next, remove the 2 door sill plates by pulling up on them (there is some DS tape holding parts of it on, not too strong.)
Then remove the 2 ¾ panels that are next to each seat. There are 3 tree-type pins holding them on…these require getting under them with a pair of needle nose pliers (or trim removal tool) and pulling them out. 1 is located underneath the seat part of it, and 2 more by the opening from the seat backs folding down then from there you just remove those 2 panels, and just slide out the rear deck.
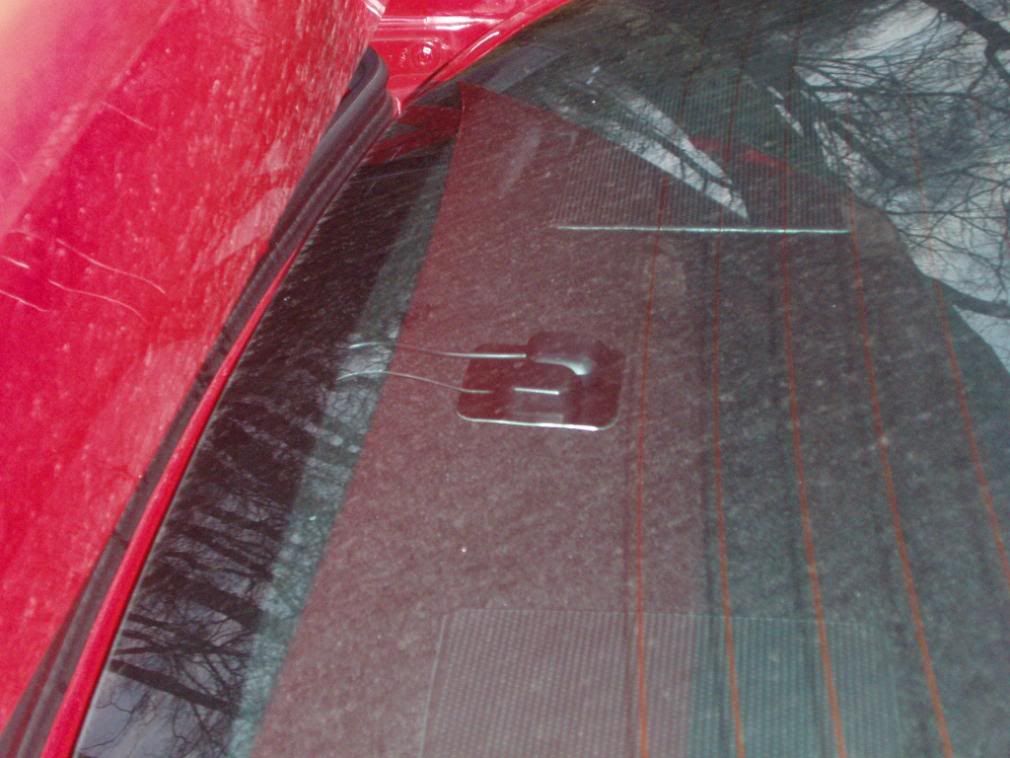
To mount the antennas, I just put them on the supplied square metal pad, and then pinched the wires against the back of the tray when sliding it back in. (There is adhesive underneath the metal pad as well)
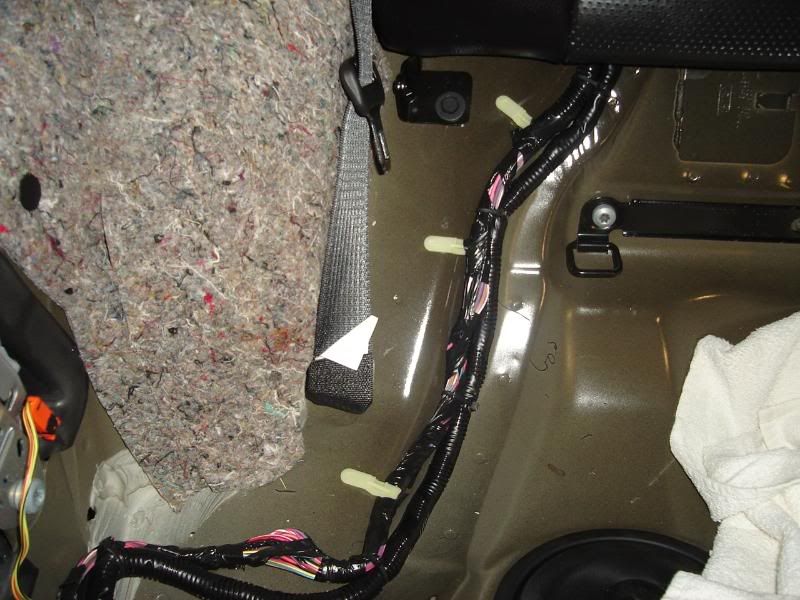
To get the antennas to the front, there is a huge clump of wires that runs down from the back all the way through the sill plates. Just use wire ties to hold the antennas to it, and your fine. Due to a short length of wiring, or at least to give my self some spare length. I cut underneath the passenger’s carpeting to the dash.
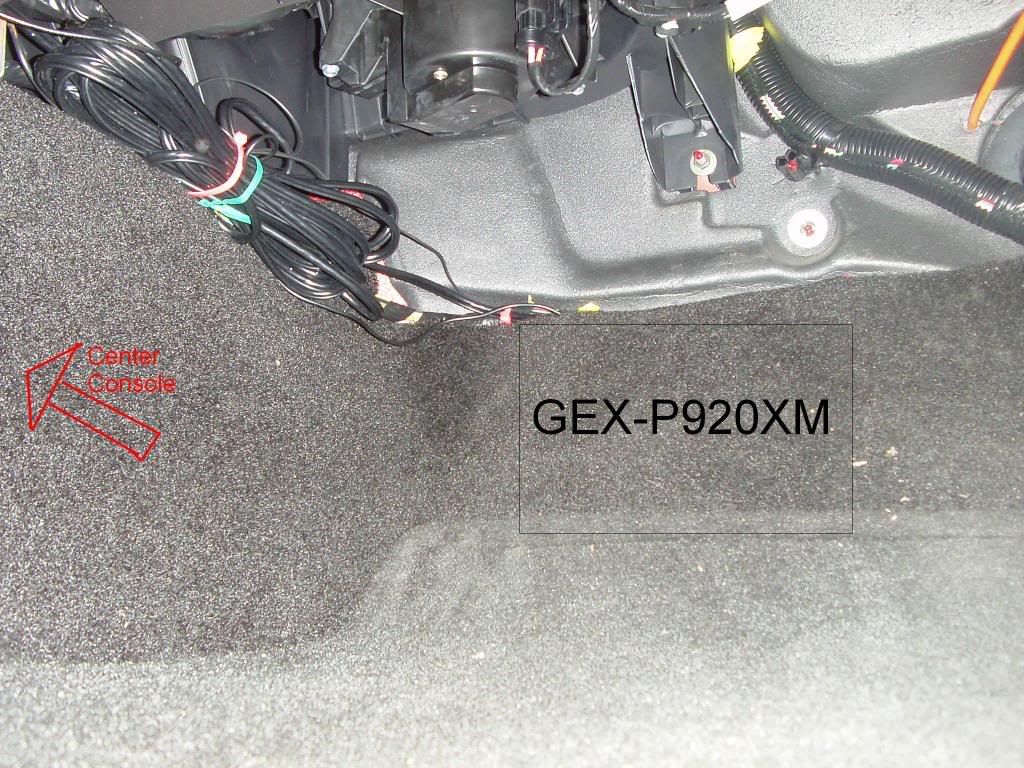
Mounting XM Box:
I originally was going to mount this box on top of the head-unit; however, they supply you with a very long thick IPBus Cable which when scrunched back there, takes up a lot of space and I could not push the Avic back in.
I then decided to pull the carpet back on the floor of the passenger’s side, up by the firewall. There is some insulation behind there that I squeezed it between there and the carpet, and it stays nicely and there is no hard surface for it to rattle either. I then used tie-wraps to hold the IPBus, Antenna, and Power Cables, to another set of wires running from the dash towards the XM Receiver box…how convenient.
Running iPod Cable:
Since the center console had to be removed already, I ran the wire up there to the box in the middle. There is a little plate in there directly behind the Emergency brake. This pops right out. I then took a drill and made a semicircle on the bottom of it for the cable to come through. There is a clump of wires running through there as well, so just cable tie the cable to that clump, to keep it out of the way of the gearshift.
Putting in the Head-unit :
First you need to attach the Metra Dash Kit. You basically just clip the pieces together, and then screw it into the side of the Pioneer (screws supplied by them). There was a big problem though that the directions do not state. There are 2 tabs sticking out of the side in the back, the radio would not go in for me with these attached. So I cut off that un-needed section.
Now is the best part…plugging it in. After running all the wires, I was so happy that everything plugs in click click, and you are basically done. You then just have to slide it in, screw it in and then put everything back as it was.
Some In-use Photos Courtesy of 1965 Coupe:
**When “Shaker 500 Only” is mentioned, it is meant to be not for the non-upgraded stock head-unit. I am unsure of use on the Shaker 1000, and what other specifics may need to be done.
**References and Pictures that helped me install/write this post come from Avic 411, 1965 Coupe, Necro, SatinSilverStang, MustangSourceForums and Tacobill -Thank You


")
