Exterior Restoration Continues! Quarter Windows W/ Pictures

dderek

New Member
Feb 29, 2004
180
0
0
Drove around for half the day trying to find a torx bit set to take the seatbelt off the interior, so i could get to the screws. Bought two more cans of trim paint.

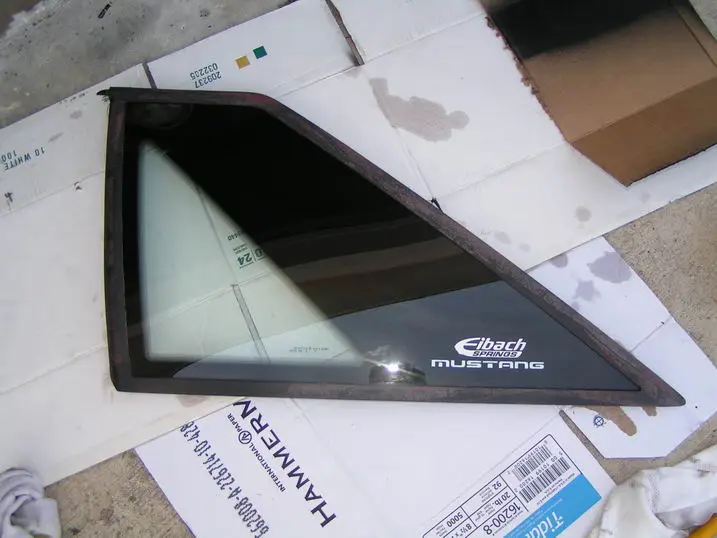
Pulled the window. not as hard as it seems.
pict000116dc.webp


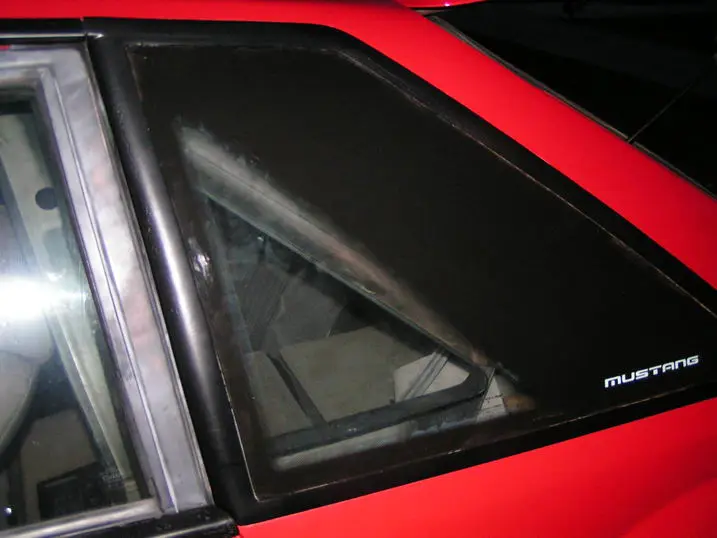
It looks so sad.:(
pict000618se.webp


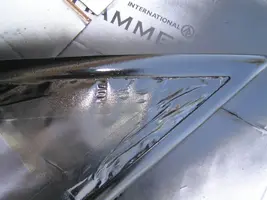
Started prepping the window. used some 400 grit, and 600 grit to get rid of as much pitting as possible. and made it smooth to the touch. alot of the pitting was too deep to try to get out.
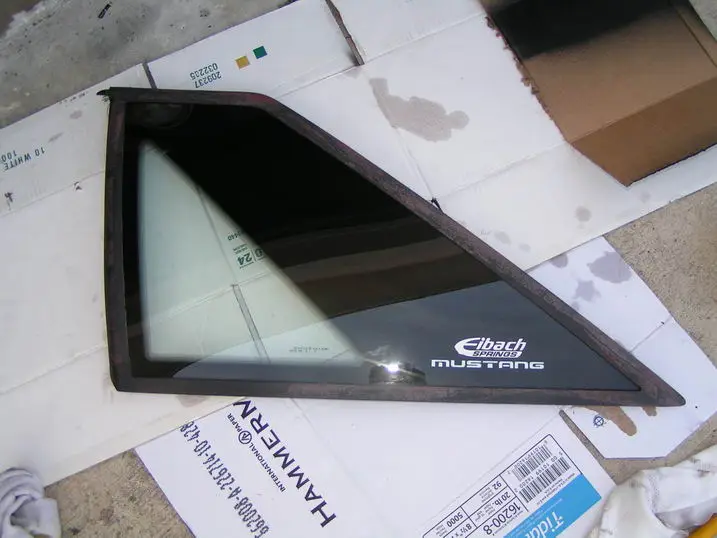
pict000116dc.webp


Washed the trim off. Masked everything as best i could.

pict000715uv.webp


Picture during one of the many coats
pict001918pj.webp


Heres the untouched side for a comparison
pict003118eo.webp


And the freshly painted side
pict002510uo.webp


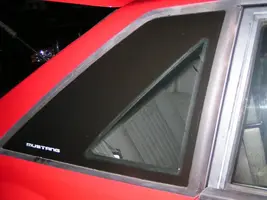
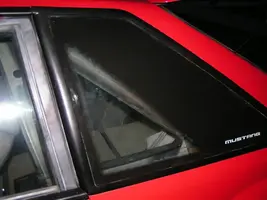
Sorry for the dark pictures. i didnt want to reinstall it until i was certain it was completely dry, and ended up getting dark on me.. Ill post better daytime pictures tomorrow.

Alot of the cracks and pitting are still there, But i figured after i filled them in with 6-7 coats of trim paint.. it would give me more to work with instead of sanding it way too low


my brother told me i was wasting my time:shrug:
I think its improved

Derek:flag:
 

Attachments

  • pict000116dc.webp
    pict000116dc.webp
    26.5 KB · Views: 143
  • pict000618se.webp
    pict000618se.webp
    2.8 KB · Views: 153
  • pict000116dc.webp
    pict000116dc.webp
    26.5 KB · Views: 133
  • pict000715uv.webp
    pict000715uv.webp
    2.8 KB · Views: 126
  • pict001918pj.webp
    pict001918pj.webp
    32.2 KB · Views: 141
  • pict003118eo.webp
    pict003118eo.webp
    23.1 KB · Views: 124
  • pict002510uo.webp
    pict002510uo.webp
    19 KB · Views: 144
Yea - much better - although what are those light areas right near the window? It almost looks like you taped part of the moulding. However - GREAT improvement over what you had before!
 
GSXRMIXXER said:
looks good. :nice: do you have to re-seal the window before you re-install ?

Im sure i should reseal it. but i didnt have anything on me at the time to do it. its only 7 tiny bolts. so i just stuck it back in for now.

It did leak through that window during a hurricane before. so yes.. the seal does make a difference.. im not sure what to seal it with
maybe just some RTV?

and the light areas.. im not sure if thats the camera, or something that got masked. I was wondering that myself. because i didnt see it until i came inside and looked at the pictures

its too dark to tell. We will find out tomorrow
 
5.0Droptop said:
would it be easier to just mask off the window and the car and not remove the 1/4 glass?

it might be.
the paint itself is somewhat flexible and plastic like.. so it might not be hard to remove the overspray if it did get on your paint.

but truthfully. its not that hard to pull out the window anyway:shrug:
 
5.0Droptop said:
and are you going to paint the door around the window?

Yes sir. that is one of my upcoming projects.
That one is going to be tricky. with how windy its been. overspray. etc.
im not about to take my door off to do this either. so ill ghetto engineer something up and let you know how it goes.

But im not sure if i should use the same paint.. since thats metal, and not plastic/rubber.:shrug:

i am by NO means a master painter, or anything. maybe amateur at best
 
Just wondered. Seems like the end result would be the same.

On a side note. It looks like there is red over spray inside the interior plastic where the 1/4 window is removed and the red color is differnt. Has the car been repainted before?
 
5.0Droptop said:
Just wondered. Seems like the end result would be the same.

On a side note. It looks like there is red over spray inside the interior plastic where the 1/4 window is removed and the red color is differnt. Has the car been repainted before?

dont know how many times its been painted or not:shrug:
never found any paint that wasnt red on the car though. so i dont know.
and after the last post
i went out with a flashlight and a straight razor.. and that weird white/red that the picture caught... scraped all off in about 30 seconds.
 
Its going to look 100 % better when your done.

My car was down in florida for several years and the sun has pitted and dried out the 1/4 window trim badly.
 
Looks great thanks for the update.

Have you priced out how much replacing these parts would have cost?

For me spending a ton of dough on this car isn't worth it. However, doing this project my self does seem worthwhile. I used some tire black on the metal and rubber parts, it looked better than the faded paint and dried out rubber, but not by much.
 
Looks real good! The only thing i might suggest is to use some of that "filler primer" on the trim and then sand that as well b4 you spray it with the trim paint. That would help eliminate the small pits and lines that sanding alone wouldn't get.

Keep up the good work and the write-ups i've gotta do this stuff to mine some day.
 
5.0Droptop said:
would it be easier to just mask off the window and the car and not remove the 1/4 glass?

Thats what I did and it came out pro, youd think I took the 1/4 windows off. Just take your time taping it and make sure its perfect. Pulling the 1/4 window would take the 1 hour extra you could have spent sanding and got all the pits out :rolleyes:
 
smokin91' said:
Thats what I did and it came out pro, youd think I took the 1/4 windows off. Just take your time taping it and make sure its perfect. Pulling the 1/4 window would take the 1 hour extra you could have spent sanding and got all the pits out :rolleyes:

depends on how you perfer painting pieces. i personally remove anything i can to paint. it may take a lil longer but your quality is always better also, in my case my interior is gutted already so to remove the 1/4 glass would only take 5 mins with my air tools. :D
 
Marlboro_Man said:
Looks real good! The only thing i might suggest is to use some of that "filler primer" on the trim and then sand that as well b4 you spray it with the trim paint. That would help eliminate the small pits and lines that sanding alone wouldn't get.

Keep up the good work and the write-ups i've gotta do this stuff to mine some day.

I have also seen many people use Red Spot Glazing Putty to fill in the pits and scratches.
 
I am getting ready to do mine aswell but mine are probly staying on the car. I am going to sand any smooth spots on the trim to rough it up. Then use some primer sealer and sand than prime and sand and prime untill all the sh-it is filled in and smooth and than paint it with a few coats of trim paint.