

We decided to go with hood struts instead of a prop rod. I pieced together something starting with a kit from a BRZ off Temu. The kit was about $30 CDN and included mounting brackets and 11" (extended) struts. I purchased an additional pair of 15" struts rated at 100lbs ($48 CDN) as the originals are much lighter capacity.
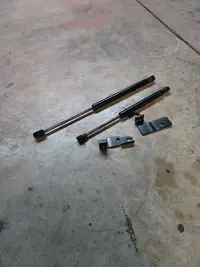
The Temu kit with the 15" strut at the top.
Had to drill out the upper bracket for an additional hole to attach to the top hood hinge bolt. The lower section near the middle hole needs to be ground back a little bit (1/8-1/4") and I then welded up the middle hole for strength followed by a quick respray of semi-gloss Tremclad paint.

The lower bracket comes with an offset formed in it. I needed to straighten it back out to fit where I wanted it.
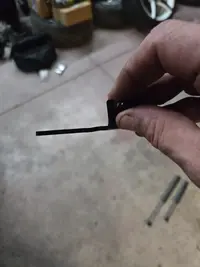
Install is in the top hinge bolt and the lower attached to the middle fender bolt.

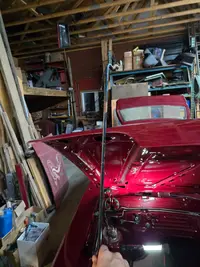
All finished it works well. It is not bad to lower and has almost no resistance trying to push up for the last 3-4" before fully closed. The last pic is with a prop rod mocked up to show it doesn't open as far as the prop rod would hold it, but I'm pretty happy with it. We will see how it is longer term with use.

The Temu kit with the 15" strut at the top.
Had to drill out the upper bracket for an additional hole to attach to the top hood hinge bolt. The lower section near the middle hole needs to be ground back a little bit (1/8-1/4") and I then welded up the middle hole for strength followed by a quick respray of semi-gloss Tremclad paint.
The lower bracket comes with an offset formed in it. I needed to straighten it back out to fit where I wanted it.
Install is in the top hinge bolt and the lower attached to the middle fender bolt.
All finished it works well. It is not bad to lower and has almost no resistance trying to push up for the last 3-4" before fully closed. The last pic is with a prop rod mocked up to show it doesn't open as far as the prop rod would hold it, but I'm pretty happy with it. We will see how it is longer term with use.


