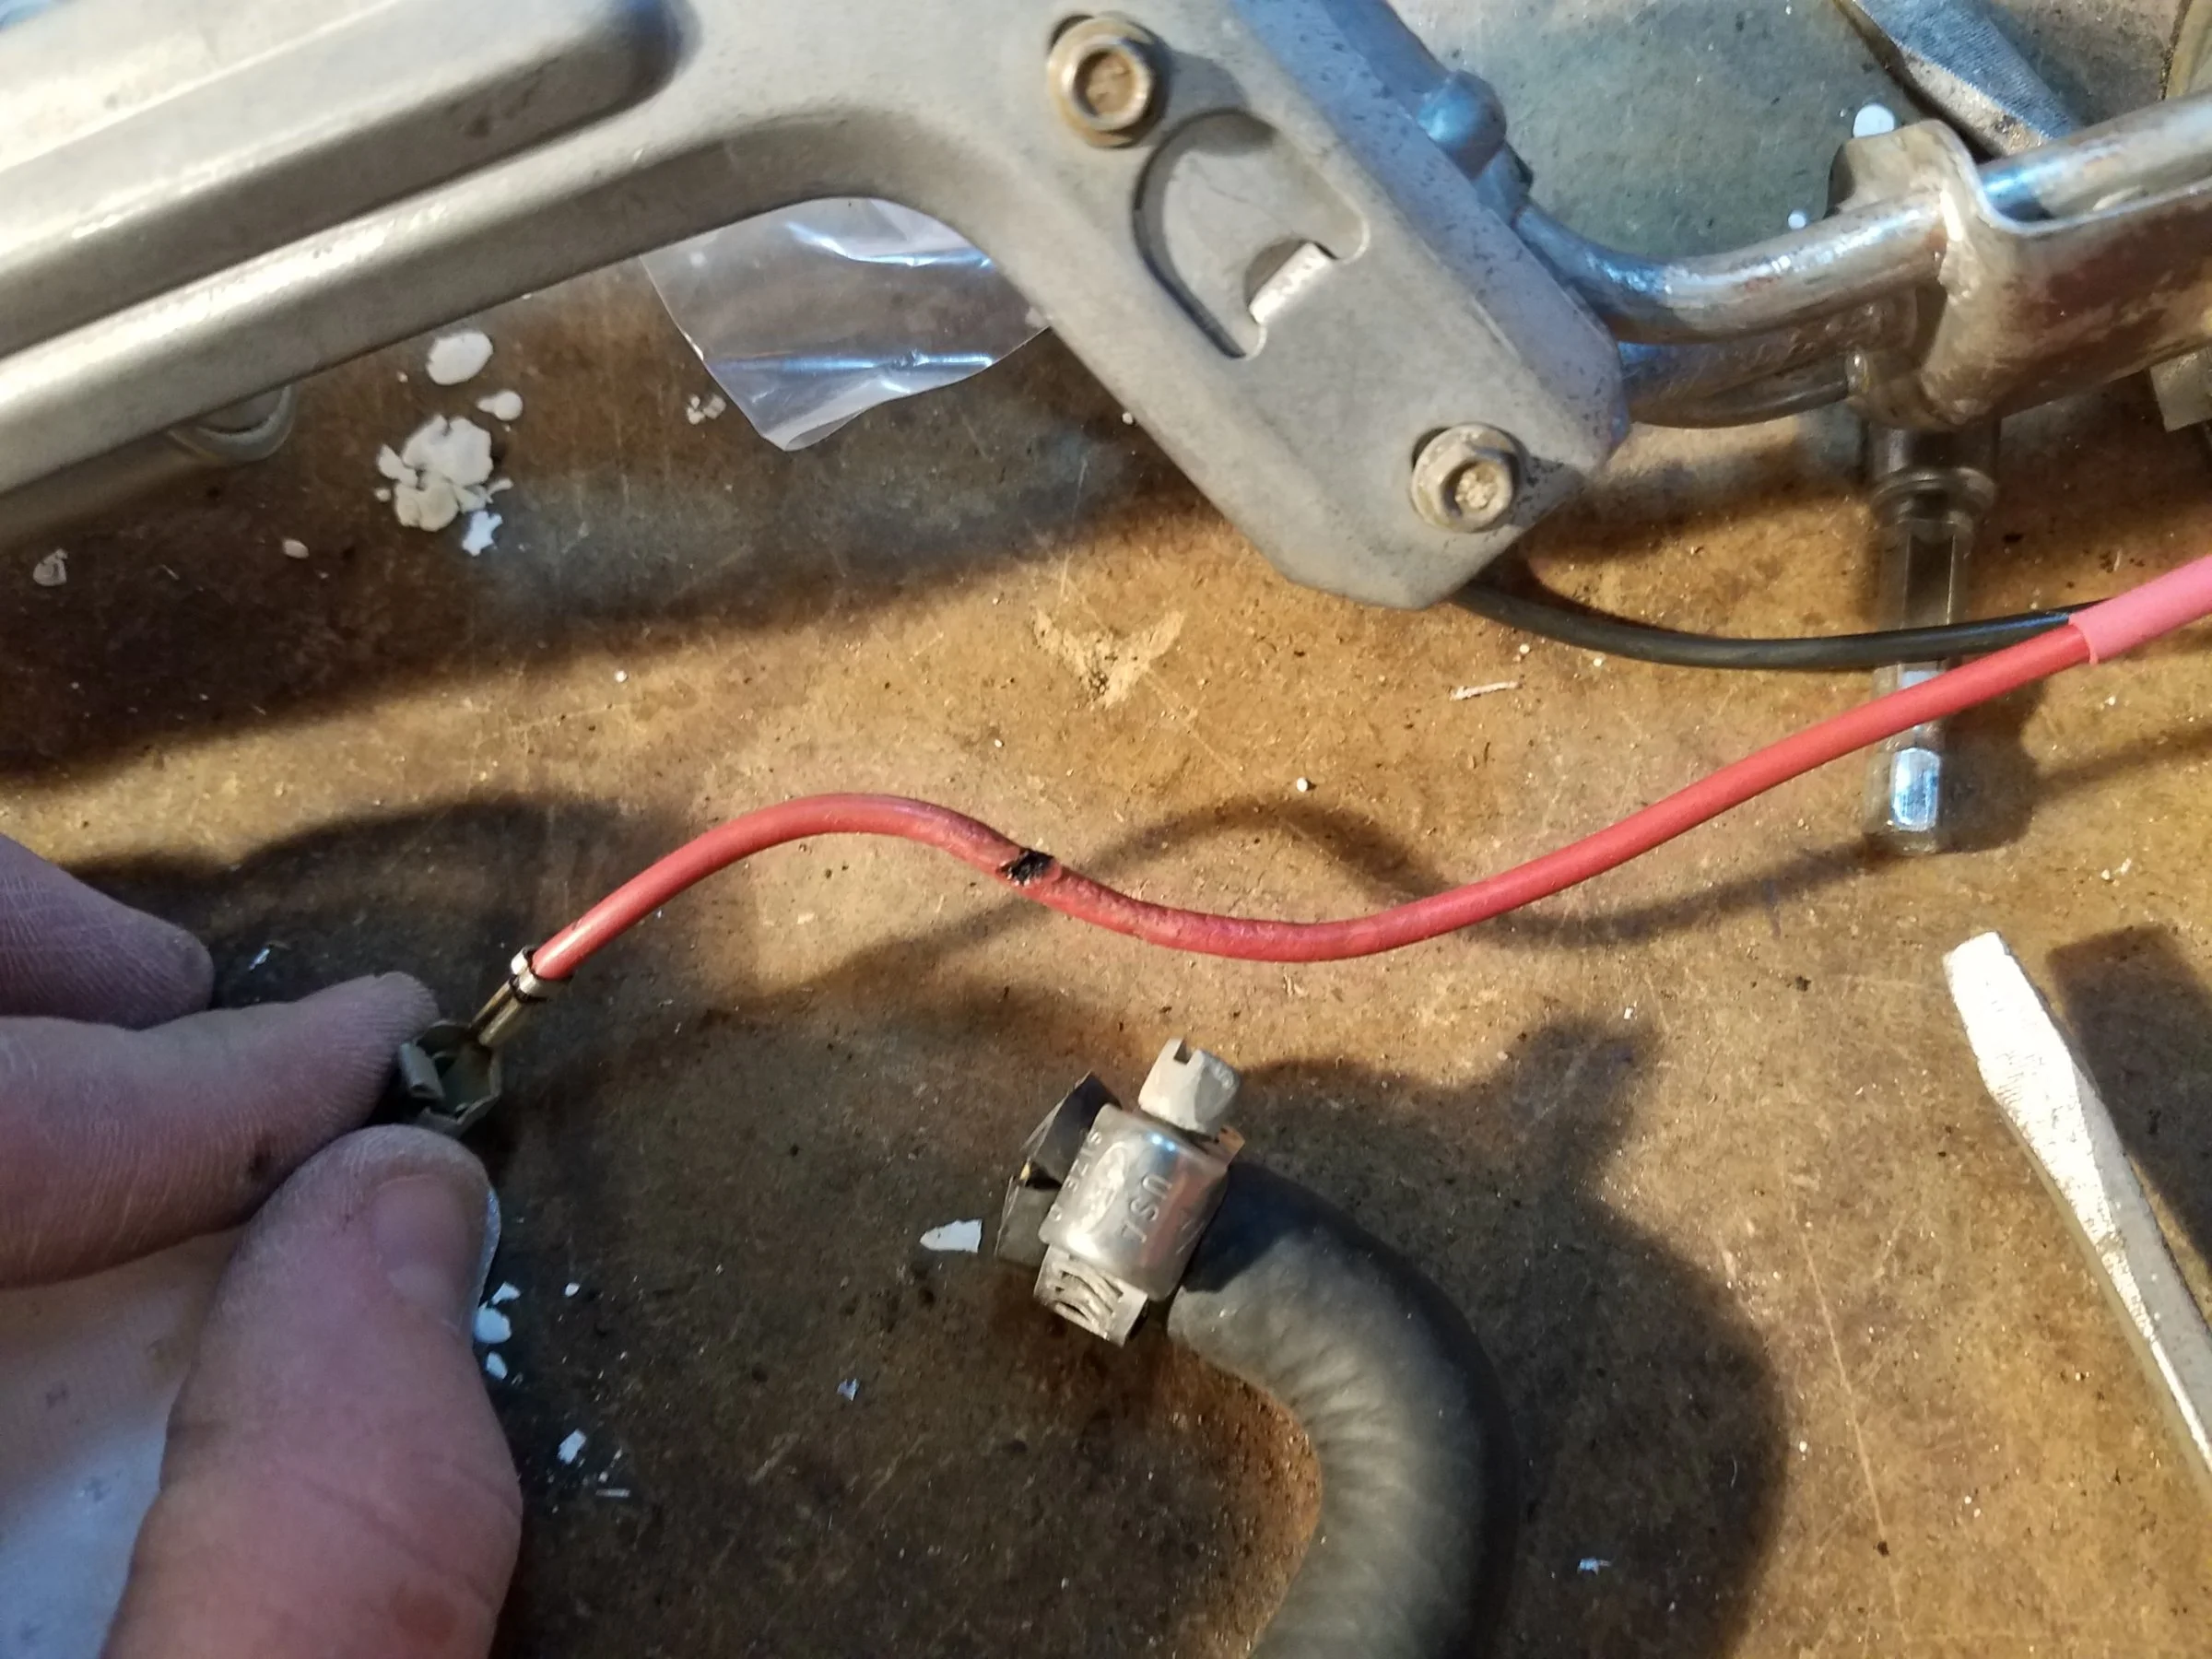
The automotive wire is rated for 105°C, and it should be stamped on the wire or the spool. The fuel pump wire is 14 gauge, so be sure to get the same gauge or larger so that the pump gets full voltage.
18 gauge wire = 5-8 amps
16 gauge wire = 10-12 amps
14 gauge wire = 15-17 amps
12 gauge wire = 20-25 amps
10 gauge wire = 30-40 amps
8 gauge wire = 50-60 amps.
Here are some useful tips...
I have done the tank removal three times, and the main issues are getting the car up on jack stands and getting the gas out of the tank. DO NOT try to do this job without jack stands. Becoming a pancake is not part of the repair process.
Pumping out the old gas:
If the old pump still works, you can use it to pump the tank out.
1.) Separate the pressure line (the one with the Schrader valve on it) using the fuel line tools.
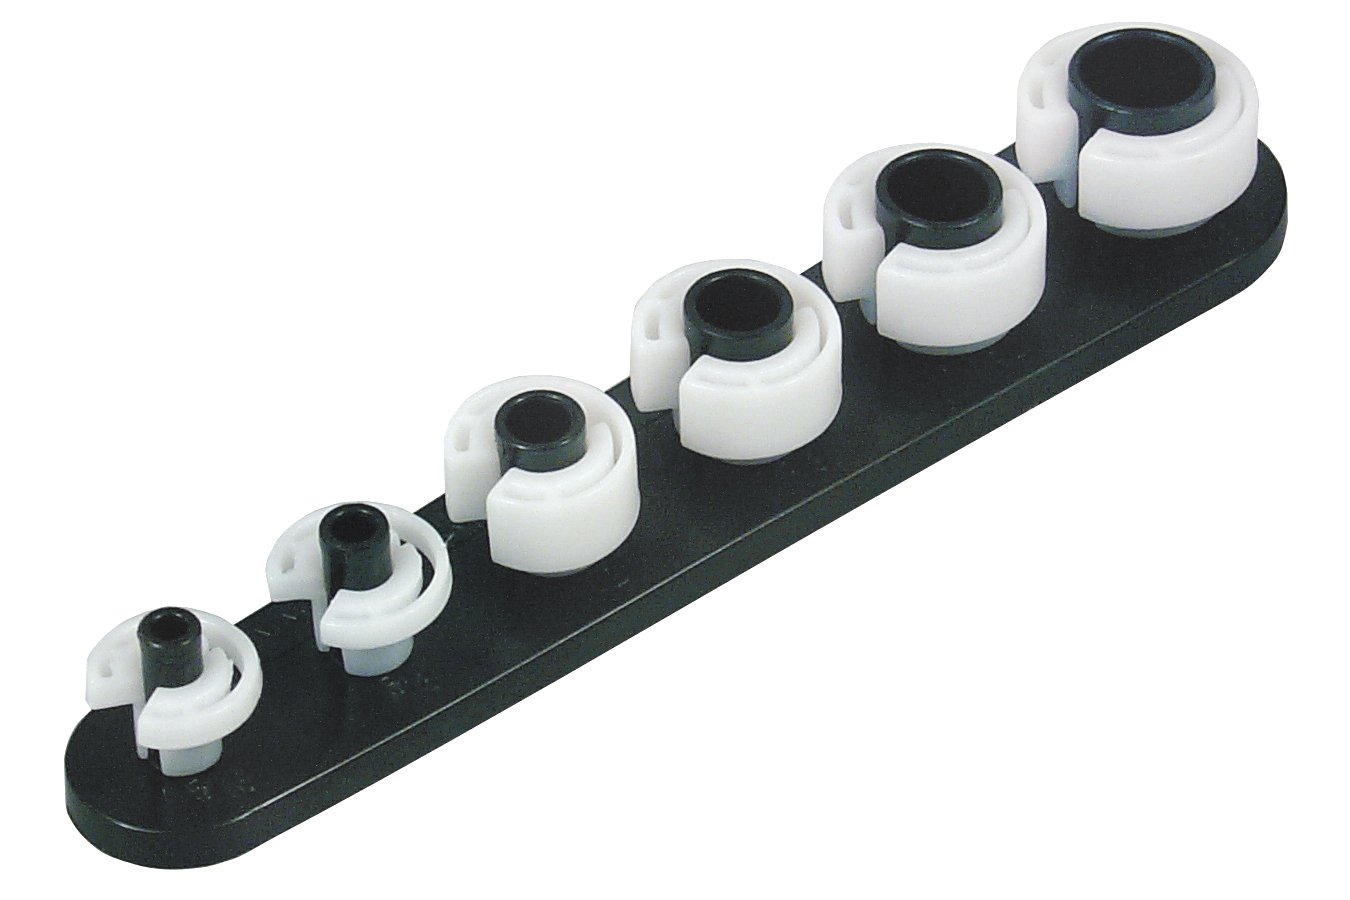
Look in the A/C repair section for the fuel line tools. They look like little plastic top hats. You will need the 1/2" & 5/8" ones. The hat shaped section goes on facing the large part of the coupling. Then you press hard on the brim until it forces the sleeve into the coupling and releases the spring. You may need someone to pull on the line while you press on the coupling.
OR
View: https://www.youtube.com/watch?v=vRTjYAxvaCs
Use a piece of garden hose to run from the pressure line to your bucket or gas can. Make sure it is as leak proof as you can make it. Fire and explosion are not part of the repair process...
2.) Jumper the fuel pump test point to ground.
Turn the ignition switch to the Run position. the fuel pump will pump the tank almost dry unless the battery runs down first.
Some 5 gallon paint pails lined with garbage bags are good to hold the gas. The garbage bags provide a clean liner for the pails and keep the loose trash out of the gas so you can reuse it. If you decide to use a siphon, a piece of 1/2" garden hose stuck down the filler neck will siphon all but a gallon or so of the gas.
Remove the filler neck bolts and put them in a zip bag. Disconnect the supply & return lines by removing the plastic clips from the metal tubing. If you damage the clips, you can get new ones form the auto part store for just a few dollars. I have used tie-wraps, but that is not the best choice. Then you remove the two 9/16" nuts that hold the T bolts to the straps. Put the nuts in the zip bag with the filler bolts. Pull the plastic shield down and away from the tank. Once the tank drops a little bit you can disconnect the wiring for the pump & fuel quantity sender.
The pump assembly comes out by removing a large metal ring that unscrews from the tank. You are supposed to use a brass punch to tap on the ring so that you don't make sparks. Look closely at the rubber O ring gasket when you remove the sender: it is very easy to damage on reinstallation. If it gets damaged, the car will smell like gasoline when you fill the tank up. The pump assembly requires some twisting and turning to get it out the hole.
Look very closely at the electrical wiring. The stock fuel pump wiring can overheat and melt the insulation. Mine had some really crummy plastic tubing slid over the quick disconnects. If the wires ever got together, there would be sparks inside the fuel tank and no more Mustang. I eliminated the splice in the middle of the wiring and went straight from the pump to the feed through connectors for the wiring. It required some soldering and crimping of new tabs on the wires, but it made a neater job.
Inspect the pump mount to metal tubing bracket. Mine broke and I couldn't get it to solder back together. I drilled a small hole for a machine screw & self locking nut to hold the clamp and bracket together.
The pump is easy to get off the mount but is somewhat difficult to get back it the tank without damaging the sock filter or tearing it on the tank baffle. When you install the metal ring that holds the pump in place, watch out for the gasket O ring. Some RTV may be helpful if the ring is not in excellent condition.
The tank to filler pipe seal is a large rubber grommet. Inspect it for hardening, tears and damage. At $20 from the Ford dealer, it might be a good idea to replace it.
I used a floor jack to help lift the tank back in place. You may find that it is the only time you really can make good use of a helper.