StangNet's Project 67

StangNet's Project 67

No easy task! Patience and work!

13 - 16.jpg 13 - 3.jpg 13 - 4.jpg


Project sponsored by CJ Pony Parts
  • Like
Reactions: 1 user
Finally worked the headlights in. They are mounted to the fenders, not the front cover like a stock setup. We ended up using the light buckets from a 76 Ford bronco/truck setup to get a solid mount. We still need to work on the clearance surround to get a nice gap but the headlights are in nice and will work perfect. They will need to be adjusted before mounting the front fascia for the last time after paint/build.

Project sponsored by CJ Pony Parts

Attachments

  • 13 - 8.jpg
    13 - 8.jpg
    373 KB · Views: 519
  • 13 - 7.jpg
    13 - 7.jpg
    377.9 KB · Views: 531
  • 13 - 5.jpg
    13 - 5.jpg
    340.3 KB · Views: 515
  • Like
Reactions: 1 user
Working the CDC front fascia in and getting the gaps and fitment right.

13 - 28.jpg 13 - 27.jpg 13 - 13.jpg 13 - 12.jpg

Sponsored project by CJ Pony Parts
  • Like
Reactions: 1 user
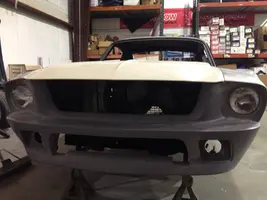
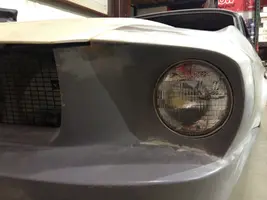
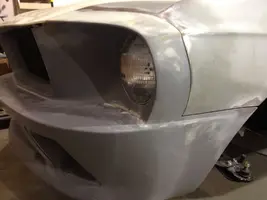
We installed the suspension into our project. We know it's early in the build but in order to gap the car correctly, we need to have it sitting on the ground on the suspension so the body is NOT flexed and in its natural position. Pictured is the rear end with the RRS rear brakes and rotors installed and the rear end installed into the dynacorn body.

rrs-watts-3link.JPG rrs-rear-brakes.JPG
  • Like
Reactions: 1 users
We have installed the CDC upper C sail panels and have started installing and gapping the rear fascia.

601181_10151552002813875_1452925498_n.jpg 559920_10151552002793875_138230733_n.jpg 886692_10151564777238875_259200851_o.jpg
  • Like
Reactions: 2 users