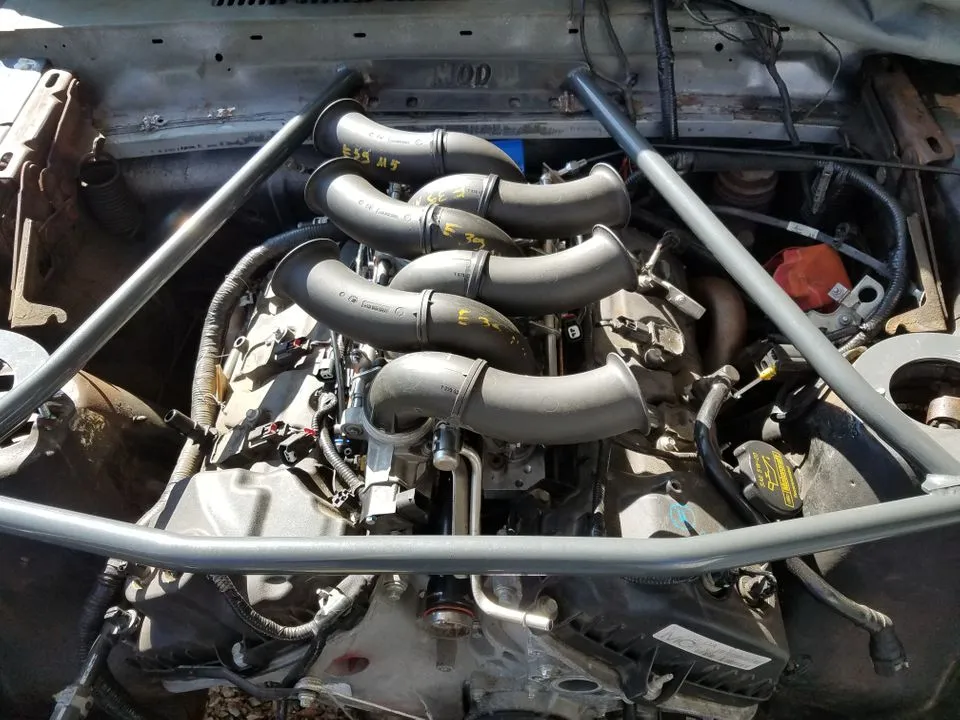
Progress Thread 1966 Mustang Coupe: Ford 3.7L swap

wicked93gs

15 Year Member
Sep 30, 2006
1,198
228
93
Nashville TN
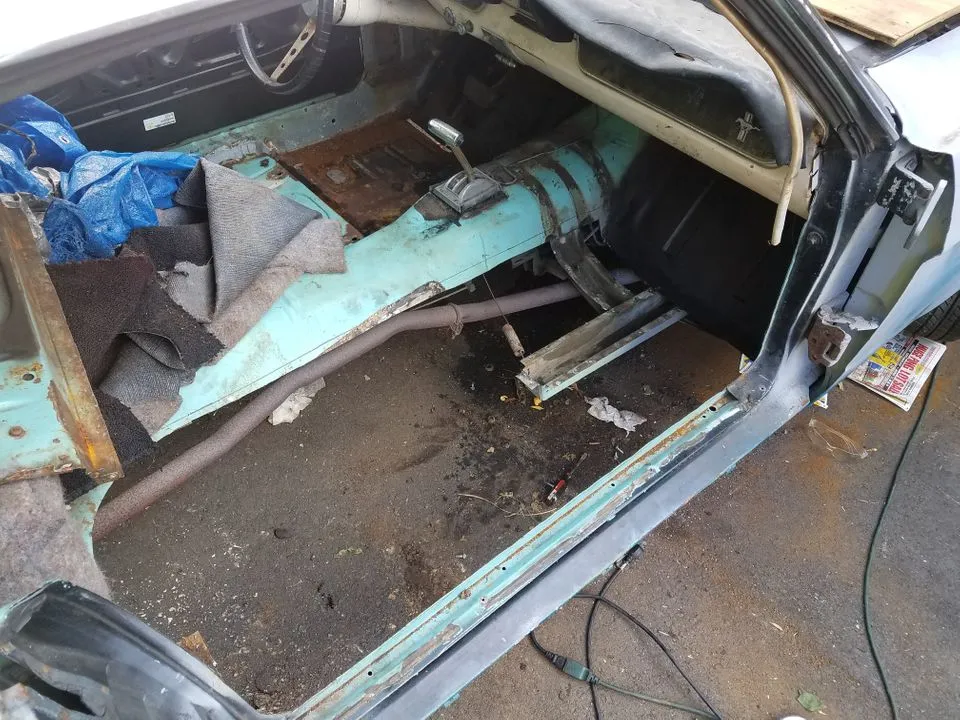
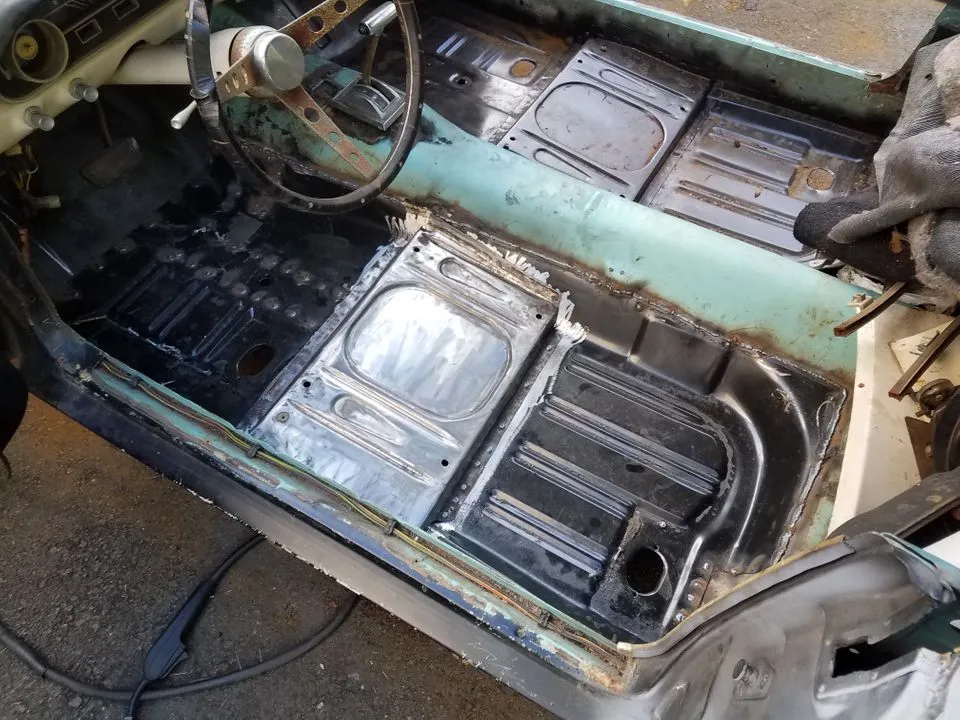
Since I have a real build thread over on Vintage Mustang, I wont post everything here, just a few highlights:
20190620_162939_002_zpsjiis1gln.webp


20190625_173221_zpsooeahbf7.webp


20190705_162731_zpssshlg5uo.webp


20190712_180937_zps2wrvpnim.webp


20190809_120119_zps7uhu2g2d.webp


20190828_133336_zpst1lwuj51.webp


20190903_114724_zpsecus4ogt.webp


20190911_130033_zpsldef1yql.webp


20191001_140016_zpsnqn5u49o.webp


20191015_163102_zpsethvmm58.webp


20191023_175325_zpsdnp32jdj.webp


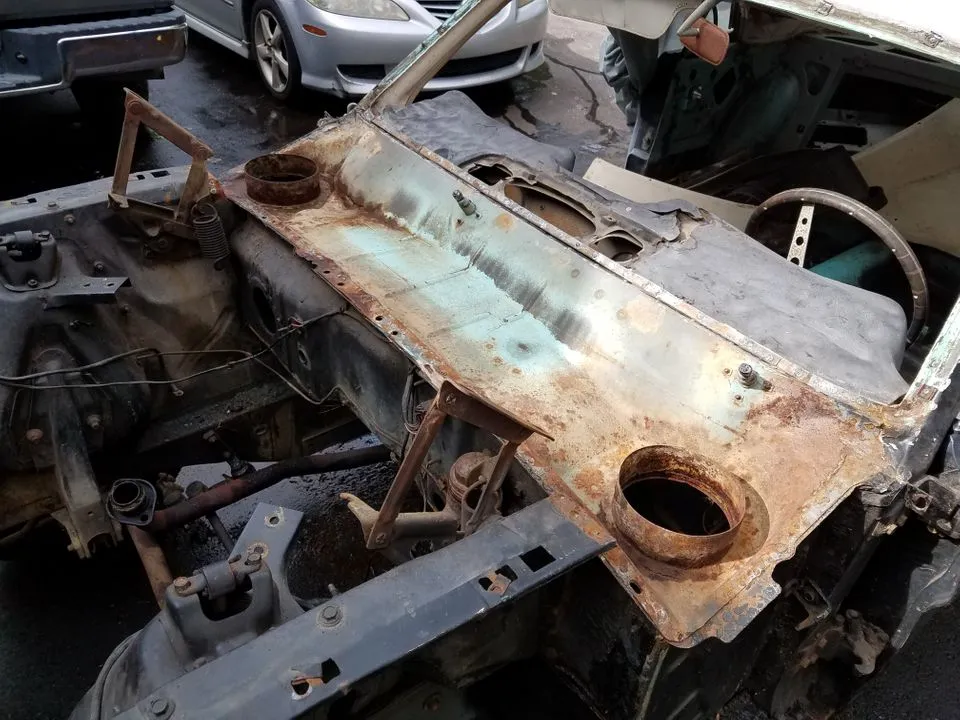
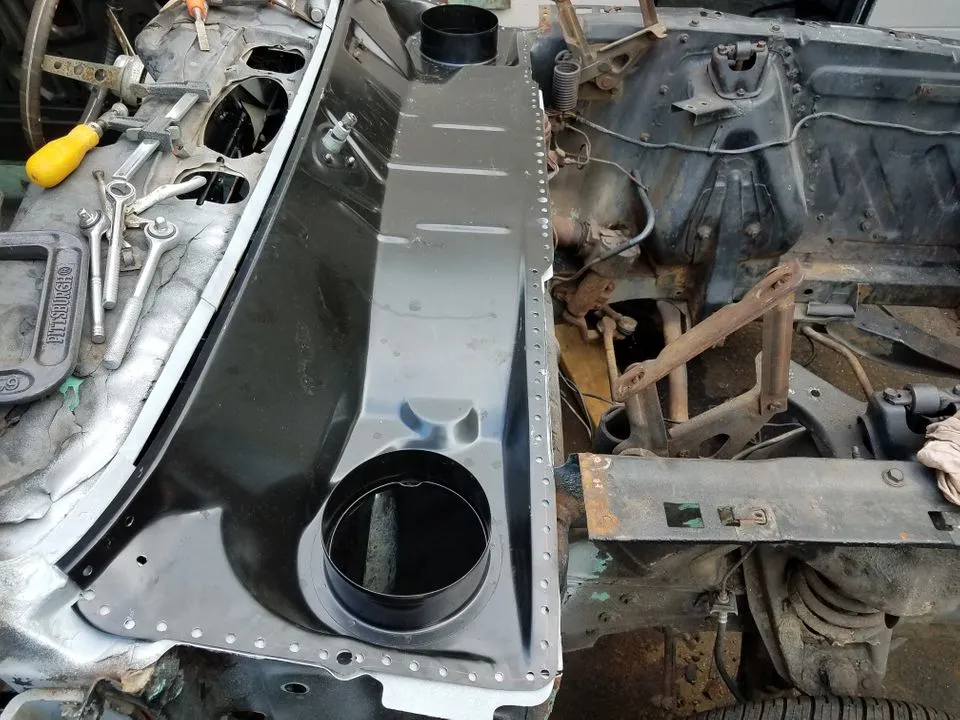
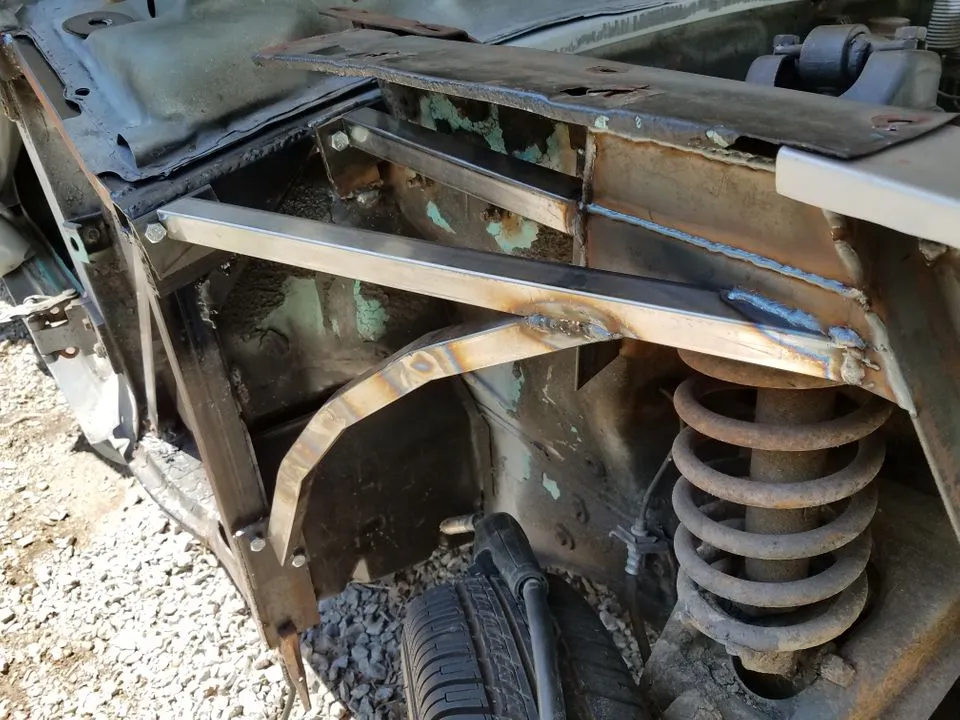
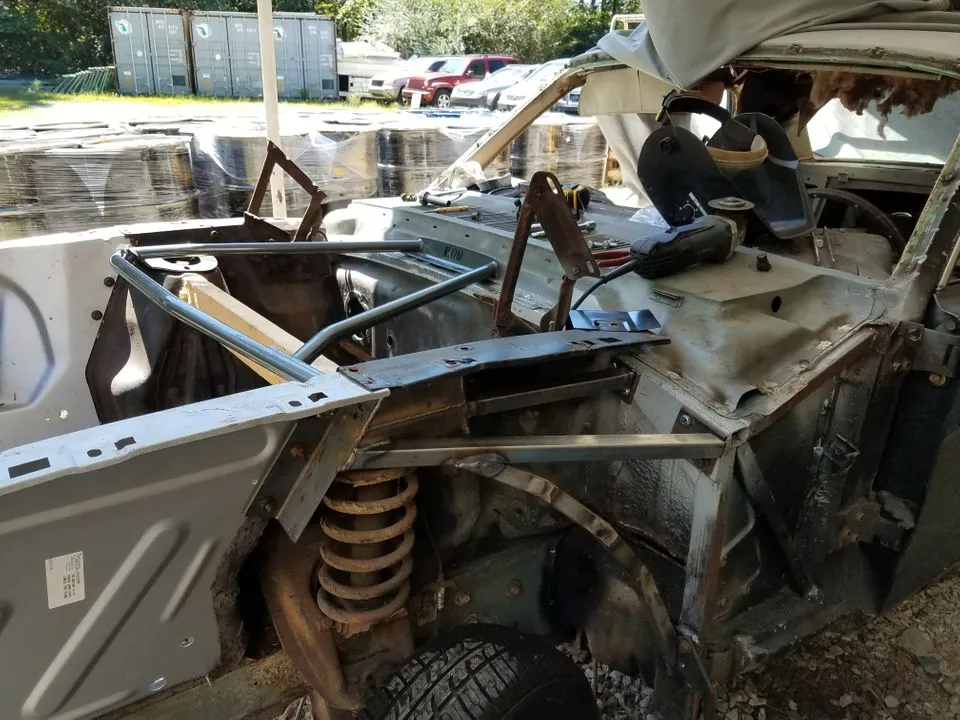
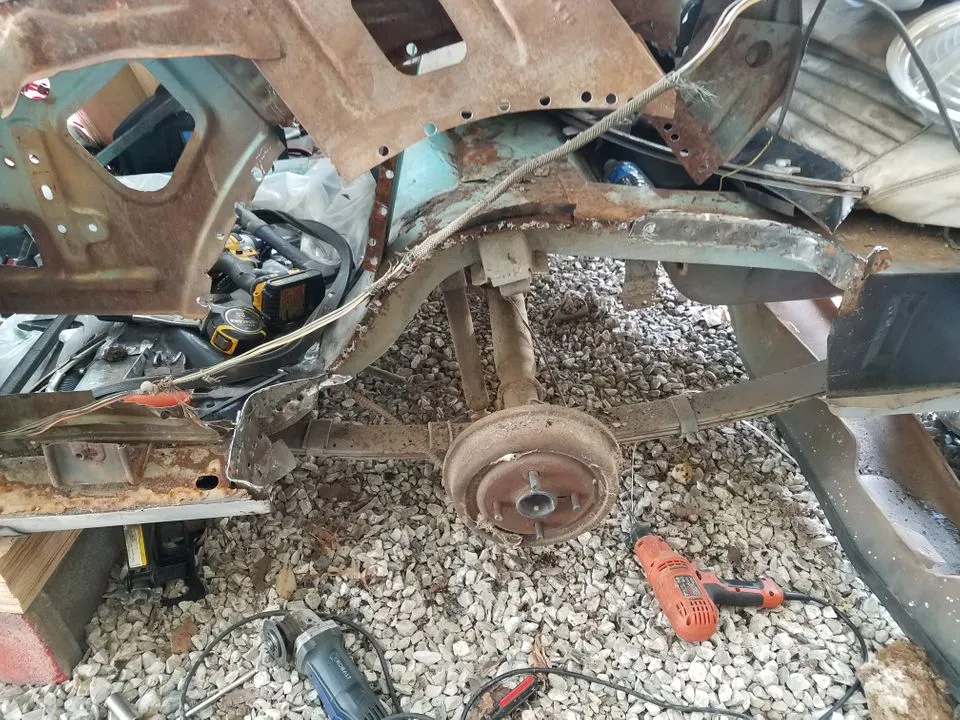
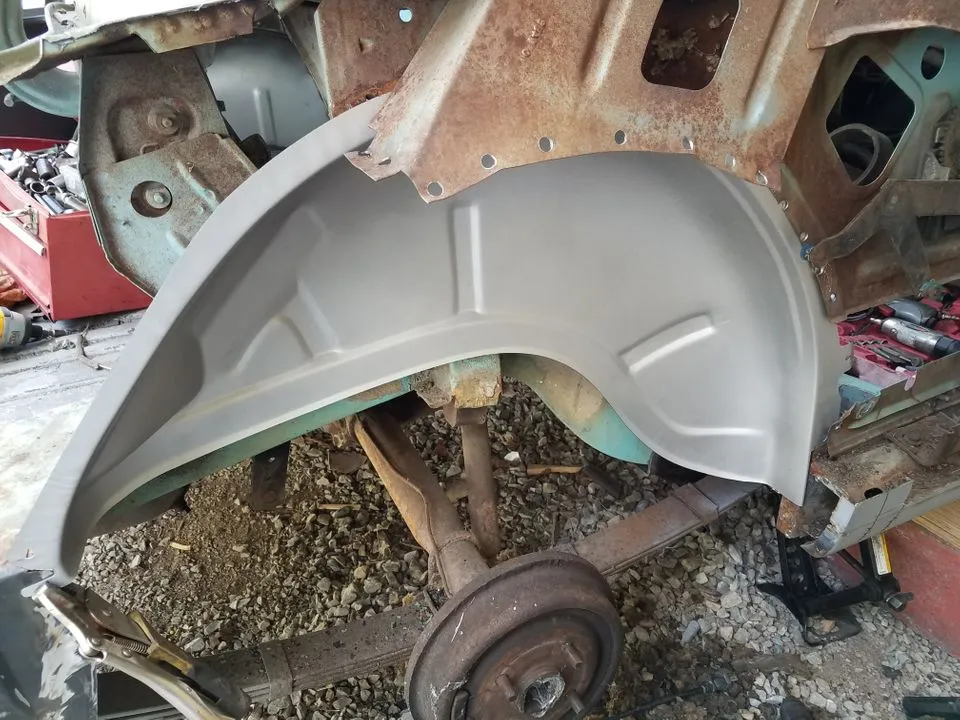
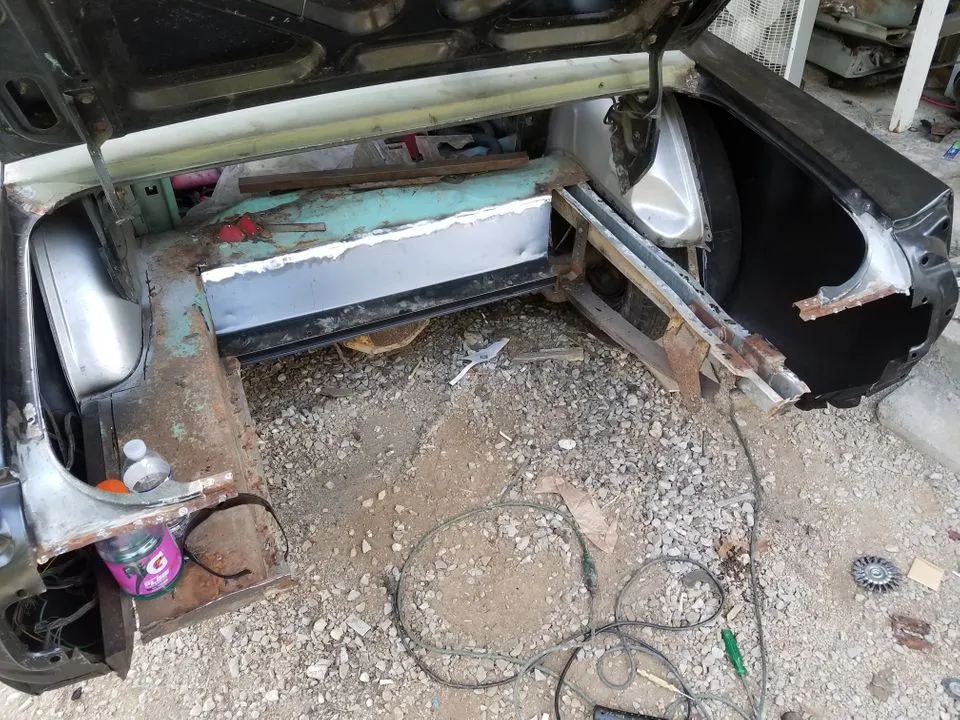
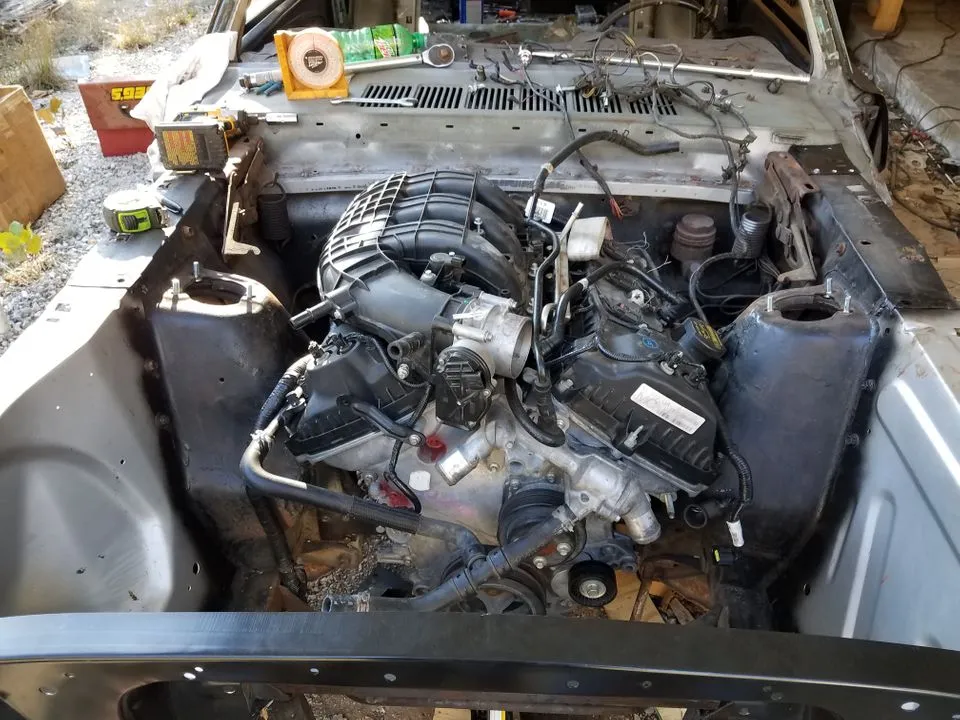
After a ton of rust repair and chassis stiffening....
20191102_153343_zpsumkxwx4i.webp


20191104_161443_zpsdafgsulb.webp


20191108_121019_zpstr7cse32.webp


20191109_142743_zpszwaror2s.webp


20200128_133901_zps2ttmpud6.webp


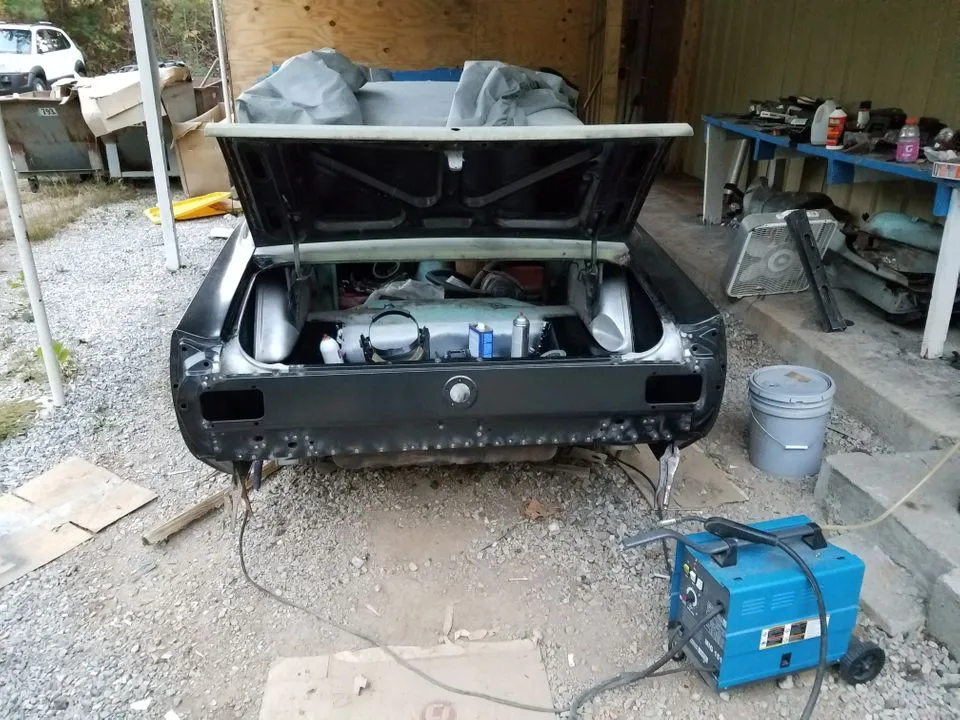
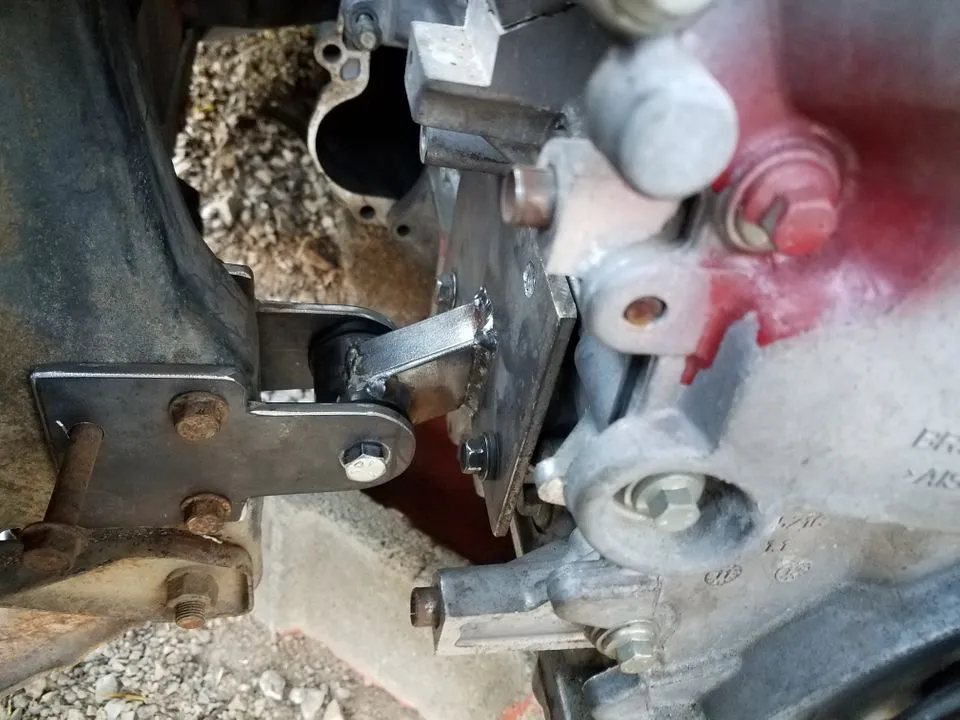
Some engine swap fab work...brings us up to date. Soon the car goes on the rotisserie for final metal work and body prep to be sandblasted and epoxy primed....then the project is all downhill from there(reassembly stage). Will likely do a quick and dirty temporary paint job just to be able to drive it while I save for a real paint job.
 
20200329_115406_zpsvmzec4do.webp


20200329_115415_zpsjw6qdhgf.webp


20200329_115423_zps9zvwkwwk.webp


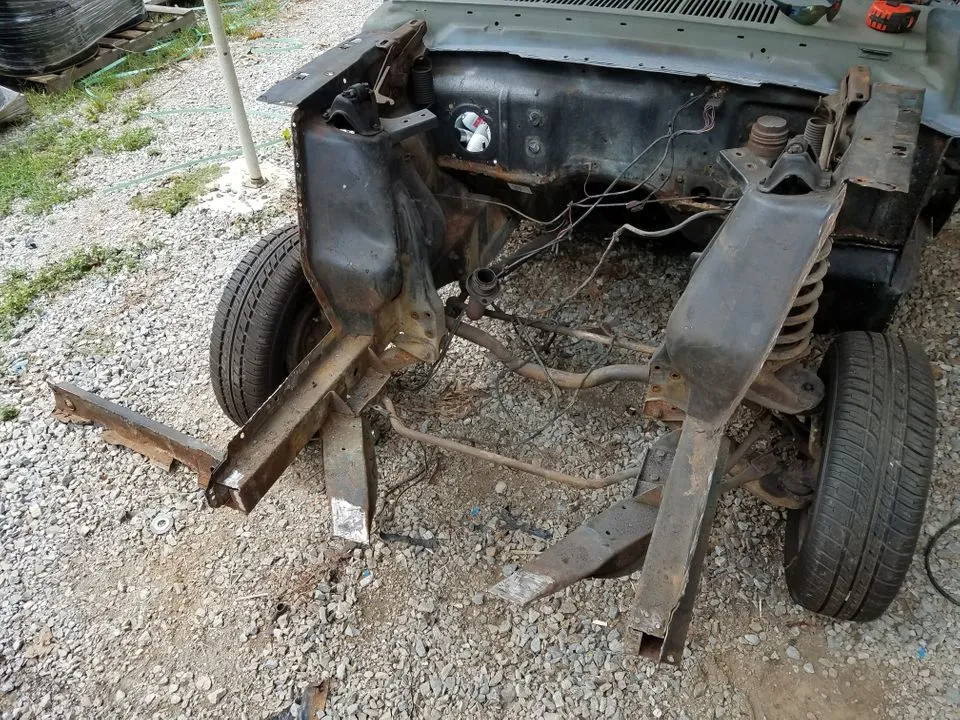
Finally got a break with the weather so I stripped it all down, ready to go on the rotisserie for final metalwork and blasting/epoxy primer and paint prep. I do still have to make rotisserie attachment brackets and fix one bumper bracket hole, but with luck should have it off the ground by next week.
 
Nice build! Do you have a link to the full build thread on the other site?

I do:


It has a lot more details and pictures
 
  • Like
Reactions: Olivethefet
20200411_110742_zpsbdsxprcf.webp


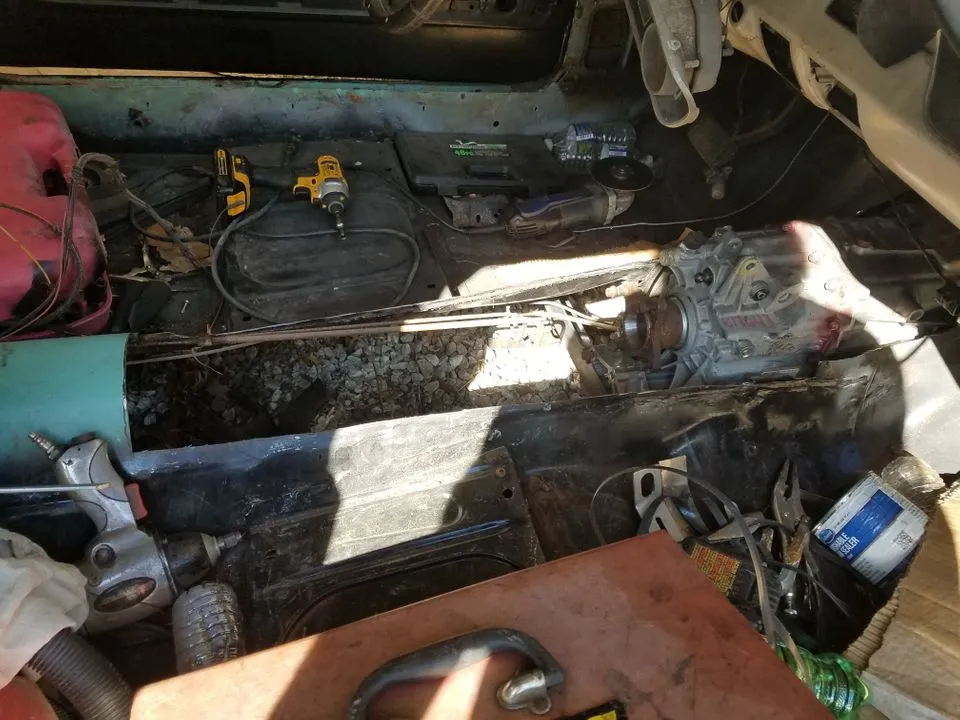
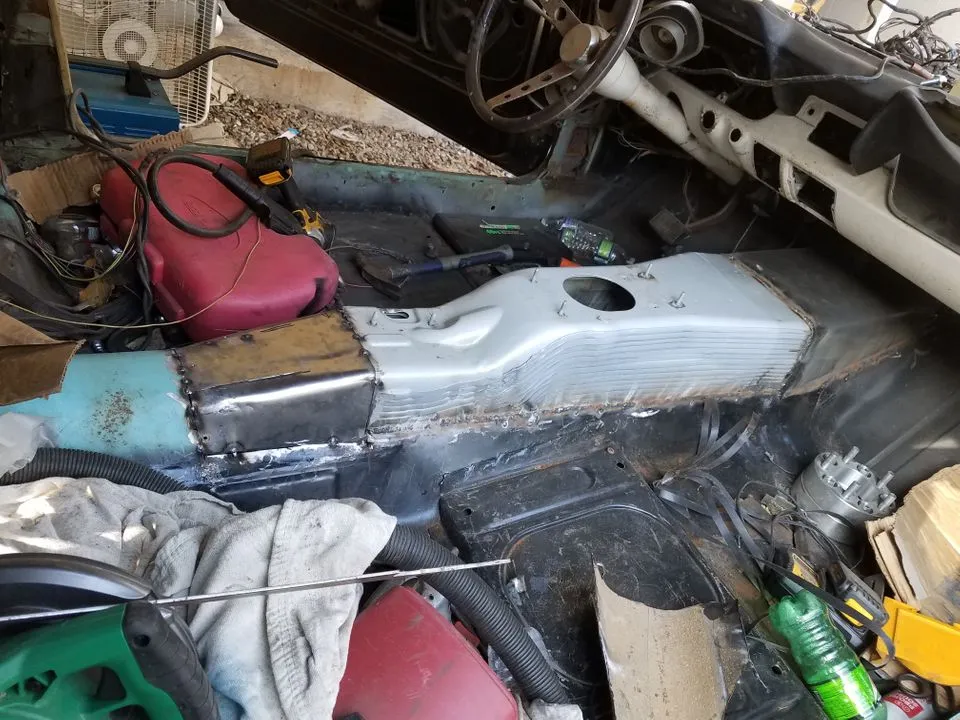
Did a little work prepping what remains of the trans tunnel support, trimmed it down and will seal it up, maximizing the room in the tunnel...the MT82 is a fairly large bodied trans....also ended up having to notch the bottom portion for clearance around the header collector on that side.

20200411_123102_zpsxehxbv2o.webp


Then I got bored and did some work on the velocity stacks......Here we have a v-band flange welded to the bellmouth. This allows me a lot of versatility in velocity stack design...I can swap out longer velocity stacks in just a few minutes, I can bolt on a true air box, or a filtered setup in the same amount of time...or I can even bolt on a box built for boost...v-band flanges and gaskets are awesome like that....but these stacks are visible...had to get rid of the weld bead, but I didnt have a lathe....so I built a backyard substitute:

20200411_123140_zps6mleebyu.webp


20200411_123215_zpsjvs0qeqp.webp


Amazing what you can do with a drill, a chisel and some sandpaper no?
 
Minor things hardly work mentioning, made some torque box gussets because I didnt feel like buying them, various minor metal work making patches for anywhere that needed them(like the trans crossmember after cutting it down), running another weld bead on the floor pan patches underneath and grinding it down to prep for the bodywork needed to make it look like a one-piece floor pan, things like that. Really only have 3 things left before I start sandblasting and primer/paint the undercarriage and interior:

1. Jacking rail installation(Global West finally decided to ship that just yesterday)
2. Installing a LCA camber kit from Street or Track(That should deliver today)
3. Fabricating and installing some rear seat belt anchors(evidently my '66 was really a late '65 and didn't come with them)

After that is sandblasting, body work for the floor pans and engine bay(along with any welding and grinding needed for that), primer and paint for non-exterior body panels. As for the engine, chances are I wont get back to that until the car is sitting on the ground again, but I will make sure to get it started and idling before re-installing it.
 
  • Like
Reactions: jikelly and kevbot
20200520_170206_zps2zqgout4.webp


Fitting the jacking rails for installation, before final welding though I need to get underneath them(or rather above them) and strip the paint, seam seal and epoxy primer because they tend to create all kinds of nooks and crannis I wont be able to sandblast and spray later on.
 
_nc_ohc=EQpB_hIRw90AX_Luple&_nc_ht=scontent-ort2-1.webp


_nc_ohc=wnOtoSOYunoAX9ZcvzU&_nc_ht=scontent-ort2-1.webp


After 4 months in the air, its finally back on the ground...even if I am rolling it around on the rusty old 4-lug stuff till I order SoT front suspension. Rear suspension got new 4.5 leaf mid-eyes, new shackles, new shocks...and the '05 v6 wheels bolted on. Hoping the rear comes down a bit once the car is loaded down and it settles. Also ended up cutting 2 cols out of the stock I6 front springs....because it made re-assembly faster than stopping and going to get a spring compressor....lol

_nc_ohc=2BcHDGu8y5oAX8iD_iq&_nc_ht=scontent-ort2-1.webp


This is almost ready to go in...needs a good cleaning. I need to get the shifter installed, remove the schrader valve from the fuel rail, drill it out and add return line fittings to the old schrader valve fitting, install the new front-sump oil pan pickup, reseal the oil pan, and do a final header interference check(for drivetrain components) and it should be ready to go...in other words, hope to have it in by the end of the week or so, then I can turn my focus to wiring and plumbing.
 
  • Like
Reactions: RaggedGT
nc_ohc=Clpf7H0jElUAX8CKGXc&_nc_ht=scontent.fcha1-1.webp


looking for a good place to put my remote oil filter...not finding it.

nc_ohc=A0vJFHg1Fe0AX9gy98O&_nc_ht=scontent.fcha1-1.webp


Yes, I decided to embrace the orange-peel paint instead of sanding down and respraying the engine bay, it works for the industrial look I want, although I may well sand it down and repaint next time I have the engine out.

nc_ohc=E-49Mh3UE7kAX-G5TAD&_nc_ht=scontent.fcha1-1.webp


Anyone have a 3" cowl hood laying around they want to get rid of?
 
  • Like
Reactions: jikelly
Impressive Build! I'm nearly "done" with a 1998 Cobra conversion. I should post my build, it's a fun read.

I don't have to many pics of the bracket, but I cocked my oil filter at an angle and made a bracket to locate it under the radiator. The cooler lines go around to the factory Cobra oil cooler. I have put about 1,840 feet on the build so far and it seems to be holding up :jester:
OIL FILTER.webp

OIL FILTER 2.webp