More Progress Pics

VibrantRedGT

"STANGNET'S PENGUIN SMACKER"
15 Year Member
Nov 29, 1999
14,679
424
154
Boca Raton, Florida
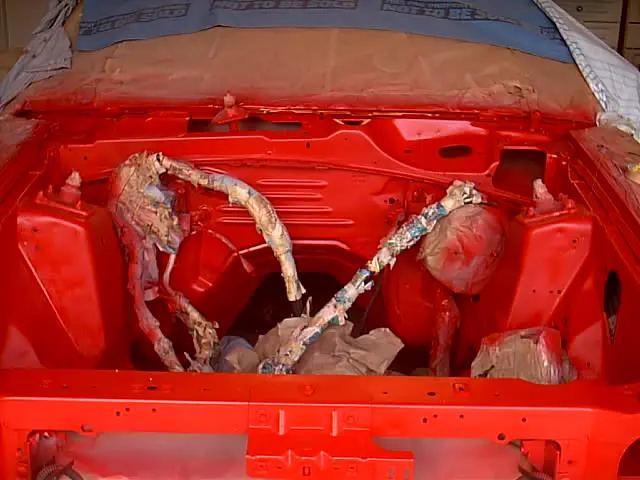
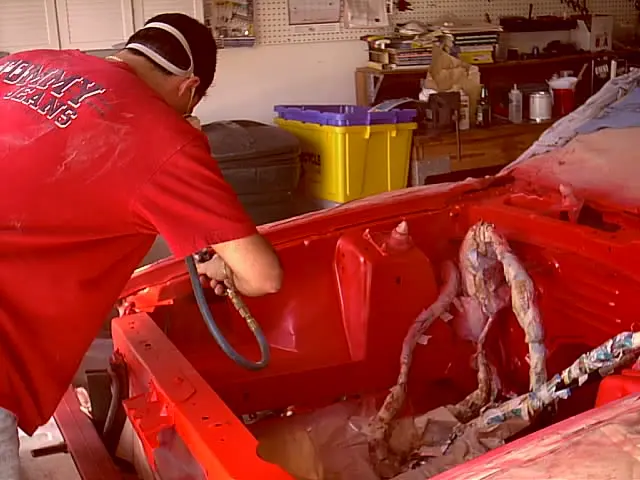
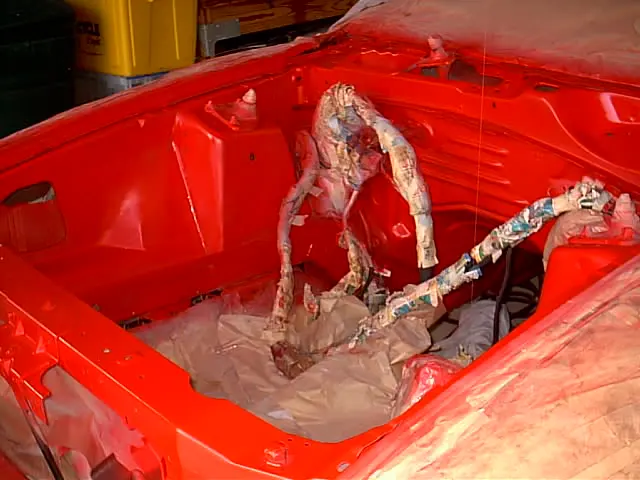
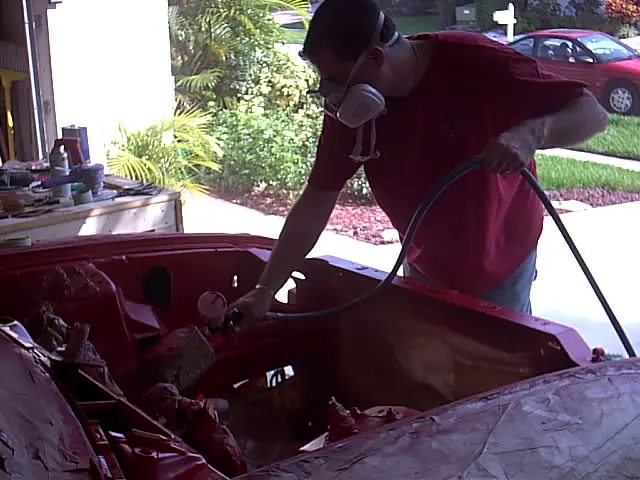
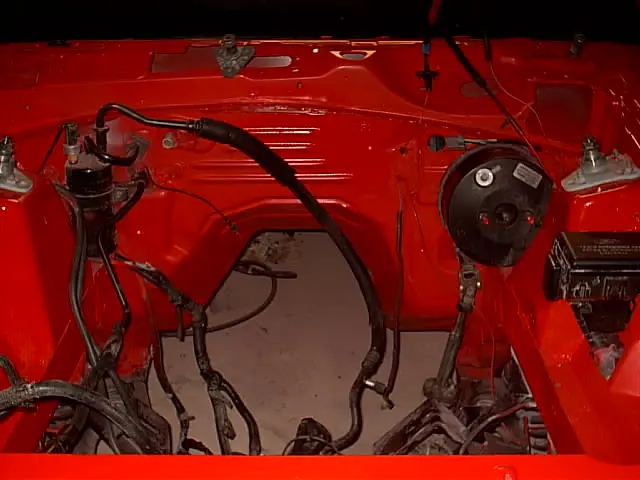
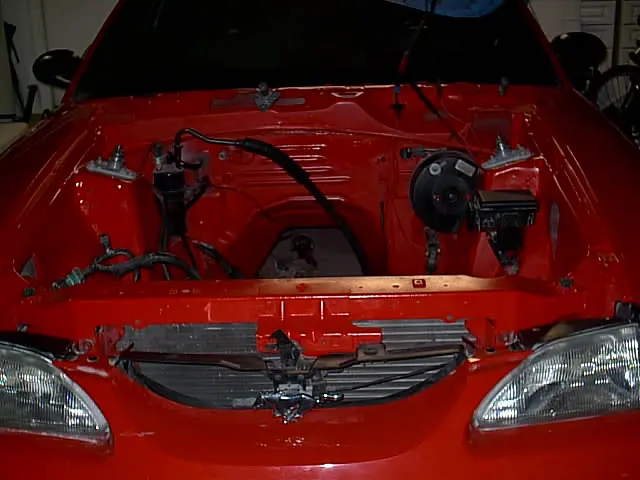
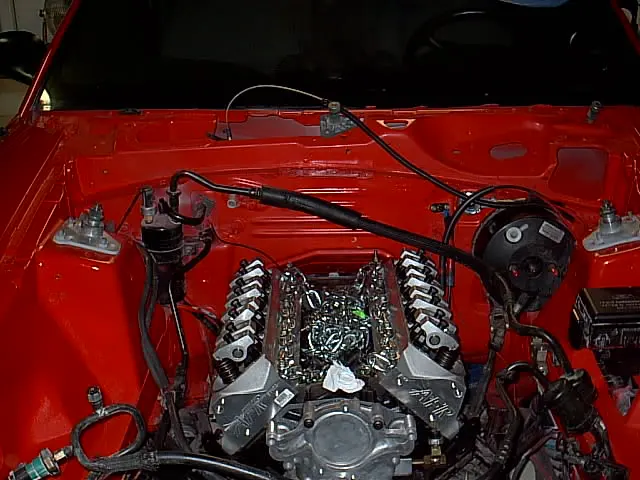
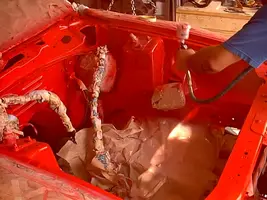
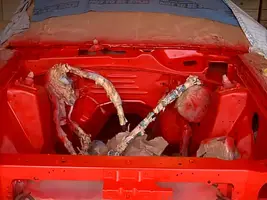
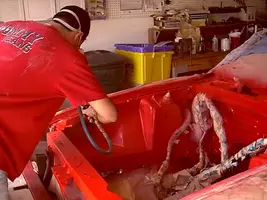
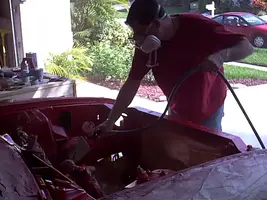
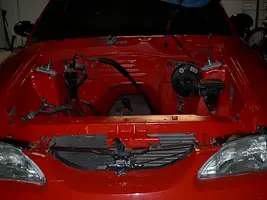
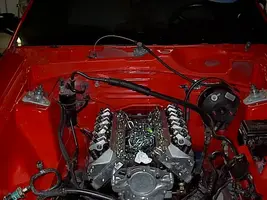
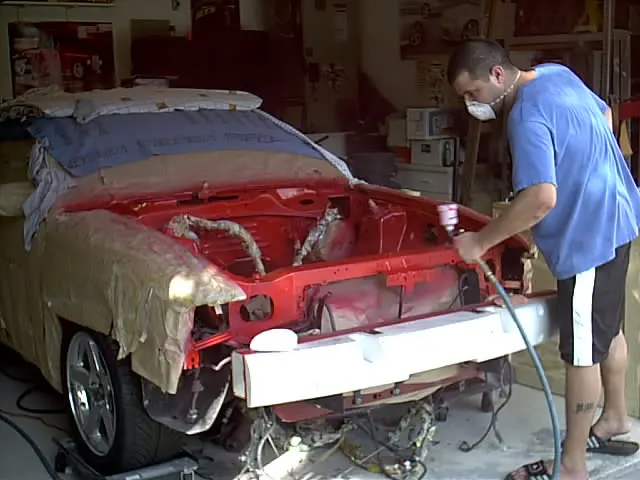
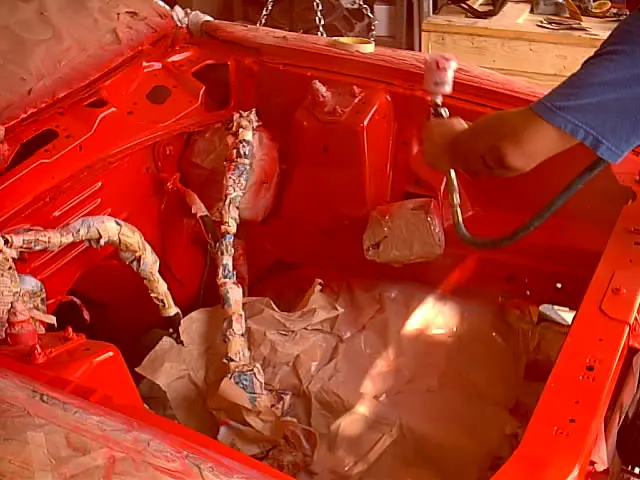
Rog and I put in a 15 hour day yesterday. I didn't want to put in the motor in the paint basically wet but I was convinced by 4 other people.
VibPaintingRog.webp


VibPaintingMe.webp


VibRedComplete.webp


VibRedJoe1.webp


VibRedCompleteSide.webp


VibRedMePainting.webp


VibRedUnveiled.webp


VibRedtogether.webp


VibRedwithMotor.webp
 

Attachments

  • VibPaintingRog.webp
    VibPaintingRog.webp
    30.2 KB · Views: 110
  • VibPaintingMe.webp
    VibPaintingMe.webp
    35.4 KB · Views: 120
  • VibRedComplete.webp
    VibRedComplete.webp
    29.7 KB · Views: 99
  • VibRedJoe1.webp
    VibRedJoe1.webp
    33.5 KB · Views: 99
  • VibRedCompleteSide.webp
    VibRedCompleteSide.webp
    32 KB · Views: 104
  • VibRedMePainting.webp
    VibRedMePainting.webp
    35.8 KB · Views: 96
  • VibRedUnveiled.webp
    VibRedUnveiled.webp
    24.6 KB · Views: 113
  • VibRedtogether.webp
    VibRedtogether.webp
    26.9 KB · Views: 98
  • VibRedwithMotor.webp
    VibRedwithMotor.webp
    42.4 KB · Views: 111
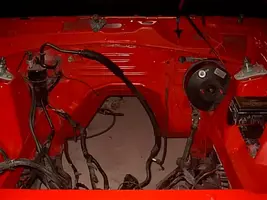
it was one step ppg paint so the clearcoat was already in it. what you see in the pics with everything uncovered is 3 coats. after the 3rd coat, the gloss really started to show. as far as the bodywork goes, i cant even tell you how much time was spent using bondo, priming, and wet sanding. the worst part is, it still wasnt anywhere near perfect. we could have easily spent another few days just prepping for the actual paint. (being a perfectionist sucks sometimes). we finally just decided to spray since most of the imperfections were in spots you wont ever see (in the tranny tunnel and under the battery tray). and to those people that doubted it, we put it back in with the tranny attached. the only thing that made it a bit difficult was the reduced clearance because of the canton 7qt oil pan. ;)
 
looks great

i pulled my motor and tranny at the same time and also dropped it back in with the tranny attached, wasnt bad at all, went pretty smoothly

also i never removed the drive shaft :eek: (couldnt get the rear bolts off) was a little tricky getting it all lined up but we did it with 2 people
 
Well after inspecting it during the day it seems I have much touch up to do. We banged the firewall in a couple of spots and if you look in the last pic behind evaporator the primer is visible. The clear coat looks a bit hazy in spots. Guess I got more work to do.

I made a mistake when we put the motor in. When using stock motor mounts on the QA1 K-member the instructions state that the tabs must be grinded off. Take a guess as to when I realized this. Let this be a lesson to those that are planning to do this.

The valve covers arrived today (AFM Steel Chrome Dipped). The motor itself won't make 400HP to the wheels. The compression is not high enough and the cam is a medium grind.