My Door Handle And Key Cylinder Install

Grabbin' Asphalt

10 Year Member
Jun 10, 2013
2,029
310
124
Atlanta, Ga
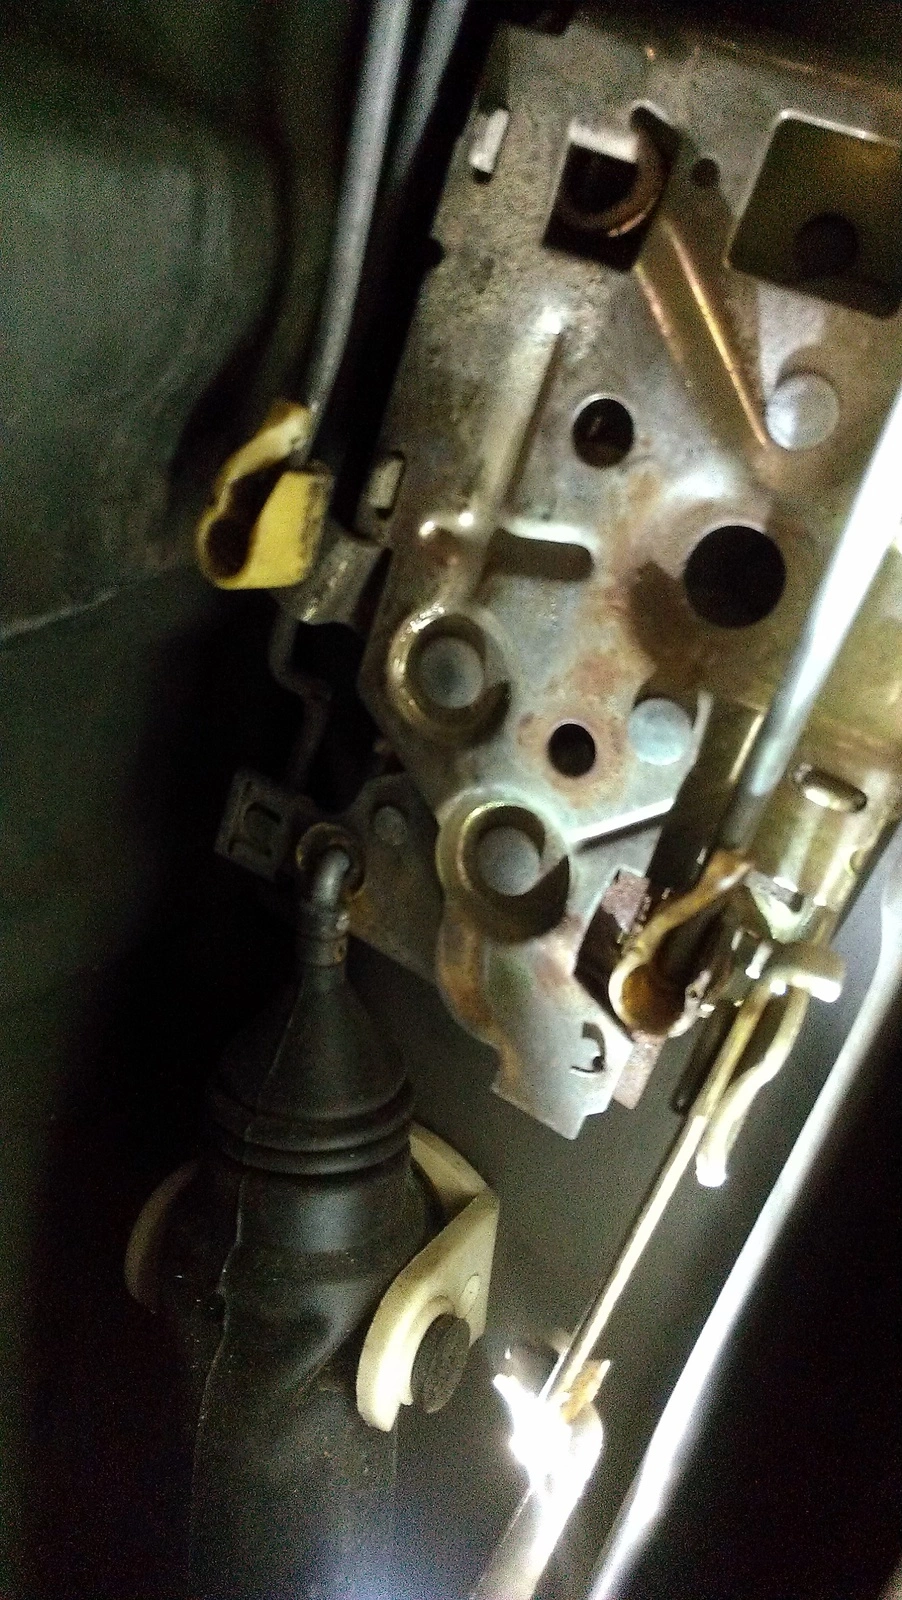
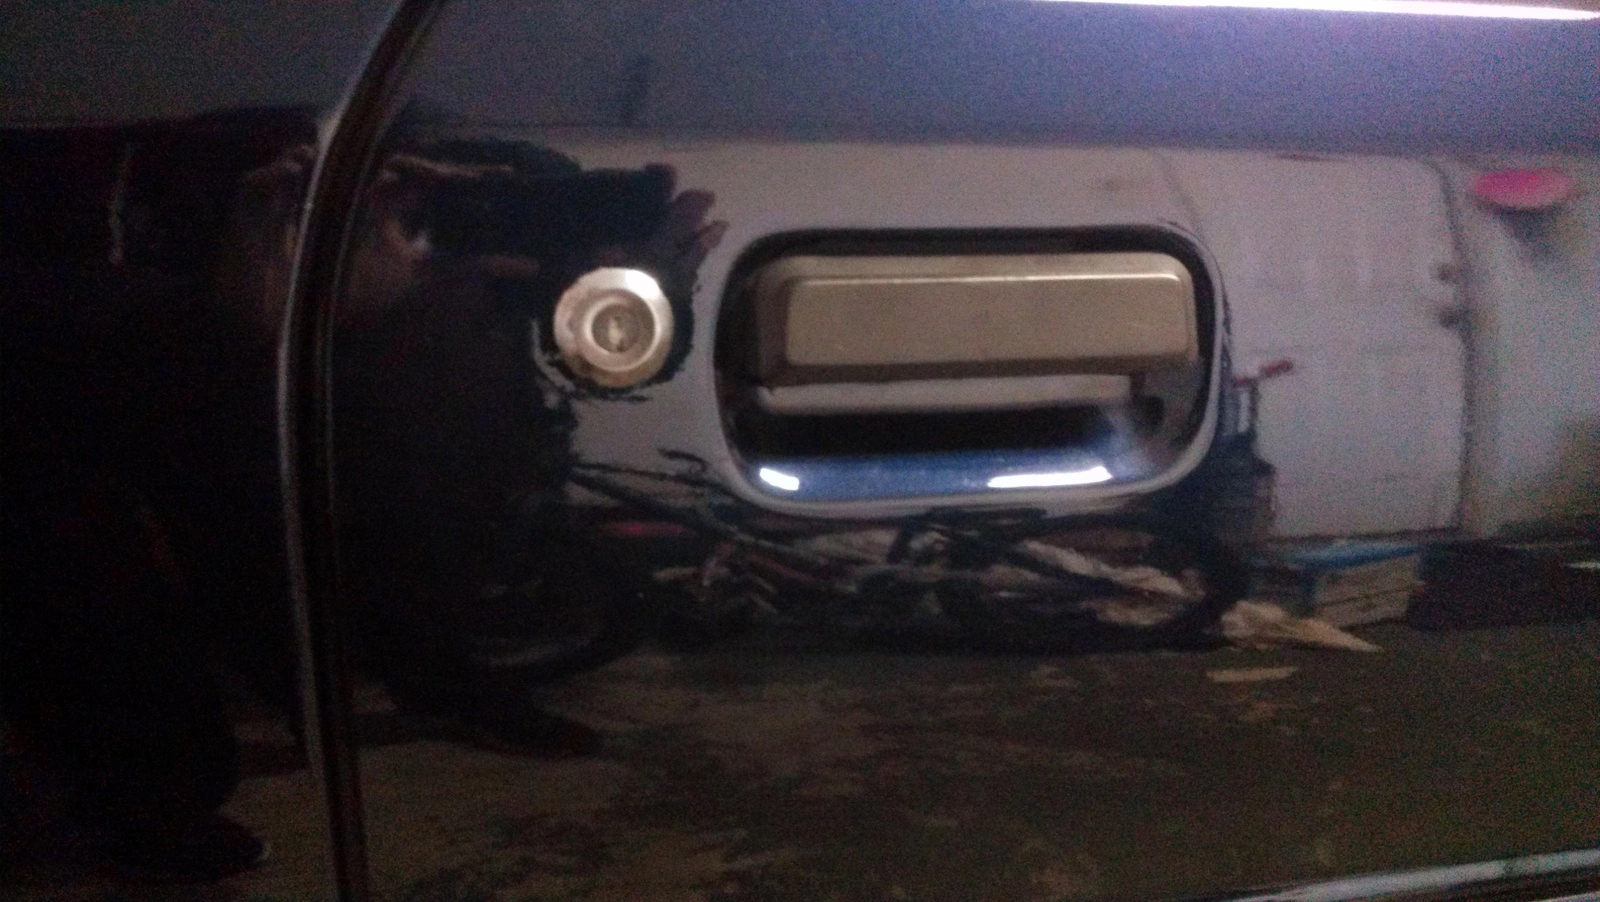
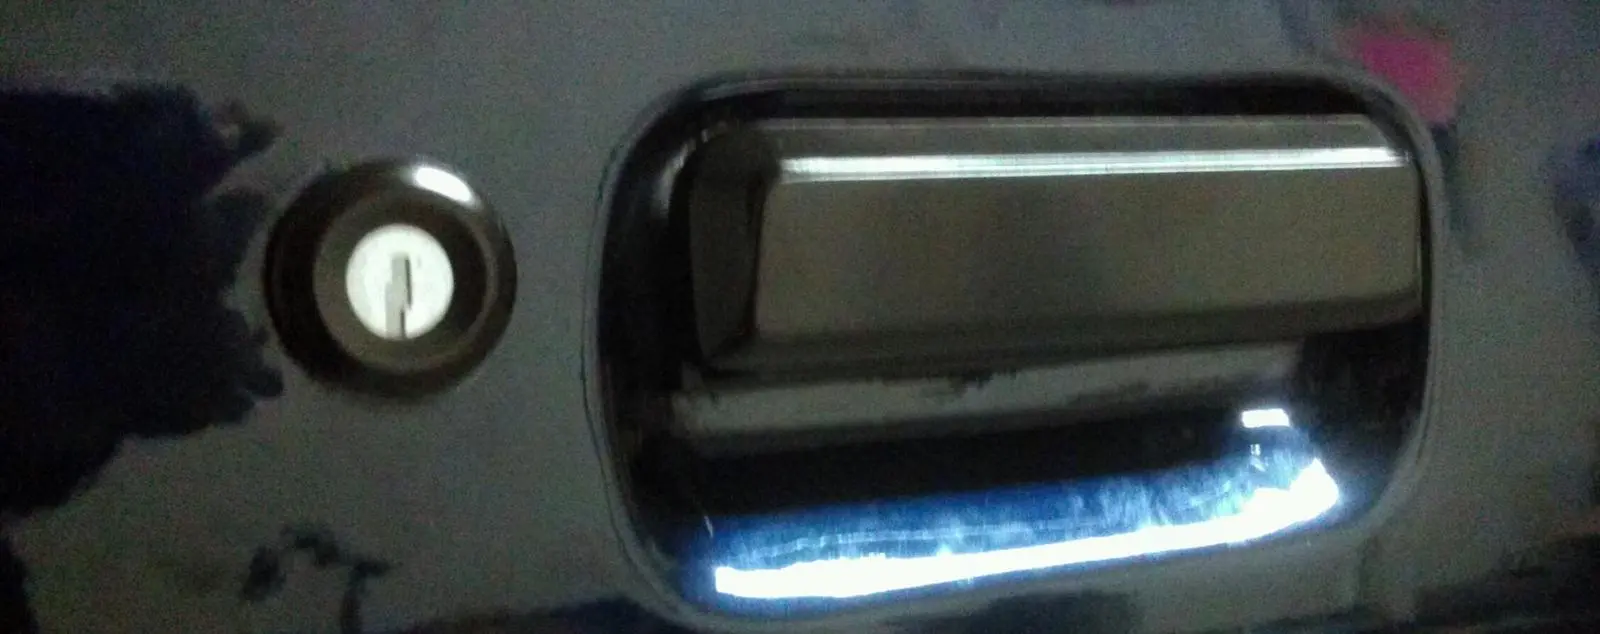
So my door handles and key cylinders took a dump, both different on each side. So while I was there fixing one I just did it all. Added the steel door handles and went with the black trim key holes, I'll probably paint the center part later.

First pic is the old set.
Second is the new set.
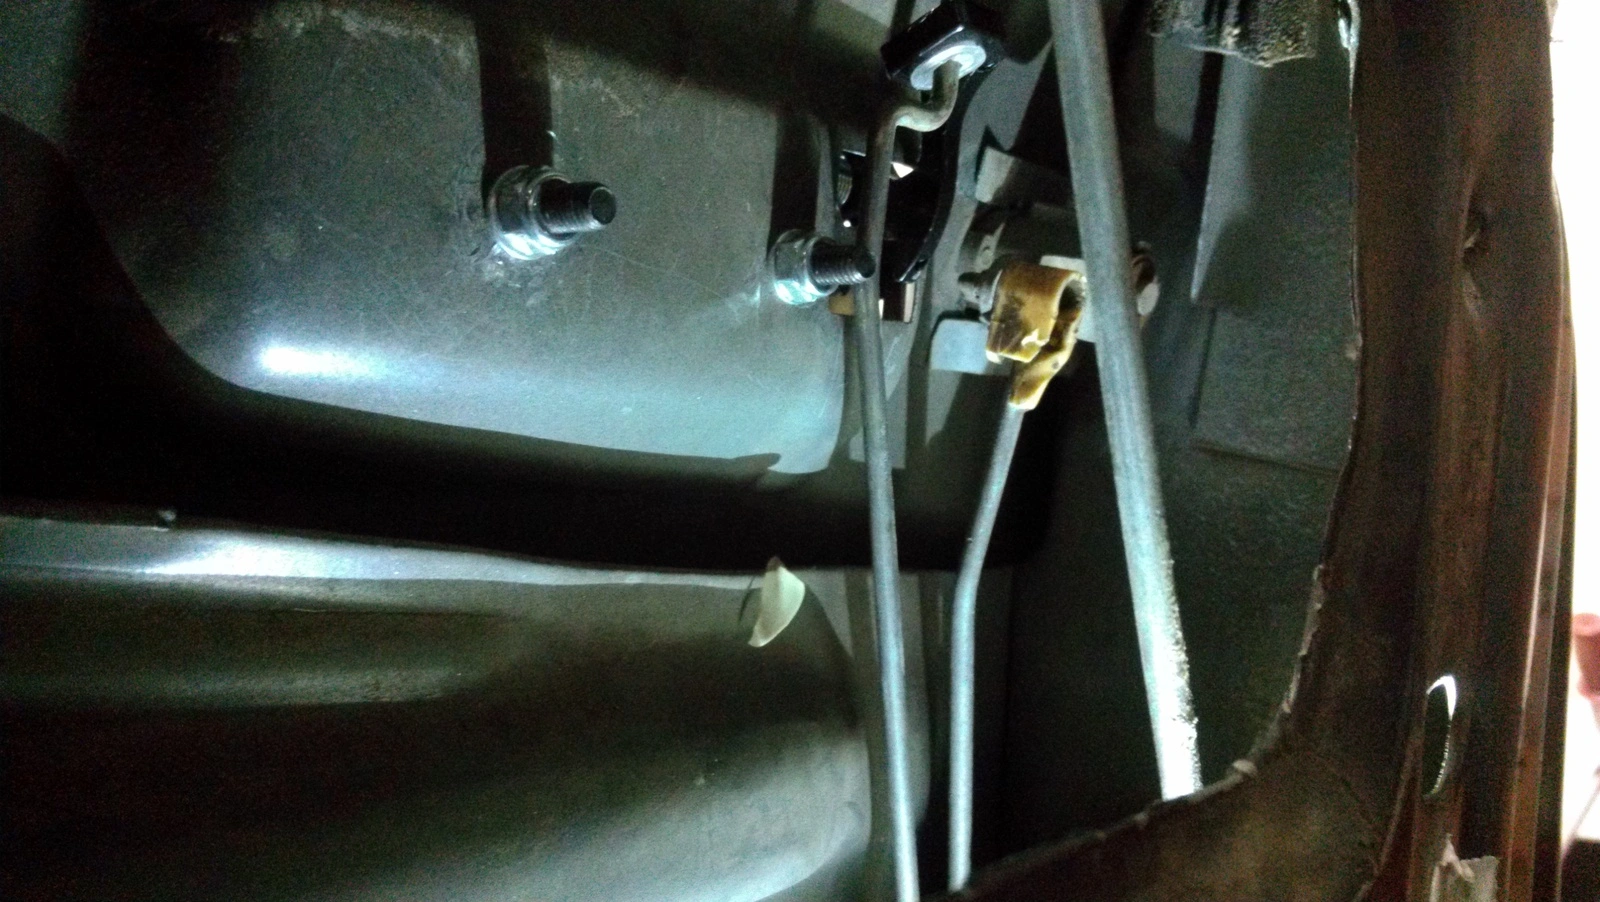
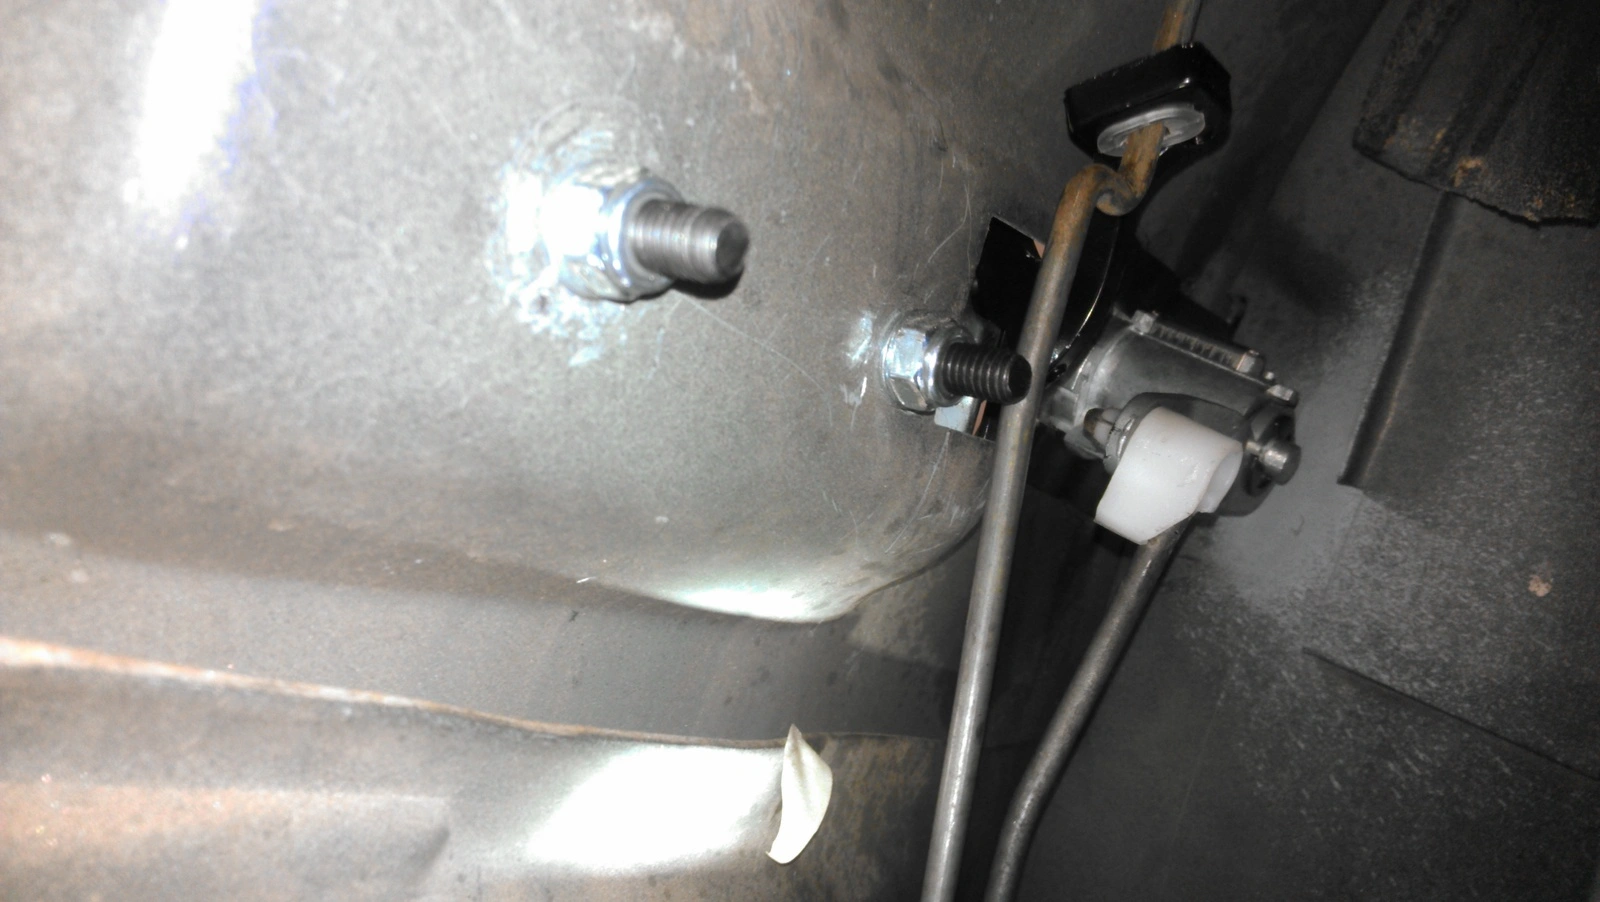
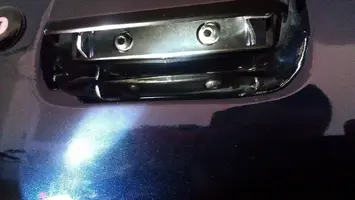
Third shows the handle lock nuts with the #6 metric allen bolts installed.
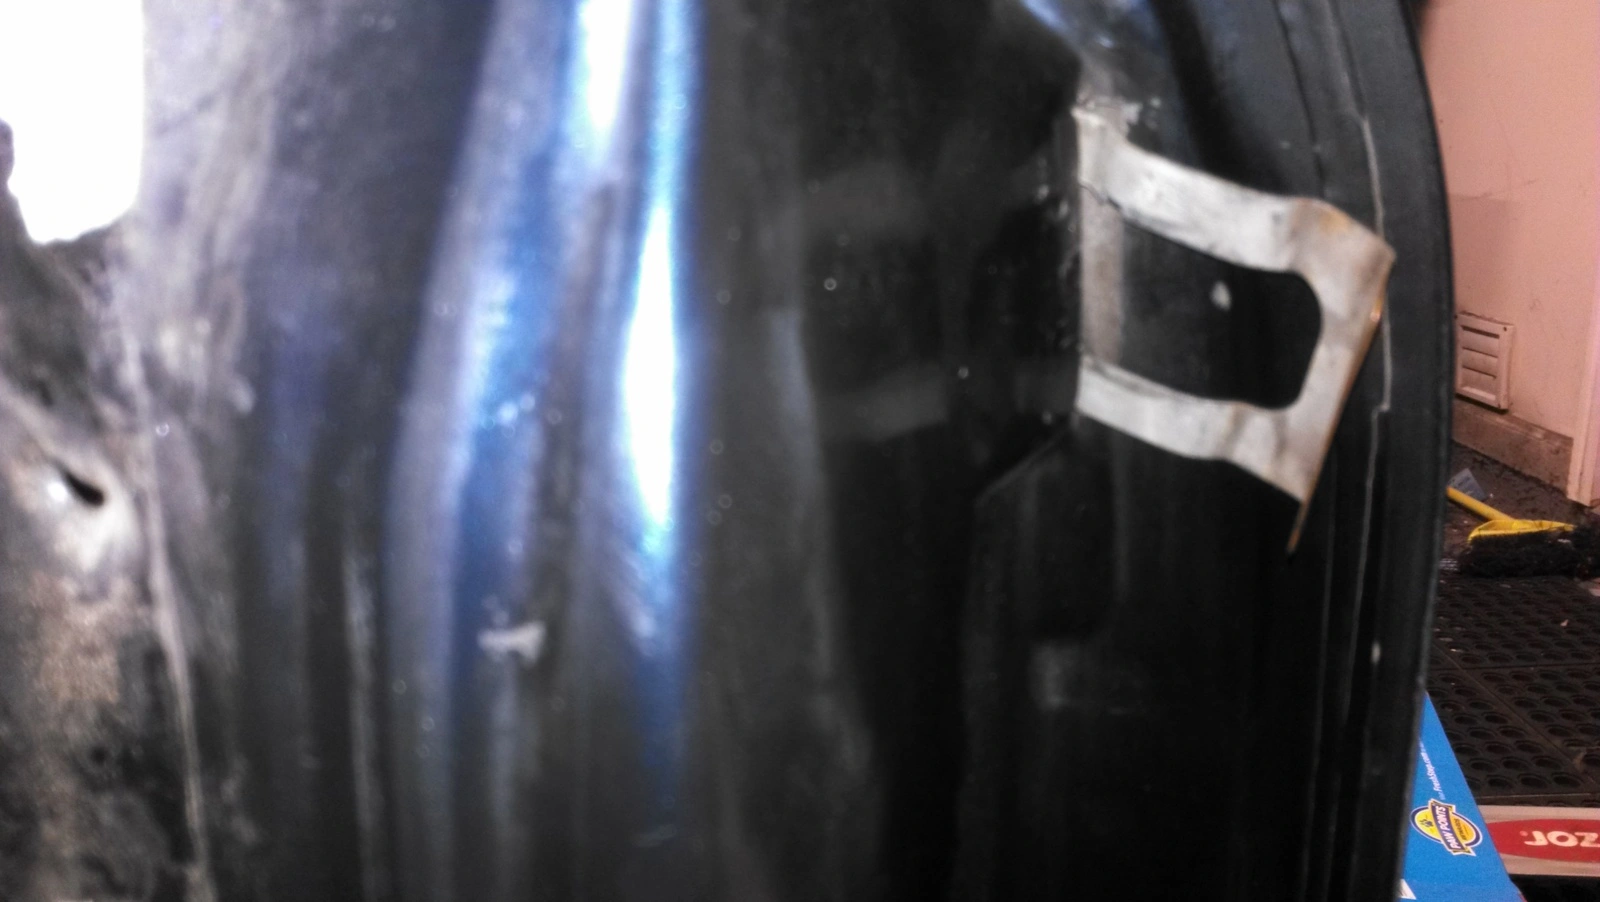
Fourth and Fifth is the lock cylinder tab that simply is pulls out, lever it out.
Sixth is the new cylinder installed.
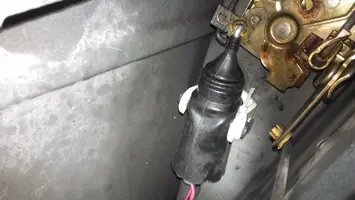
Seventh is the locking mech and power door lock layout.
Eight is a tie strap around the right side of the power door lock. They are known to fall out of the openings at the bottom or be pulled up if bracket is flipped. Sure enough it came out when a little wd40 was sprayed on the old locking mech when i pushed the door lock buttons a couple times. Saved me from some trouble later.
****added a pic of the #6 metric allen bolt heads under the door handle
lower in the thread.
*****added the trunk cylinder pics install at the bottom of the thread.
****added the glove box cylinder with pics
IMAG0940.webp
IMAG0953-1.webp
IMAG0941.webp
IMAG0944.webp
IMAG0945.webp
IMAG0949.webp
IMAG0942.webp
 

Attachments

  • IMAG0951.webp
    IMAG0951.webp
    312.2 KB · Views: 311
  • IMAG0954.webp
    IMAG0954.webp
    648.2 KB · Views: 273
Last edited:
Nice job, gotta love pot metal door handles i remember having to hunt down that bigA rivet gun... whose actuators did you get? need to get some... i read a thread that really didnt like LMR's Are yours showing enough "power" to easily move the assembly?
 
I wish I would have thought of using bolts/nuts when I did mine last summer. I just used the rivets but the original rivets were a PITA to get out. It will be much easier for you to remove the nuts if you ever have to take them off again. Good idea.
 
  • Like
Reactions: Grabbin' Asphalt
Would WD-40 (or similar) keep the locks from freezing in cold weather? Or doesn't it matter. This is the 1st "old" car I've had in awhile. I forgot how annoying it is when I can't get into my car on some mornings.
 
Would WD-40 (or similar) keep the locks from freezing in cold weather? Or doesn't it matter. This is the 1st "old" car I've had in awhile. I forgot how annoying it is when I can't get into my car on some mornings.
I always try and leave them unlocked during cold temps because of that. Not sure if thw wd40 helps with that, but it couldn't hurt. The wd40 made a Huge difference in lever lift at the door handle when I sprayed the lock mech. When the door is open spray inside the lock striker and springs and it was night and day difference. They make a de-icer spray but you spray it in the lock cylinder I think.
 
I wish I would have thought of using bolts/nuts when I did mine last summer. I just used the rivets but the original rivets were a PITA to get out. It will be much easier for you to remove the nuts if you ever have to take them off again. Good idea.
The more I think about it, the more I'm glad I didn't find the big size rivet gun at the big home improvement stores, none carried them.
 
Great info Grabbin'. This will come in handy when I need to put all the junk back in my doors. LRS sells the rivet gun that they used in the video. I bought it and it worked great to attach the headlight panel to my front bumper. I think Harbor Freight sells the same gun.
 
  • Like
Reactions: Grabbin' Asphalt
IMAG0956.webp
IMAG0957.webp
IMAG0958.webp
IMAG0959.webp
IMAG0963.webp


So I just finished the trunk, took about 2min and the easiest of them all.
1. Drill out the rivet on the underside lock plate.
2. Slide out the plate.
3. use your key inside the old cylinder to pull it out.
4. Swap out the hook lever to the new cylinder
5. use new key inside new cylinder to slide it back in and not chip the paint.
6. Slide the plate back on and add a allen screw or whatever screw, bolt you like.
 
So my last one is the glove box and they'll be all on one key.

1. Remove the 2 screws on the two outer tabs to detach the entire glove box, then remove the 3 screws on the inside of the box and the 3 screws on the bottom to remove the cover as shown first 2 pics.
2. Remove the 2 screws holding the assembly.
IMAG0965.webp
IMAG0966.webp
IMAG0967.webp
VIDEO0036_0000005191-1.webp
IMAG0973.webp
IMAG0974.webp

3. Push in the farthest tumbler tab to release old cylinder and push it through from the back outward.
4. Line up the new tumbler and push in the last tumbler tab to start the insertion. It will lock on the backside from that gold tumbler tab. Notice in the two assembly pics the orientation of the round nub stud as the tumbler spins. All it does is push the open slot row tab left and right engaging to the exterior glove box lever. pics soon
 
Last edited: