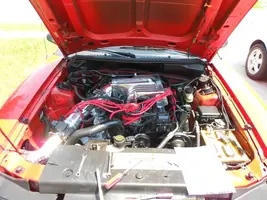
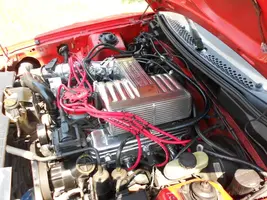
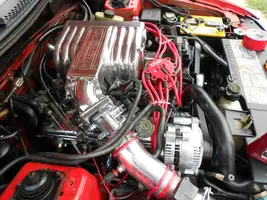
project clean up engine bay and trip to the polisher

already did valve covers, and next is the alt,elbow,upper exploder intake,throttle body, maf, cold air kit, i will post pics of updates over the next couple days. i will be getting rid of the over spray from the strut tower brace being painted while still on the car, and trying to get all of the engine bay cleaned up, i painted the alt bracket already and will have them all powdercoated when i take them all off for my h/c install this winter

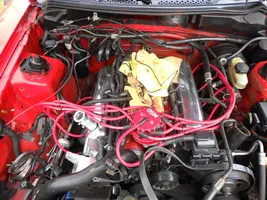
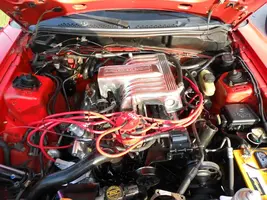
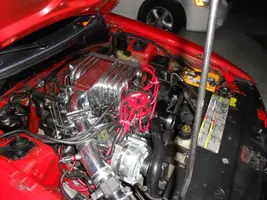
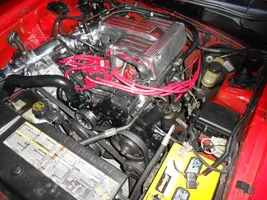
here is engine now
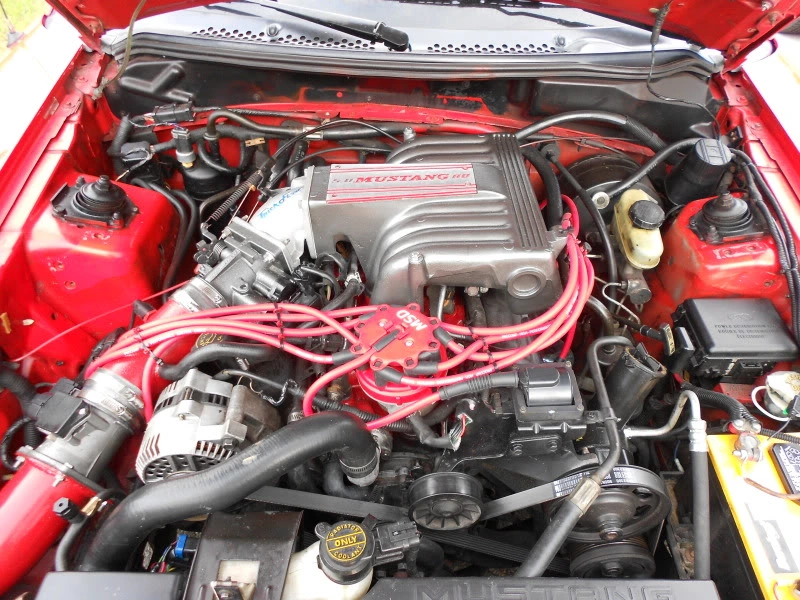
DSCN0089.webp


engine tore down for the parts,already finished valve covers sitting on engine, cannot bolt down yet need longer bolts, everything came apart pretty easy, the valve covers have never been off the heads so it took some work to get them off, the intake has only been on for about 3 months so the gasket was fine still. the only gasket i will not be able to use was the elbow to intake gasket, it tore in 1 spot on me errrrrrrr
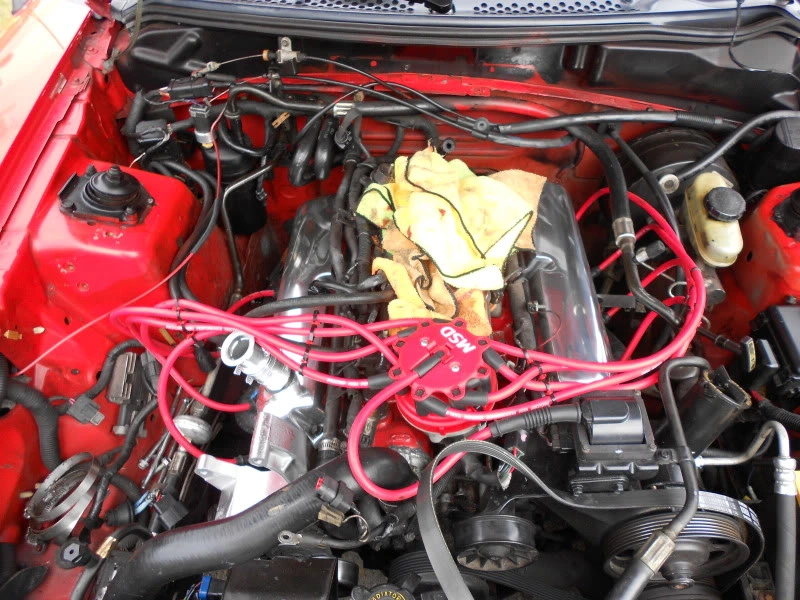
DSCN0090.webp


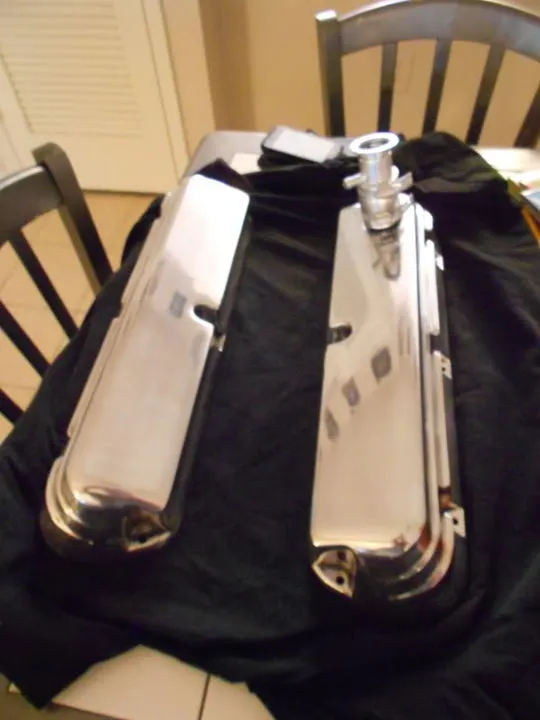
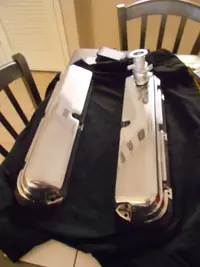
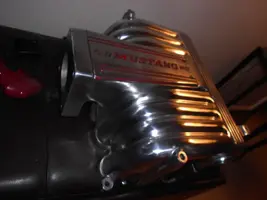
pic of the valve covers when i got them back from polisher
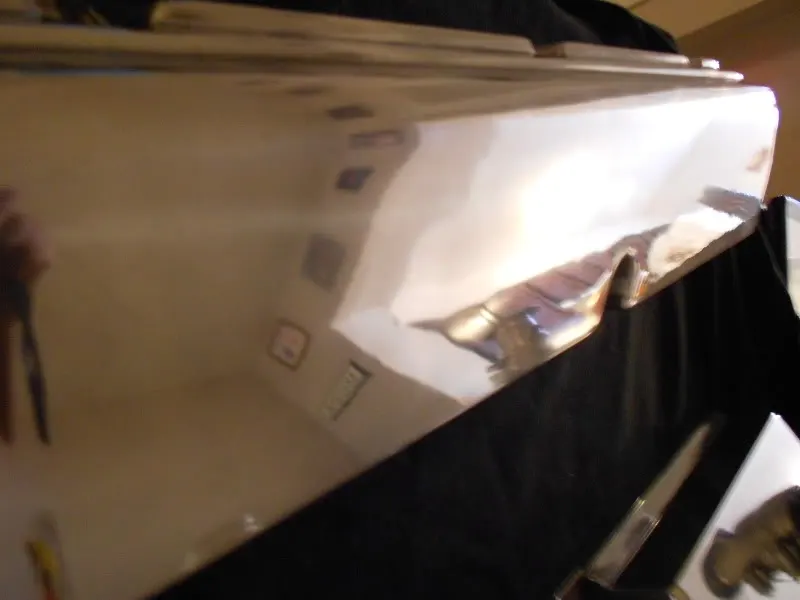
DSCN0081.webp

DSCN0080.webp


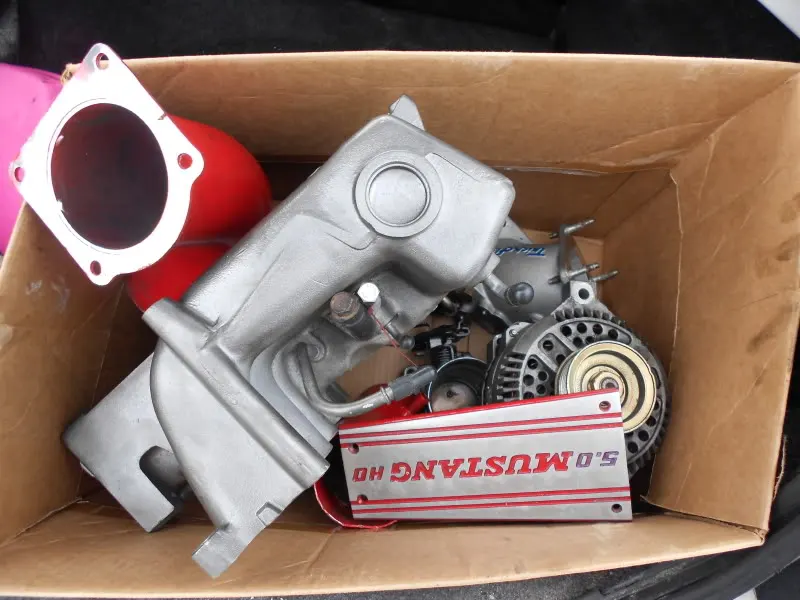
here is my box of parts, off to the polisher
DSCN0092.webp
 

Attachments

  • DSCN0089.webp
    DSCN0089.webp
    165.1 KB · Views: 393
  • DSCN0081.webp
    DSCN0081.webp
    14.5 KB · Views: 199
  • DSCN0090.webp
    DSCN0090.webp
    153.7 KB · Views: 414
  • DSCN0092.webp
    DSCN0092.webp
    44 KB · Views: 222
  • DSCN0080.webp
    DSCN0080.webp
    18.9 KB · Views: 251
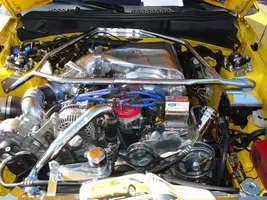
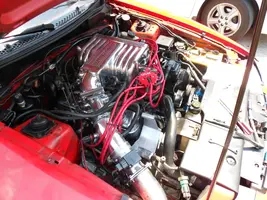
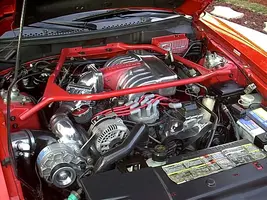
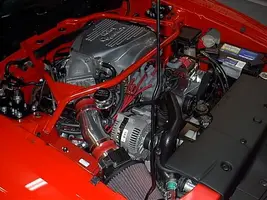
Straighten out the spaghetti plug wires. It will make a world of difference. Change to red rubber boots on the air intake. I ditched the bend and put my nice meter on the end. I think it looks cleaner and probably made more HP. The wires you have going over the driver side strut tower can be tucked under (not visible). As you can see on the pictures below with the supercharger I had those wires and hood cable going over then on the bottom picture they are tucked under the battery tray.

MustangSupercharged.webp


Motor12-29-05.webp
 

Attachments

  • MustangSupercharged.webp
    MustangSupercharged.webp
    70.7 KB · Views: 461
  • Motor12-29-05.webp
    Motor12-29-05.webp
    47.6 KB · Views: 256
Straighten out the spaghetti plug wires. It will make a world of difference. Change to red rubber boots on the air intake. I ditched the bend and put my nice meter on the end. I think it looks cleaner and probably made more HP. The wires you have going over the driver side strut tower can be tucked under (not visible). As you can see on the pictures below with the supercharger I had those wires and hood cable going over then on the bottom picture they are tucked under the battery tray.

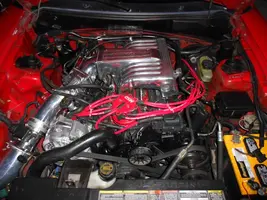
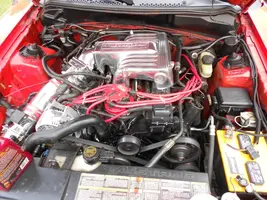
yea looks good, did you just zip tie them down further on the strut? how did you route the hood cable? do you have any up close pics of that, and i did clean up my plug wires, but i do want to keep the fender wall cold air kit as it does a more efficient job bringing in cold air

DSCN0111.webp

DSCN0109.webp

DSCN0108.webp
 

Attachments

  • DSCN0111.webp
    DSCN0111.webp
    135.3 KB · Views: 225
  • DSCN0109.webp
    DSCN0109.webp
    166.7 KB · Views: 221
  • DSCN0108.webp
    DSCN0108.webp
    153.4 KB · Views: 245
try running your fuel lines under your throttle body and cold air pipe and put the drivers spark plug wires under the upper intake and under the ac lines

i could run them under but it would put to much stress, they have spent there whole life in that position so i dont want to cause issues with them, i tryed to tuck them under but it just made them really tight, and these things are prone to puking fuel and mine dont right now, but yea i will get some braided lines for that