I haven't posted here in a while, but I have gotten some work done on the car. There should be a whole lot more accomplished by this point, but oh well.
Work done:
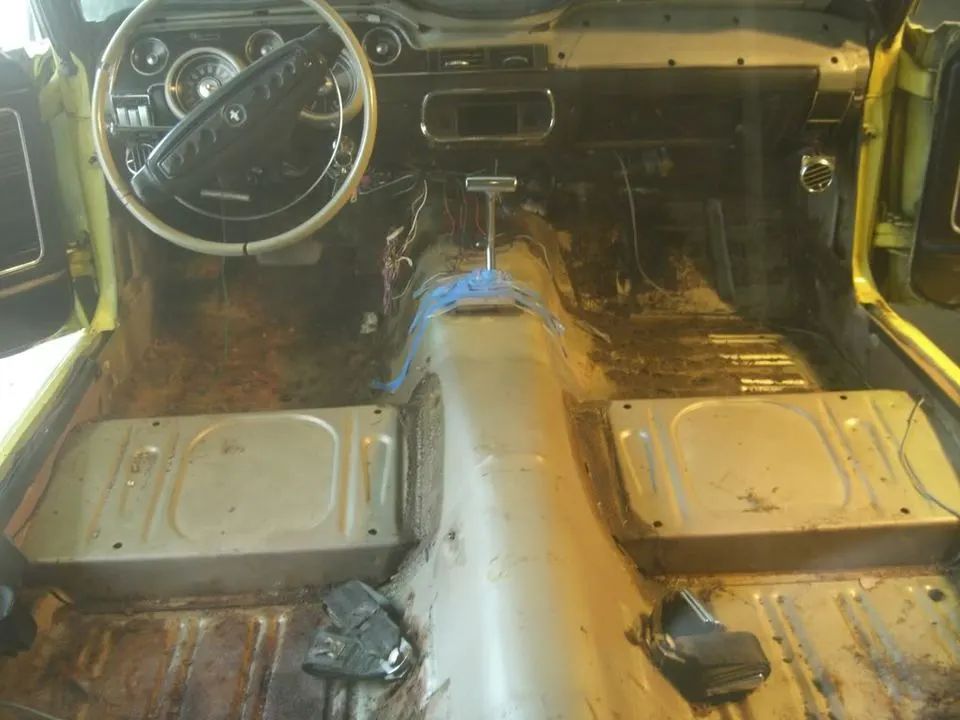
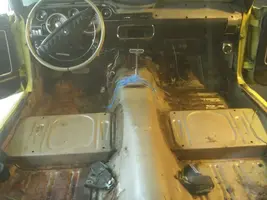
Some areas were ugly, but I was able to get down to good metal...
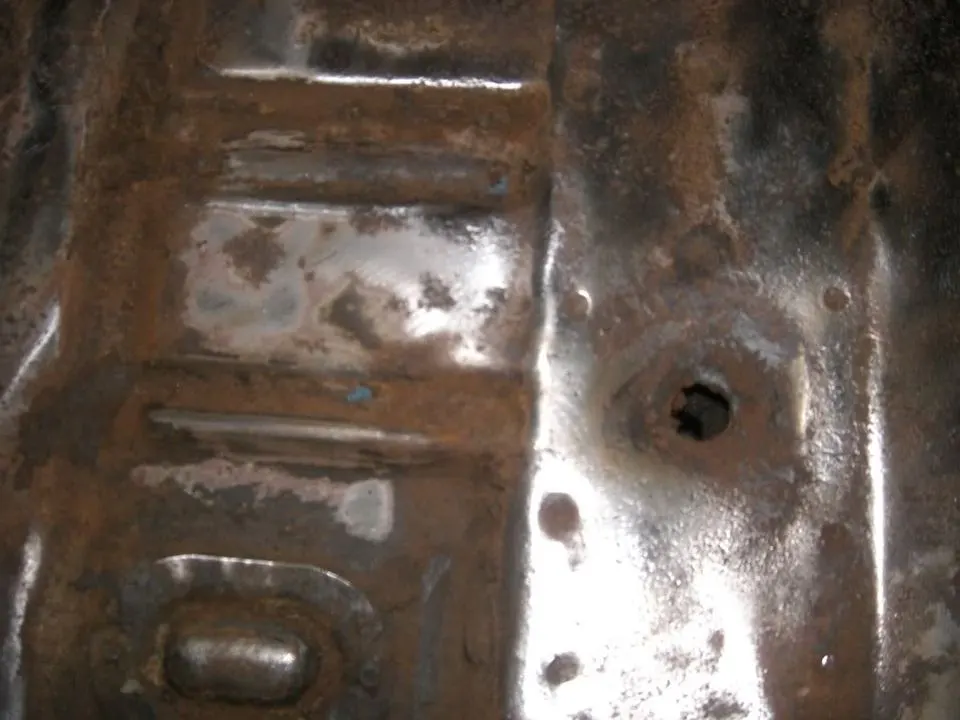
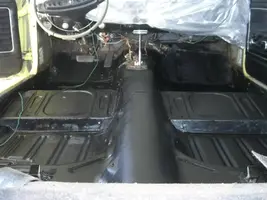
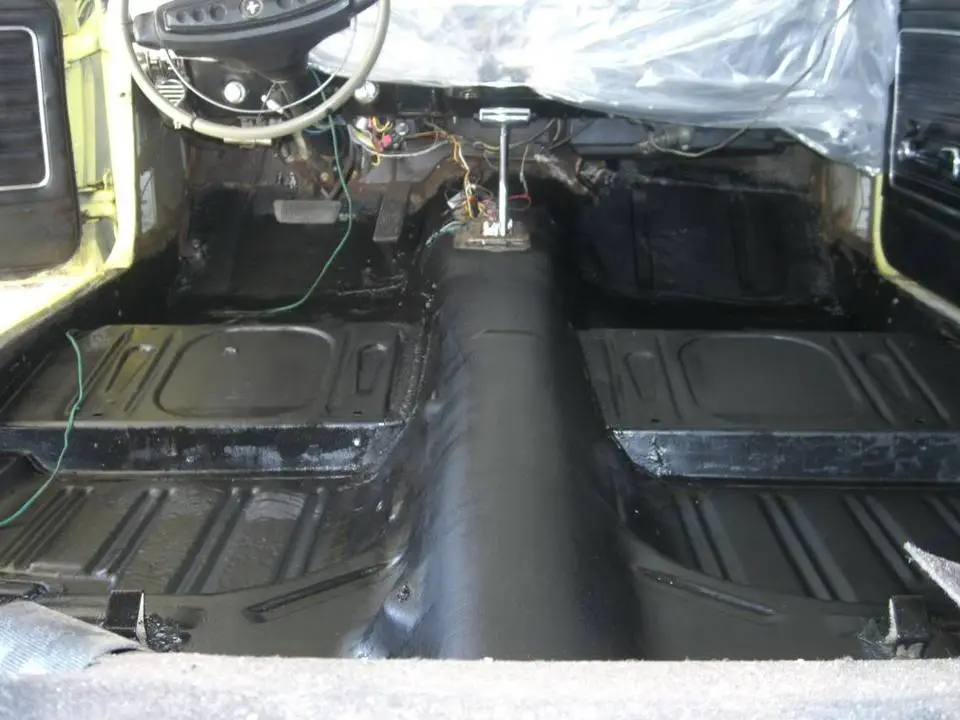
Then I applied ZeroRust to the floors
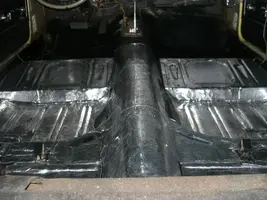
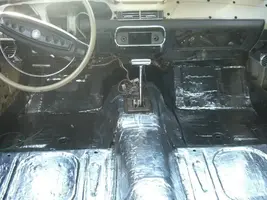
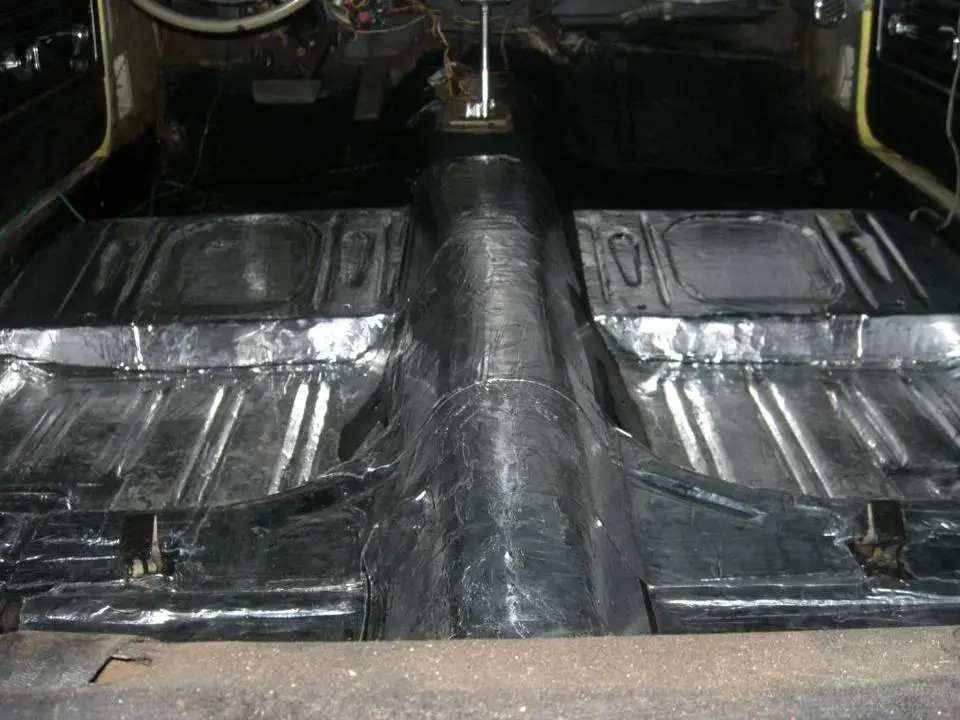
After that, I put 2 layers of SecondSkin's deAmplifier Pro on the floors from the firewall all the way under the reat seat
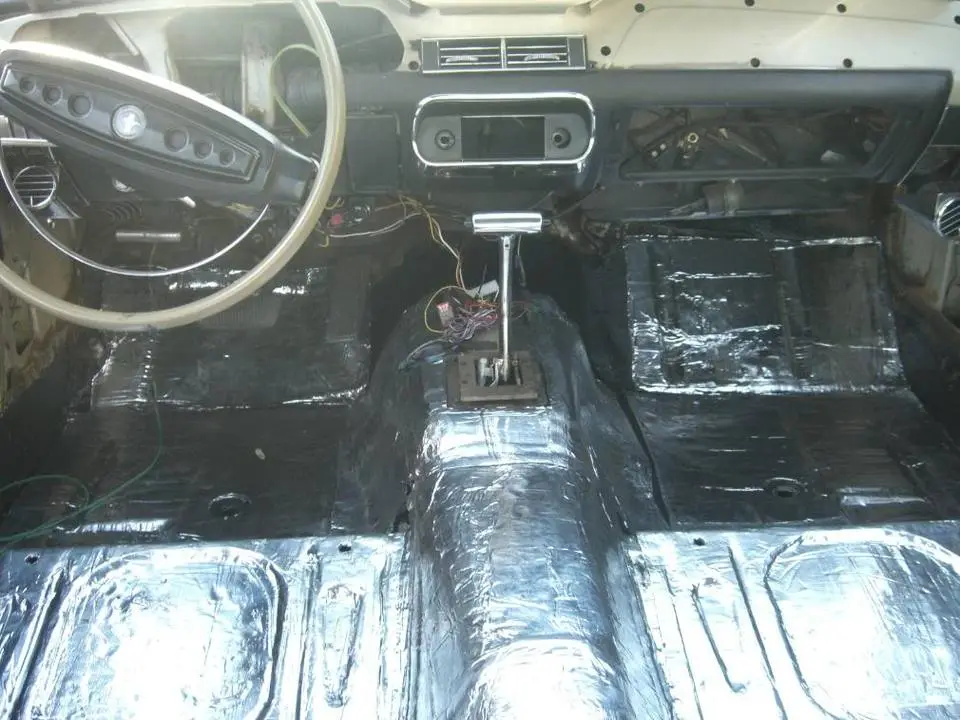
Then it was time to paint the dash
View attachment 337034
View attachment 337036
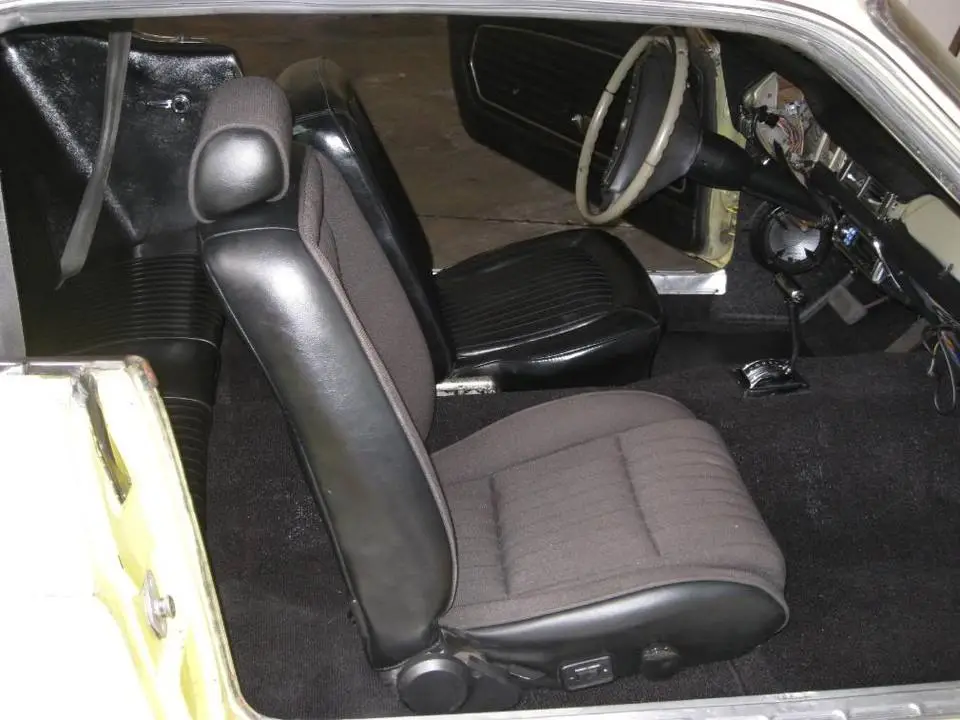
And here is the semi-finished interior of my car...
View attachment 337040
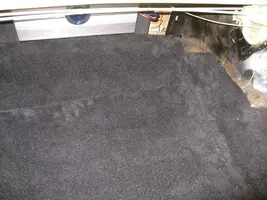
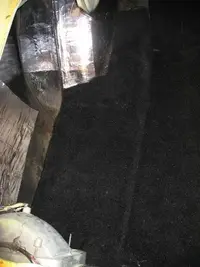
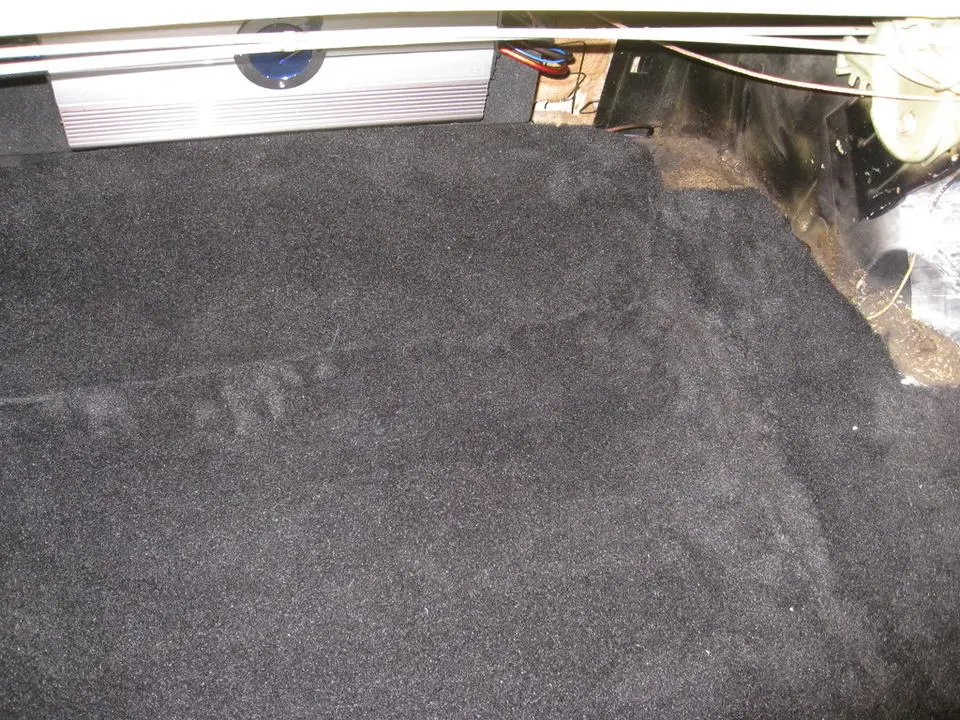
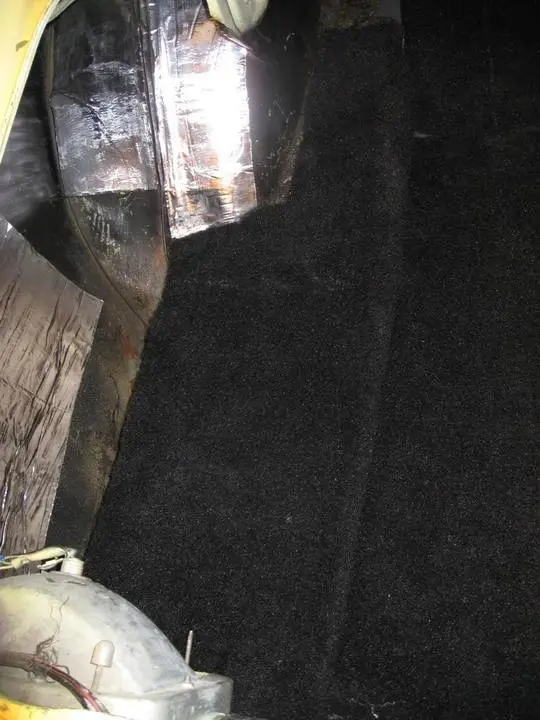
The latest project that I have been working on is carpeting my trunk. I picked up some custom auto carpeting for a Mercedes for $20 and attached it to 1/8" ABS plastic sheeting cut to fit my trunk with 3 pieces. Those are installed. Now I just need to attach carpeting to the insides of the quarters and the wheelhouses.
By the way, for anyone that made it this far I have a template for my trunk carpet design if you are interested. It is accurate for my 1968 within 0.5" so it would be a good starting point if you want to try this. I'm not sure if it would carry over to other years. Very easy to carpet your trunk for only a little $. If anyone is interested I could PM it to them or post it here.
Work done:
- Stripped the floor pans to check for rust
- Applied Zero-rust to floor pans
- Covered floor pans with 2 layers of SecondSkin
- Painted dash
- Installed new stereo w/ 12" sub
- Installed new carpeting
- Installed 1993 Mustang front seats (only 1 in right now)
- *Almost* finished carpeting the trunk
Some areas were ugly, but I was able to get down to good metal...
Then I applied ZeroRust to the floors
After that, I put 2 layers of SecondSkin's deAmplifier Pro on the floors from the firewall all the way under the reat seat
Then it was time to paint the dash
View attachment 337034
View attachment 337036
And here is the semi-finished interior of my car...
View attachment 337040
The latest project that I have been working on is carpeting my trunk. I picked up some custom auto carpeting for a Mercedes for $20 and attached it to 1/8" ABS plastic sheeting cut to fit my trunk with 3 pieces. Those are installed. Now I just need to attach carpeting to the insides of the quarters and the wheelhouses.
By the way, for anyone that made it this far I have a template for my trunk carpet design if you are interested. It is accurate for my 1968 within 0.5" so it would be a good starting point if you want to try this. I'm not sure if it would carry over to other years. Very easy to carpet your trunk for only a little $. If anyone is interested I could PM it to them or post it here.