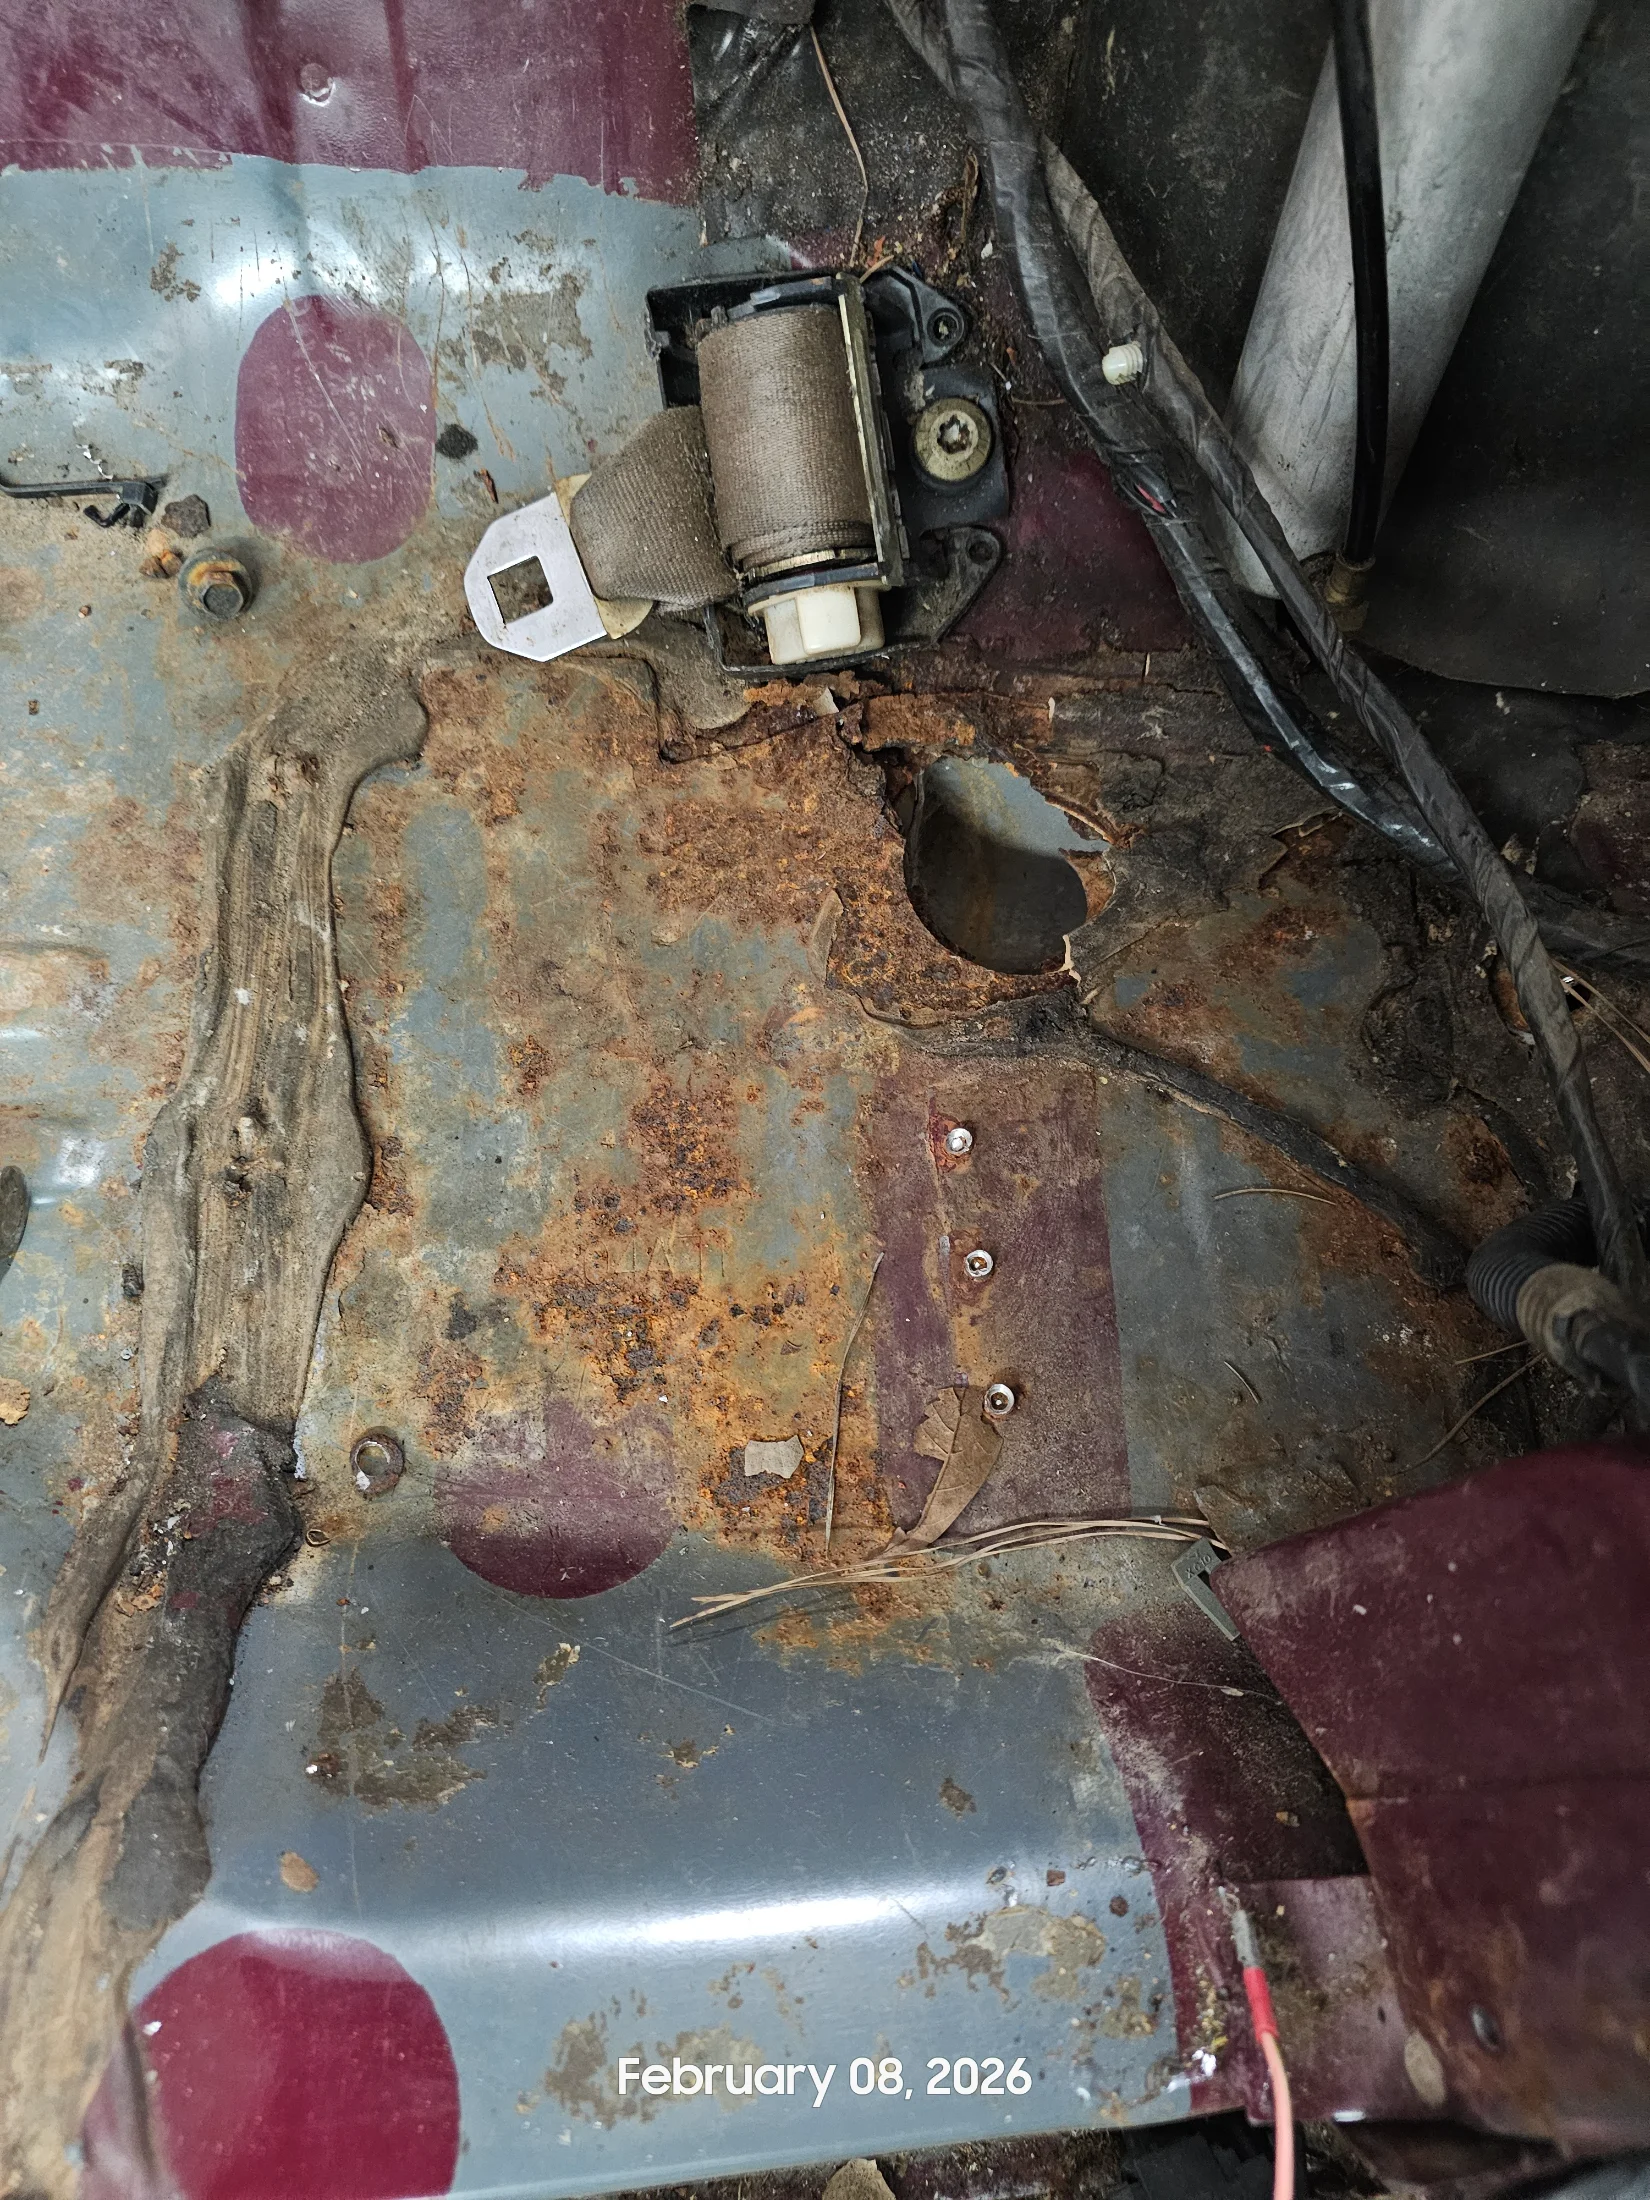
Progress Thread LILCBRA's 87 GT vert project (now prepping to replace the left floor pan)

  • Like
Reactions: LILCBRA
Spent some time in the garage last night - started getting the wiring out of the car, raised the top, stripped the door panel from the driver door, removed the wiper arms and cowl cover, and removed the driver's fender and windshield washer reservoir. I also found a Lojack device in the trunk.

Been doing some brainstorming the last few days about the damaged left rear quarter. I think I may weld in some new flares in place of the stock lip. I'm not looking to get too extreme - I'm thinking something like these:


1769689560552.webp


1769689576428.webp


I did some quick measurements on the car, it looks like these are a little taller overall than they need to be, but the width would only be about 1/2" wider than the stock flare. And they show these as having a small lip on them whereas some others I've seen are basically a sharp edge. I'm nowhere near ready to do anything like this yet, but it seems like it would kill 2 birds when I get to it. I wouldn't necessarily need to replace the quarter or section a piece in since the damage is only on the original flare, so I could cut that out following the stock body line, then weld these in and fab the wheel well to match up. So damage will be fixed and it'll give a little wider look without going over the top. Seems like a win-win! They'll of course need to be modified to work right, but what else is new....
 
This come up in my Facebook memories today. Apparently it was 4 years ago today that I bought the convertible. As I mentioned earlier in the thread, you can see the left rear window is down.....

I mentioned in my first post that that picture is the first one I had of it. Apparently I was wrong, this one must be. You can see the chrome wheel well lip that the PO used to cover the small damaged area of the rear quarter.

_nc_ohc=1cmqYqYD_qkAX9eVuhf&_nc_ht=scontent-atl3-1.jpg

Just remembered - I've officially had this car for 10 years....
 
  • Like
Reactions: gkomo
Made a little progress tonight - got the steering column and pedal assembly out as well as the firewall insulation. Nothing too exciting, but one step closer. I'm going to try to enlist some help this weekend to get the top removed from the car, then assess where I need to go from there. I believe I'll need to drop the axle to have access to the rear torque boxes in order to remove that added rocker brace. :chin

20260203_002218.webp


I've also been doing a bit of research on how to remove the sound deadener and it seems that dry ice is the way to go. Does anyone have any other suggestions or ideas? Or what's your experience with it?
 
Last edited:
  • Like
Reactions: 85GT4V
Got some more done on the vert. Started on the easy stuff and removed the interior windshield trim and found that the visors aren't original to the car. :shrug:

20260208_230024.webp


Then I removed the top frame and the driver side seat belts and all of the brackets and stuff from in front of it. It looks like the added reinforcement and seat pan need attention too. :(

20260208_234445.webp


I'm fairly sure that I'll need to remove the rear torque boxes to be able to get that rocker brace out without cutting it all up. I looked over that Corral reference thread and some other pics, from what I can tell, they had the outer rocker off and spot welded the bottom of that reinforcement from the outer rocker side. So, my plan is to use my air hammer with a spot weld breaker from under the car and see if I can't get both the floor pan and that reinforcement in one shot without damaging that brace too much. Then, when I go to reinstall it, I'm thinking of cutting some access windows to stick my gun through to weld the spotwelds, then re-weld the windows back into place. We'll see how that goes. So, since I'm planning on using the air hammer like that, I needed a clear shot at that seam, that required me to drill all of the rivets and remove the pinch weld brace. Here are a few new shots from under the car to see what I'm dealing with. I'm starting with the driver side and will need to repeat the process on the passenger side, but figure doing one side at a time would be the smartest path to travel....
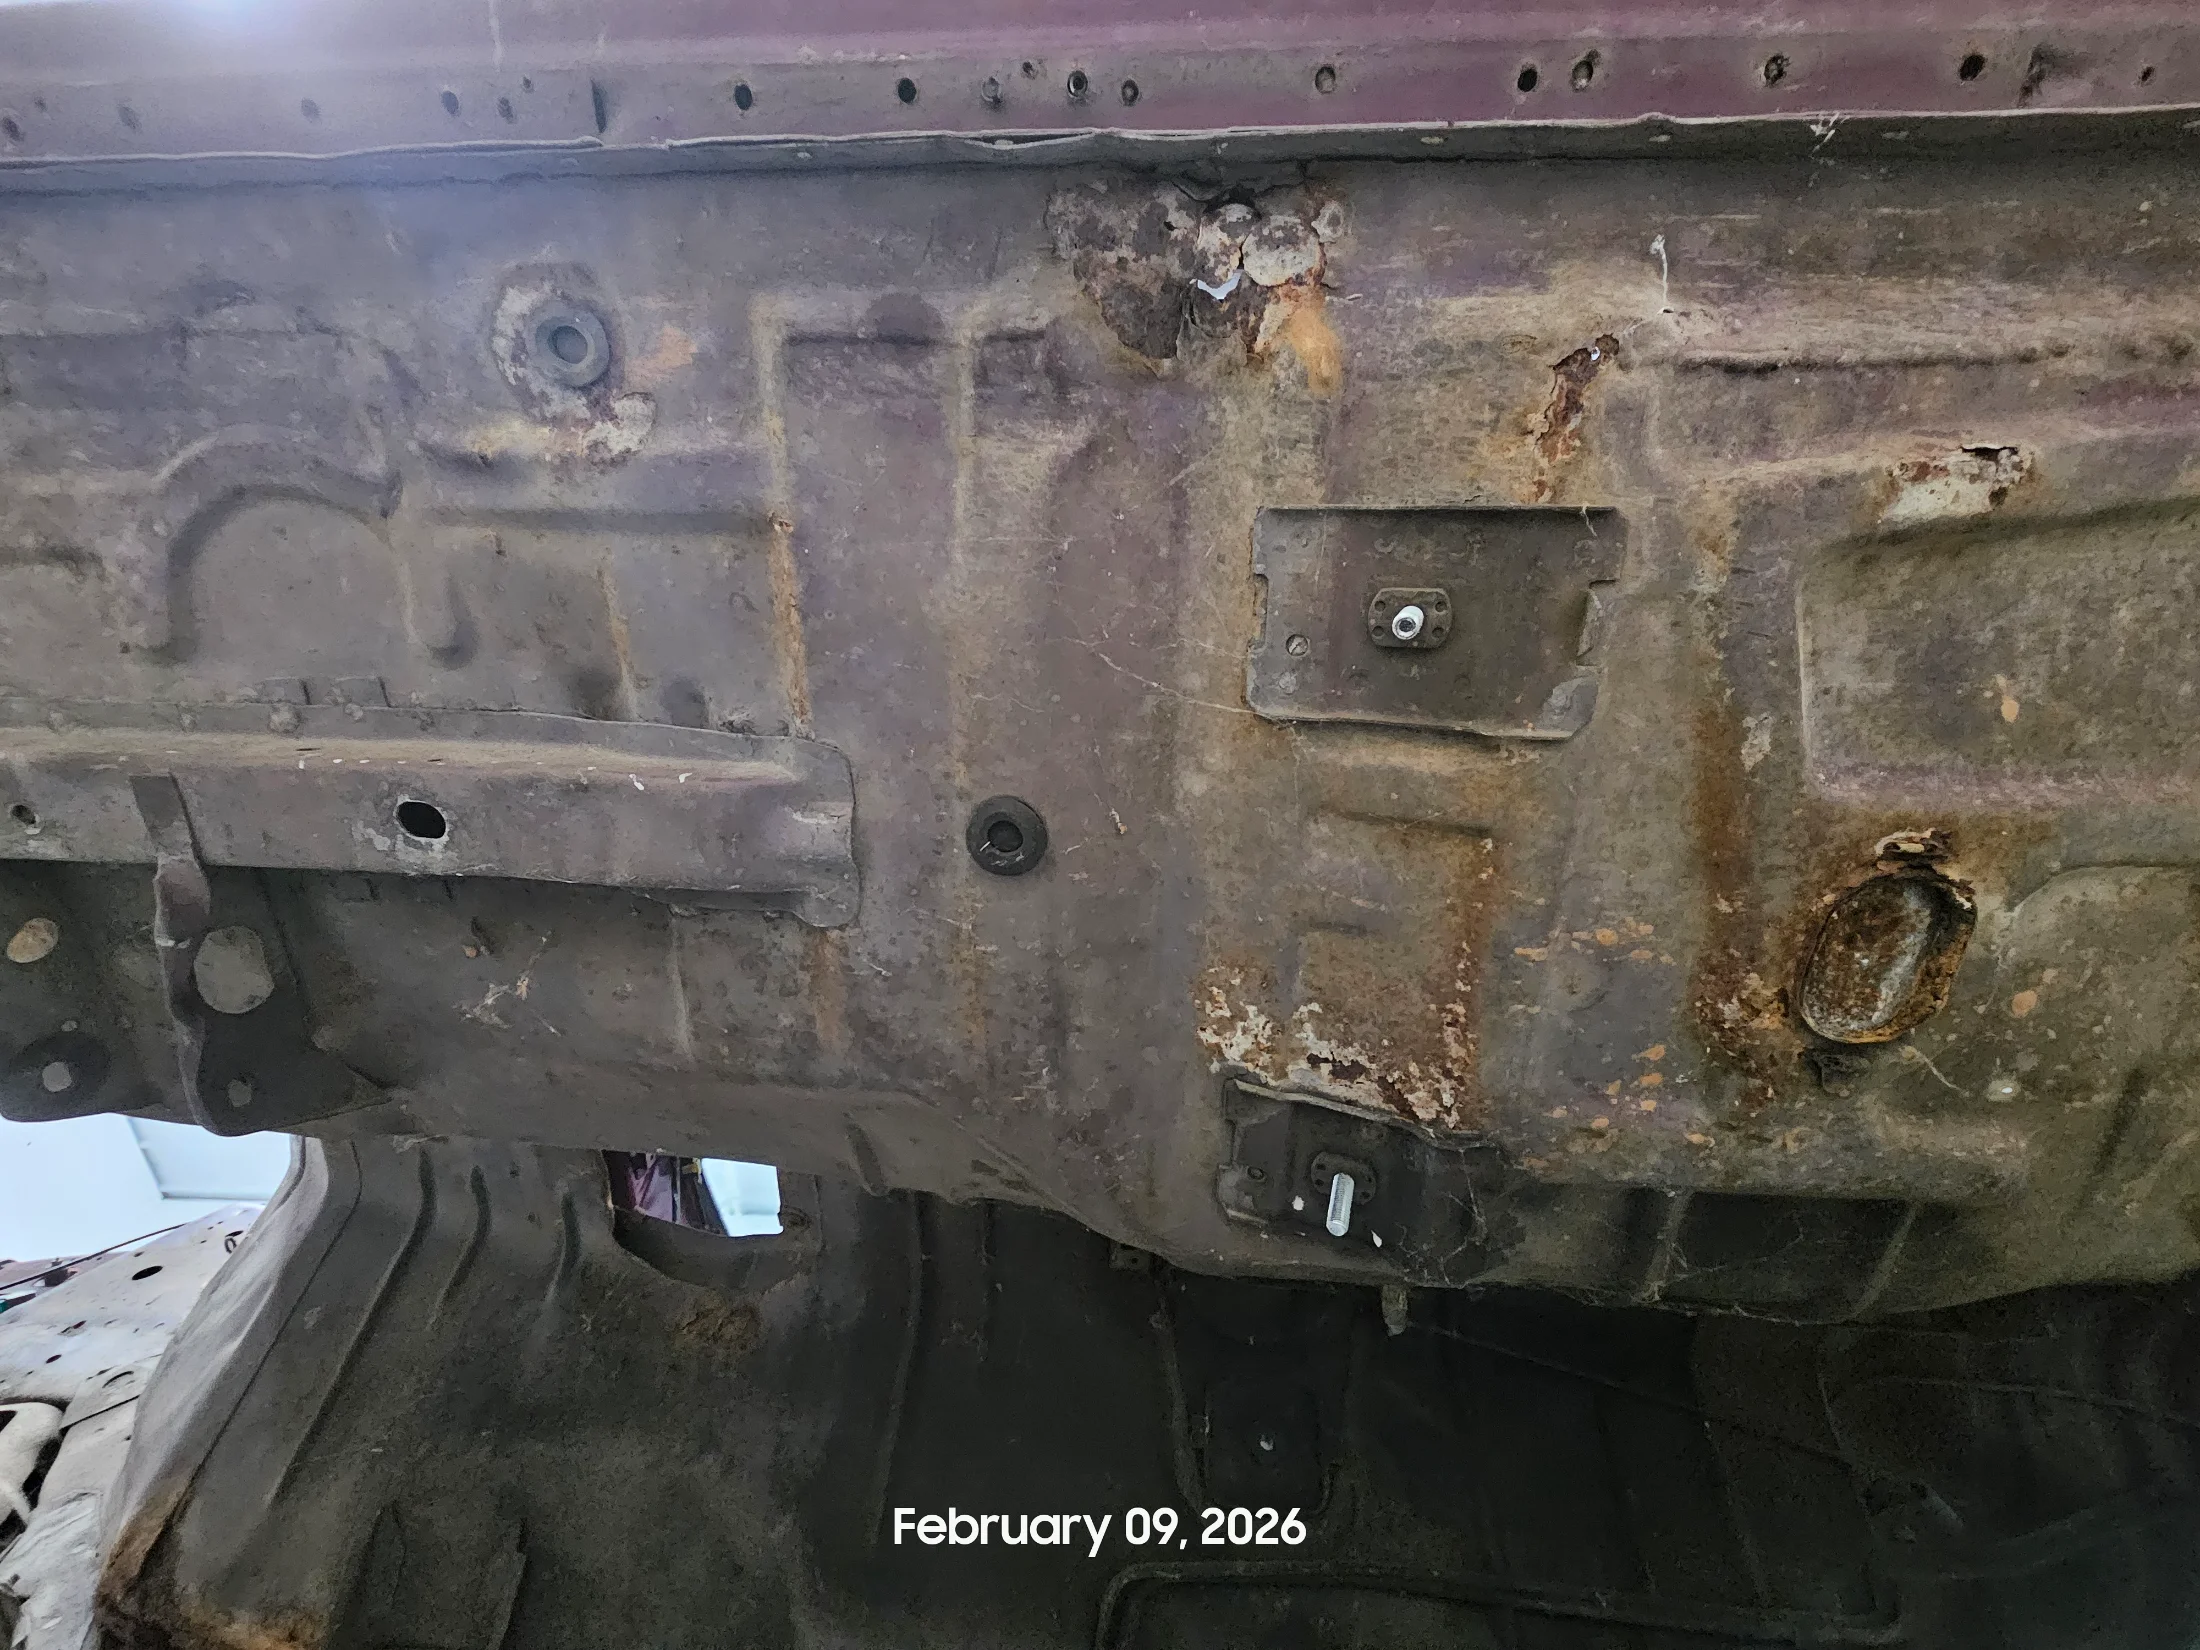
20260209_040657.webp


If you look close enough at this next pic, you can see where some jackass tried to use a floor jack on the floor.... I guess they took the term "floor jack" literally. :cautious:

20260209_040708.webp
20260209_040800.webp
20260209_040840.webp


The other thing I did (before I removed the pinch weld brace) was I welded in a few supports. I was planning on welding the subframe connectors, but once I got started laying them out I found that they'd interfere with the torque boxes. If I have to go down that path, I don't want to have to do it twice, so I held off on those for now. I'm planning on welding in a few more, mainly a pair that run from the fore-aft pieces down to the transmission tunnel. But I need to get that sound deadener out of there first, so all of that is still on hold for now.

20260209_031552.webp
 
Man that looks like a big project. I give props to anyone that would take on such a restoration to save another old Ford.

(.For the record, I'm.)
(....questioning my....)
(...sanity right now....)

:think:


I figure it'll be good practice for when I attempt to tackle my 55 Chevy wagon. I'm pretty sure that the only good metal on it is the firewall and roof - and I'm questioning my sanity over that one too. But there's some sentimental value there....
 
(.For the record, I'm.)
(....questioning my....)
(...sanity right now....)

:think:


I figure it'll be good practice for when I attempt to tackle my 55 Chevy wagon. I'm pretty sure that the only good metal on it is the firewall and roof - and I'm questioning my sanity over that one too. But there's some sentimental value there....
After being around cars all my life I truly believe you have to be a little insane to play with cars.
Alright, you have to be bat :poo: crazy......
 
  • PlusOne
Reactions: LILCBRA
Picked up about 15 pounds of dry ice and got to work tonight. By time I got home with it like 4 or 5 hours later (was in town visiting too....), I probably had 10-12 pounds left. It took me about 2 hours to get the front floors and trunk floor cleared. I used an old 1 inch wood chisel, a 1-1/2" putty knife/scraper and a ball peen. If anyone goes this route, I suggest making sure that the chisel/putty knife/scraper combo you use can be hit with a hammer. You'll most likely need to do that to get everything out.

20260212_232212.webp
20260212_235313.webp
20260213_012300.webp
20260213_012328.webp
20260213_012400.webp
 
  • Like
Reactions: 85GT4V
So I'm guessing the dry ice makes it brittle and when you whack it with a hammer it breaks up? Sounds like a Huckleberry Finn monument when you need some 'friends' to help whitewash your fence. :)
 
The ice makes the bond weak, the material shrinks a little, and it becomes easier to basically "peel" it from the floor. It takes almost all of the adhesive with it making it a cleaner and overall easier job than using heat.

I tried whacking the sound deadener with a hammer and it didn't seem to make much difference, but once the putty knife or chisel started to make it's way between the material and the sheet metal, it separated relatively easy.
 
Well, I'm deep into the "wtf did I get myself into" phase. The front seat mounting bracket was being a PITA and I did some damage to the tunnel. And the driver side A pillar's reinforcement was welded so well that I ended up cutting into the pillar to get it off, but I was able to do it without mangling it too much, which is good. I don't think I can say as much about the seat support.... :( I mean I could probably reuse it, but it's going to take a little rework to get it straightened back out well enough. At least I think it will....

20260217_032629.webp


There was a weld bead at the top of the panel that went around into the door frame that I ended up having to take a cut off wheel to that essentially destroyed that small area. So I'll need to build it back up when I get to it. :shrug: I also ended up cutting into the floor pan reinforcements, but I don't think I went all the way through. And, as you can see, I cut a section of the floor out to be able to split the few weld beads on the bottom side.

20260217_021204.webp


After I finished getting those 2 pieces out, I used a wire wheel on my grinder to the back floor reinforcement and cleared a lot of the seam sealer out of the away. I ended up doing a lot of inspection in that area - I don't think I'll need to remove the torque box, but that panel is spot welded to the original floor and the torque box. First order of business is to get that seat belt out of the way. I ended up breaking the one impact Torx bit I had, so I may be making stop at Harbor Freight in the next couple days.

20260217_032645.webp
 
Last edited:
  • Like
Reactions: gkomo and 85GT4V
Only spent a couple hours out there last night. Was able to pull the first reinforcement out in short order, but the bigger one is still stuck. I think there's a spot weld hiding behind the rocker reinforcement. So I suppose I'll move on when I get back out there in a few days. Unfortunately I seem to be doing more damage in places than anyone would really like. Nothing that some welding can't take care of, but it'd be nice if I didn't do it in the first place.... :doh:

20260218_021223.webp
20260218_030816.webp


On a related note: do hard top cars have that larger panel? Wondering if I'd be lucky enough to be able to find a parts car with one that wasn't as far gone....
 
Last edited:
  • Like
Reactions: gkomo and 85GT4V
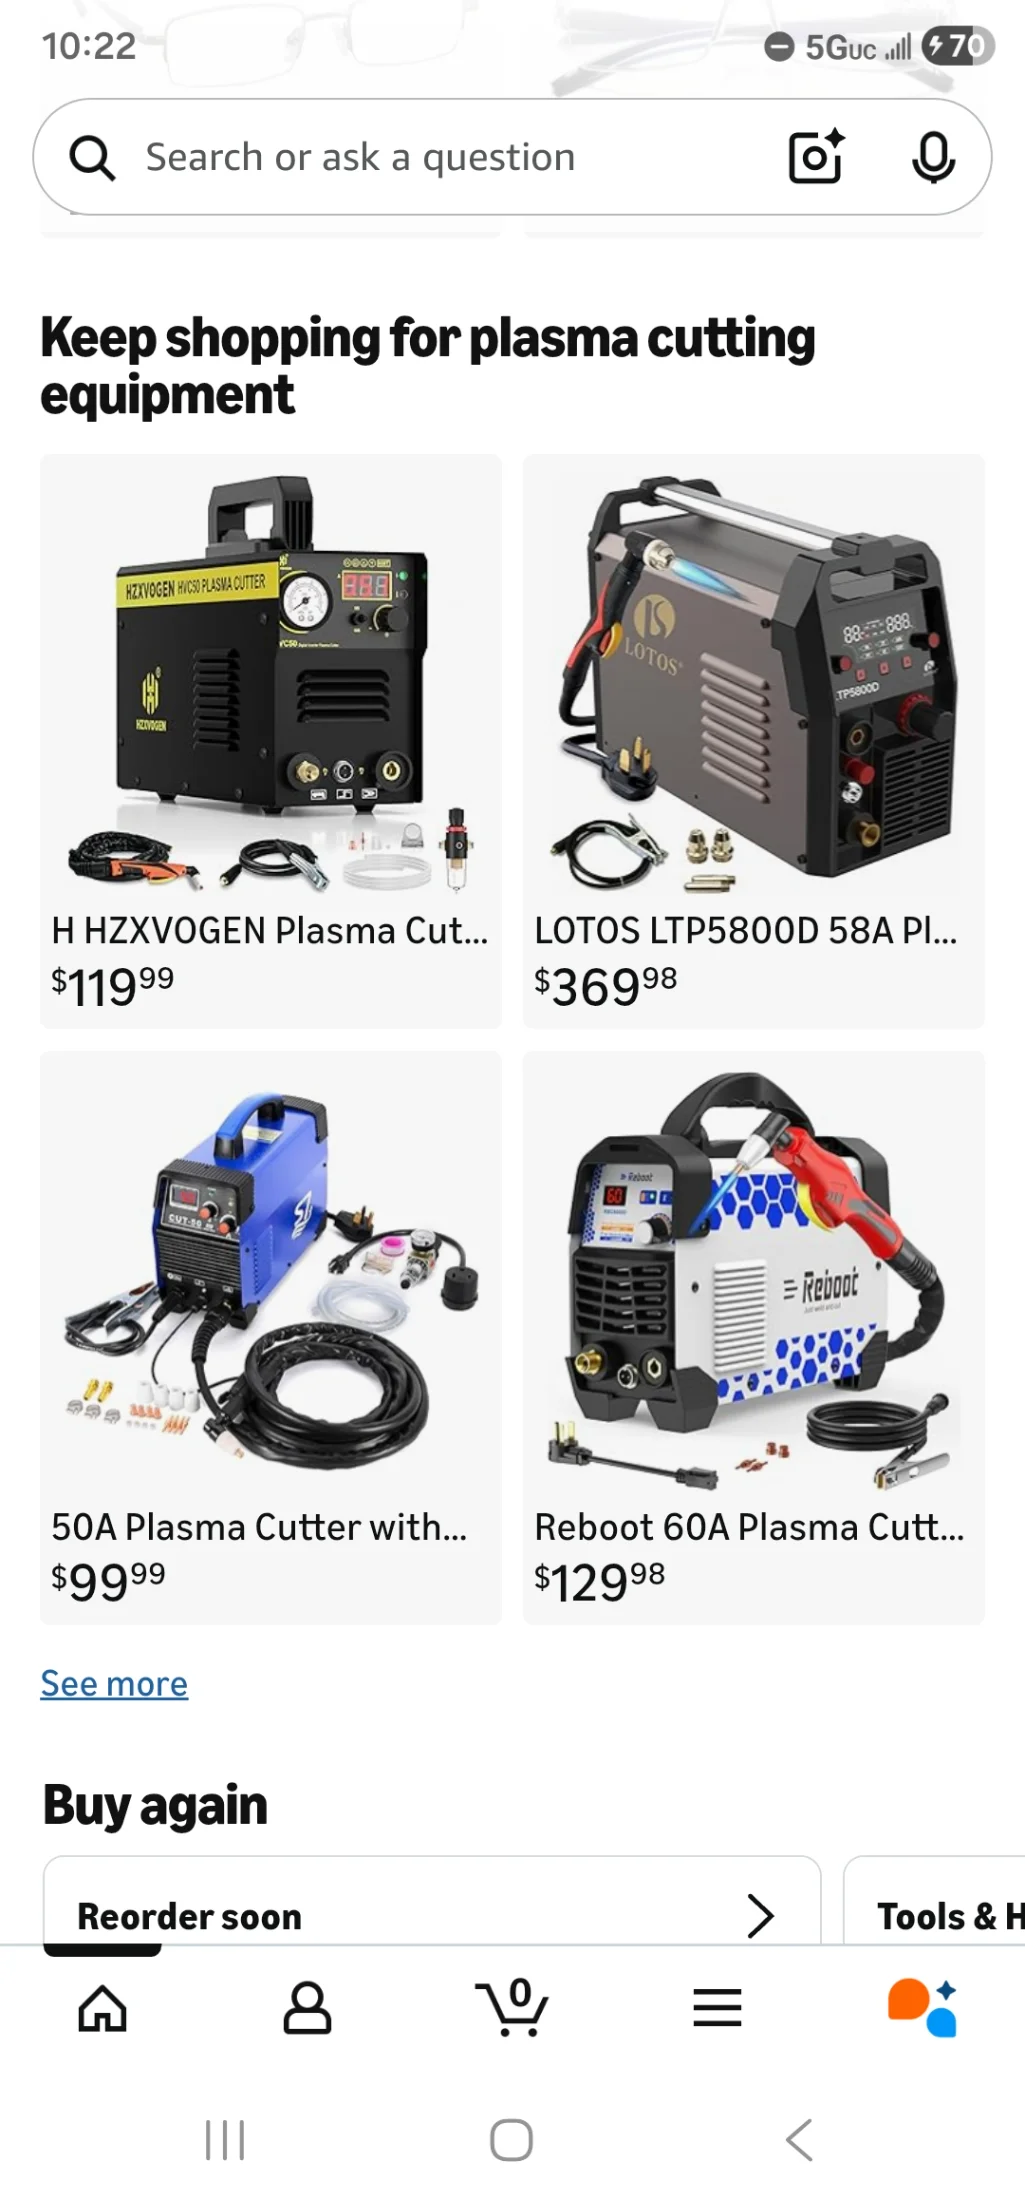
Plasma Cutter :D

Funny you mention it.... I've really been toying with that idea. I've seen some really cheap ones on Amazon, not quite sure I'm comfortable enough with that idea though. The one at Harbor Freight is like $800, definitely not looking to spend that kind of money right now either. And they only seem to go up from there.... I dunno, by time everything's said and done, I may end up with a cheapy just to try it out and hope for the best.

Screenshot_20260219_102245_Amazon Shopping.webp
 
Last edited: