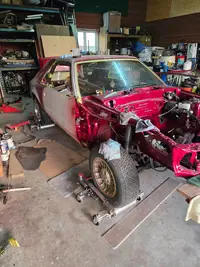
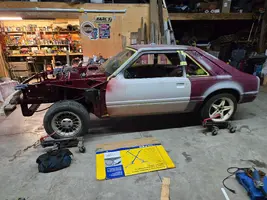
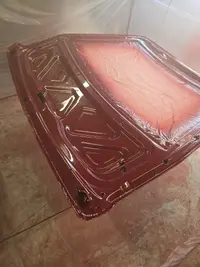
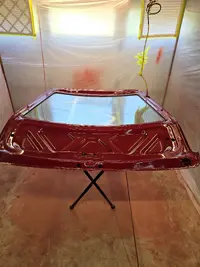
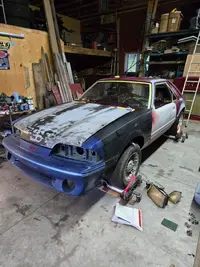
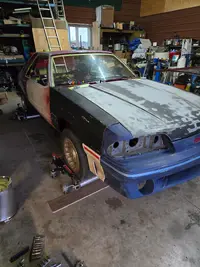
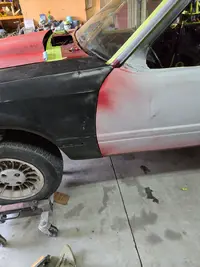
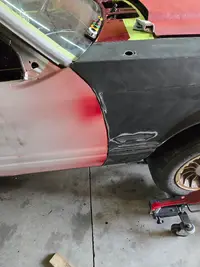
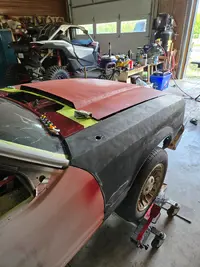
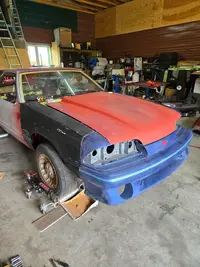
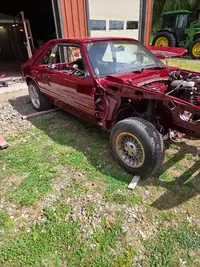
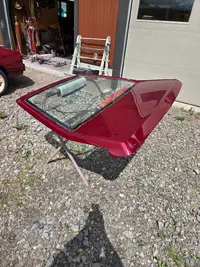
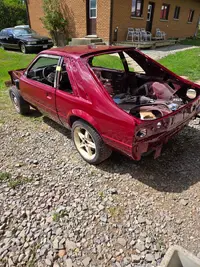
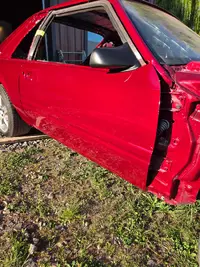
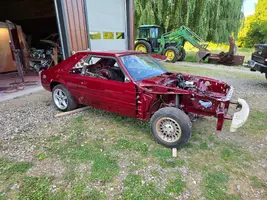
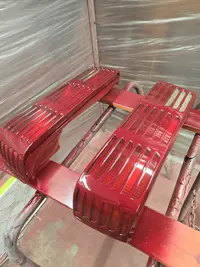
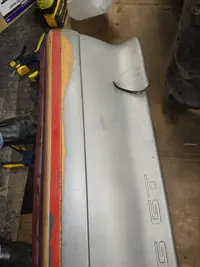
Progress Thread Low Mile 89 GT Restomod - Moving toward paint

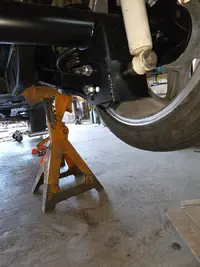
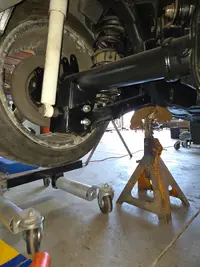
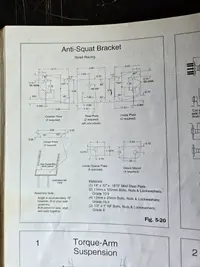
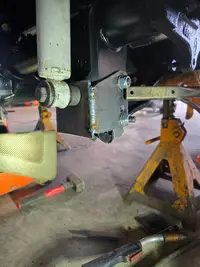
At the end of June had another few days working on this thing. Started with the rear lower control arm relocation brackets. Again using the drawings from the Mathis book. I made up all the plates and then bolted up each plate and custom fit the parts for alignment and fit. I didn't make the shock relocation tabs as my son's car used a single bolt back into the axle bracket to mount the shock.
1000012900.webp 1000012914.webp

Sorry I didn't have a pic of all the individual plates, I thought I had taken a picture of them but can't seem to find it anymore.

One change I made to the Mathis plans was to add an additional set of relocation holes. The second set is 2.5" lower than stock and moved an additional 1/16" forward. I made the same brackets for my 90GT 10 years ago and have the arms positioned in the 2.5" down position and have no issues (aside from the tweak needed for the sway bar).

To align/install the spacer tabs I used a couple bolts to align the holes and then tack weld the spacers in place, remove the bolts and fully weld them in place.
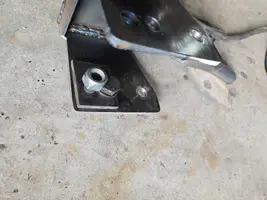
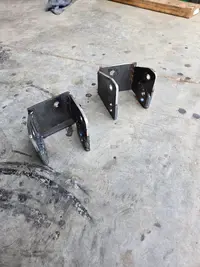
1000012915.webp 1000012916.webp

Painted and re-installed.

1000012935.webp 1000012936.webp

For now at least, the lower control arms are installed in the 1.75" lowered position. We will see if that is where we keep it.

To not scratch the painted axle housing I used an old rubber floor mat draped over the jack pad. Worked perfect.
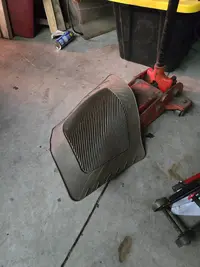
1000012939.webp
 
Last edited:
  • Like
Reactions: gkomo and 85GT4V
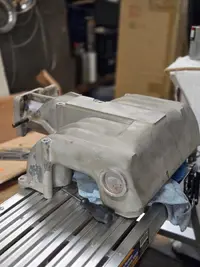
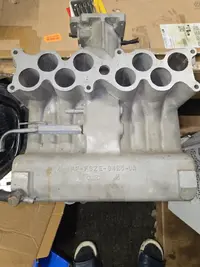
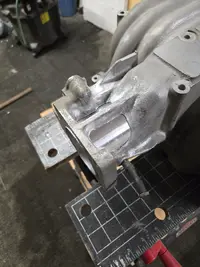
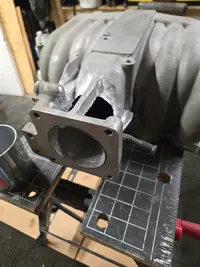
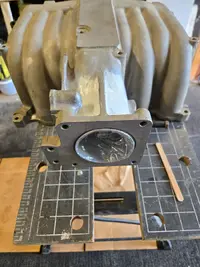
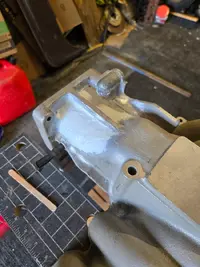
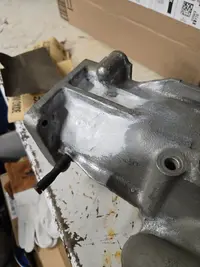
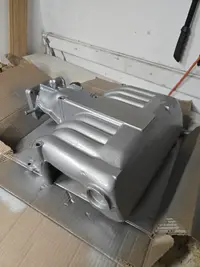
Though not going on my son's car, but I picked this up last summer and decided to clean it up/repair it a bit.
20260309_210717.webp 20260309_210648.webp


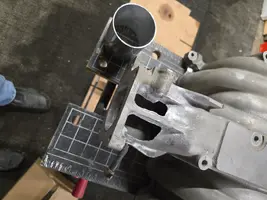
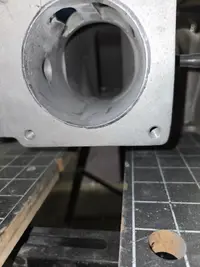
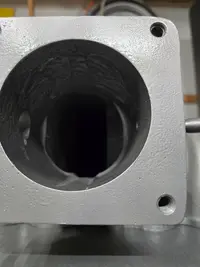
A previous owner had the thought of enlarging the inlet - probably thinking it was needed for a 75 or 80mm TB.
20260309_211203.webp 20260309_211215.webp 1000012999.webp 1000013001.webp

1000013003.webp 1000013002.webp

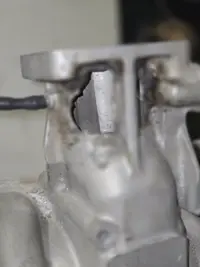
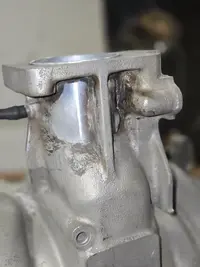
They bored a nice straight hole that fits a 3" piece of exhaust or intercooler tube inside (perfectly), but broke through the cast near the throttle body mount.
 
Last edited:
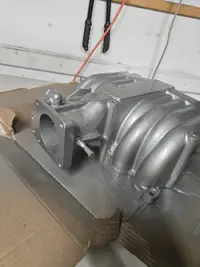
  • Like
Reactions: gkomo
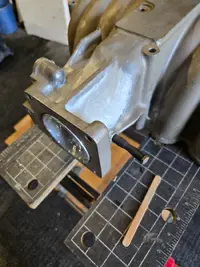
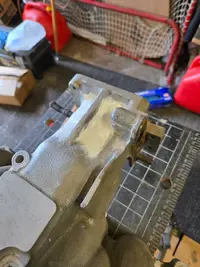
I picked up some 2 part epoxy off Amazon and came up with a plan to repair.

I wrapped the 3" tube with kitchen plastic food wrap and inserted it into the bored out hole to use as a backer to support the epoxy while it cured. I then mixed some material up and applied and shaped it the best I could with some popsicle sticks to get the shape as close as I could.

1000013007.webp 1000013005.webp 1000013004.webp 1000013006.webp 1000013011.webp

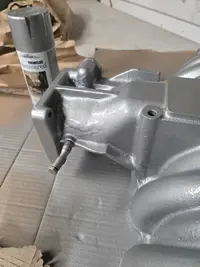
The next day - after it cured - I sanded the epoxy a little to smooth out some of the edges and applied some Tremclad Hammered paint to try and get a texture similar to the factory cast look.

Two coats later...
1000013012.webp 1000013013.webp 1000013014.webp 1000013015.webp

If you really look you can see some of the edge of the epoxy, but a quick glance under the hood and you will likely not see/notice it.

I think it has come out not bad considering I paid less than half of what most Explorer uppers only are being asked for on eBay right now. It came with a new Cobra decal as well.
 
Last edited:
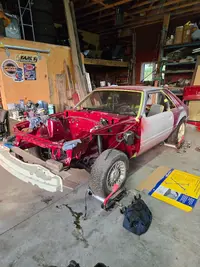
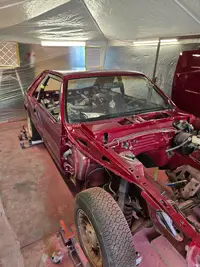
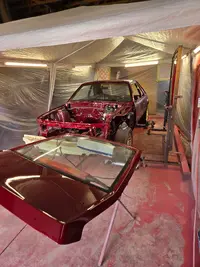
Well I got back on the paint and body for about the last 10 days now and made huge progress.

Started by test fitting the front end to make sure I could line everything up still and after painting.
1000013113.webp 1000013114.webp 1000013121.webp 1000013122.webp

Satisfied with what I had I moved forward.

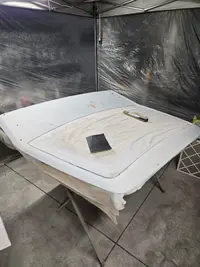
Before blowing it all apart to continue body work I test fit a steel hood I modified - 1" cowl rise over stock.
1000013118.webp 1000013119.webp
Though not fully body worked yet I am happy with the look. I offered it to my son to put on his car but he chose the stocker. So this will get finished off and go on a future build.

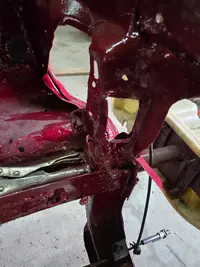
While trying to line up the front bumper cover, I couldn't get it to move in far enough to fit right to the rad support. Looking deeper I found that the issue wasn't the bumper cover, but the driver side rad support. When we got the car the previous owner gave us two new aftermarket front fenders and a mangled original DS fender. I considered repairing it but it was just too crinkled. He had told us that he backed into the car while clearing snow in his yard at some point. I had not thought to look deeper into this and it has come back to bit me. Turns out the DS rad support where it meets the front frame rail was folded over somewhat and pulled the rad support toward the engine area. Since I had already painted the engine bay I was none to happy with my discovery, but I wanted things to fit right. So out came the block of wood, punch chisel and big hammer and I "massage" the metal back closer to where it should be.
1000013126.webp
This is after hammering outward from engine bay and using punch to straighten metal back toward engine bay. The result is the upper rad support was back in range of where the bumper cover could attach to it. A new problem came up...
1000013125.webp 1000013127.webp

I moved metal enough that my weld I did many posts earlier with an replacement center upper rad support cracked - :bang:
Shown I had already further sliced the crack to get a better weld in the area. So I guess I am touching up the upper rad support when I paint the rest of the car.
 
  • Like
Reactions: gkomo and 85GT4V
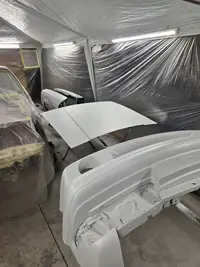
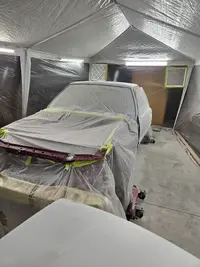
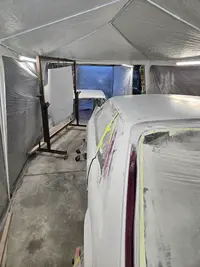
After a day of boring sanding, scuffing and booth set up we are ready for some polyester high build primer.
1000013130.webp 1000013134.webp

Then the sanding continues...
1000013159.webp 1000013160.webp
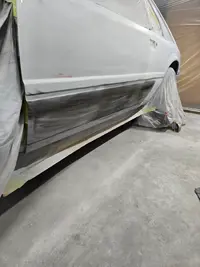
The driver door bottom that I had to repair an old collision repair. First image is the guide coat on the high build primer, the second is mid way through sanding and we are almost flat - a couple lower spots still remain. Once cleaned up we moved on to the rest of the body.

1000013161.webp 1000013162.webp 1000013163.webp

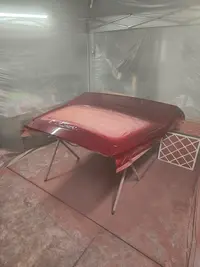
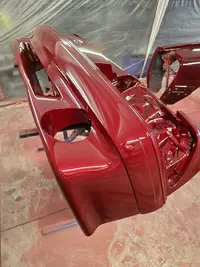
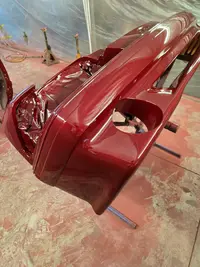
I moved the bumper cover out to round 1 of painting, primer sealed what was left and ready to paint.

1000013164.webp

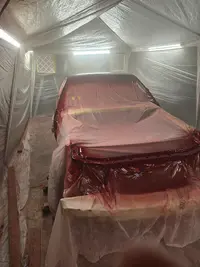
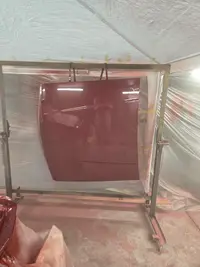
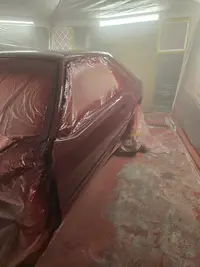
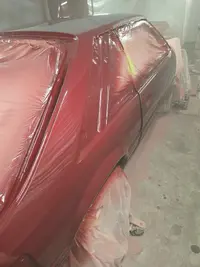
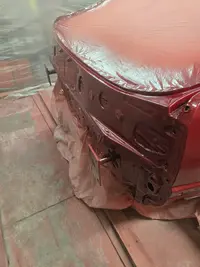
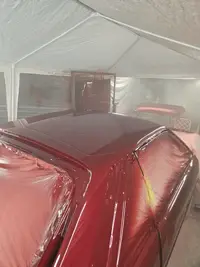
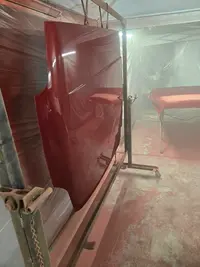
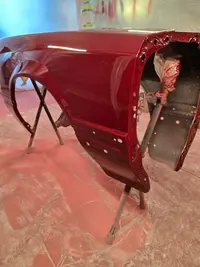
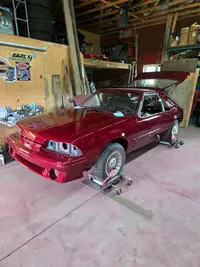
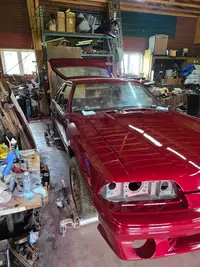
And finally in color...
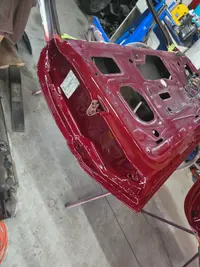
1000013165.webp 1000013166.webp 1000013167.webp 1000013168.webp 1000013170.webp 1000013171.webp 1000013172.webp 1000013174.webp
That was Sunday morning at 4am that I finished.
 
  • Like
  • Love
Reactions: gkomo and 85GT4V
Left the body in the booth the rest of Sunday to dry and cure a bit and moved parts around on Monday.

1000013175.webp 1000013177.webp 1000013178.webp 1000013179.webp 1000013180.webp 1000013181.webp 1000013182.webp 1000013183.webp 1000013192.webp 1000013195.webp

Then got the front bumper cover, fenders and hood and hatch hinges in. The pic shows the spoiler but I pulled it out after it fell and chipped (a fix for later).
1000013191.webp
 
  • Like
  • Love
Reactions: gkomo and 85GT4V
Sprayed those parts on Monday and Tuesday disassembled the booth and installed the painted parts on the car.

1000013198.webp 1000013199.webp 1000013200.webp

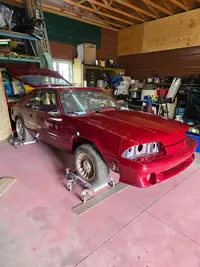
All back together...
1000013201.webp 1000013202.webp 1000013203.webp

I ran out of paint at this point so will need more of that to finish the rear bumper cover, spoiler, all the side skirts and fuel door. I think one more quart could do it but I will get 2 quarts for safety sake and to have a little left over if needed.

Looking at getting back at it end of August. Hopefully that will be the end of the Ruby Red painting and it will be assembly time after that.
 
Can you tell us more about your paint booth? Thanks
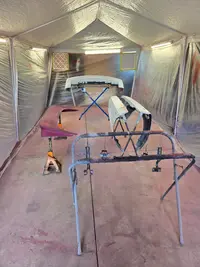
Its a 10x20 Party Tent I purchased off Amazon 3 or 4 years ago (paid around $130-150 CDN). I added an 8x8 sun shade pop up to the one end. I installed the roof on each and wrapped the sides in painters plastic sheet (item shown below) also purchased on Amazon. I purchased this 9ft wide roll as well as a 12ft wide roll to be used to cover the whole car if needed (will be needed when painting the trim black on the tops of the doors). The plastic sheet gets hung on the outside of the tent frame and taped to outside roof every 4-6ft. I try to wrap the outside in one continuous length sheet to minimize leakage points. An extra pair of hands works great here. We then used some scrap boards we had laying around to hold down the bottoms to keep them from flapping around.

1787254891663.webp


I purchased two simple box fans (20x20 ish size - about $30 each). I purchase a case of 20x20x1 Merv 8 furnace filters (from an online furnace filter outlet) for use as inlet and outlet filters. One fan pushing air in and one fan pulling air out. The filters were taped to the plastic and then the opening cut. The fan was then tapped to the filter to provide a seal. On the exhaust side I built a box using four filters to give more surface area to exhaust through because if not by the end of painting there is barely any air is being drawn out. I guess I could change the filters half way through as well, but I am usually focused on cleaning paint gun or mixing paint/clear.

The same interior area could be achieved with two or three 10x10 sun shade pop up tents. I would butt them tight together (possibly tape the legs together) and still wrap the outside in one continuous sheet.

The garage/shop we are working in is a 40x40 with a 14' ceiling.
 
  • Like
Reactions: 85GT4V and limp
TY for the response.... I like the idea of butting together the three 10 X 10 pup up tents... Most temp paint booths seem to be built out of wood which looks like alot of work to build and tear down.....
 
TY for the response.... I like the idea of butting together the three 10 X 10 pup up tents... Most temp paint booths seem to be built out of wood which looks like alot of work to build and tear down.....
And what do you do with the wood framing in between paint jobs.

I would suggest changing the outside wall plastic after priming/sanding is done. I was chasing dried primer flakes in the fresh paint while building the layers of color. This Ruby Red is a tri-coat so the paint process was one coat of sealer, 2 coats of color, 2 coats of tinted clear and 2 coats of full clear. I had to pick a couple flakes out in between the two color layers. Thankfully it did not affect the final outcome, but something I will definitely be considering the next paint job I do.