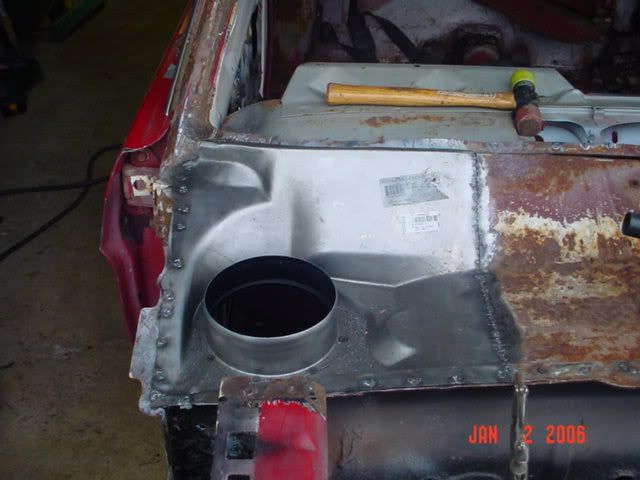
I used a spot weld drill specifically made to drill out welds. First, I center-punched each weld to provide a starting point and so the drill wouldn't "walk". I then used a .100 drill bit to drill the center of each weld (drilled through). The spot weld drill has a spring loaded center pin that I inserted into the pilot hole. This stablizes the spot drill so when the teeth engage, they don't walk around and break off the little teeth.
Use oil at all welds to prolong the life of the bit.
You'll know when you break through the first layer of metal as it either makes a small pop or the debris from the bit turns to rust from the metal below.
http://www.eastwoodco.com/jump.jsp?itemID=14686&itemType=PRODUCT

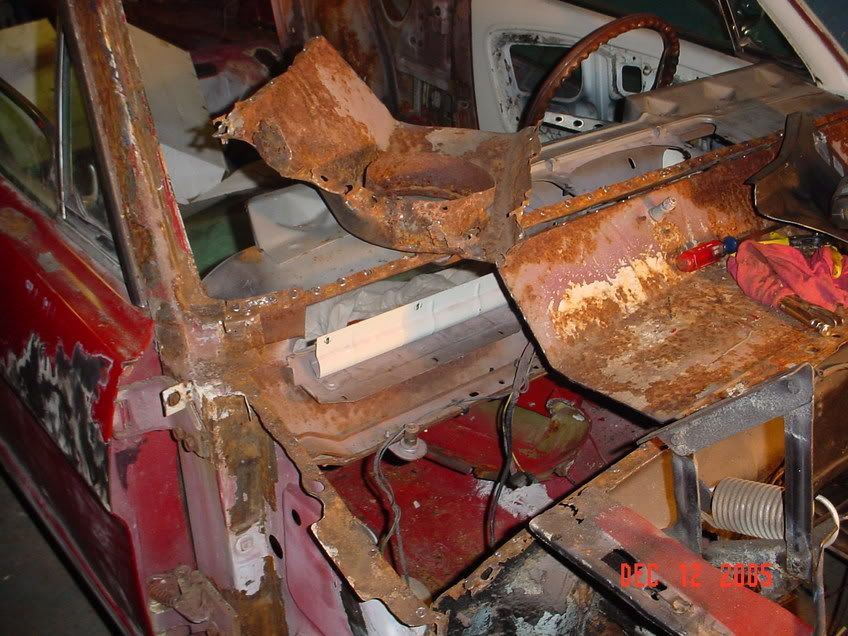
 Any idea on what the cost is to replace or repair the cowl vents on a 66 coupe. I've heard of some outrageous amounts. Wondering if anyone has got them done recently before I go get mine done?