Door/weather adjustment.
You have 2 battles to fight here:
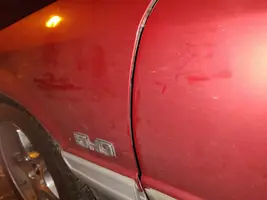
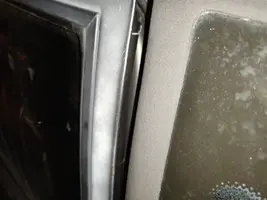
1.) Align the door so that the gaps are even as possible all around the door. This means you work with the hinges and not the striker.
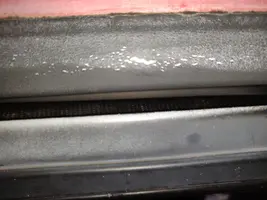
2.) Get the door aligned so that the weather strip seals properly.
The dollar bill trick...
The problem with doors and hatches is getting them to close tight enough. Guessing at the right amount of clearance can be annoying and time consuming. Here's an easy way to determine if the weather seal is tight enough to keep out the weather and keep down the rattles and road noise.
Stick a dollar bill on each one of the flat sections. On a typical door that means one at the top, one at the bottom and one on the front and one at the back. Gently tug on each dollar bill; it should have some resistance, but not just slip out nor be completely stuck. When all the dollar bills require the same resistance to being pulled out, the door or hatch is aligned to evenly compress the weather seal all the way around.
Why dollar bills? They are made with paper with a high rag content and will resist tearing much better that ordinary paper. They have a consistent thickness and resistance to tearing, so you get uniform test results.
Door hinge pin tip:
Hinge pin & bushing kits are available at many auto parts stores. Or see
http://www.texasmustang.com/ or
http://www.mustang-unl.com/. Usually less than $8 for the kit with one pin & 2 bushings.
The hard part is to get the old pin out. Some were spot welded in, others were hammered so that the end mushroomed. Either way, it takes a grinder or cutter bit in a drill or Dremel tool to cut the pin or grind off the weld. Once it is off, tap the pin out with a hammer and a pin punch. Only remove one pin at a time so that you don't have the full weight of the door to manage. I highly recommend that you have a helper standing by to hold the door.
Once the old pin is out, lower the door and tap out the old bushings. Put the new bushings in and have the helper lift the door in place so that you can slide the new pin in. It may have to go in differently from the way it came out. That's OK, as long as you put the cotter pin in the hinge pin.
OOOPS!!!The important thing to remember is that the hinge pin isn't supposed to move once you are finished. If it does, then you will end up like me - the pin moved, it wore the door hinge instead of the replaceable bushings. Now in order to fix it right, I had to remove the whole thing again and drill out the hinge to the same size as the bushing and use 2 sets of bushings in each hinge rather than one set.
The fix for the OOOPS was very time consuming and if you aren't up to some very interesting machine work, do it right so you won't have to do it again. I fixed the OOOPS but I had $65 worth of drill bit and specialized reamer plus pulling the fender off to fix it.
I ended up removing the fender and removing the hinge bracket. Set the hinges up in a drill press to insure that the holes will be drilled straight and in line with each other. Getting the hinge bracket set up in the drill press is very important. The top hole and bottom hole are drilled and reamed without taking the hinge bracket out of its mounting on the drill press. This insures that the holes are in prefect alignment with each other.
Then I used a 15/32 drill to the old hinge pin holes out. Next, I used a .4780 straight reamer in the drill press to ream the holes out to the same size as the replacement bushing. Push the bushings in and use a little hard setting Locktite to secure them. If I did it again, I would probably go with .001-.0015 smaller reamer for a press fit.
A word or warning, if you choose this method, mike the bushing OD before you order the reamer. You bushings may not be the same OD as the ones I used. The reamers can be purchased with almost any size OD you need, but be sure to get the right size the first time.
Drill bit and reamer are available from MSC direct (
www.mscdirect.com)
Reamer P/N 72034788 - Drill bit P/N 84579861