
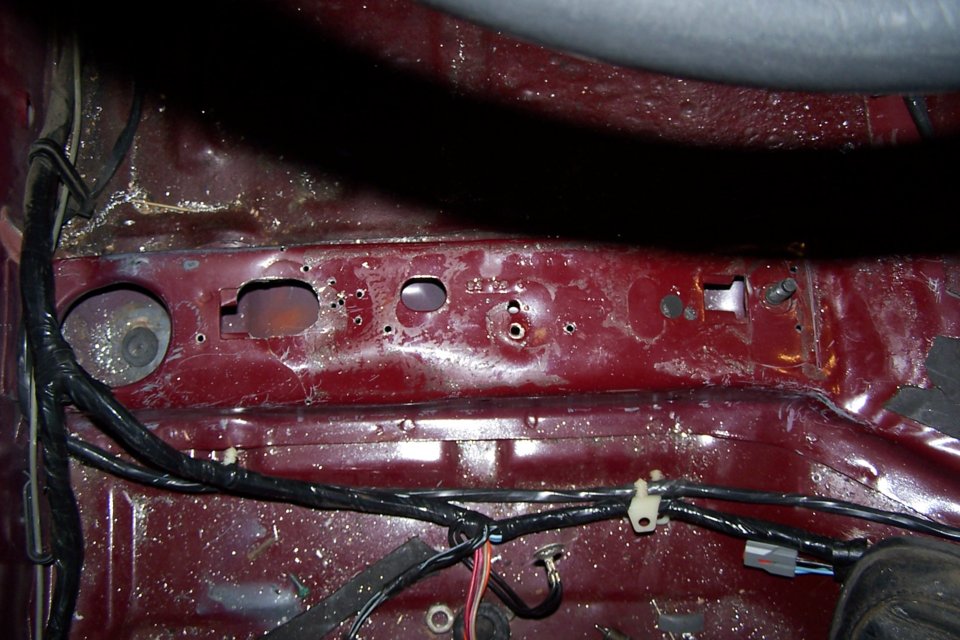
The floor pan where the seat bolts down is cracked. This is a headache because you must remove the carpet and interior to get to the damaged area to fix it.
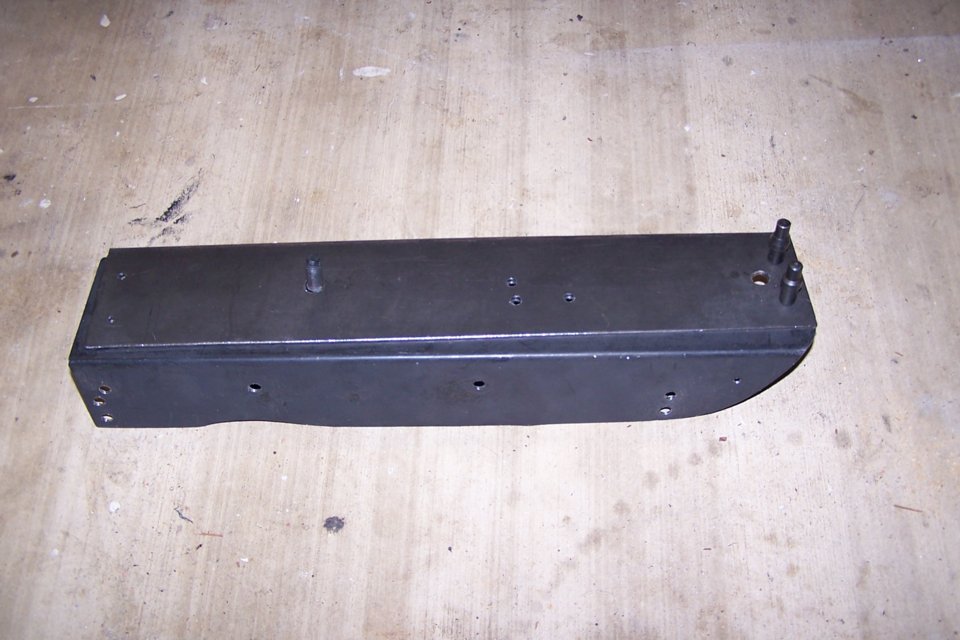
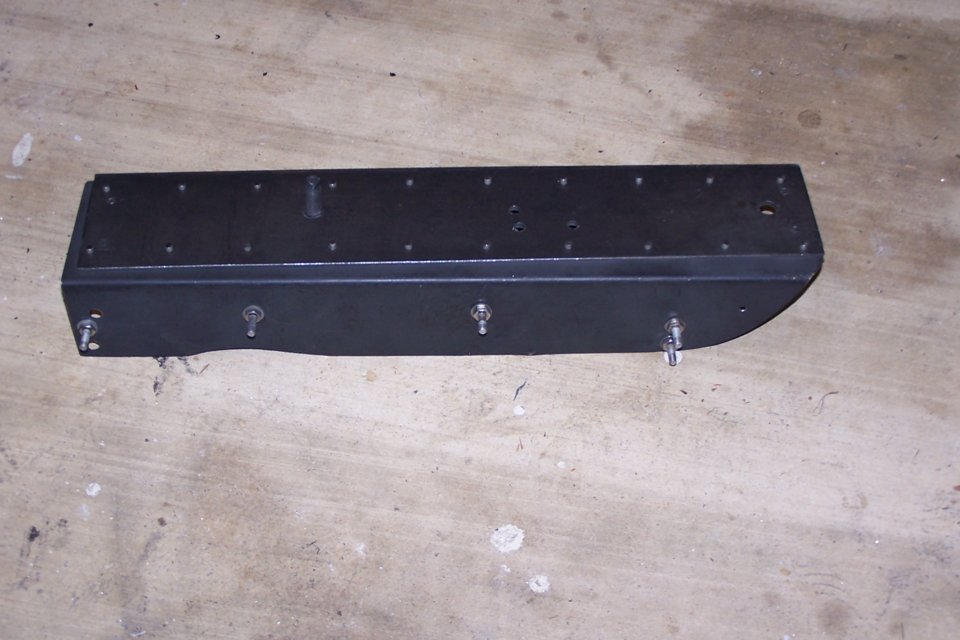
This is what my solution to the problem looks like:
I don't have a welder and it would have been difficult to get the car to a place that could do a satisfactory job of welding up a suitable repair..
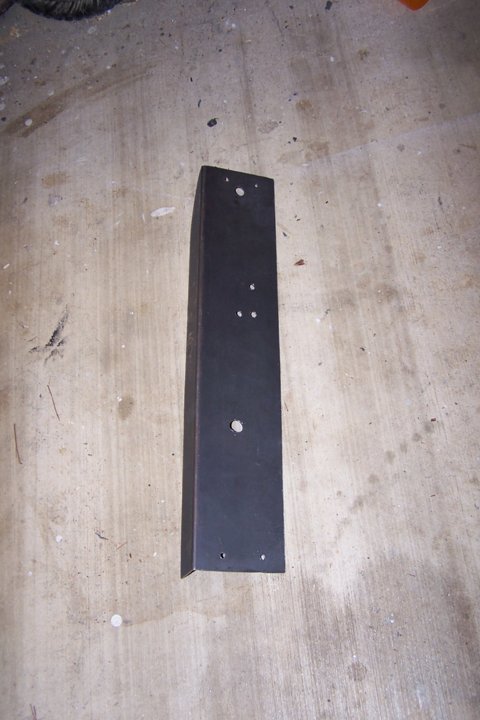
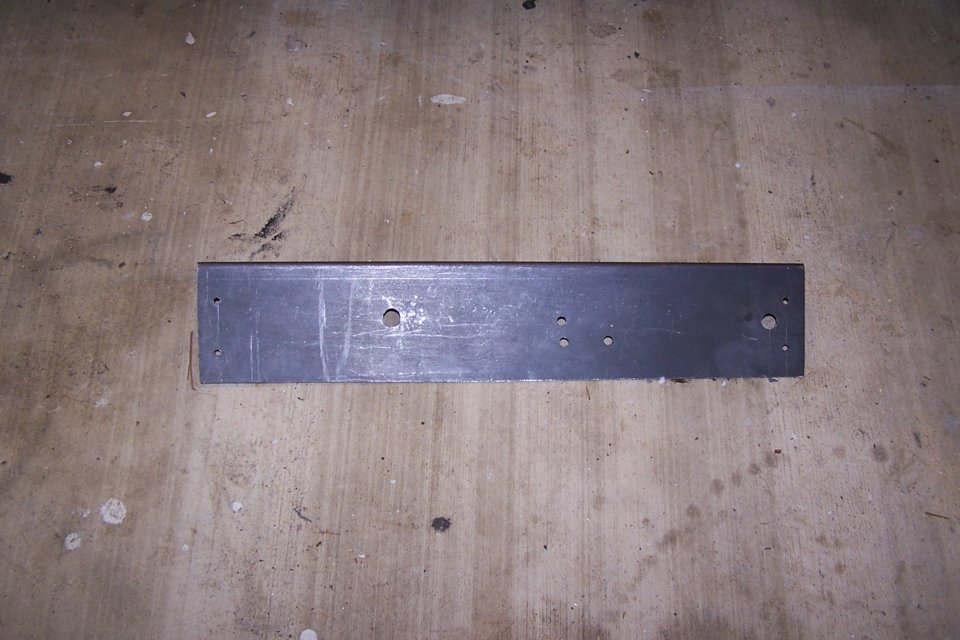
Two pieces of 16 gauge steel that overlap at the top to make an approximately 1/8" thick hat section.
The angle sections are riveted together with monel 1/8" diameter solid rivets.
The repair is secured in place with 18 each 1/8" Cherrylock Aircraft Structural rivets.These are NOT the same as cheap Pop rivets!!! Each rivet has ashear strength of greater than 600 pounds and there are 18 rivets. The total shear strength for the riveted joint is over 5400 pounds per side. Considering my body weight, that would hold over 25 G impact for each side of the repair.
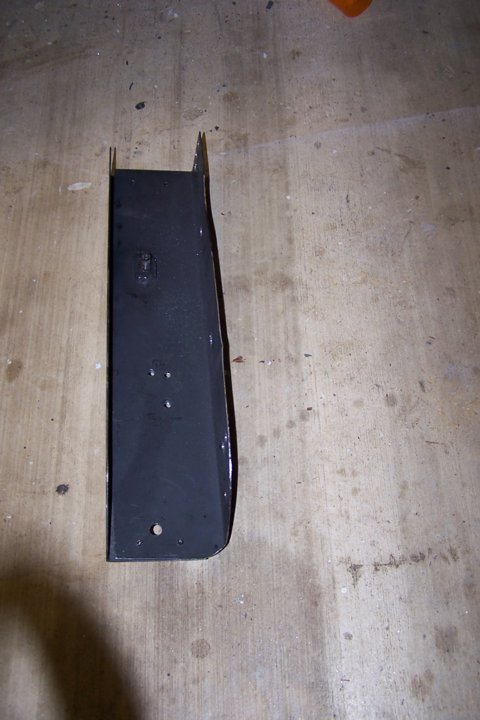
Notice that the first picture shows the damaged material cut out and the cracks are stop drilled. This keeps the cracks from spreading further and is a necessary step. This necessary even if you weld whatever repair you do in place.
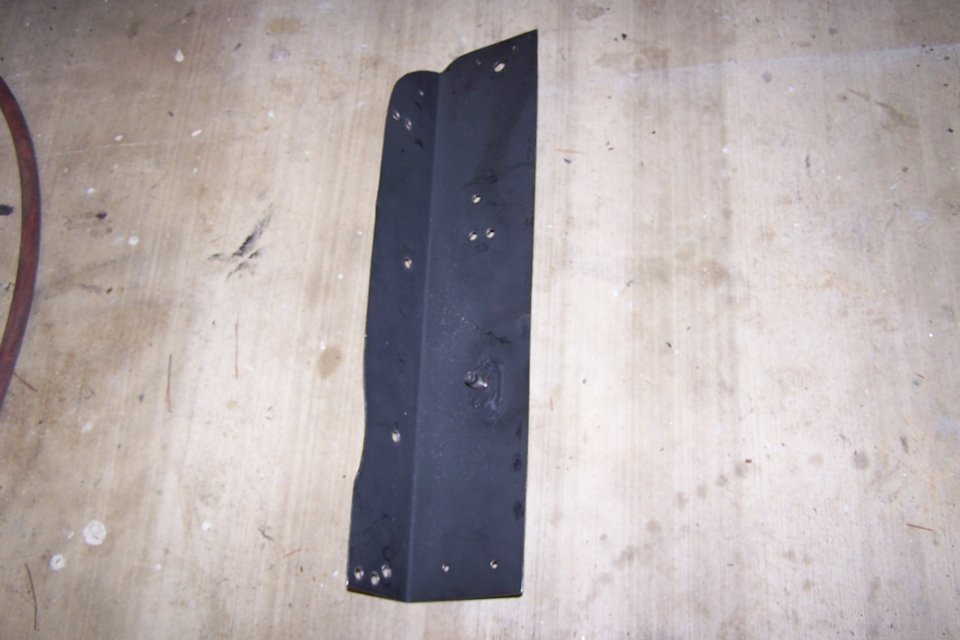
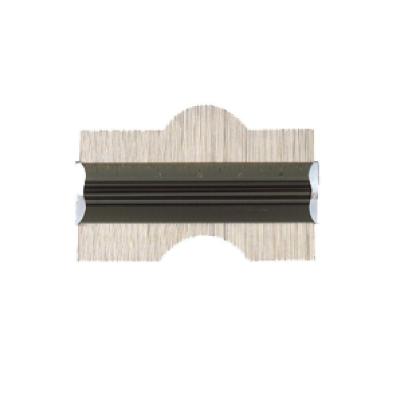
Notice the contour cut into the Rh side of the lower leg. That was done using a contour gage from Home Depot to pick up the shape of the floor pan.
Also notice the one stud for the seat that is welded in place. This is the only weld in part.
The studs need to hold the wiring harness in place are flat head screws that were countersunk. The heads are flush and the locknuts used to hold them in place. A little Super Glue on the threads insures that they will never come loose.
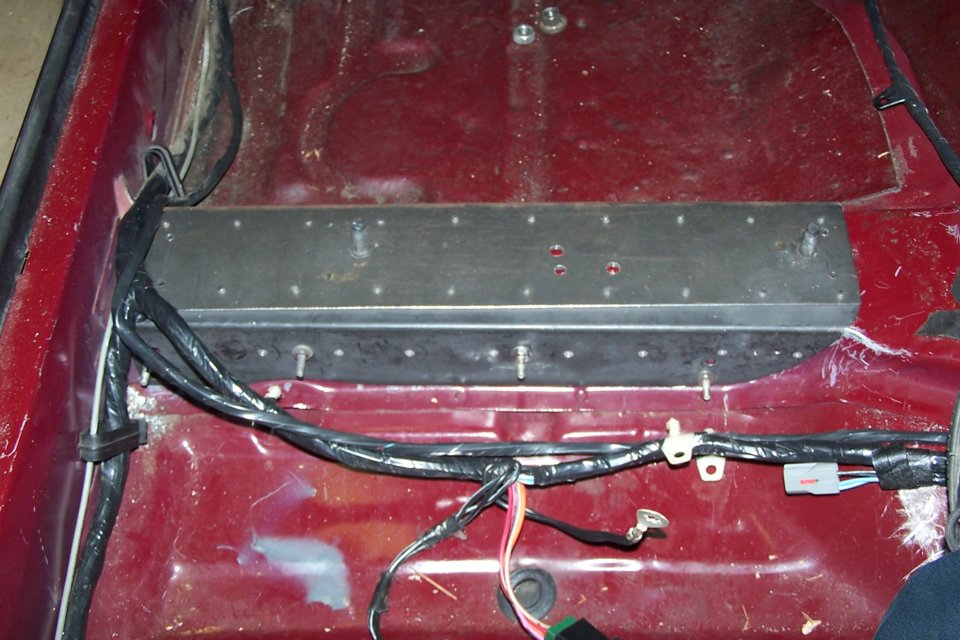
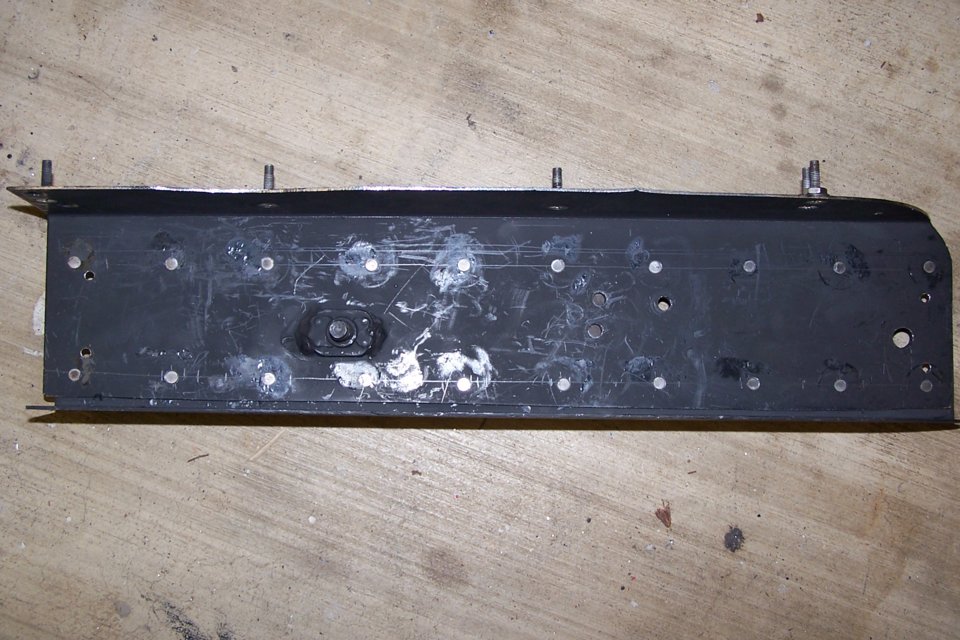
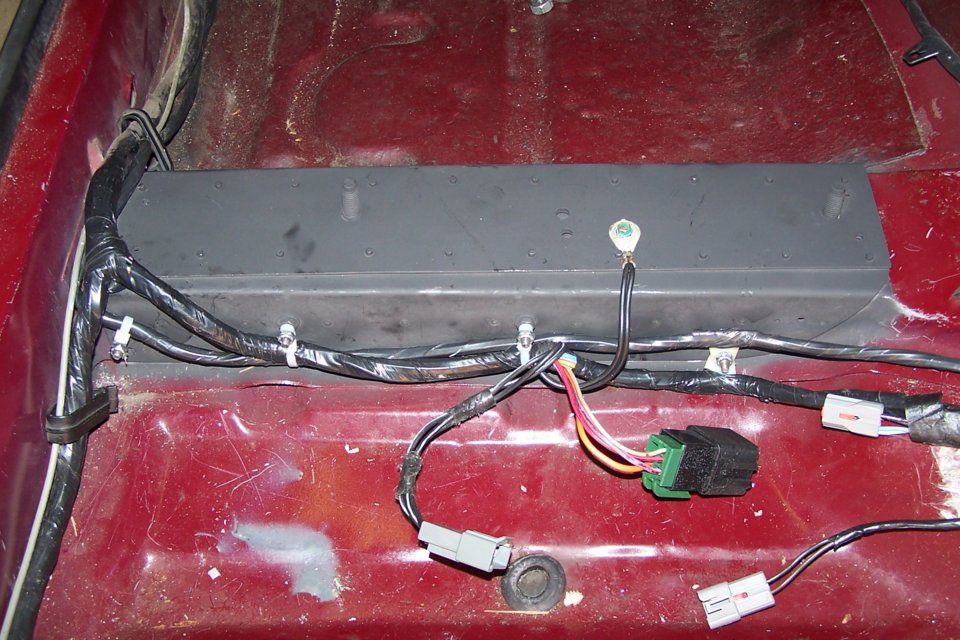
Here’s what the finished repair looks like
It may be that welding the "L" shaped pieces in place one at a time would work. Cut and fit one "L", drill the bolt hole and the weld a bolt in the hole that is for the missing stud. Then weld it in place. Then repeat the cut and fit of the next "L" and weld it in place.
This is what my solution to the problem looks like:
I don't have a welder and it would have been difficult to get the car to a place that could do a satisfactory job of welding up a suitable repair..
Two pieces of 16 gauge steel that overlap at the top to make an approximately 1/8" thick hat section.
The angle sections are riveted together with monel 1/8" diameter solid rivets.
The repair is secured in place with 18 each 1/8" Cherrylock Aircraft Structural rivets.These are NOT the same as cheap Pop rivets!!! Each rivet has ashear strength of greater than 600 pounds and there are 18 rivets. The total shear strength for the riveted joint is over 5400 pounds per side. Considering my body weight, that would hold over 25 G impact for each side of the repair.
Notice that the first picture shows the damaged material cut out and the cracks are stop drilled. This keeps the cracks from spreading further and is a necessary step. This necessary even if you weld whatever repair you do in place.
Notice the contour cut into the Rh side of the lower leg. That was done using a contour gage from Home Depot to pick up the shape of the floor pan.
Also notice the one stud for the seat that is welded in place. This is the only weld in part.
The studs need to hold the wiring harness in place are flat head screws that were countersunk. The heads are flush and the locknuts used to hold them in place. A little Super Glue on the threads insures that they will never come loose.
Here’s what the finished repair looks like
It may be that welding the "L" shaped pieces in place one at a time would work. Cut and fit one "L", drill the bolt hole and the weld a bolt in the hole that is for the missing stud. Then weld it in place. Then repeat the cut and fit of the next "L" and weld it in place.

")


