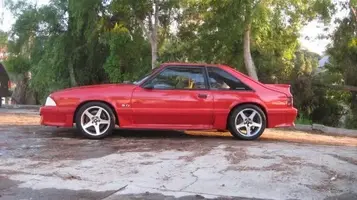
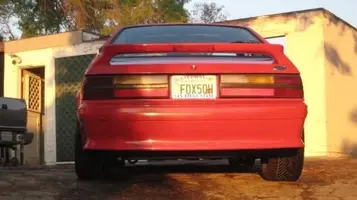
Progress Thread Komo's 1990 GT - Parts Gathering Purgatory & Home Remodel

The ratchet strap is the way to go.

Big ass hammers like to eat threads in these situations.


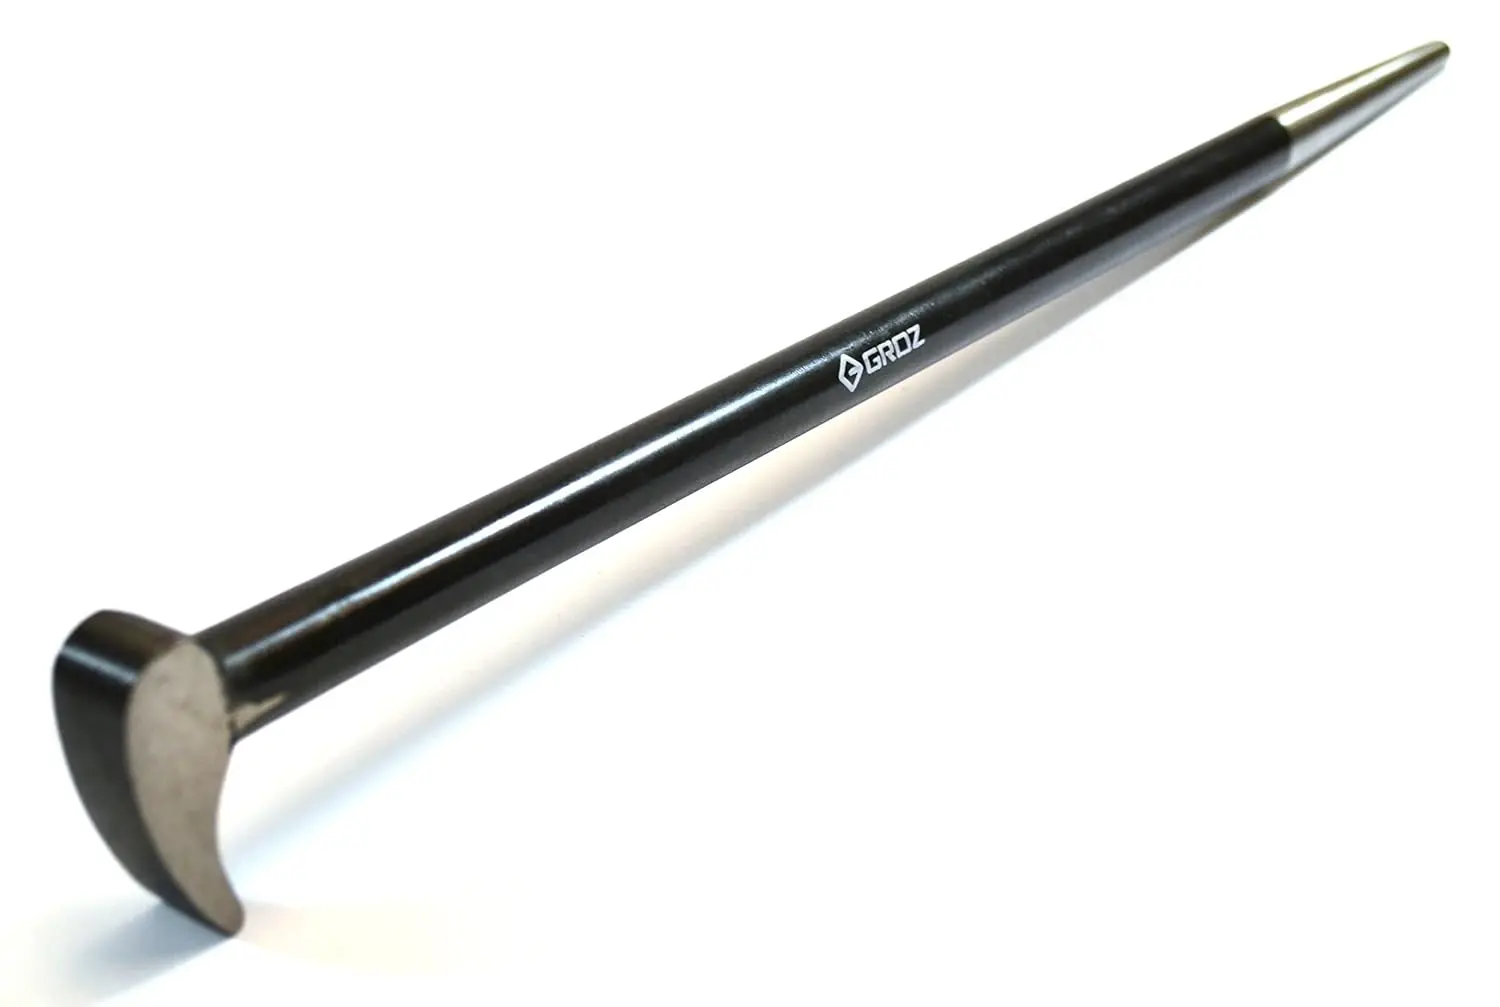
These are useful too:

1743819364560.webp


The longer the taper the more useful they are.
I have something similar that’s how I got the one side to line up. My work was interrupted by a waking child so I probably just need more time to fiddle with it.
 
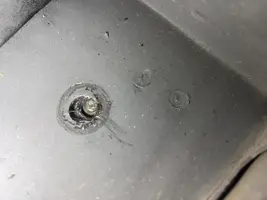
Ok well, good and bad news. With my crowbar-ish tool i was able to get the rear bolt in and nut on, so the rear is good. The bad is, I must’ve not made sure the front bolt was ALL the way through because when I went to put the nut on the front, the bolt slipped back in slightly and now the front isn’t lining up, as shown here:

IMG_8399.webp

Lesson learned (and not sure why I didn’t do this originally), make sure the front bolt is through AND loosely put the nut on. Dummy move. Hopefully this weekend I can do the ratchet strap method. It’s so close!

And here’s a photo of the original LCA bushings, toast!

IMG_8400.webp

They all look like this.

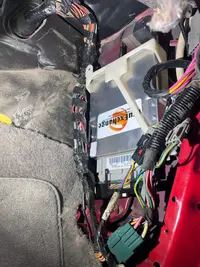
So, I gave up for tonight since my ratchet straps weren’t readily available and moved on to putting my ECU back in. Here’s as far as I got before quittin’ time tonight:

IMG_8401.webp

Only thing that worries me is I can’t see, so I can’t be 100% certain if I’m pinching any wires between the black thing and bottom of the connector. The wires are packed so tightly in there.
 
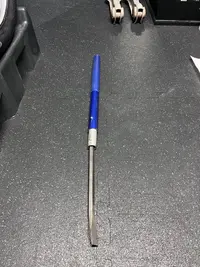
Got the passenger side in tonight. Went ‘smoother’ with lessons learned, had to use the ratchet strap method again but it was much more difficult to get it (rear this time) to line up exactly, many back and forths adjusting the strap, and ultimately I had to use this contraption putting pressure on my ratcheting wrench while ‘screwing’ aka just pushing the bolt in while it turned:

IMG_8405.webp

But, all is in and well. Still need to torque the bolts, but everything is wrench tight and solid.

So torque nuts, rehookup exhaust, install sway bar, adjust ride height… don’t think this would work (on lowest the pad could go):

IMG_8403.webp

And just a pic of them installed:

IMG_8404.webp

Oh and pray I have the correct passenger/driver side LCA!
 
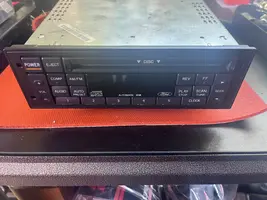
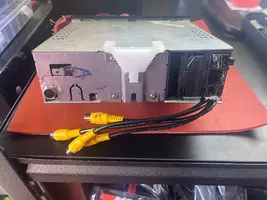
Got my OEM radio back in. Can’t say what exactly I was expecting with the added RCAs connections, but as you can see the new wires just come out the bottom with some kind of epoxy. Not the cleanest but I suppose it’s all hidden anyways. Bluetooth added as well:
IMG_8406.webp

IMG_8407.webp

And that connector at the top right… can’t remember if I sent it in all smashed up like that or not, or even what it connects to… it just comes out so I need to check the wiring in the car and see if it actually gets hooked up to something or if I can leave it out.
 
IMG_8407.webp

And that connector at the top right… can’t remember if I sent it in all smashed up like that or not, or even what it connects to… it just comes out so I need to check the wiring in the car and see if it actually gets hooked up to something or if I can leave it out.
Just want to confirm, i searched and found this post:


that top right connector is for the CD player? If so, i believe he disconnected my CD player as it was broken and unfixable... if thats the case i will just remove the damaged connector.
 
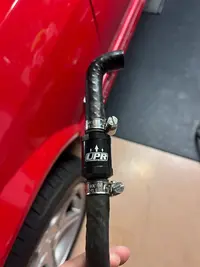
Got the one way check valve and PCV hose installed:

IMG_8416.webp

Also torqued the RLCAs, got the exhaust back on and sway bar. The LCA job is officially completed. Next is wrapping up the interior stuff, I.e. the ECU all snugged up in its spot, put the resealed blower motor back in…. While the kick panel is off I’ll probably tackle the passenger side door weatherstripping. After that or during, install the radio. At that point the car will be drivable again at least.

Need to get it on flat ground to get the final rear height adjustments dialed in… quick measurements tonight tell me I’m off about an inch side to side but I’m also on ramps and the tires may not be sitting entirely even on the ramp lips.
 
Got my OEM radio back in. Can’t say what exactly I was expecting with the added RCAs connections, but as you can see the new wires just come out the bottom with some kind of epoxy. Not the cleanest but I suppose it’s all hidden anyways. Bluetooth added as well:

IMG_8406.webp

IMG_8407.webp

And that connector at the top right… can’t remember if I sent it in all smashed up like that or not, or even what it connects to… it just comes out so I need to check the wiring in the car and see if it actually gets hooked up to something or if I can leave it out.

Hmm.That radio you sent out for repair looks a little amateur? I don't think I'd be pleased with that. I would have expected they punch or drill a hole in the chassis and put in a rubber grommet. Looks like they just bent the corner of the chassis down to make room for the wires.

Hopefully it works well.
 
Hmm.That radio you sent out for repair looks a little amateur? I don't think I'd be pleased with that. I would have expected they punch or drill a hole in the chassis and put in a rubber grommet. Looks like they just bent the corner of the chassis down to make room for the wires.

Hopefully it works well.
That’s exactly what I was thinking! Lol… Maybe I can do that… I have a drill and an assortment of grommets.
 
Got the ECU as snugged up as I think it’ll get it. Got the blower motor back in (kind of a pain). I decided to fiddle with the radio some other time… and put that back in for now. Looking around, I think someone may have added the ‘premium’ sound to my car. There is no football amp under the dash/behind the radio, and the amp under the seat is just like floating around and there’s a bunch of visible wires just running down the side of center console to the amp all jankily. Need to clean all that up.

Started removing the trim around the door to do the door weatherstripping, but then got tired.
 
Man you are getting me motivated to start a project on my Coupe…damn you.
I’m just trying to play catch-up for not having a Fox for a decade. But that’s what forums are for, motivation!

Sometimes I wonder what my old one would’ve been like now if I had kept it.

Edit: also, having the car inside is a game changer. Can get so much more done.
 
Last edited:
  • Like
Reactions: AeroCoupe
When it’s time to mount the badges, this may help you get the proper placement if needed. [courtesy of Hemmings.com]
I assume although they are the S550 style that this would still be a good “guide”.
IMG_1035.webp
Thank you, my first thought was to just tape exactly around the existing ones then just put the new ones in the same spot, but I haven’t checked if they are the same size. This will be a good check once I get them on for whatever adjustments I can make.
 
  • Like
Reactions: 91AOD5.0LX