Scrapla347
Active Member
I use a piece of vacuum hose I shove onto the plug and use it to get them started then a very long extension with a wobble socket.
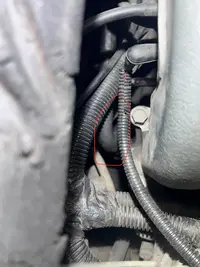
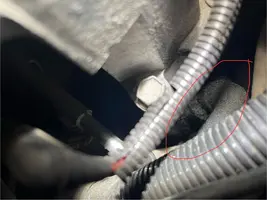
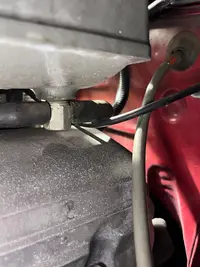
ok good to know those can be removed easily without causing any issue. I think thats the route i'll go. I may not even have to 'remove' the entire hose assembly, just the back part. Back in the day i KNOW i changed the plugs without removing anything but the air box/tube up to the TB, that's why i tried that way this time... but i'm tired of bending over the side of the car fiddling with it. Will just remove that stuff to make more room.

How long has it been in there for? Does it smoke or burn though oil? If not, and you personally never changed them before I'd just run it and check it next oil change.For all, what are your thoughts on that nasty #7 plug pictured

So i bought the car in September of 2024. This is my first plug change and i have no idea how long the existing ones were in there. The electrode (head) of the plugs all look pretty square and not rounded off so i would assume they are somewhat newish? The car has only been driven probably 100-150 miles (not including the 40 mile drive home) since ive owned it. I'll wrap up changing the plugs (and wires) and keep an eye on it. That plug specifically is easy to get in/out thankfully.The first time you take it off it might be a bit of a pain. But when you do it the first time you can put all the clamps facing in a good position. Then it literally take 3 minutes to take it off next time, with these cars there wil ALWAYS be a next time
Makes the whole process so much easier.
How long has it been in there for? Does it smoke or burn though oil? If not, and you personally never changed them before I'd just run it and check it next oil change.

good idea!I use a piece of vacuum hose I shove onto the plug and use it to get them started
I would bet they are just busy. I'm pretty sure all they do is replace the caps and make sure the thing powers on.ECUExchange sent me an email saying my ECU was taking longer than expected... hopefully that doesn't (or does? lol) mean it was all fubar'd up.

Good plan, just made me nervous that the one plug was literally covered in black wet sludge down inside and around the plug head so I know it’s not from it getting dirty just from pulling it out and scraping against the caked on dirt on the head.For me without knowing the history on the plugs trying to get any info from how they look is pointless. Put the new ones in and run it. Pull the #1 and #6 and then see what they look like.
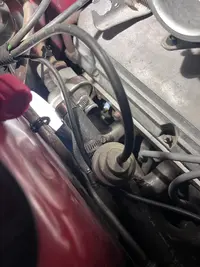
Ya it seems the consensus is to replace them and check later. So last night I finished up the plugs and wires, I’ve done the fuel pump and filter, cap/rotor. Just need to check timing and bump up to 12 degrees once I can start the car again. 10-minute tune up should be complete. I cleaned the throttle body blade which didn’t look too bad… a little black buildup on the backside but nothing crazy.If the valve covers leak or leaked in the past the oil will migrate down the plug threads. Another thing is that when motors sit for a long time all bets are off. Just replace the plugs and then start reading them.

If you have the poly bushings it wouldn't hurt to add the grease to the outsides as well as poly can sometimes be squeaky. Below is a link to the grease you need, perhaps a local auto parts store might have it.Ya it seems the consensus is to replace them and check later. So last night I finished up the plugs and wires, I’ve done the fuel pump and filter, cap/rotor. Just need to check timing and bump up to 12 degrees once I can start the car again. 10-minute tune up should be complete. I cleaned the throttle body blade which didn’t look too bad… a little black buildup on the backside but nothing crazy.
I think the next thing on my list will be to tackle replacing the rear LCAs, I just need to buy a second set of jackstands. Do I need any special grease for the outside of the LCA bushings? I read the MM instructions and they don’t mention putting grease on the outside of the bushings (like where the bushing meets the hangars), just on the inside when installing the bushings. I think overall that should be a fairly straight forward job.
Started the LCA swap, but only got as far as taking apart the bushings and re-greasing them all. Got under the car and was just going to loosen the front/rear bolts but ran into the known issue of the mufflers being in the way of the forward bolts. So i just need to loosen the catback connection to midpipe, get the exhaust out the way. Good news is, i can do this without extra jackstands. I'll just use a jack to lower/raise the rear of the LCA (one side at a time) for the swap. CJ Pony has a good youtube tutorial.I think the next thing on my list will be to tackle replacing the rear LCAs, I just need to buy a second set of jackstands. Do I need any special grease for the outside of the LCA bushings? I read the MM instructions and they don’t mention putting grease on the outside of the bushings (like where the bushing meets the hangars), just on the inside when installing the bushings. I think overall that should be a fairly straight forward job.