powdercoating

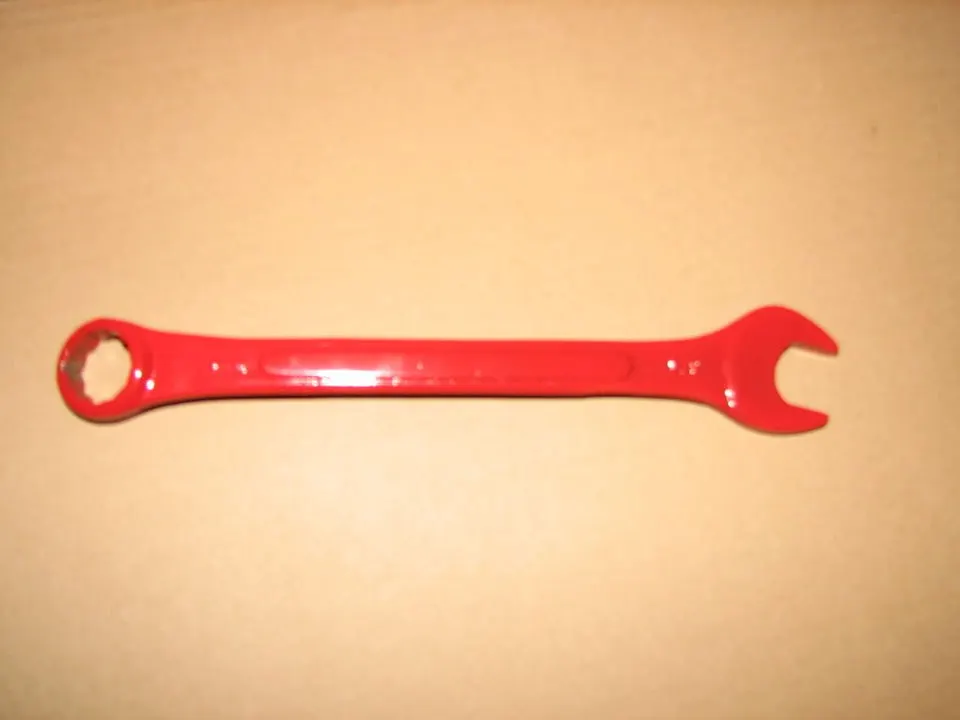
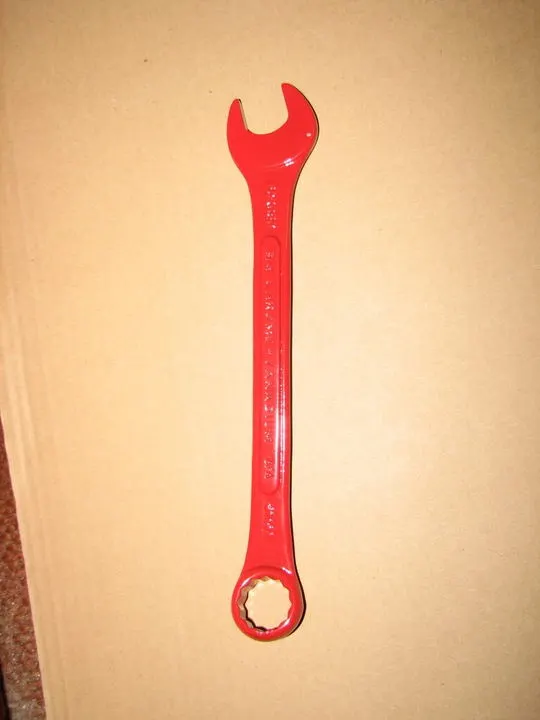
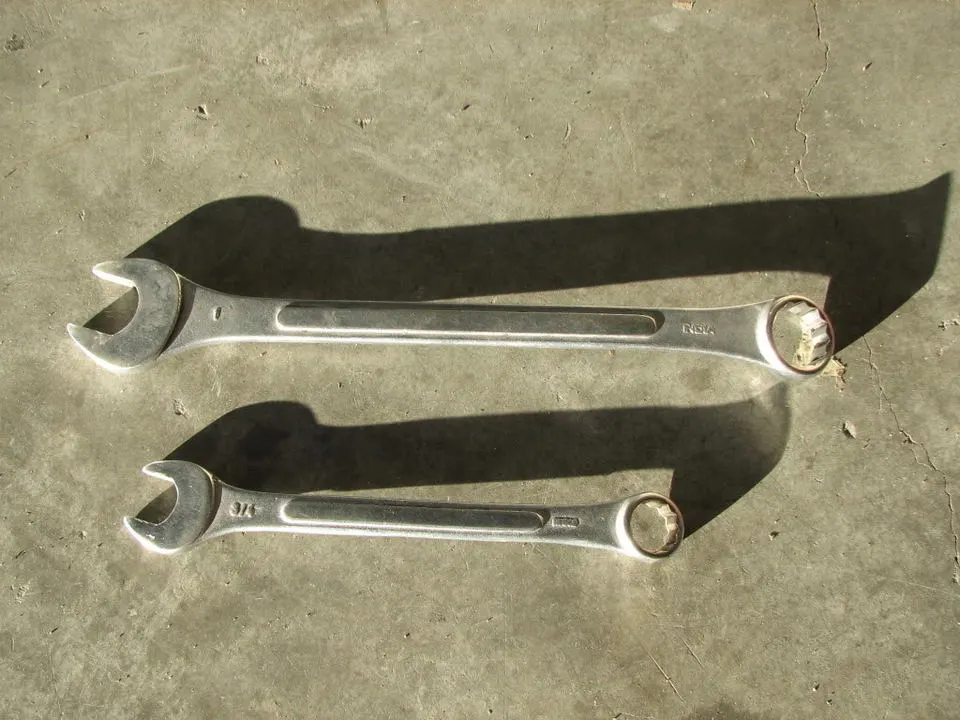
here's the before and after.....

i only had enough time to do one of the wrenches so both "after" pics are of the same wrench. i apologize for the out of focus pic. damn camera :)

I'll do the other wrench in yellow on monday.
IMG_3651.webp


IMG_3652.webp


IMG_3653.webp


i can see a couple of spots where the powder was applied to thin, and i also touched the wrench against the rack when i put it in the oven so i have a blank spot about the size of a pin head. other than that, i'm very happy with how it came out. i'll try to touch up the messed up spots on monday and see how that comes out.

thanx for the help!!!

i think i'm going to need a bigger oven :eek: :D
 
You'll be better off re-coating the entire thing. If you try to touch up one spot, you're going to end up with some powder 'dusted' in other areas, and when it cures it'll end up grainy like overspray. Also you'll have to warm up the wrench prior to recoating. Bring it to a little over 150* and then spray it. It'll help the powder stick, otherwise it'll be a bitch.

Before you know it you'll want an oven like this bad boy:

13034_169590663190_706673190_2878701_6494369_n.jpg


Don't mind the Mexican hat and other junk, we'd just moved in when the oven was delivered.
 
Send it to me, I'll do it ;) I went big with the oven because I do this a ton on the side. I generally do a bunch of parts at once and keep them on the shelf so when they're sold I don't have to do anything. I can throw a ton of brackets/accessories in this bad boy and finish them all in one shot :nice:
 
You'll be better off re-coating the entire thing. If you try to touch up one spot, you're going to end up with some powder 'dusted' in other areas, and when it cures it'll end up grainy like overspray. Also you'll have to warm up the wrench prior to recoating. Bring it to a little over 150* and then spray it. It'll help the powder stick, otherwise it'll be a bitch.

Before you know it you'll want an oven like this bad boy:

13034_169590663190_706673190_2878701_6494369_n.jpg


Don't mind the Mexican hat and other junk, we'd just moved in when the oven was delivered.

i already want a bigger oven and the only thing i've done is that damn wrench :D what does a rig like yours run? i would guess several thousand? i had the opportunity to pic up a BIG oven for cheap. it was something like 6x8x10 feet! but it ran off of natural gas and 220 and i figured it would be very expensive to operate.

if i'm going to recoat the entire thing, do i need to blast it back to bare metal? i hope not! or just scuff with the 400-600 paper like you mentioned before. then reshoot the whole thing? once i get some high heat tape, i'm going to start experimenting with masking things off (like lettering, etc) and start trying my hand multiple color pieces. i think i'm gonna like this stuff!!

thanx again for all the help. i already have a buddy of mine asking me to do his bezels off the gauges from his boat :nice:
 
You could scuff it, but it's not necessary. Just wipe it off to be free of dust, then warm it up so that it's 150 degrees or so. At that point, take it out of the oven, then just shoot more powder on it and cure it like normal. The full 15-20 minutes.

My oven was $1350 or so, plus freight which brought it to almost 2 grand. You can build your own if you're handy, there's lots of sites with tips on how to do so. I'm not much of a welder and haven't even turned mine on in 5 years, so I didn't want to screw around. Plus I needed mine ASAP and didn't need any more downtime of not powder coating so I just bit it and bought one already done up. Teds Fabs is the guy who built mine. It's 3x3x4. He has larger ones and also builds custom sizes.
 
Yea, just plug up the vacuum holes with those silicone plugs mentioned earlier in the thread, and use high-temp powder coating tape to tape up the bottom of the runners. For a lower intake, use plugs for injector holes, PVC hole, etc. and the same tape for the top of the runners. The tape is made to withstand high heat, so you just cut it to fit where you want it, spray the powder, then cure the part and take the tape off later. That way you don't mess up powder when pulling off the tape before it's been cured.
 
just pulled the wrench from the oven after coat #2........LOOKS GREAT!! all of the areas that were thin before now look good, the spot that i knicked on the oven rack the first....that spot looks good. i'm EXTREMELY happy with how it came out.

now i think i'll try the valve covers off of the 302 :eek: :D

i would post a couple of pics from the recoat, but i don't think it would look any different in the pictures.
 
I'd notice the inside of the box-end being coated ;)

I just pulled a batch from the oven too. Fun times...lol

Glad you seem to have everything figured out. If you run into some issues w/the finish just post up.
 
just tried using the yellow. it's MUCH harder to get a good coverage. at least it was for me. i ended up doing a double coat again. the second coat us cooling now so i'll see how it turned out and post up a pic in the morning. do you find certain colors are harder to use than others? do you find a different quality from one brand to another? hopefully coat #2 took care of the issues from coat #1. :shrug:
 
this wrench turned out like crap!! i had it hanging from the closed end (the same way i did the red one) when i coated it. that end just would NOT coat very well. even after two coats it's extremely light. it's almost like the powder wouldn't stick? a large portion of the wrench is very thin on powder. i'll try scuffing it with sand paper this morning and reshoot for a 3rd coat. don't know what happened on this one?????? i think i'll just blame it on HF colors :nice:

is it possible that i applied the 2nd coat to early? i applied the 1st coat, baked it, let cool down most of the way, then applied the 2nd coat. should i let it cool completely, then ad a 2nd coat?

is it safe to assume that with these basic colors, i should not need to apply a second coat? or is 2 thin coats better than one thicker one?
 
You've got to be darn sure that you get proper coverage over everything. Sometimes it'll look like you did but after looking at different angles under good light you'll notice you missed a little. This is especially true at corners and lips/edges and with metallic colors. I'd say to take a picture after spraying it but unless it's extremely obvious it'll be tough to tell from a picture where exactly to point out the areas low on powder. It's trial and error at this point, don't worry. Good news is you can re-shoot it and cure it again with no worries. While you're at it why not do some other parts so you can work on spraying technique? Won't hurt.

Post up a pic of the finish?
 
i knew when it was going on that it was going on different than the red. i don't know if i didn't prep this piece as well or what was going on. it didn't matter how much powder i threw at it, there were areas it just wouldn't coat properly. so i went ahead with the first coat and just planned on doing a second figuring it would even itself out. SURPRISE! it did not. i would take a pic and post it up for you to take a look at but i've already hit it with some 600 grit, have my gun ready to go, and once it warms up a bit i'm going to shoot it again.

as far as other parts, i've got the valve covers from the 302 ready to start getting cleaned up. i'm going to go with the red on those. these should be a bit easier to spray since they will be sitting flat instead of hanging from a hook. i've got a makeshift box for now that makes it hard to get to the top of the pieces while they are hanging. it's definitely a work in progress :nice:
 
What air pressure are you using to spray? How far is the gun tip from the part when you spray? Make sure you can get that arc I told you about, if not then the grounding clip should be adjusted (likely) or the tip of the gun cleaned (less likely). If your air pressure is too high you could be blowing the powder clear past the part without letting it stick. The same could happen if you're too close if the air pressure isn't low enough. Or the powder could be bad...
 
i've got it dialed to about 20lbs. i'm hooked to a large compressor but i have regulator attached to the gun so i can adjust it. when i first pull the trigger, it does give a burst of air that i learned very quickly will clear the part of all it's powder where the air hits. so i know now that first second of trigger time is not pointed at the part. the psi then drops to a tad below 20. i could be holding it a bit to close. i'll try adjusting the psi and my gun technique and see if that cures the problem.

i would suspect it's user error and not product error. i'm just about to head out and try it again so i'll let you know shortly how it worked out this time. now i know, if the powder is not sticking, there are a couple of areas to adjust to fix the issue. thanx.
 
It's hard for the powder to get into some nook-and-cranny areas, but if you're having trouble on flat areas then that's different. You can have too much pressure/be too close even if it doesn't blow the powder off in an obvious manner. It could be just enough to make the new powder not stick, but not enough to blow off any powder that's already on there. Try backing up just a bit and move the gun in a circular motion to help adhesion.

One thing too as far as coverage goes, is you want to give it enough coverage so that it looks like a full snow dusting. If you don't have enough on there, it might look like your car windows iced over in the sense that you still have some transparency. I hope that analogy makes sense.
 
here's a couple of pics of how it turned out.....

IMG_3657.webp


IMG_3656.webp


on the right side of each pic, you can see the powder is a bit thin. i know why this happened and that will be corrected on the next job. other than that, the job came out very good....IMHO :D

on to the next one.