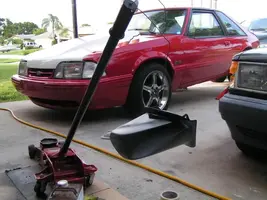
Test run at painting my trim pieces. Cost=$2. Dialup warning. *UPDATE* *MIRRORS*
Ive been wanting to restore/replace my trim pieces for a while now, theyve been slowly degrading in my driveway.
Ive had this can of trim paint sitting around for a while. Thought id give it a shot on one or two pieces and see how it came out before i go out and buy every piece of trim on 50resto, figured id do a little post for it while i was at it.
I remember the can costing $4-5? Ended up using little less than half of it.
Damn hard to paint outside on a windy day.
Tools needed:
Screwdriver
Paint
Cardboard
Rag
The Paint:
View attachment 467006
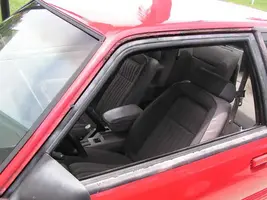
Unpainted Side:
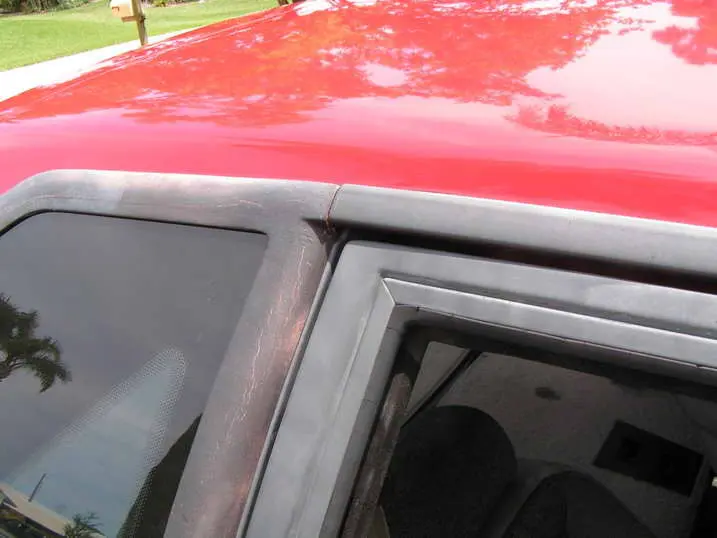
Painted Side:
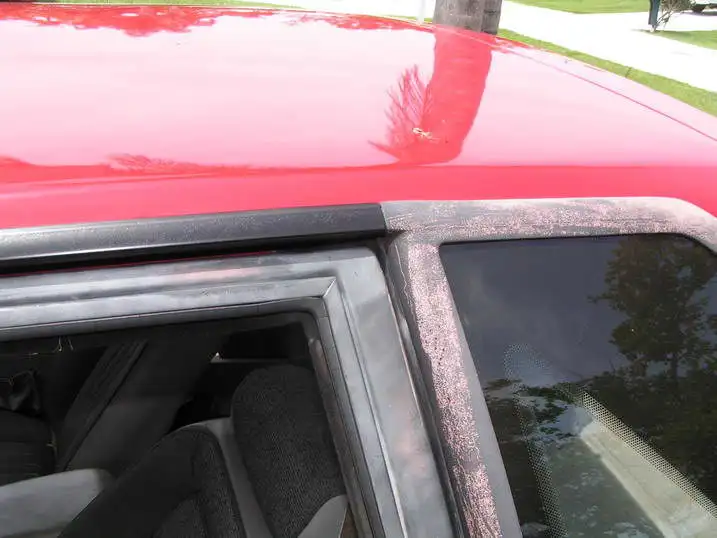
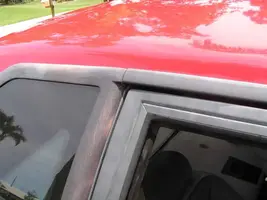
Before Paint:
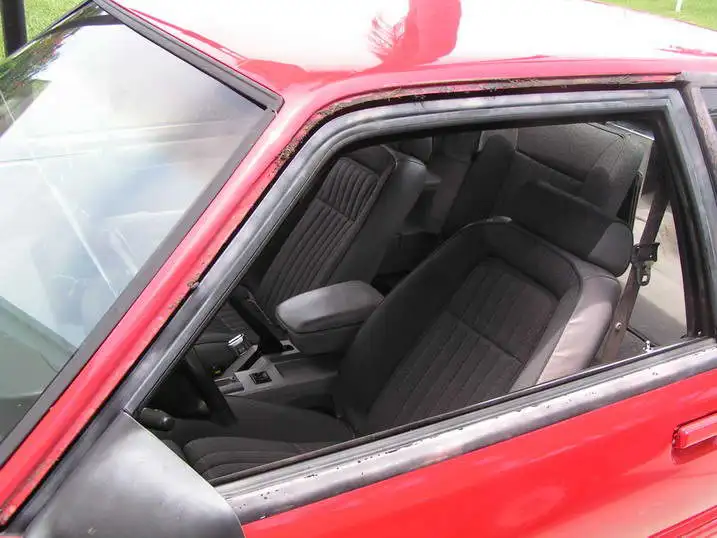
After Paint:
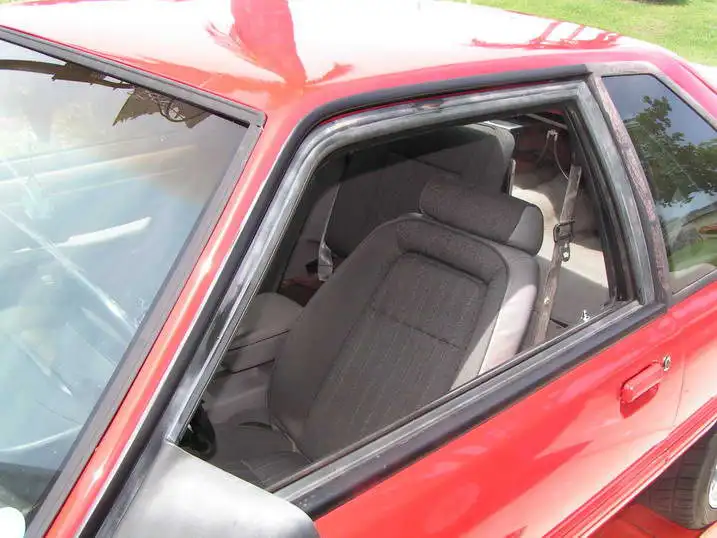
I didnt do many coats at all. Wanted to see how it went first.
I think it would be alot better if i coated a few more times.
It helped fill in some of the small cracks, didnt do much for the pitting.
Going to attempt the quarter windows, mirrors etc soon. then possibly the door jam itself.
I have a new 8 megapixel camera on the way.
Would anybody be interested in a picture writeup when i finish the car?
Let me know what you think
Derek
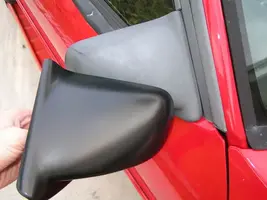
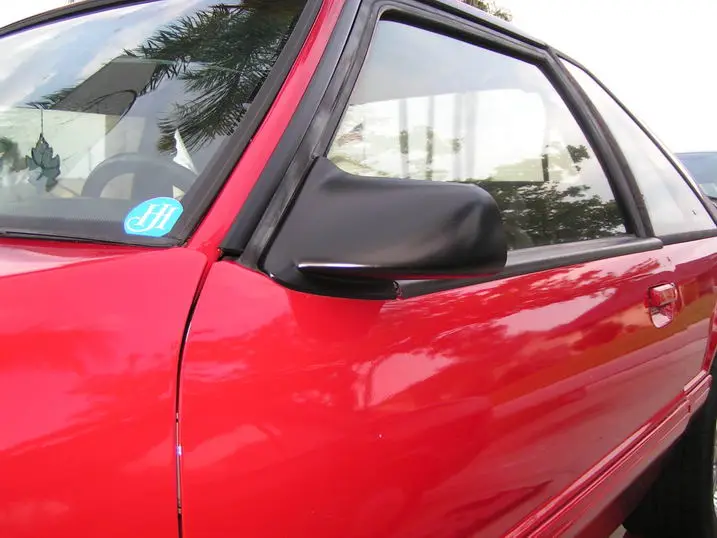
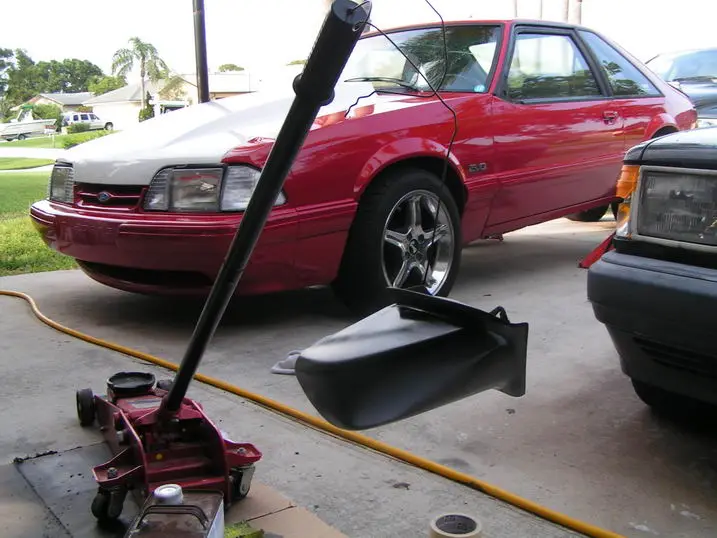
Attempted to do my quarter window. Found out i dont own any large torx bits. so i did my mirror instead. here it is.
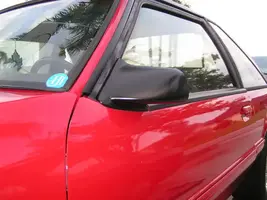
Comparison:
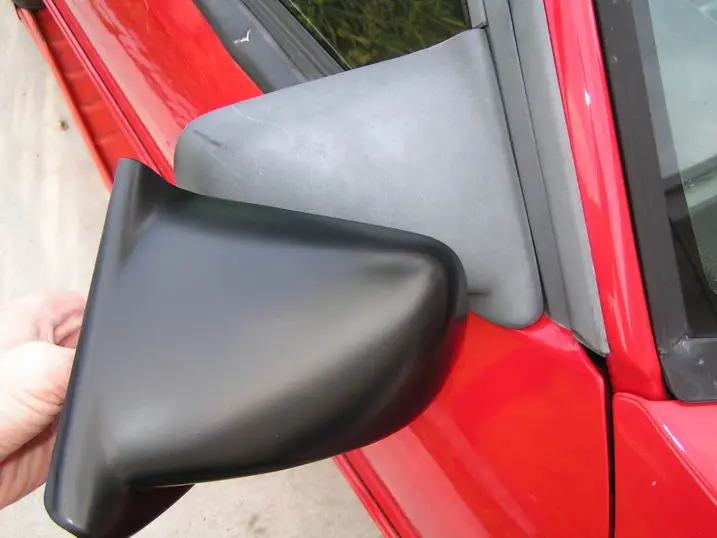
Mock up picture, not bolted in:
My ghetto paintbooth
Ive been wanting to restore/replace my trim pieces for a while now, theyve been slowly degrading in my driveway.
Ive had this can of trim paint sitting around for a while. Thought id give it a shot on one or two pieces and see how it came out before i go out and buy every piece of trim on 50resto, figured id do a little post for it while i was at it.
I remember the can costing $4-5? Ended up using little less than half of it.
Damn hard to paint outside on a windy day.
Tools needed:
Screwdriver
Paint
Cardboard
Rag
The Paint:
View attachment 467006
Unpainted Side:
Painted Side:
Before Paint:
After Paint:
I didnt do many coats at all. Wanted to see how it went first.
I think it would be alot better if i coated a few more times.
It helped fill in some of the small cracks, didnt do much for the pitting.
Going to attempt the quarter windows, mirrors etc soon. then possibly the door jam itself.
I have a new 8 megapixel camera on the way.
Would anybody be interested in a picture writeup when i finish the car?
Let me know what you think
Derek
Attempted to do my quarter window. Found out i dont own any large torx bits. so i did my mirror instead. here it is.
Comparison:
Mock up picture, not bolted in:
My ghetto paintbooth