Tightening upper control arm bushings at ride height dilemma… need some help

AnthonyA1234

5 Year Member
Aug 17, 2020
671
111
63
Florida
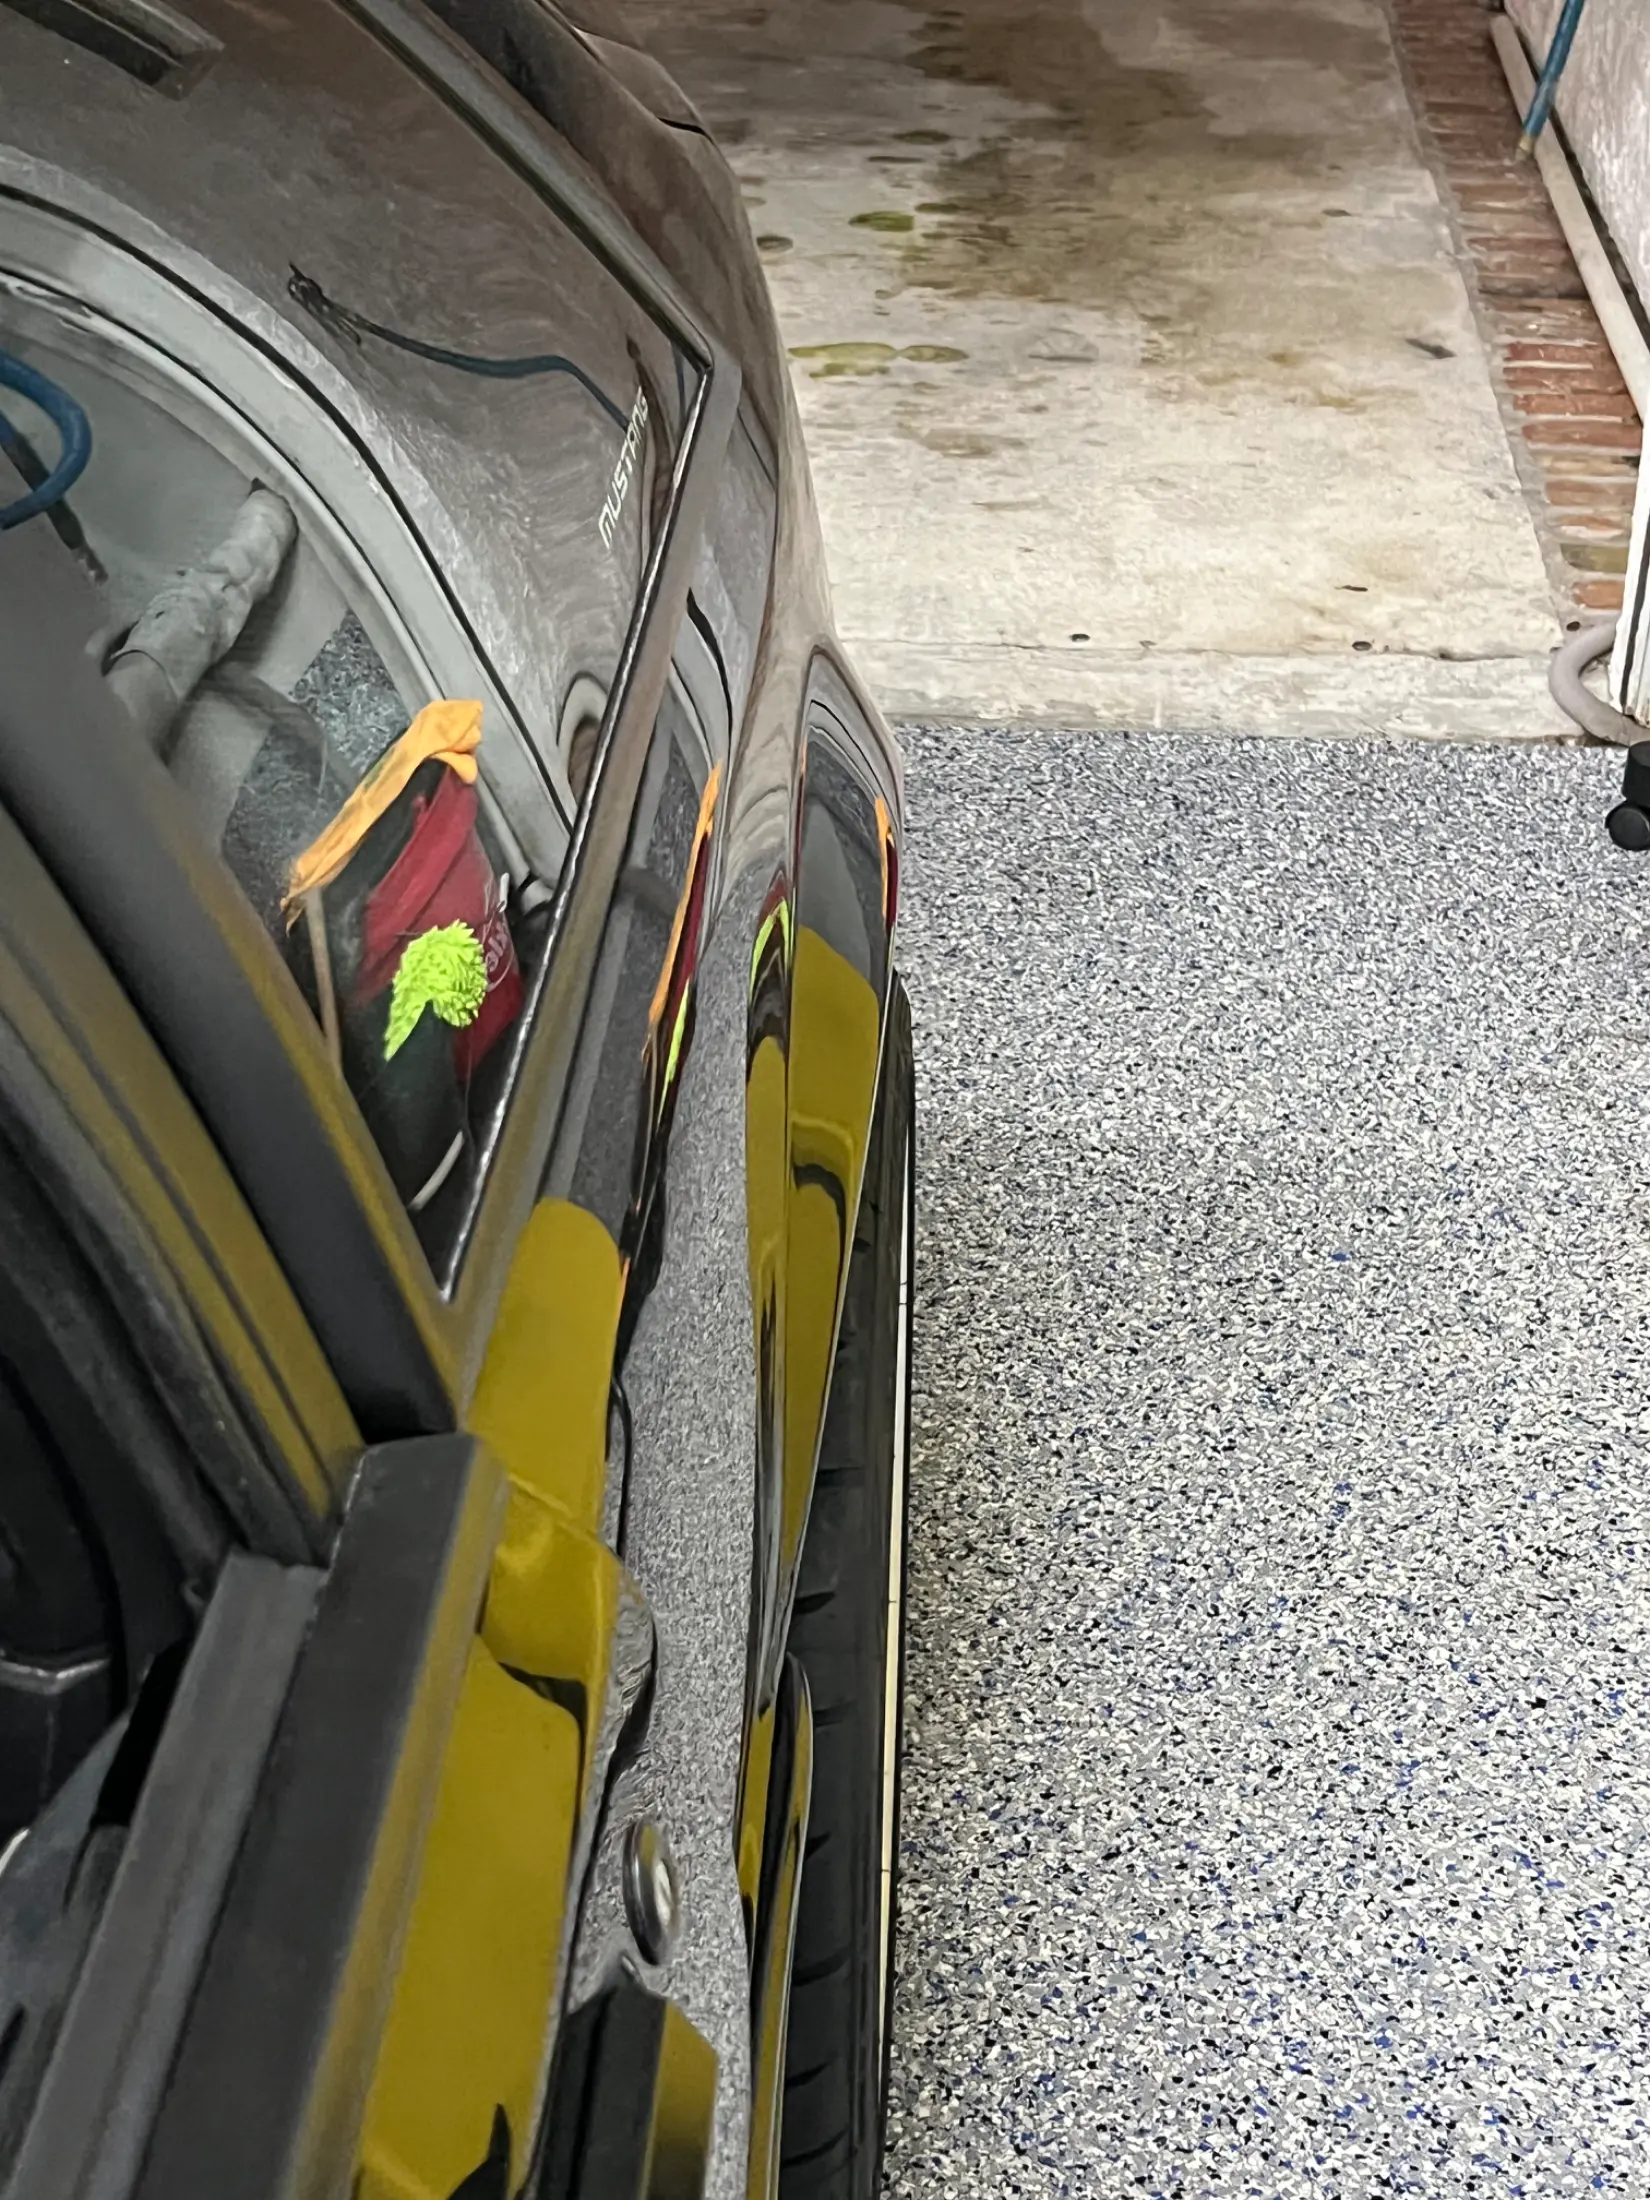
Hey guys, I got myself in a situation where I’m not too sure what I should do and wanted some guidance. So the rear control arm bushings in my car have been shot for a while, I’d get rear axel movement on full throttle, and driveshaft rubbing the floor pan. On top of this, my rear tires, one is much closer to the fender than the other, and my wheel gap is bigger on one side than the other.

So, with that in mind, I just purchased maximum Motorsport adjustable sport RLCA’s, ford upper rubber control arms, and sve series 3 wheels which are 10 inch wide (1 inch bigger than the 9 inch wide wheels I had before.

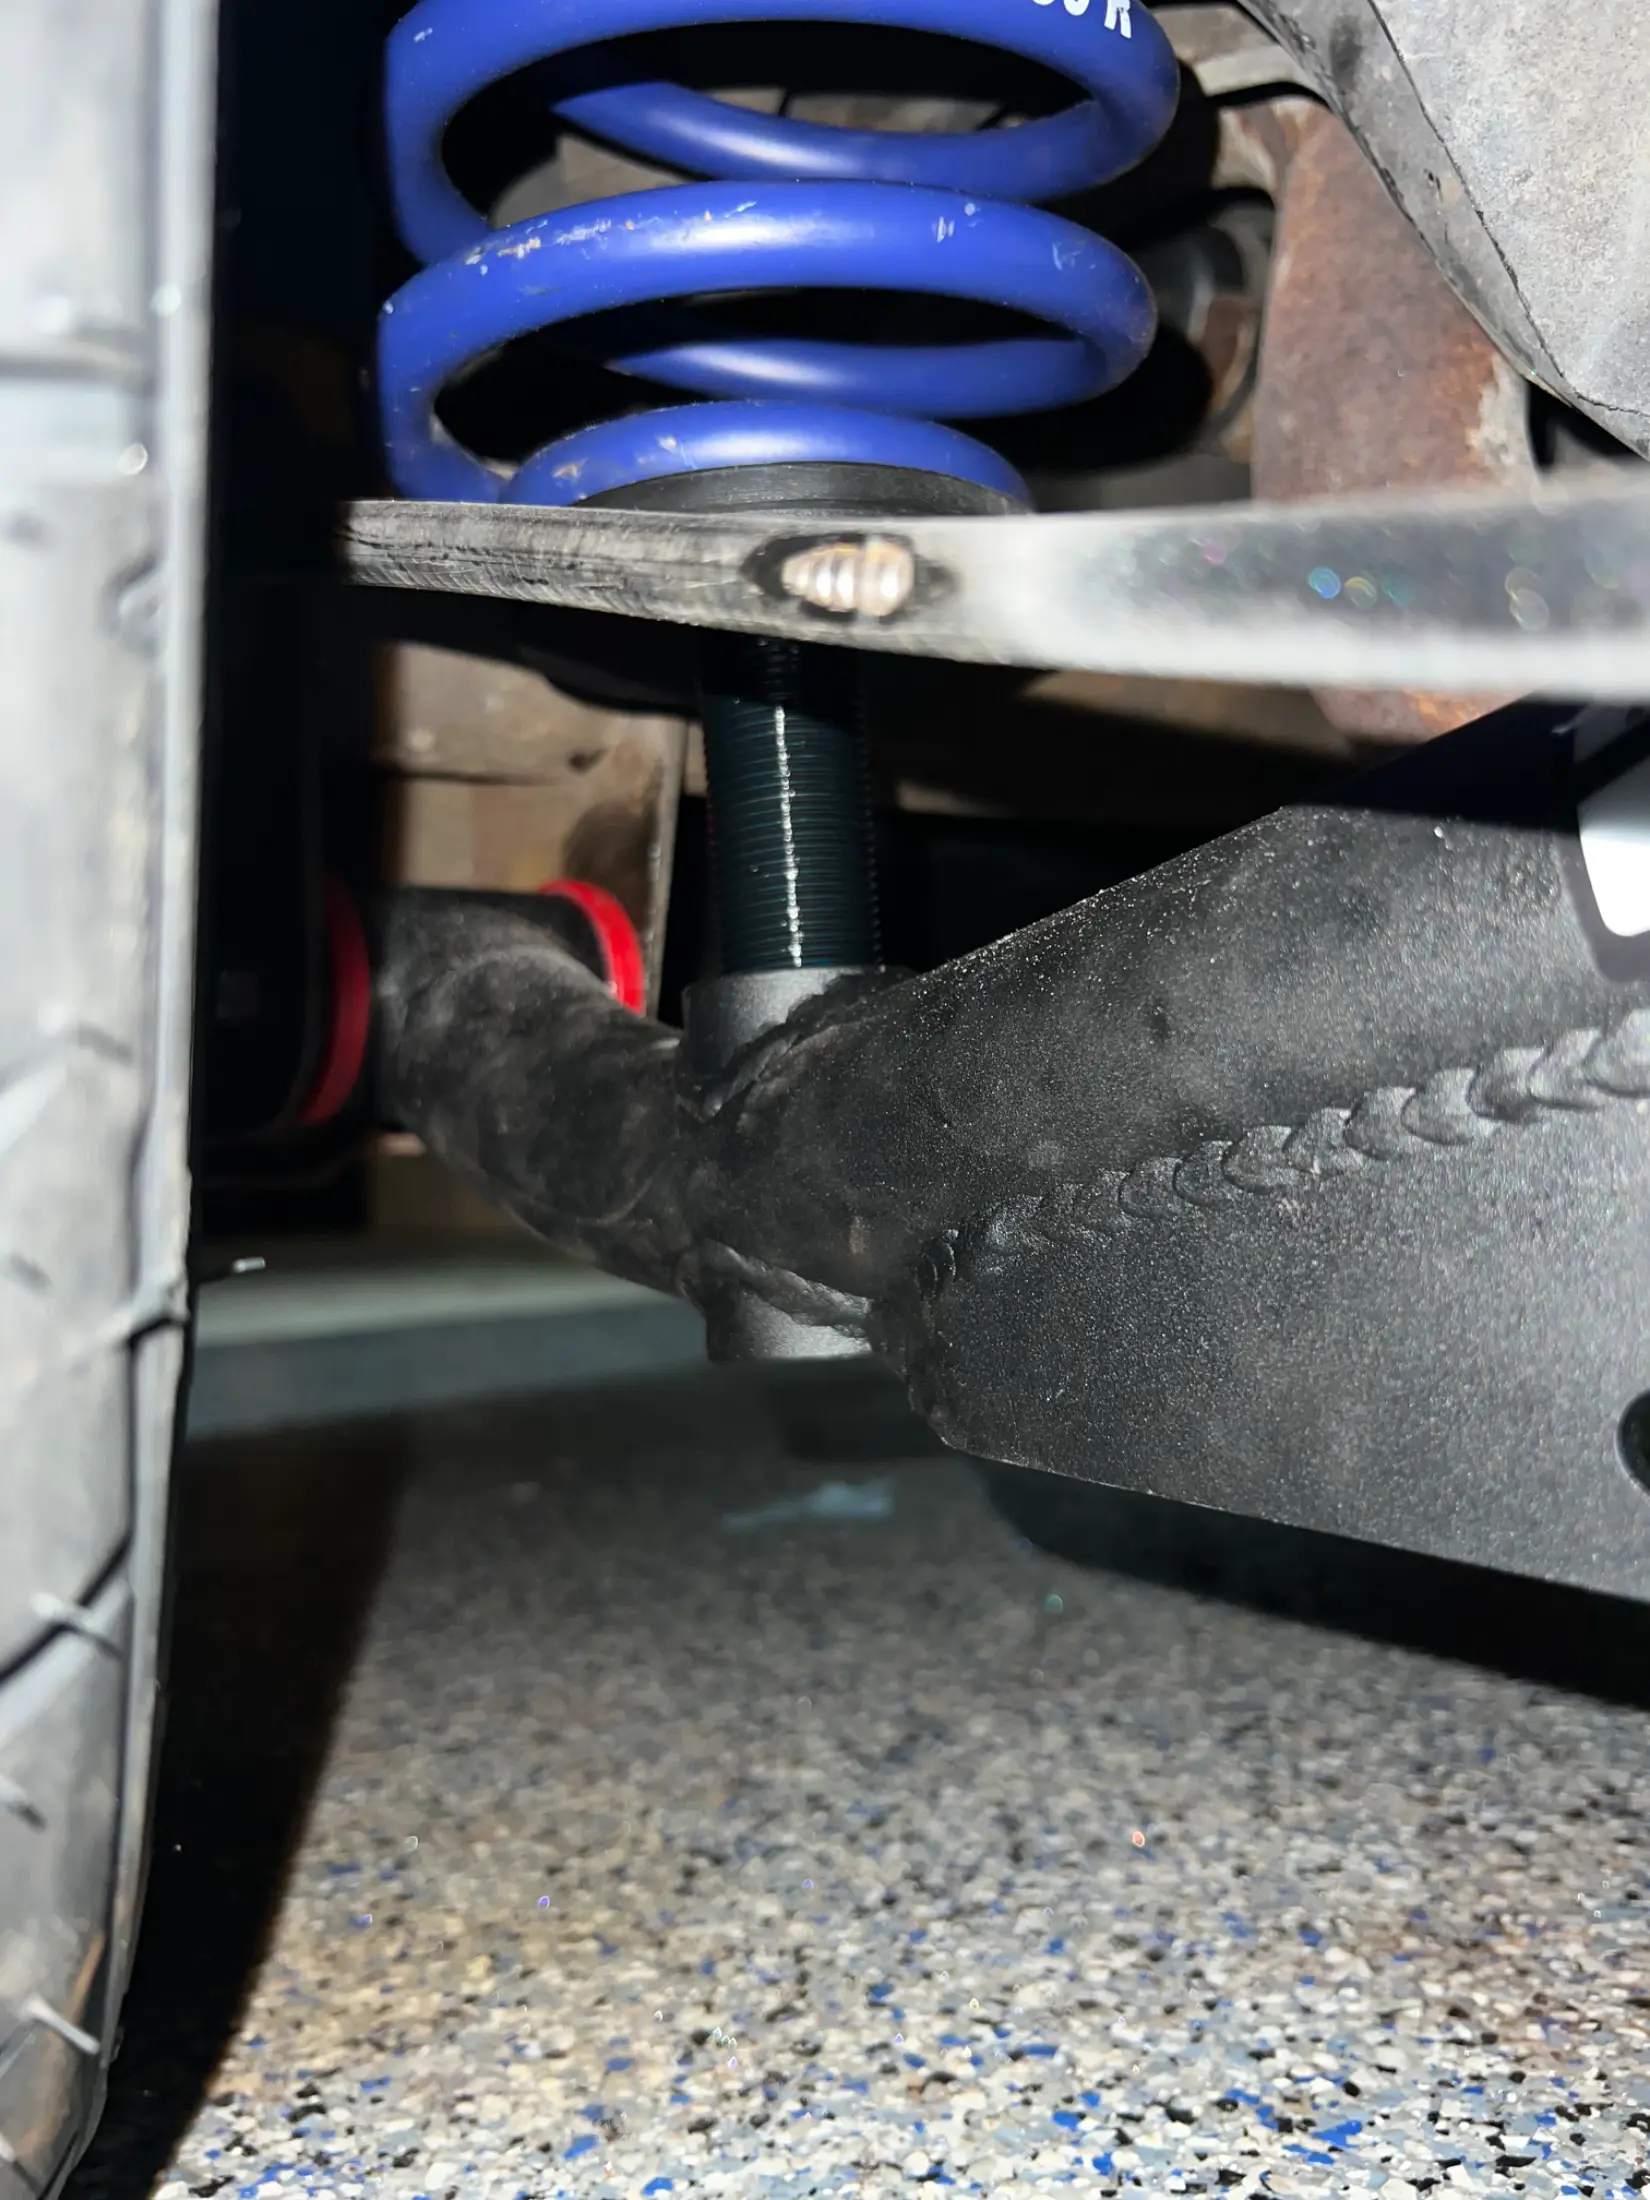
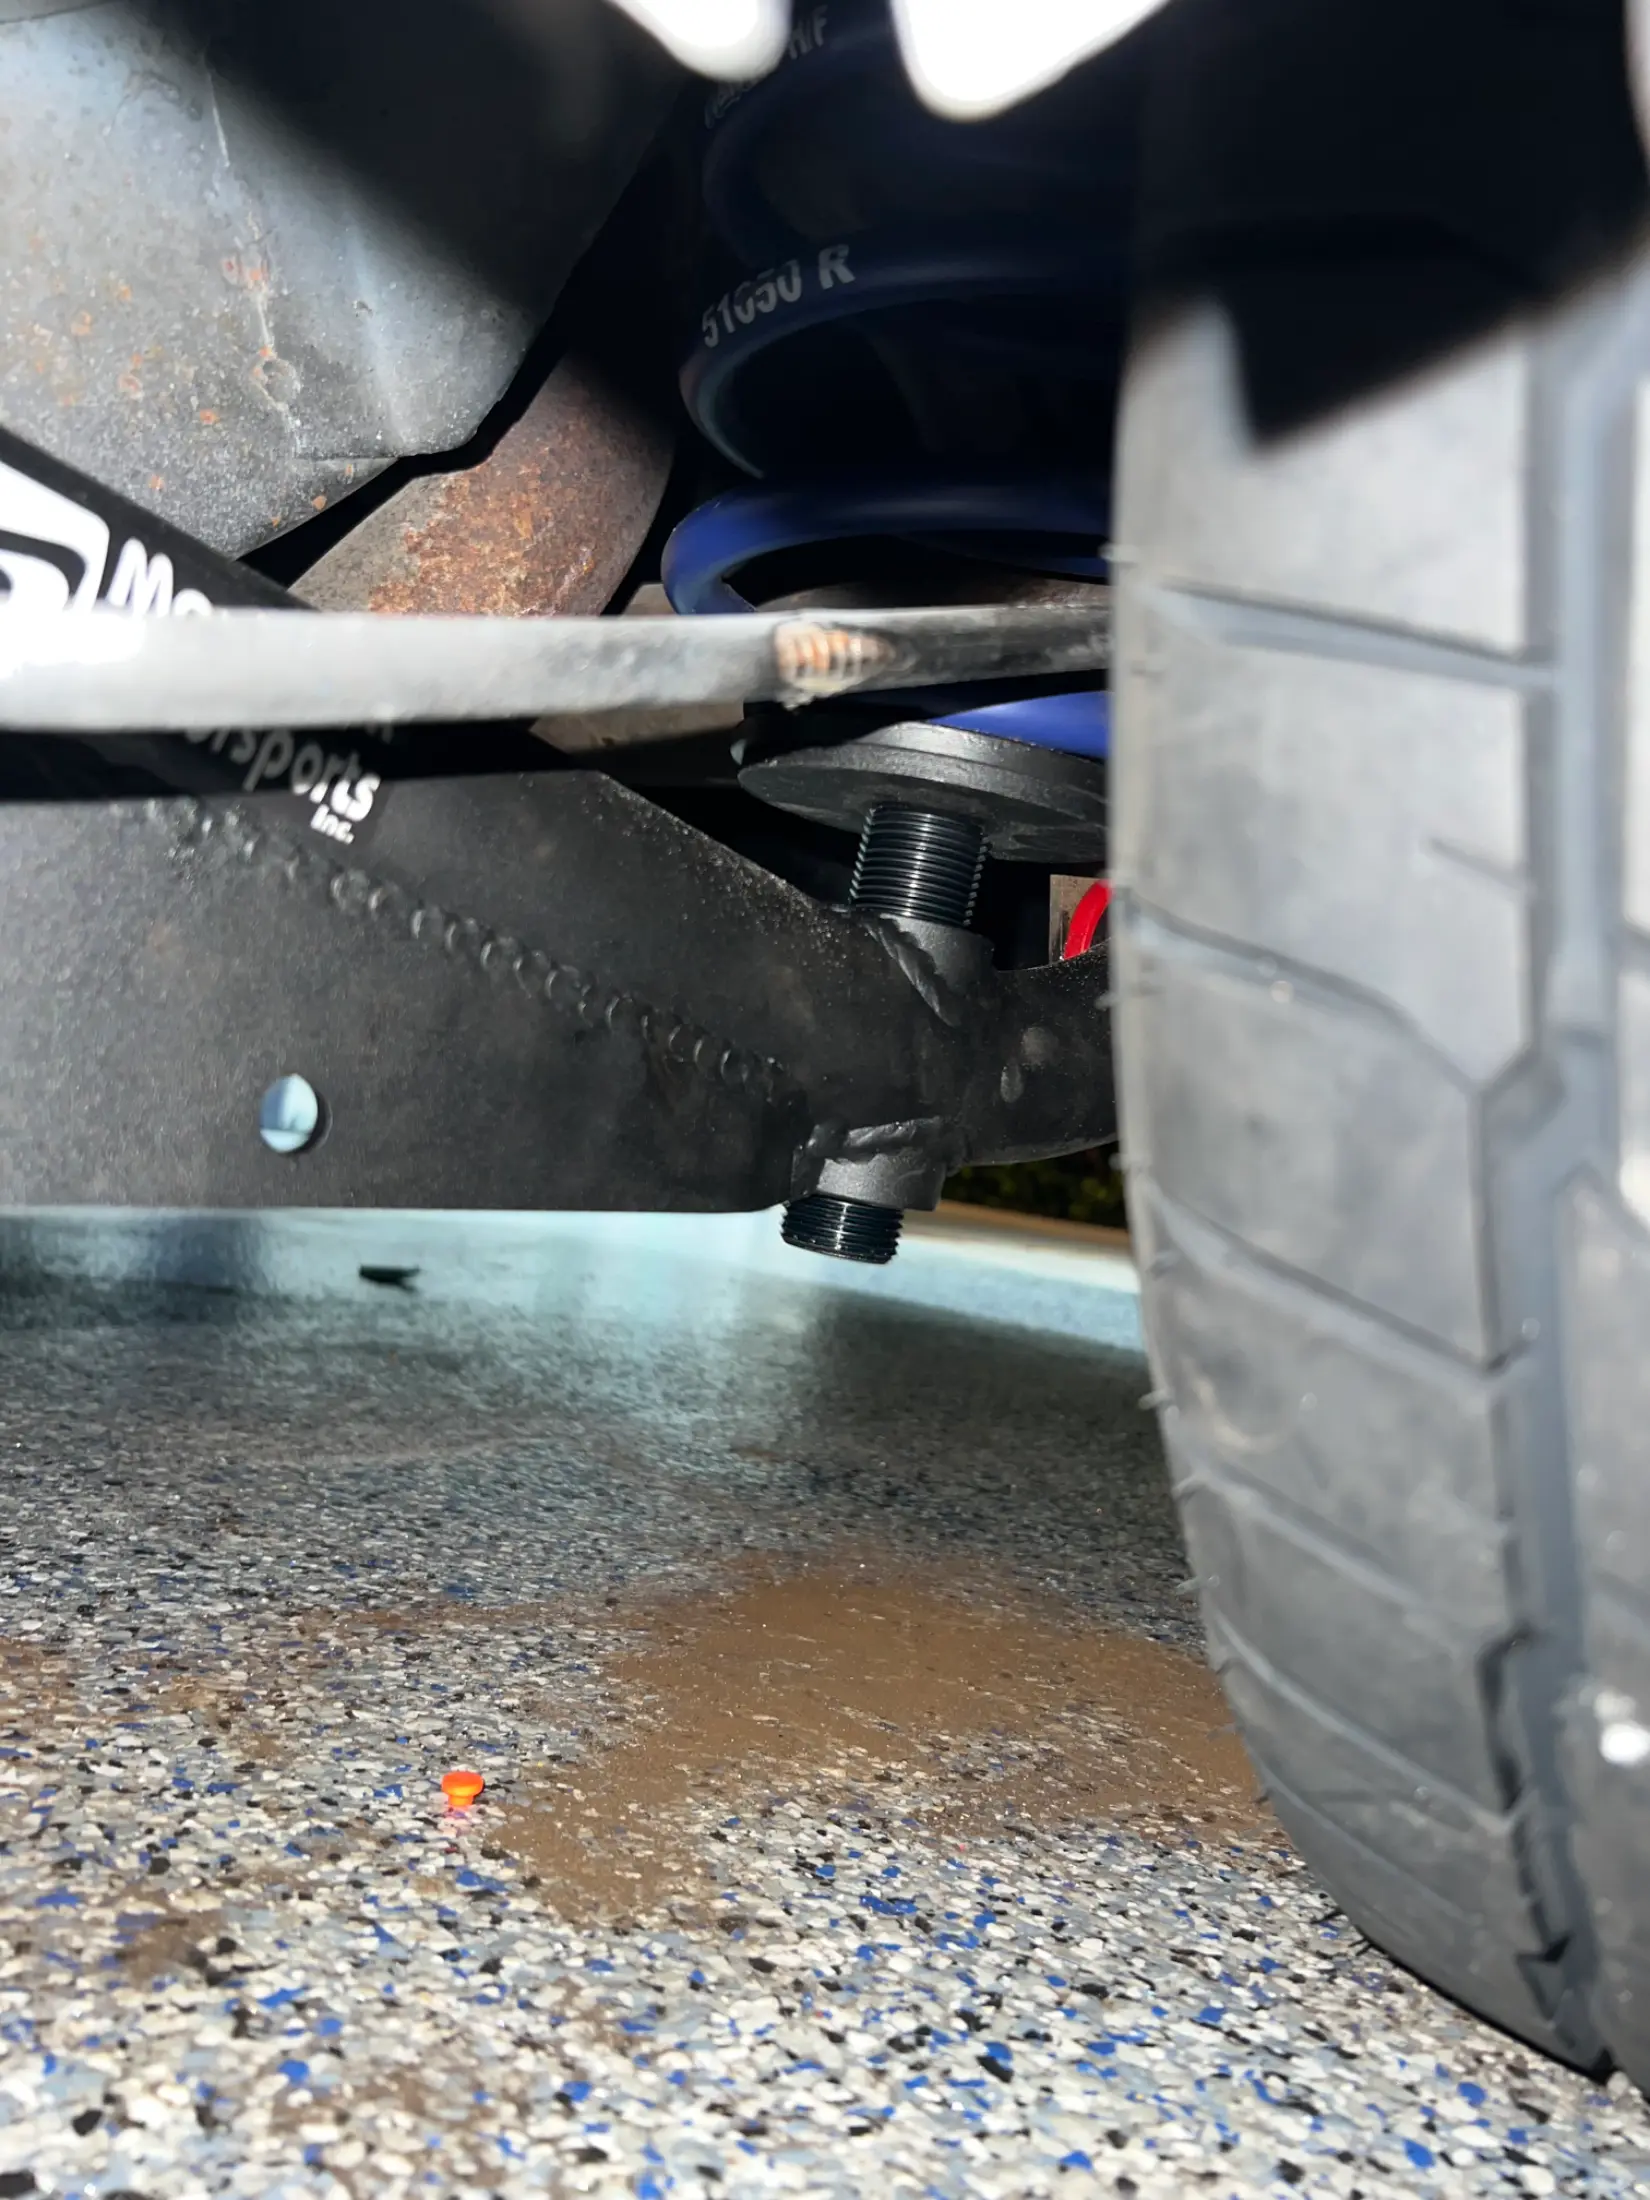
Today I installed the RLCAs and the new wheels. With these new wider wheels, the differences in my rear wheel spacing is much more apparent, the right wheel sticks past the fender well while the left side doesn’t. The ride height gap was also much more noticeable, I had to fully raise one adjustable RLCA to have the same gap as the other side which hadn’t been raised much.

I am hoping the fact that my upper control arm bushings are so shot (the rubber is literally blown on most bushings) that this is what’s causing my weird rear axel positioning.

My question is though, when I change out the upper control arm bushings, I see maximum Motorsport says you need to torque them at ride height. They say to measure your ride height before you start the job, then after you finish the job raise your rear end with a jack until you reach that height and then torque there. So what I’m wondering is, being as though my ride height is all out of wack right now because of my current upper bushings. What ride height measurement should I go take now for which I’m going to torque my new bushings at once I install the new arms and bushings? Should I set the ride height in the rear at a height that I like with the adjustable RLCA’s, and the same on both sides, record that, and then when I install my new bushings I torque at that same height?

I’m wondering because in order to get the height the same, I’ll have to have one adjustable rlca up and one down as I mentioned previously, so then I would record that height, and then retorque my new bushings at that same height once installed. The dilemma though is that once I install the new bushings hopefully that will center my rear up and then I would no longer have to have one rlca up and one down to have it even. So I wasn’t sure if that would be the wrong thing to do and I should take a different approach.

I’m sorry if it’s confusing but I tried to explain the issue as best I can. Any help would be appreciated thanks.

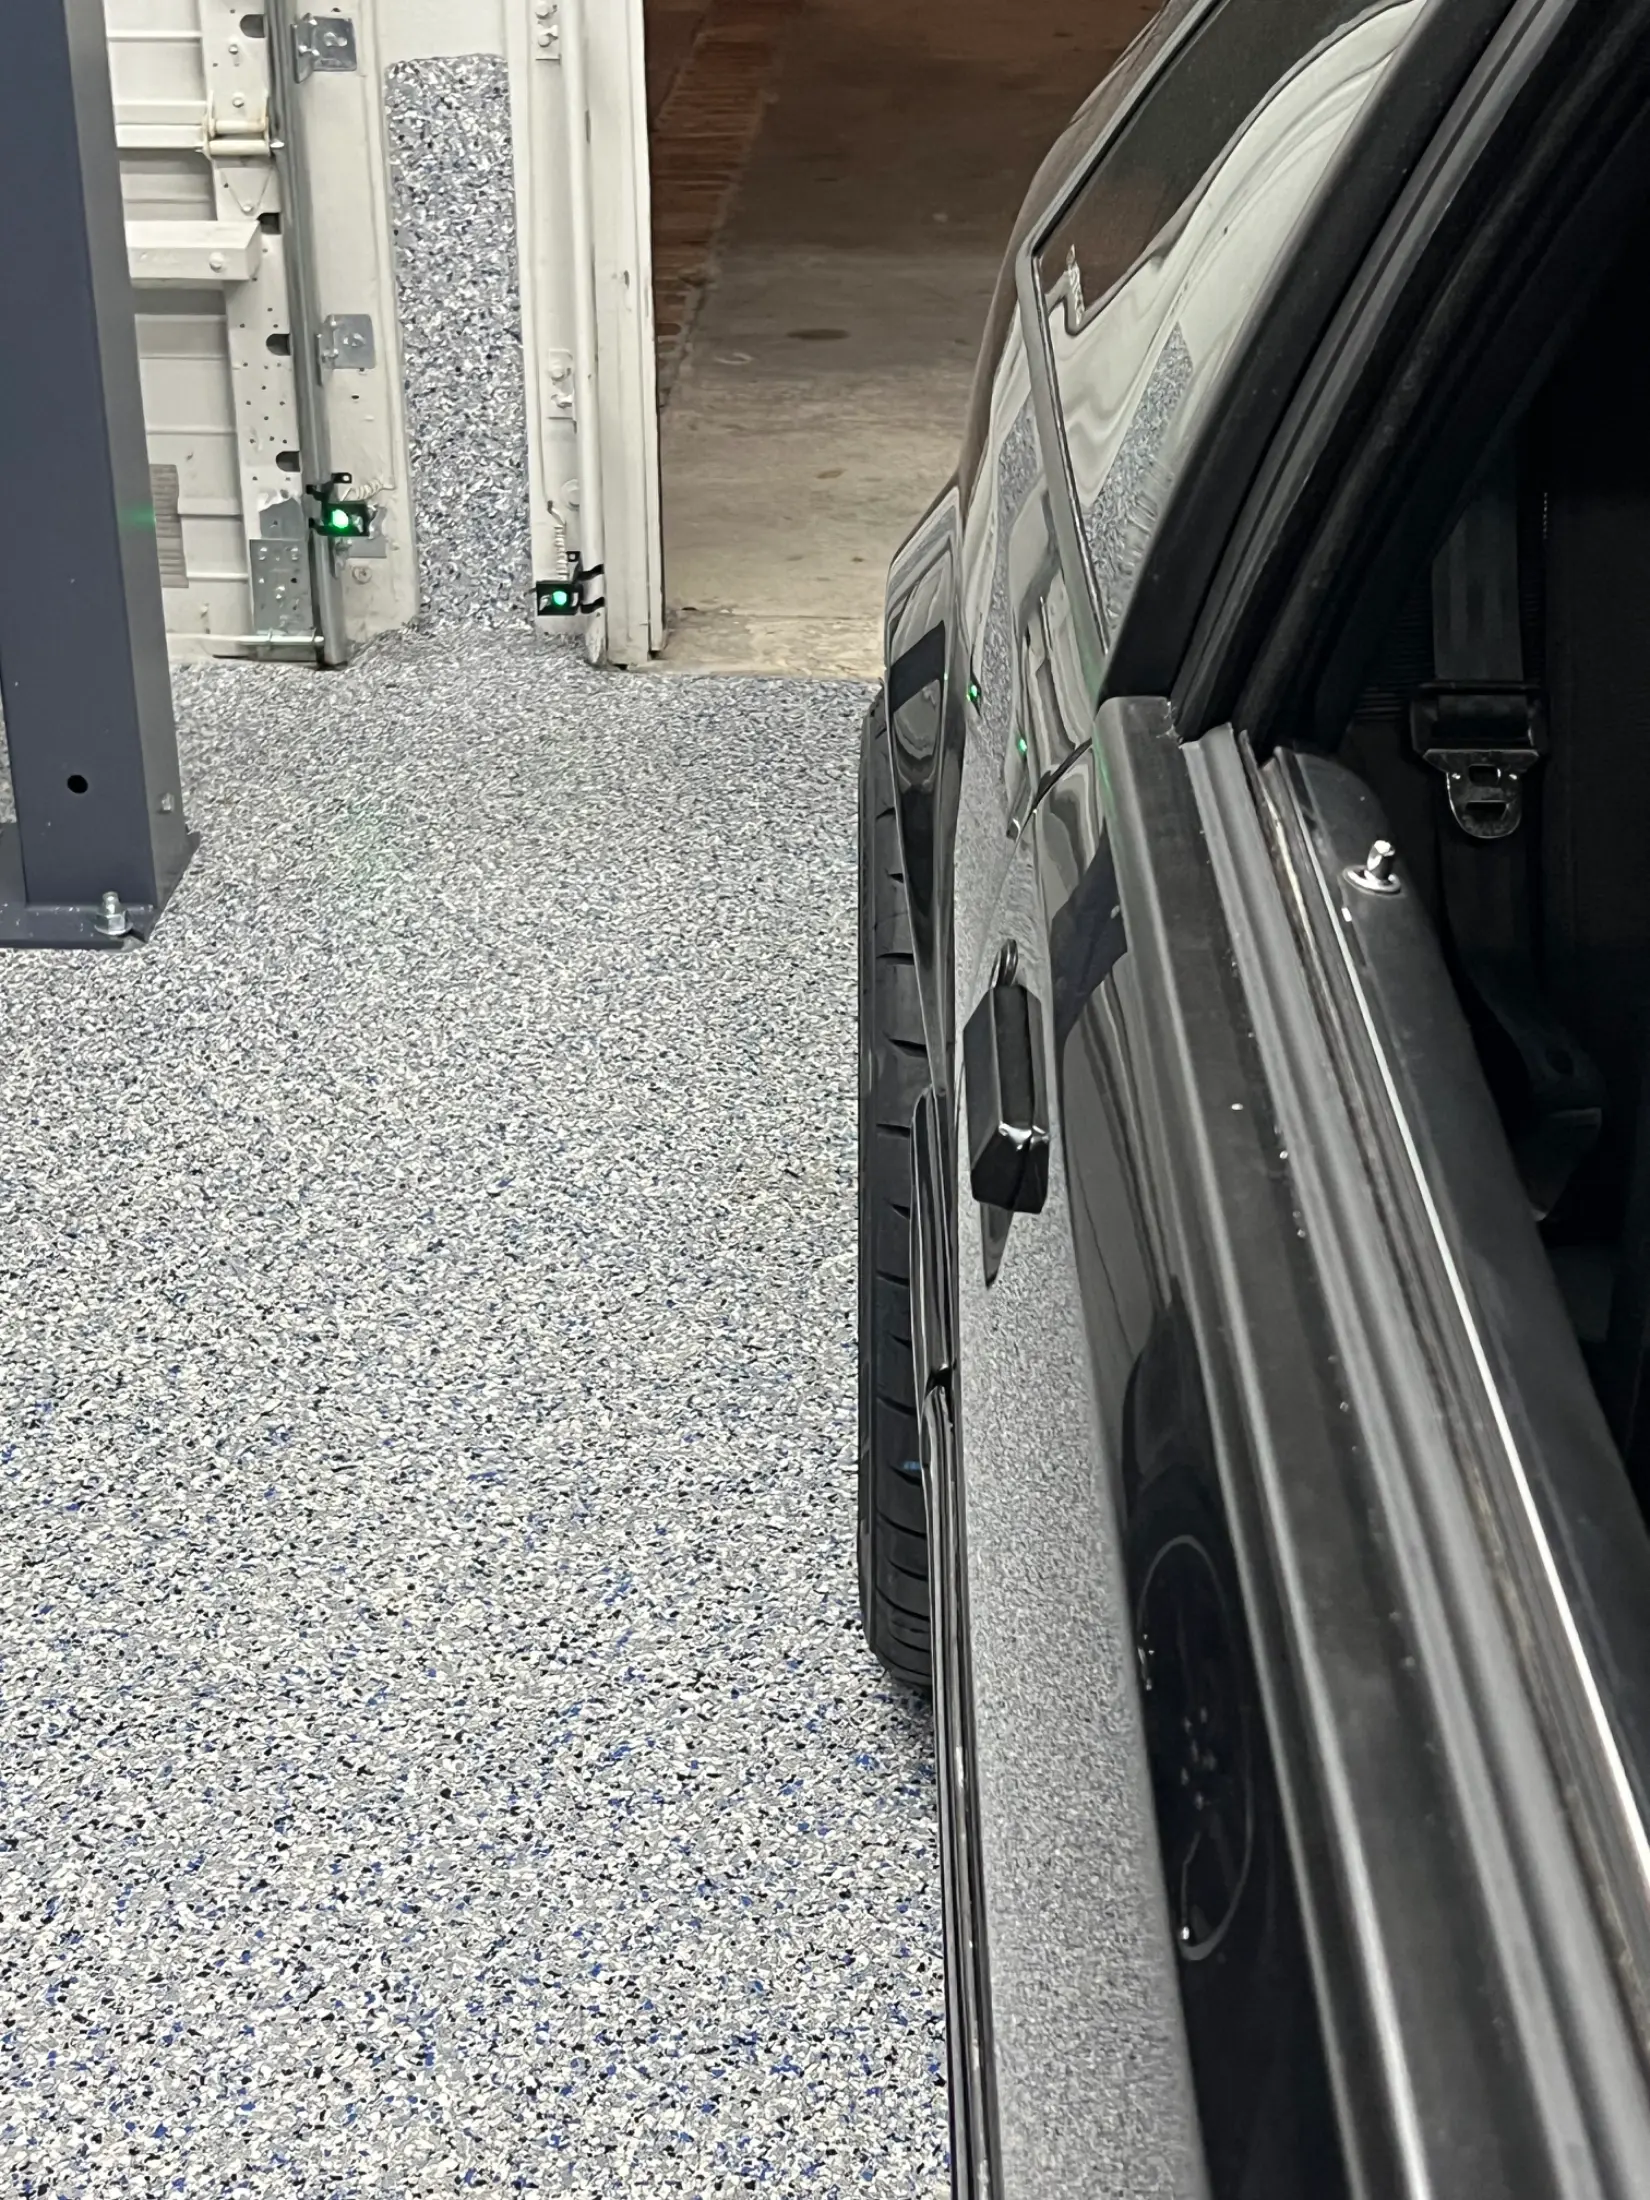
I’ve attached pics below showing the difference in my wheel gap, along with how I had to position the adjustable RLCAS differently in order to achieve the same wheel gap.
IMG_2899.webp
IMG_2900.webp
IMG_2901.webp
IMG_2902.webp
 
Last edited:
I would get all the new parts installed, including upper arms, springs orientated the proper way, LCA’s set the same, and see where it sits. There’s something off if you have to have those control arms set up so differently.
They look it, but are those new springs as well?
 
I would get all the new parts installed, including upper arms, springs orientated the proper way, LCA’s set the same, and see where it sits. There’s something off if you have to have those control arms set up so differently.
They look it, but are those new springs as well?
So you’re saying set both the RLCA’s at the same height, (meaning my car ride height will be different on each side in the rear) torque the new upper arms with them like that and then see how it all sits after?

The springs are new-ish, I changed them a couple years ago. I made sure to keep the pigtails in the proper orientation when I changed the arms. They’re both facing the drivers side.
 
I read this and am assuming you haven’t installed the uppers yet? I’m saying to get everything installed and see where you are at.
Yea I did the lowers first, now I have to do the uppers. The main thing I’m not sure about is since you have to torque the uppers at ride height, and I have to have my new adjustable lowers one side up one side down to have a even ride height, do I torque the new uppers with the adjustable lowers compensating for my screwed up ride height, or do I set both the lowers at the same height, torque the uppers like that, and hope it all centers up with the new upper bushings in?
 
With everything [loose], the weight jackers should be set to make things even.

Tighten everything up with the weight jacks set to where you think they [should] be and with weight on the car.

Ride it around a while and let it work itself in. You may discover that you'll let some of that height out of the high side, over time.
 
  • Like
Reactions: AnthonyA1234
Ok, so I’ll leave the lowers as I have them set right now which has made it even and I’ll do the upper control arm job and torque it as is. Hopefully the high side will come down and everything evens out once I get the new uppers in. Thanks guys
 
Last edited:
With everything [loose], the weight jackers should be set to make things even.

Tighten everything up with the weight jacks set to where you think they [should] be and with weight on the car.

Ride it around a while and let it work itself in. You may discover that you'll let some of that height out of the high side, over time.
Just wanna make sure I understand right. You’re saying I install the new uppers and bushings, leave them loose, lower the car back on the ground, set the rlca height to make everything even, then torque the bushings then with weight on the car?
 
  • Like
Reactions: Noobz347
Just wanna make sure I understand right. You’re saying I install the new uppers and bushings, leave them loose, lower the car back on the ground, set the rlca height to make everything even, then torque the bushings then with weight on the car?
correct

You don't want a pinched attach point making ride-height decisions if it can be avoided.
 
Get the UCA's changed and leave the nuts all of the control arm bolts are finger tight and like a quarter turn. This would be UCA's and LCA's. This may wig you out but you need to drive the car around the block at a low speed and careful not to make any drastic movements. This will settle the suspension in to its ride height. Get the car in the drive way and then tighten the control arm bolts up.

Me personally I would put the LCA's at the same height while this is done. After the bolts are tighened then see how far off the height is. These cars are known to have this problem and most "solve" the problem with adjustable ride height contol arms or coil overs. I have seen some report that they put there car on a frame machine and had iut pulled straight to fix it.

Another possibility would be if the car has subframe connectors and they were installed without the suspension loaded. If they were installed with the suspension unloaded it can cause this issue. Only way to correct it is to cut them loose and reinstall if possible.

Are the LF and RF measurements the same height wise?
 
  • Like
Reactions: AnthonyA1234
Get the UCA's changed and leave the nuts all of the control arm bolts are finger tight and like a quarter turn. This would be UCA's and LCA's. This may wig you out but you need to drive the car around the block at a low speed and careful not to make any drastic movements. This will settle the suspension in to its ride height. Get the car in the drive way and then tighten the control arm bolts up.

Me personally I would put the LCA's at the same height while this is done. After the bolts are tighened then see how far off the height is. These cars are known to have this problem and most "solve" the problem with adjustable ride height contol arms or coil overs. I have seen some report that they put there car on a frame machine and had iut pulled straight to fix it.

Another possibility would be if the car has subframe connectors and they were installed without the suspension loaded. If they were installed with the suspension unloaded it can cause this issue. Only way to correct it is to cut them loose and reinstall if possible.

Are the LF and RF measurements the same height wise?
Sounds good, I’ll try this and report back.

What do you mean by LF and RF?
 
I would install the uppers and see if your axle shifts back to being centered. That's what would concern me the most. Are the LCA's new? If you replace the LCA's, UCA's and bushings with new and the axle is still that far out of center I'd want to find out why.

As far as the ride height, like others have said, I'd finish with the bushing install then leave the uppers slightly loose until you get your ride height situated and adjusted how you like. Then torque down the uppers. The MM LCA's pivot freely in the bushings so those can be torqued in any position.

The uppers can really bind up the suspension however because the crush sleeve is molded to the bushing and they don't pivot at all.

What works pretty good to level out the suspension without having to take it out of the garage for a ride after every little adjustment is to whip up a few temporary bearing plates. Two pieces of smooth, thick 12×12 scrap steel ( or hard smooth floor tiles) with motor oil or salt between them works good. It will be super slippery and allow the suspension to unload. When you jounce the suspension you'll see the plates sliding. I used to use that method for home alignments until I bought proper caster camber plates. It actually works pretty good though.
 
  • Like
Reactions: AnthonyA1234
If the LCA's are the heavy duty units then I would still leave the front bolts on the LCA's loose. This is due to the heavy duty units using urethane three piece bushings in the front and although rare they can bind a little bit. If you did not install them I would pull them out and grease up the front bushing assemblies to make sure they function as intended. I have the extreme duty arms which are spherical bushings in the front and back of the control arms so in this case you can torque them up and no driving around is needed.

See #4 in the instructions below with regards to greasing the bushing assemblies.

 
  • Like
Reactions: AnthonyA1234
If the LCA's are the heavy duty units then I would still leave the front bolts on the LCA's loose. This is due to the heavy duty units using urethane three piece bushings in the front and although rare they can bind a little bit. If you did not install them I would pull them out and grease up the front bushing assemblies to make sure they function as intended. I have the extreme duty arms which are spherical bushings in the front and back of the control arms so in this case you can torque them up and no driving around is needed.

See #4 in the instructions below with regards to greasing the bushing assemblies.

The ones I got are the sports, these just have polyurethane in the front and back. Should I still drive the car with these loose when I drive it with the uppers loose or is it not necessary?

Edit: I see what you’re saying, it’s only necessary to leave them loose if they have poly, so in my case yes I need to leave both sides of each rlca loose.

I did make sure to grease all the bushings as stated in the mm instructions including the face that contacts the chassis
 
  • Like
Reactions: AeroCoupe
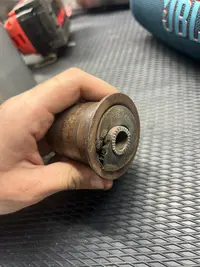
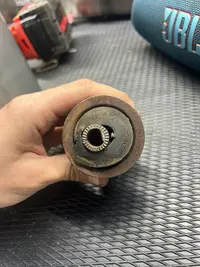
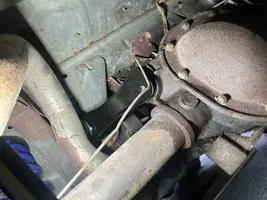
Got some work done on the fox today. I took out the rear upper drivers side arm, replaced the diff bushing, and started to install the arm. Check out how completely trashed my bushing was. It completely ripped in half and the metal sleeve is totally crooked.

And of course my holes for the bolt do not line up. So tomorrow I’ll have to struggle pushing on the axel and get them to line up just like I had to do with the lowers. I really don’t want to have to unbolt the shocks to be able to shift the axel around to line up the bolts as I already went through that with the lowers.

You guys think I should take the arm off the other side and see if they all line up after? I was thinking maybe the shot bushing I still have on the other side is what’s making this hole not line up.
 

Attachments

  • IMG_2928.webp
    IMG_2928.webp
    181.4 KB · Views: 216
  • IMG_2929.webp
    IMG_2929.webp
    223.1 KB · Views: 101
  • IMG_2926.webp
    IMG_2926.webp
    331.6 KB · Views: 101
If you have 2 jacks, you can put one under the pumpkin and another one under the opposite side of the rear end. You can use the two jacks to articulate the rear end to get the UCA bolts to line up. I used this method with the shocks, LCAs, and springs on the car. It takes finesse and patience, but it works well.

You can see a photo of how I used the jacks to install Steeda UCAs at the 8:16 mark of this video:


View: https://www.youtube.com/watch?v=ZqQmLUsBbOY&t
 
  • Like
Reactions: AnthonyA1234
If you have 2 jacks, you can put one under the pumpkin and another one under the opposite side of the rear end. You can use the two jacks to articulate the rear end to get the UCA bolts to line up. I used this method with the shocks, LCAs, and springs on the car. It takes finesse and patience, but it works well.

You can see a photo of how I used the jacks to install Steeda UCAs at the 8:16 mark of this video:


View: https://www.youtube.com/watch?v=ZqQmLUsBbOY&t

Thanks I’ll try that out