
Decided to make this a write-up outside of my progress thread.
My Specs:
1. 1989 Mustang GT(works for 87-93)
2. Mustang Full Length Triple Gauge Pod Kit Black (87-93)
3. 1989 Ford Mustang LED Lights | Super Bright LEDs
I got all my bulbs from superbrightleds.com(link above). I did my research from others experiences and I'm really happy with the results, it's like driving a new car. I only replaced the #194 bulbs, didn't replace any of the #161 warning indicator bulbs(4 of them) in the lower right hand corner of instrument cluster. You can do so if desired. You would get the red LED #161 replacements.
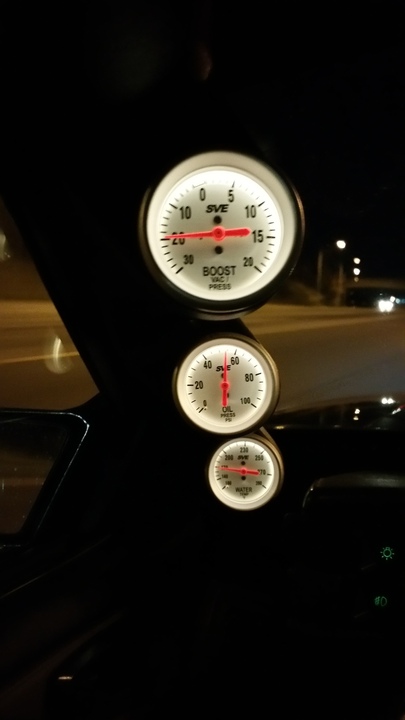
Part 1. Installing A Pillar Gauge Pod
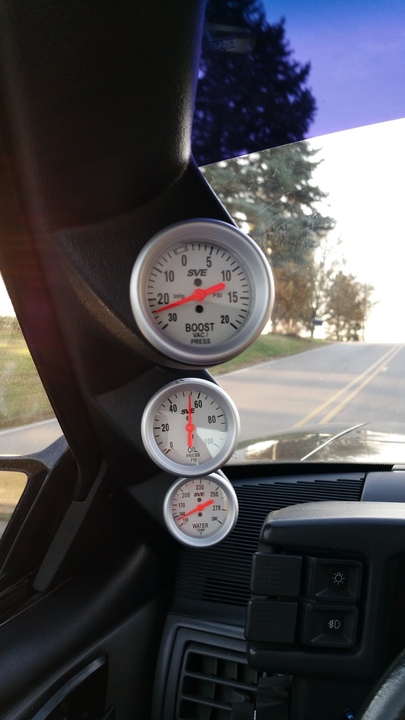
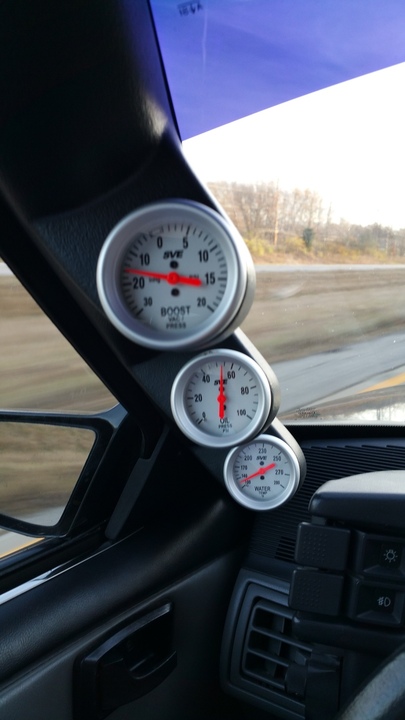
Below is the gauge pillar all setup. From left to right(water temp, oil pressure, boost) gauges. Boost and oil I used the plastic line that came with the gauges even though its recommended to use steel braided. Connections for gauges in the included directions are easy enough to follow.
Steel braided upgrade lines can be found here: http://www.summitracing.com/search/...ne-kits/hose-material/braided-stainless-steel. Thanks to @TOOLOW91 for the info.
Tip: If you go with the included plastic lines, wrap your plastic lines in vacuum line in case something goes wrong down the road! Thanks to @mikestang63 for this tip.
Tip: Make sure everything is tight on gauge first, mock them up, then feed wire through pillar holes first and install on gauge out of pillar before you push them into their homes. And not all the way so you can turn them straight after you put the assembly in car.
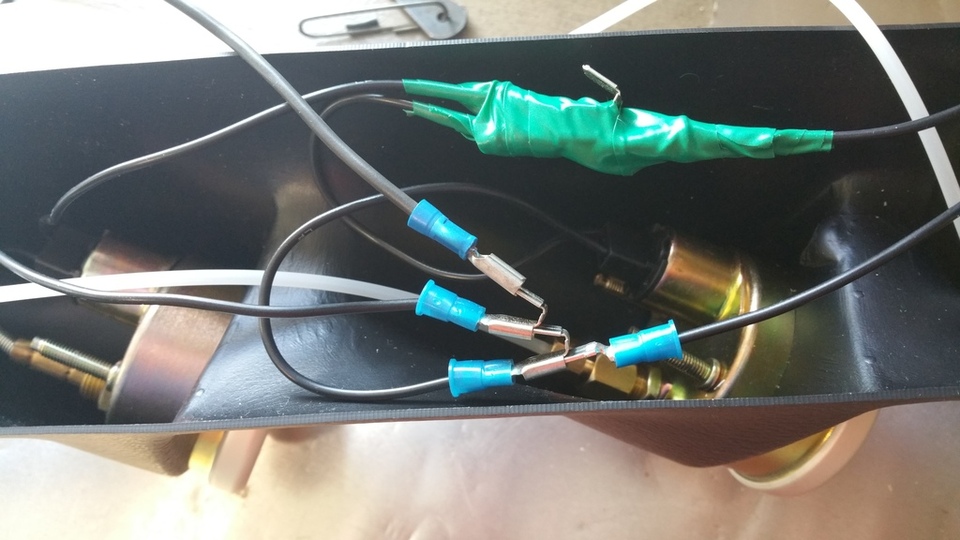
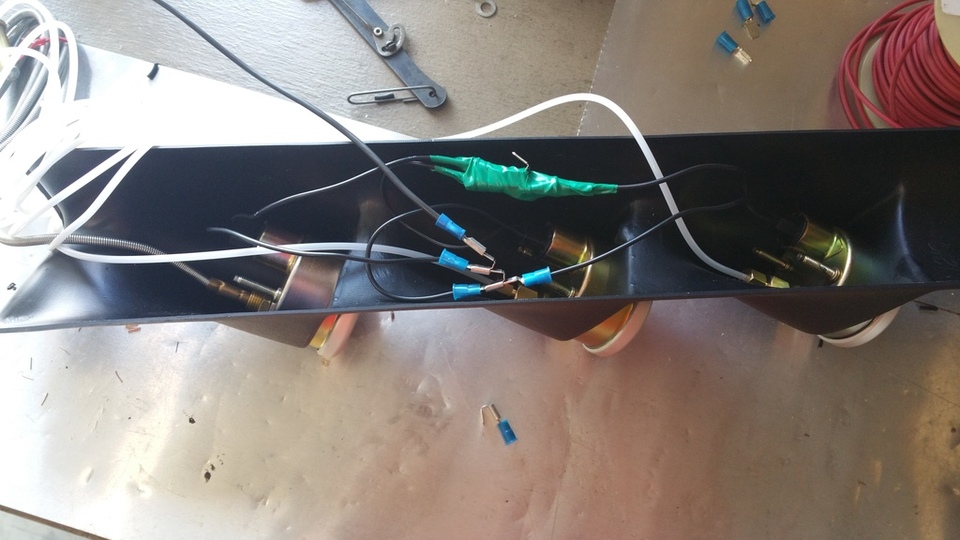
Here I show the light connections I used for gauge illumination. Pretty simply. I used one side for ground, the other for power. Those connectors make an easy daisy chain for all 3 bulbs and allow for easy disassembly if I need to replace down the road. I used 16awg wire.
I found a long piece of house electrical wire for fishING through car. Stiff enough but also ply-able .
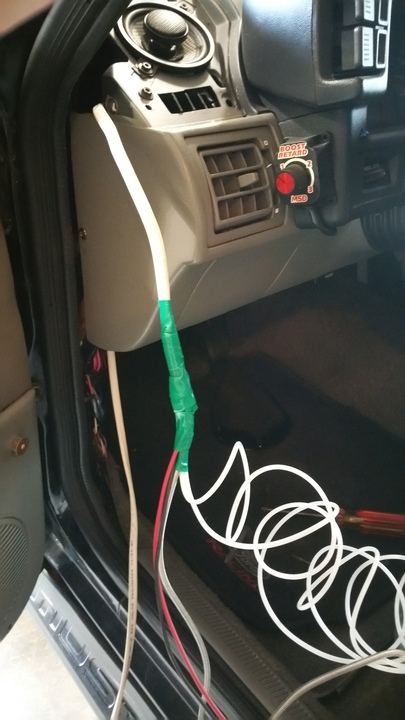
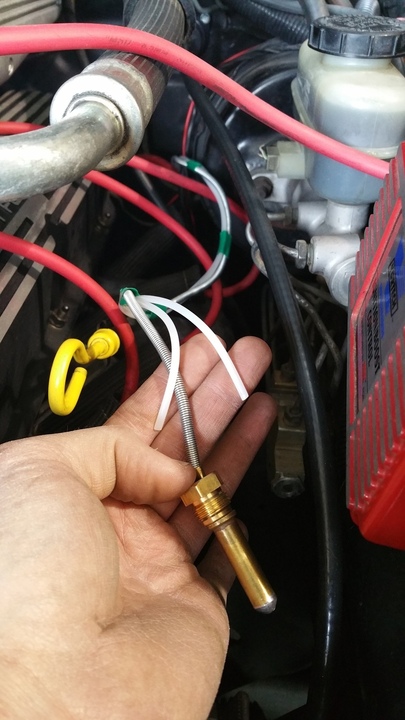
I pushed the tubing and water probe only through throttle pedal boot at firewall. I already had wires in there. When project was finished I sealed it back up by squeezing some black silicone in the hole. It spread around the wires on its own.
Tip: The plastic line for oil was just barely long enough to run to stock location and have enough slack to keep away from engine heat. I also pre-wrapped all the plastic line with electrical tape for protection.
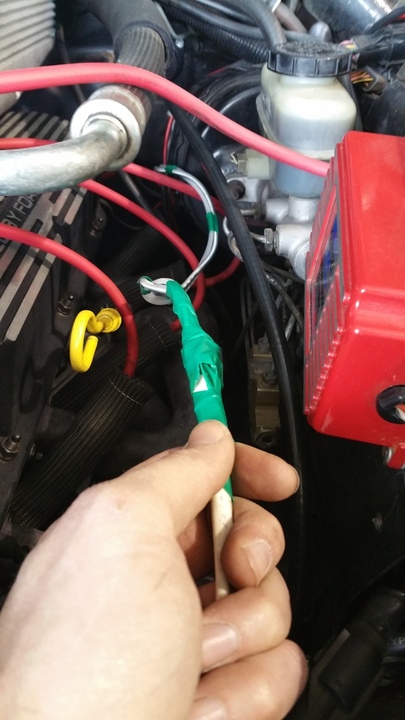
Went to hardware store and got another T-fitting and a male connector fitting. If I remember right they were all 1/4". Everything else came with gauges. I have a vortech blower that is oil fed through this fitting and I wanted to keep my stock gauge working. Otherwise a single T-fitting is all you need.
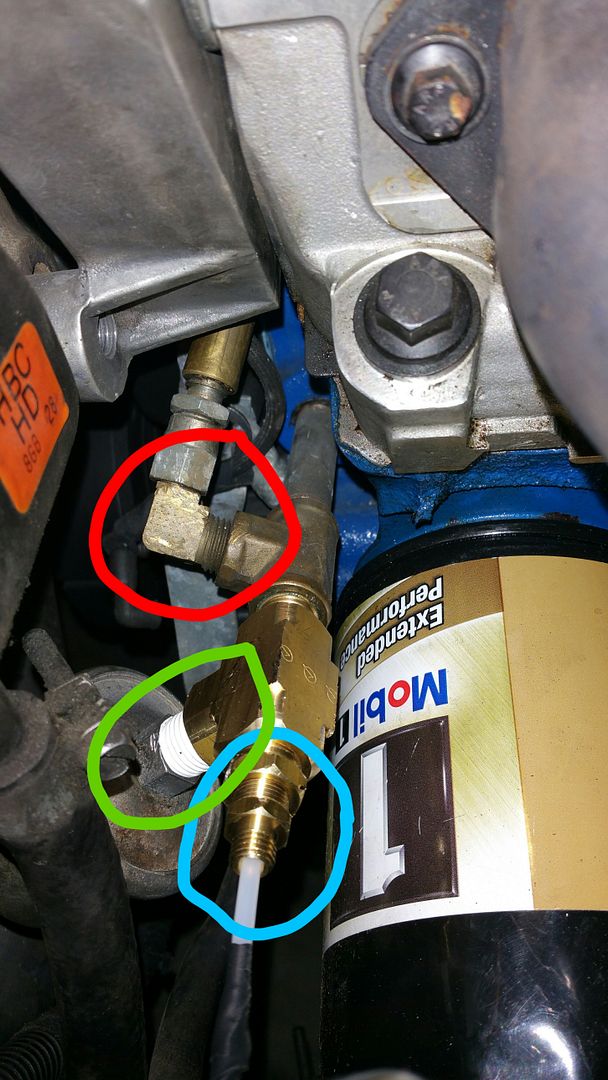
Red = Vortech supercharger feed line
Green = Stock gauge sender
Blue = New oil gauge
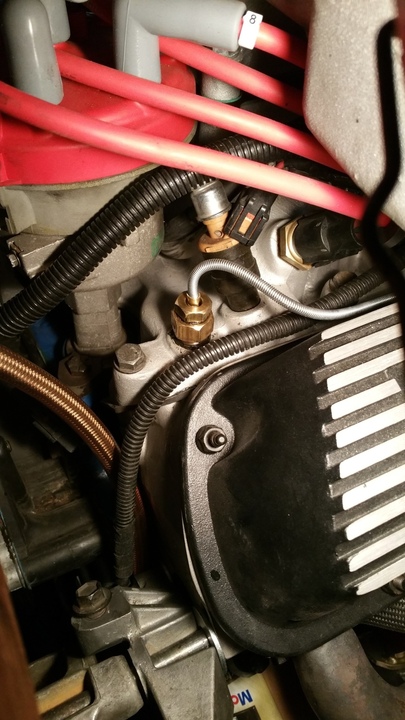
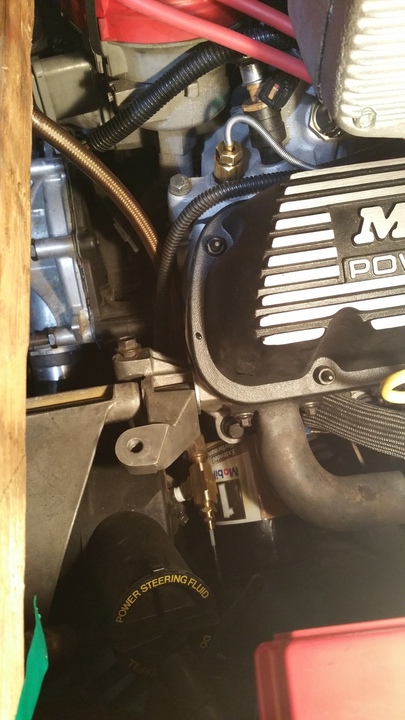
Here is my water probe installed. Everything in package. Ran under upper intake plenum along with wire harness. Installed in stock location. Eventually I may hook stock gauge back up in the rear intake port.
I connected ground to body just inside door jam behind plastic panel. Already had another connection there. I then connected power feed to the stock dimmer switch. It's the lone wire in the connector. If your looking at connector installed in dash it's wire in the far right of connector. Forgot to take a picture. Just used a quick connect type connector.
Ok pillar install done. Time for stock gauge cluster illumination upgrade.
Part 2. Replacing Dash Lights with LED
You can do your own research on how to disassemble and visa versa.
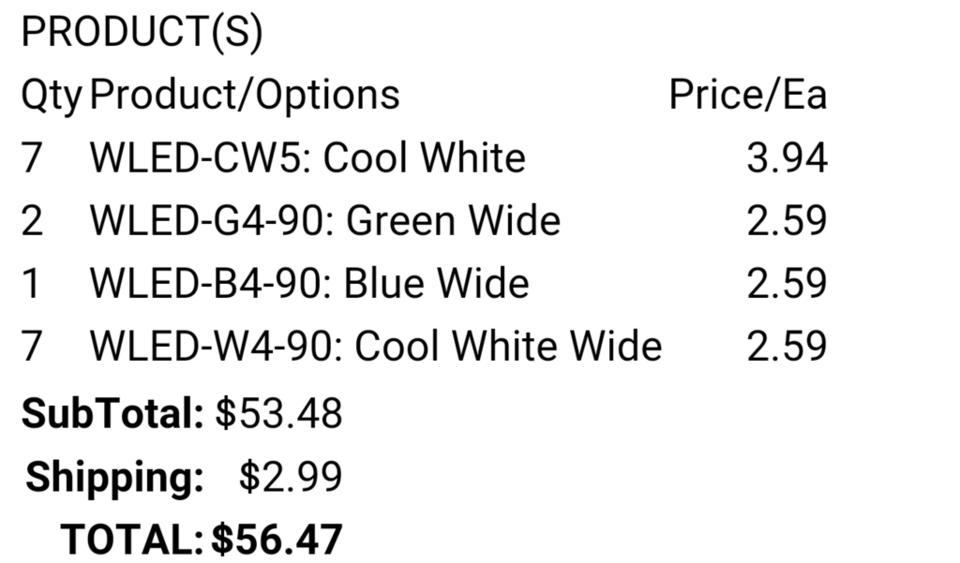
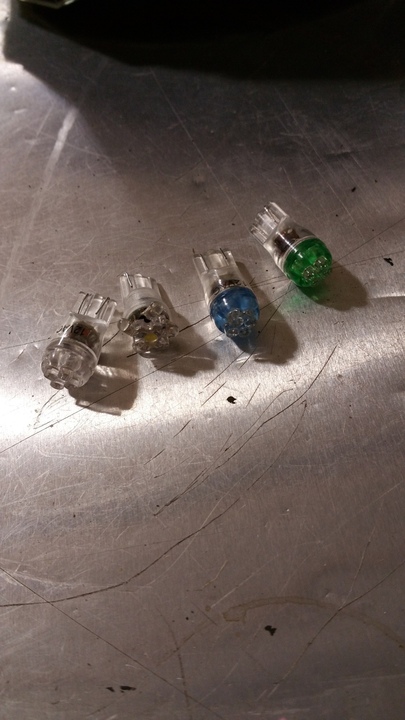
Here is my parts list.
They go here.
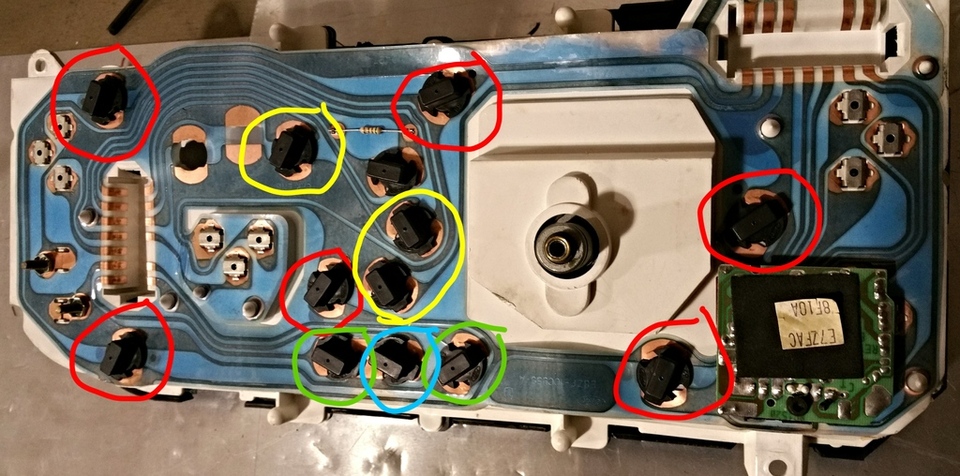
Red circles get CW5. They shine in all directions and you need it. Yellow circles get W4-90 they are various warnings indicators(brake, seatbelt, check engine). Don't replace the bottom AMP/battery indicator LED doesn't have enough current so it will stay on all the time. Green circles get G4-90 for turn signals, blue circle gets B4-90 for high beam indicator. I would replace the RPM needle with WLED-xHP5-CAR because it's brighter than CW5. 75 lm versus 30 lm. This gauges reflector is a bit duller than the others because of design, bulb is too far away I think. But it's still better!
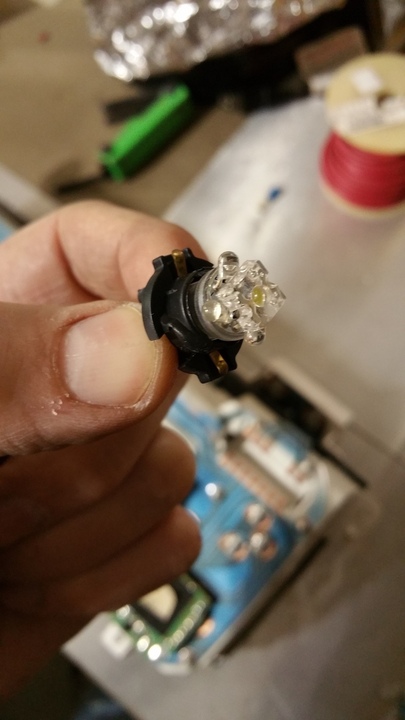
Here are some various pics.
CW5 cool white gives off a hint of blue and turns the white numbers and marks a hint of green. Old dull dash screen probably.
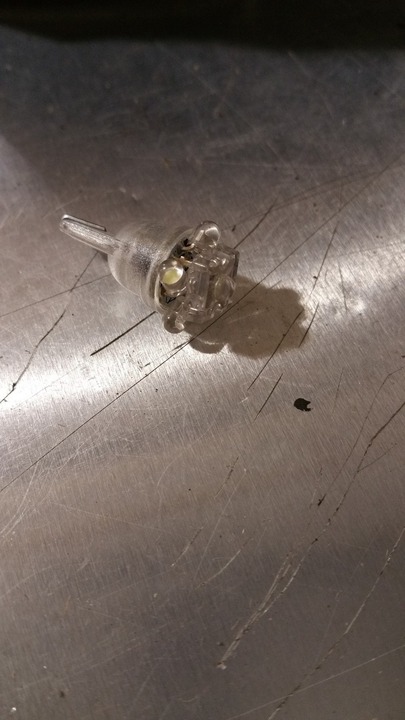
I wiped the LEDS with a clean rag after pushing them into sockets just in case.
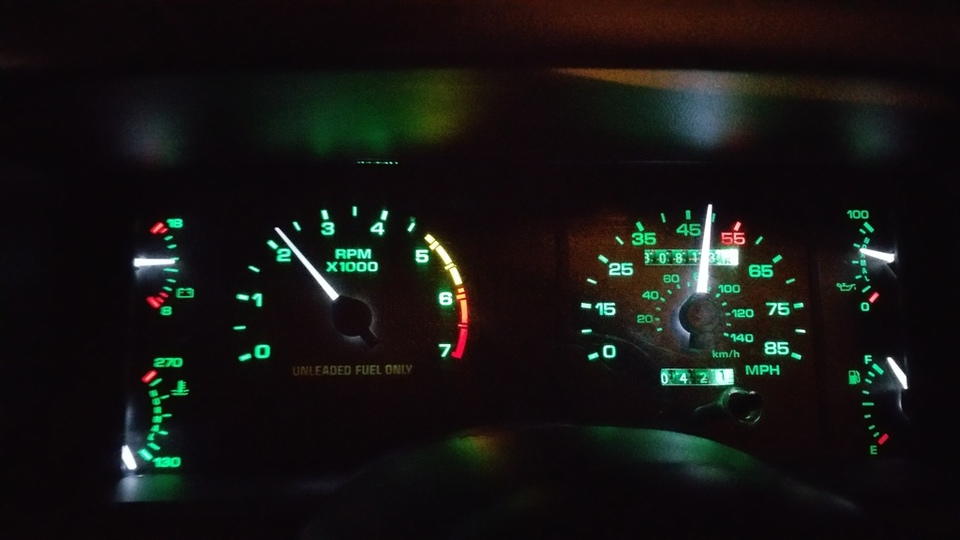
Going 40mph
Going 70mph
Here is a video showing difference between original bulb vs new LED.
And here is a cool video on how to split vacuum tubing.
View: https://youtu.be/2Q2OzraoxRE
My Specs:
1. 1989 Mustang GT(works for 87-93)
2. Mustang Full Length Triple Gauge Pod Kit Black (87-93)
3. 1989 Ford Mustang LED Lights | Super Bright LEDs
I got all my bulbs from superbrightleds.com(link above). I did my research from others experiences and I'm really happy with the results, it's like driving a new car. I only replaced the #194 bulbs, didn't replace any of the #161 warning indicator bulbs(4 of them) in the lower right hand corner of instrument cluster. You can do so if desired. You would get the red LED #161 replacements.
Part 1. Installing A Pillar Gauge Pod
Below is the gauge pillar all setup. From left to right(water temp, oil pressure, boost) gauges. Boost and oil I used the plastic line that came with the gauges even though its recommended to use steel braided. Connections for gauges in the included directions are easy enough to follow.
Steel braided upgrade lines can be found here: http://www.summitracing.com/search/...ne-kits/hose-material/braided-stainless-steel. Thanks to @TOOLOW91 for the info.
Tip: If you go with the included plastic lines, wrap your plastic lines in vacuum line in case something goes wrong down the road! Thanks to @mikestang63 for this tip.
Tip: Make sure everything is tight on gauge first, mock them up, then feed wire through pillar holes first and install on gauge out of pillar before you push them into their homes. And not all the way so you can turn them straight after you put the assembly in car.
Here I show the light connections I used for gauge illumination. Pretty simply. I used one side for ground, the other for power. Those connectors make an easy daisy chain for all 3 bulbs and allow for easy disassembly if I need to replace down the road. I used 16awg wire.


I found a long piece of house electrical wire for fishING through car. Stiff enough but also ply-able .

I pushed the tubing and water probe only through throttle pedal boot at firewall. I already had wires in there. When project was finished I sealed it back up by squeezing some black silicone in the hole. It spread around the wires on its own.
Tip: The plastic line for oil was just barely long enough to run to stock location and have enough slack to keep away from engine heat. I also pre-wrapped all the plastic line with electrical tape for protection.


Went to hardware store and got another T-fitting and a male connector fitting. If I remember right they were all 1/4". Everything else came with gauges. I have a vortech blower that is oil fed through this fitting and I wanted to keep my stock gauge working. Otherwise a single T-fitting is all you need.

Red = Vortech supercharger feed line
Green = Stock gauge sender
Blue = New oil gauge
Here is my water probe installed. Everything in package. Ran under upper intake plenum along with wire harness. Installed in stock location. Eventually I may hook stock gauge back up in the rear intake port.


I connected ground to body just inside door jam behind plastic panel. Already had another connection there. I then connected power feed to the stock dimmer switch. It's the lone wire in the connector. If your looking at connector installed in dash it's wire in the far right of connector. Forgot to take a picture. Just used a quick connect type connector.
Ok pillar install done. Time for stock gauge cluster illumination upgrade.
Part 2. Replacing Dash Lights with LED
You can do your own research on how to disassemble and visa versa.
Here is my parts list.

They go here.

Red circles get CW5. They shine in all directions and you need it. Yellow circles get W4-90 they are various warnings indicators(brake, seatbelt, check engine). Don't replace the bottom AMP/battery indicator LED doesn't have enough current so it will stay on all the time. Green circles get G4-90 for turn signals, blue circle gets B4-90 for high beam indicator. I would replace the RPM needle with WLED-xHP5-CAR because it's brighter than CW5. 75 lm versus 30 lm. This gauges reflector is a bit duller than the others because of design, bulb is too far away I think. But it's still better!
Here are some various pics.

CW5 cool white gives off a hint of blue and turns the white numbers and marks a hint of green. Old dull dash screen probably.


I wiped the LEDS with a clean rag after pushing them into sockets just in case.


Going 40mph

Going 70mph

Here is a video showing difference between original bulb vs new LED.
And here is a cool video on how to split vacuum tubing.
View: https://youtu.be/2Q2OzraoxRE
Last edited:


