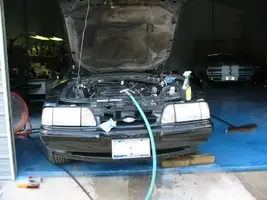
God How I Love a Big, Nice, Clean, Shop.
I wish it was bigger and cleaner. lol
Sometimes I think the dealerships almost don't want to sell stuff.
It sure seems that way doesn't it?
God How I Love a Big, Nice, Clean, Shop.
Sometimes I think the dealerships almost don't want to sell stuff.
God How I Love a Big, Nice, Clean, Shop.
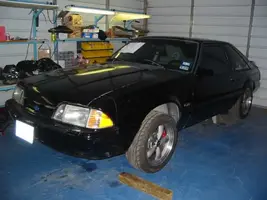
I like your classic, too! Is that a sixty...eight?

^^^That brings tears of joy to my eyes^^^
 anic:
anic:My shop is a wreck. Half of it is parts waiting to go on the car.

Now I get to start cleaning. Also ran over on the miles for my WRX. So now I gotta go change the oil on it. Then I can shower and relax before work tomorrow.

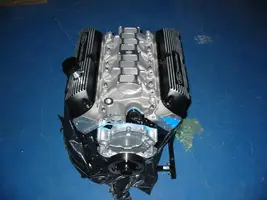
A good cleaning and a can of satin black exhaust paint would make those headers sing along that beautiful engine!
Sorry to jump something so old to the front, But This picture shows that your shop is a "wreck"?
Come by my garage every month or so (the time in between I go insane and push everything out) And we can discuss the definition for the word "wreck" when describing the shops.
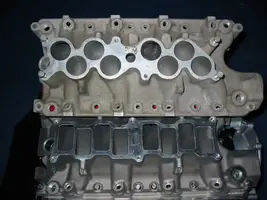
You really can't make it out, but there is a big difference. Glad I spent the extra scratch on the TFS intake instead.