Progress Thread Lets Frankenstein a 1998 Cobra into a 1968 Coupe!

Cool Beans

Active Member
Aug 2, 2014
181
43
38
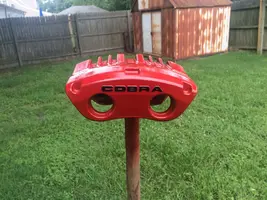
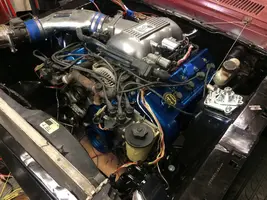
Back in March of 2019 I had the great idea to buy a complete used and abused Cobra to swap into my 1968 "C" code coupe. The 68's engine and trans were worn and needed to be rebuilt anyway, I wanted to upgrade to R&P steering, and better disk brakes. I was thinking about a T5 swap already and I wanted to convert to EFI (I hate carbs). I was aiming for a modest low 300hp on the build, so a slightly modded 32v 4.6l fit the bill.

The build is nearly complete. I have driven the car up to 3rd gear around the block for a total of 1840 feet...and I only stalled out once :loser:I have put together an abridged series of pictures (127) and 1 video from my project and will upload them in chunks over the next couple days.

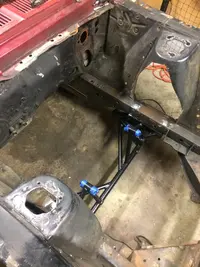
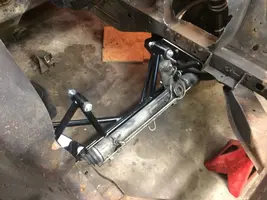
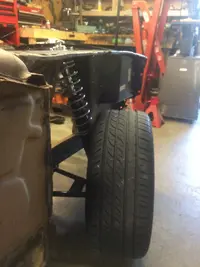
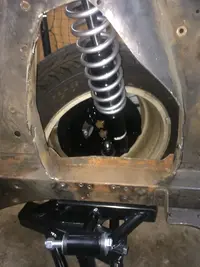
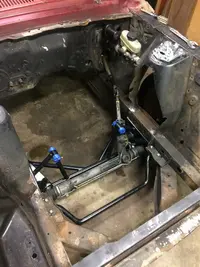
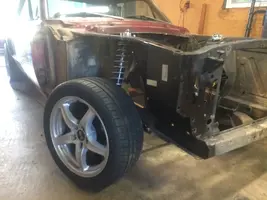
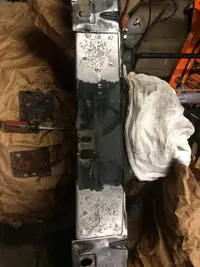
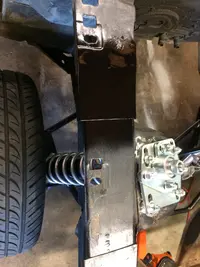
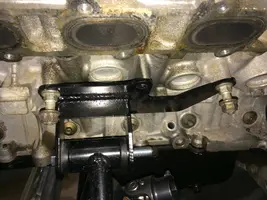
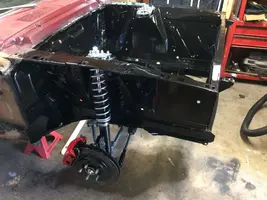
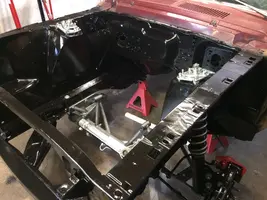
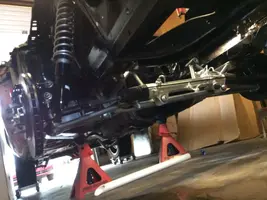
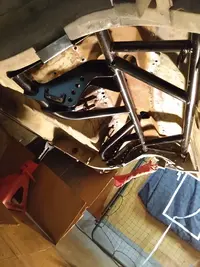
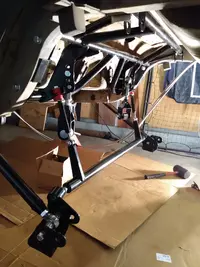
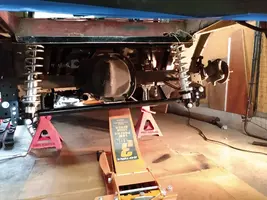
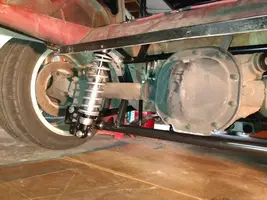
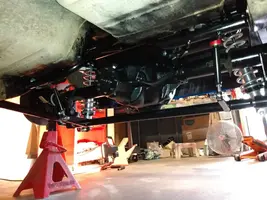
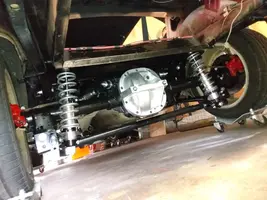
So I found a company called AJE Racing that makes a front and rear suspension system that allows me to basically (I laugh, it sounds so easy) bolt in the rear axle with coil overs and converts the front end to a late model "K" member style MacPherson Strut setup. I did not use their kit for the front but opted to put together my own using their K-member and lower arms. There is a Facebook page for AJE conversions if anyone is interested.

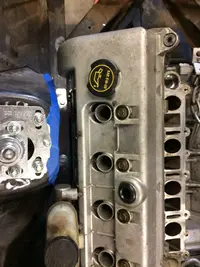
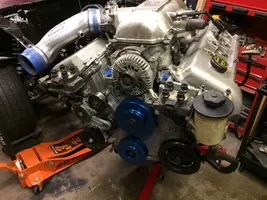
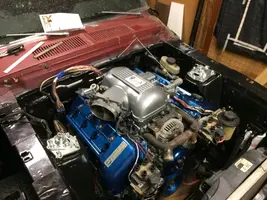
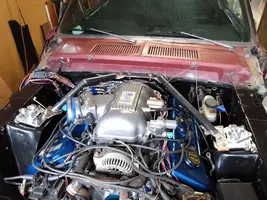
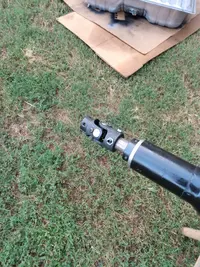
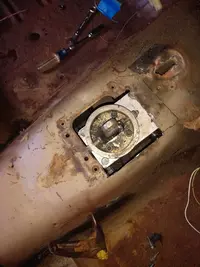
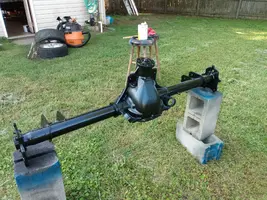
Engine is a 4.6l all aluminum 32v Cobra engine from a 1998 Mustang. I rebuilt it with a 10.4:1 CR, IMRC deletes, EGR deletes, stock manifolds, and an offroad x-pipe. I'm using the T45 transmission with a semi custom hydraulic clutch conversion. A shortened Aerostar Van aluminum driveshaft was used to connect to the coil sprung 8.8. The rear axle was rebuilt with 4.10 gears. I'm using QA-1 double adjustables in the rear with 170lb springs and Strange single adjustable in the front with 175lb springs. I'm using pretty much all the engine, drivetrain, steering, brakes, emergency brakes, hydroboost, wiring harness, cooling system, and exhaust from the Cobra. Fuel supply is a Hyperfuel conversion I installed in the stock tank. Battery was relocated to the trunk. I just realized I have no pictures of those :chin

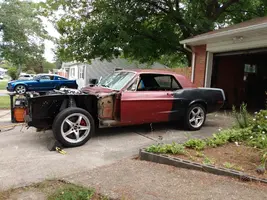
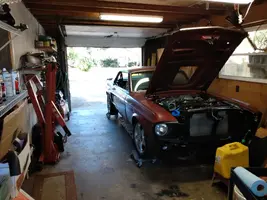
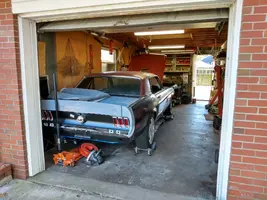
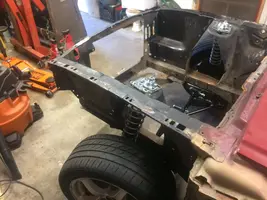
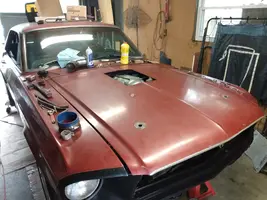
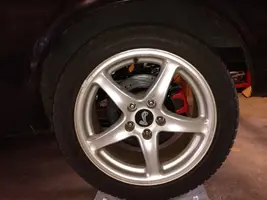
I still need to make an intake tube that fits, align the steering, mufflers, tires, then drive the :poo: outta it! Teaser pic of the car in the driveway over the summer. Garage pictures are as it sits after I drove it around the block last weekend :rock:
 

Attachments

  • xx.webp
    xx.webp
    594.7 KB · Views: 339
  • yy.webp
    yy.webp
    261.7 KB · Views: 379
  • zz.webp
    zz.webp
    301.4 KB · Views: 354
Last edited:
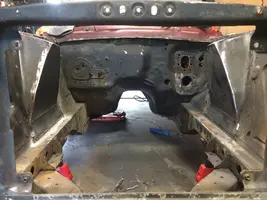
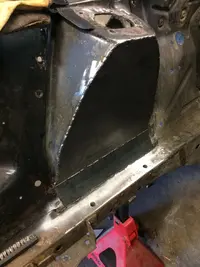
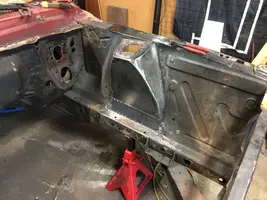
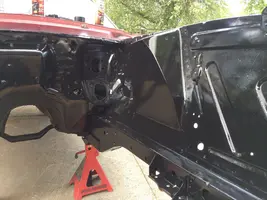
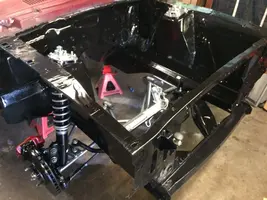
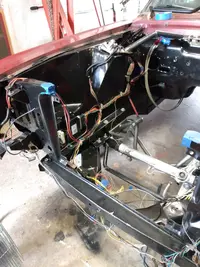
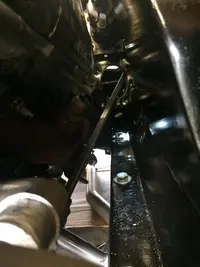
I'm skipping the tear down of the '68 since pretty much everyone here has seen a 289/c4 removed and an empty engine bay. First picture is the start of the conversion with the centers of the towers hacked out and the k-member dry fitted followed by the dry fit of the rest of the front end. The rest of the pictures have been organized in a more linear progression of the build than the undirected chaos that is my normal mode of approaching a big project :jester:
 

Attachments

  • 1.webp
    1.webp
    281.2 KB · Views: 336
  • 2.webp
    2.webp
    215.7 KB · Views: 323
  • 3.webp
    3.webp
    159.2 KB · Views: 325
  • 4.webp
    4.webp
    167.1 KB · Views: 307
  • 5.webp
    5.webp
    197.2 KB · Views: 341
  • 6.webp
    6.webp
    258.2 KB · Views: 306
  • 7.webp
    7.webp
    260 KB · Views: 325
  • 8.webp
    8.webp
    240.9 KB · Views: 306
  • 9.webp
    9.webp
    151.7 KB · Views: 318
  • Like
Reactions: 2Blue2
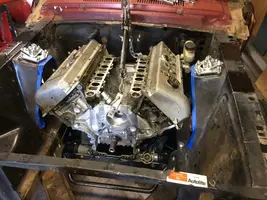
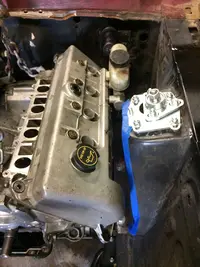
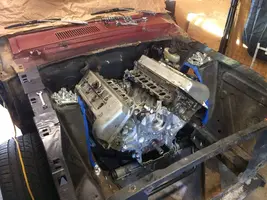
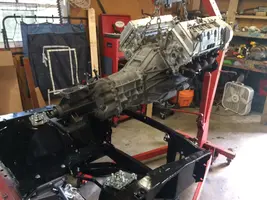
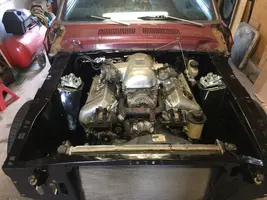
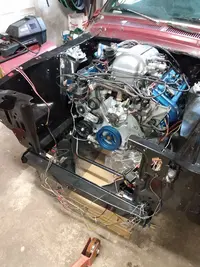
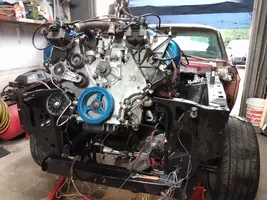
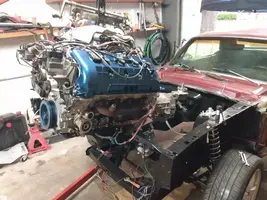
After trimming the towers more and repairing the top of the aprons, the first test fit of the engine and transmission. It's tight, but doable. When the car goes down for the actual restoration, I'm thinking of shaving the firewall on the passenger side. IF...big IF...if I decide to have Heat/AC, I'm going aftermarket kit. They are so much smaller and compact.
 

Attachments

  • 10.webp
    10.webp
    133.5 KB · Views: 322
  • 11.webp
    11.webp
    208.6 KB · Views: 313
  • 12.webp
    12.webp
    249.8 KB · Views: 318
  • 13.webp
    13.webp
    354.7 KB · Views: 315
  • 14.webp
    14.webp
    242.4 KB · Views: 314
  • 15.webp
    15.webp
    240.9 KB · Views: 290
  • 16.webp
    16.webp
    323 KB · Views: 331
  • 18.webp
    18.webp
    290 KB · Views: 302
  • 19.webp
    19.webp
    557.7 KB · Views: 329
  • 20.webp
    20.webp
    339.9 KB · Views: 317
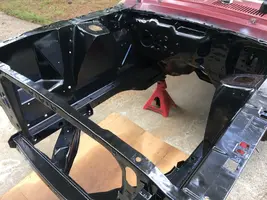
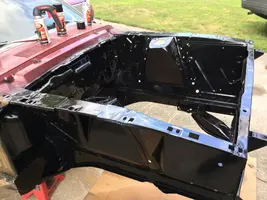
Final fitment was good, engine/trans back out for plating of the towers. A little grinding, bondo, and paint...looks like a million bucks!
 

Attachments

  • 21.webp
    21.webp
    226.7 KB · Views: 333
  • 22.webp
    22.webp
    261.5 KB · Views: 296
  • 23.webp
    23.webp
    230.4 KB · Views: 292
  • 24.webp
    24.webp
    346.6 KB · Views: 312
  • 25.webp
    25.webp
    244.6 KB · Views: 301
  • 26.webp
    26.webp
    381.3 KB · Views: 325
  • 27.webp
    27.webp
    250 KB · Views: 293
  • 28.webp
    28.webp
    264 KB · Views: 297
  • 29.webp
    29.webp
    181.7 KB · Views: 299
  • 30.webp
    30.webp
    193.6 KB · Views: 289
  • Like
Reactions: hbstang and 2Blue2
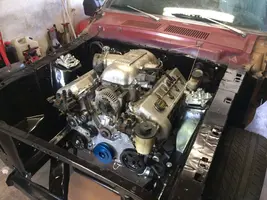
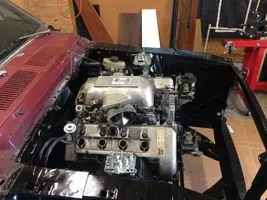
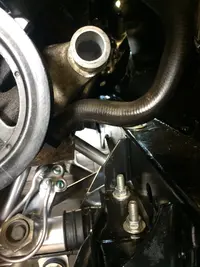
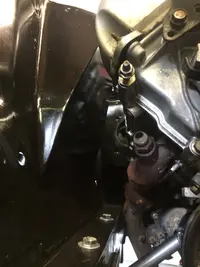
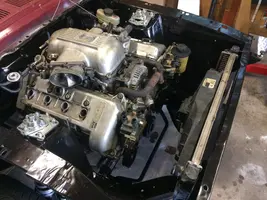
Second fitting of the dressed and rebuilt engine. It's like trying to cram 8 lbs of crap in a 5 lb bag. But those notched towers actually provide a lot of room!
 

Attachments

  • 31.webp
    31.webp
    293.6 KB · Views: 285
  • 33.webp
    33.webp
    217.6 KB · Views: 291
  • 34.webp
    34.webp
    277.8 KB · Views: 300
  • 35.webp
    35.webp
    273.1 KB · Views: 299
  • 36.webp
    36.webp
    316.9 KB · Views: 305
  • 38.webp
    38.webp
    246.3 KB · Views: 286
  • 39.webp
    39.webp
    194.9 KB · Views: 298
  • 40.webp
    40.webp
    196.4 KB · Views: 303
  • 41.webp
    41.webp
    325.9 KB · Views: 303
  • 42.webp
    42.webp
    322.5 KB · Views: 316
I always did love that engine(did the swap once too....mostly, never got a running driving car, but did cut out the shock towers, put in a MII suspension, etc and get it to within a few weeks of starting) I used the Mark VIII block though with a Cobra intake(that is one expensive intake to find used). What made you use the SN95 Radiator though?
 
I always did love that engine(did the swap once too....mostly, never got a running driving car, but did cut out the shock towers, put in a MII suspension, etc and get it to within a few weeks of starting) I used the Mark VIII block though with a Cobra intake(that is one expensive intake to find used). What made you use the SN95 Radiator though?
Yeah they are, lol. I used the radiator mostly because it's sized for the engine, works with the stock fan, outlets are correct, and I already had it so it cost me nothing. Even reused the radiator hoses and thermostat housing. I made a rail out of angle and 3/4" square tube covered in foam tape to set the radiator on. The top is a similar bracket (needs to be modded since I raised the radiator a 1/4"). I spliced in a 16lb radiator cap and fill from a 2005 Durango and will plumb that to a nicer overflow bottle instead of having a sealed expansion tank.
 
  • Like
Reactions: 2Blue2
So where did I leave off last night...
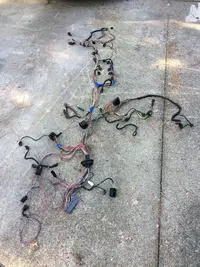
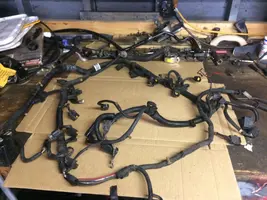
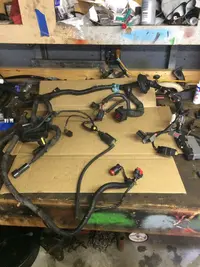
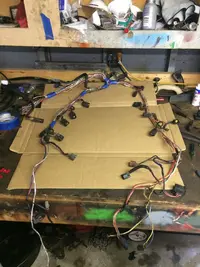
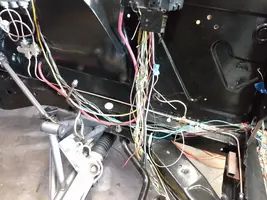
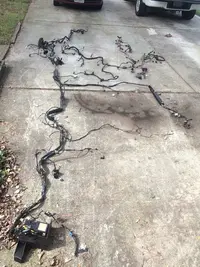
Ok, so I stripped the complete wiring harness out of the Cobra...Headlights to Inertia switch. Basically, I laid it out on the driveway and starting cutting away what I needed. I can't begin to explain to you how I knew what to do other than I just kind of knew what to do. I don't really have a wiring diagram, but I do have a pin-out sheet and a .pdf Haynes manual and a couple of saved posts from FactoryFiveForums. It's not hard if you are already familiar with EFI and car wiring :shrug: There are 2 separate harness: The chassis harness that carries main power, the ECU, OBDII port, ignition power, grounds, fuse block, MAF and IAT, CCRM, Fuel pump, transmission harness, and fan (I think that's it). Then there is an actual engine harness that takes care of charging and engine management. Once I get a couple thousand trouble free miles out of this, I might rough out a complete wiring diagram for my conversion and share to the car community.
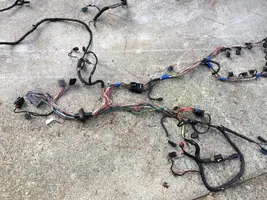
 

Attachments

  • 43.webp
    43.webp
    271.4 KB · Views: 282
  • 44.webp
    44.webp
    915.3 KB · Views: 293
  • 45.webp
    45.webp
    1 MB · Views: 269
  • 46.webp
    46.webp
    237.5 KB · Views: 263
  • 47.webp
    47.webp
    271.7 KB · Views: 282
  • 48.webp
    48.webp
    290.1 KB · Views: 342
  • 49.webp
    49.webp
    280 KB · Views: 267
  • 50.webp
    50.webp
    242.4 KB · Views: 264
  • 51.webp
    51.webp
    232.9 KB · Views: 269
  • 52.webp
    52.webp
    348 KB · Views: 266
  • Like
Reactions: 2Blue2
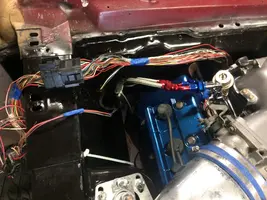
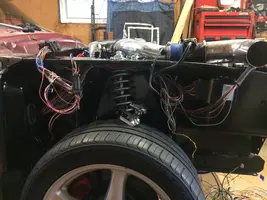
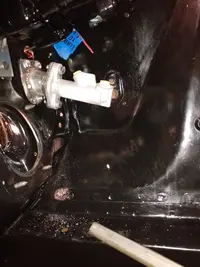
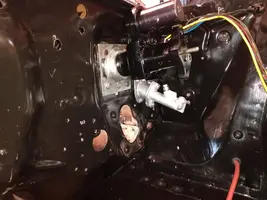
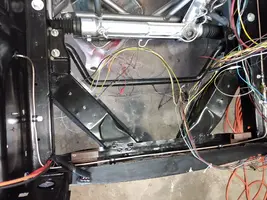
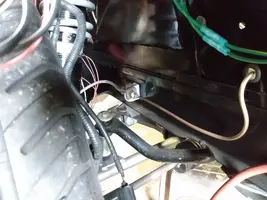
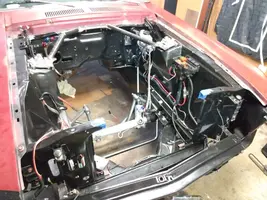
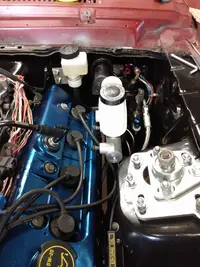
These pics are actually out of the order that I'm building the car. I was jumping all over the place. After I did everything inside the car and the rear end, I came back to the front and it was time to pull everything for "final" fitment and install. I custom bent brake lines, clutch master install, tightened up all the wiring, cut and modded the radiator support to be removable, steering shaft, etc. Driver side wiring is basically done, I still have a few circuits to remove/mod on the passenger side which is why I didn't loom them yet.
 

Attachments

  • 53.webp
    53.webp
    345.7 KB · Views: 264
  • 54.webp
    54.webp
    374.6 KB · Views: 282
  • 55.webp
    55.webp
    328.9 KB · Views: 269
  • 56.webp
    56.webp
    273.2 KB · Views: 273
  • 57.webp
    57.webp
    240.9 KB · Views: 266
  • 58.webp
    58.webp
    258.5 KB · Views: 266
  • 59.webp
    59.webp
    144.4 KB · Views: 252
  • 60.webp
    60.webp
    157.4 KB · Views: 258
  • 61.webp
    61.webp
    218.6 KB · Views: 278
  • Like
Reactions: hbstang and 2Blue2
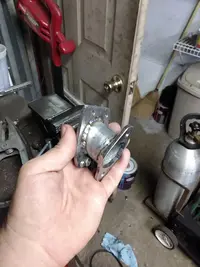
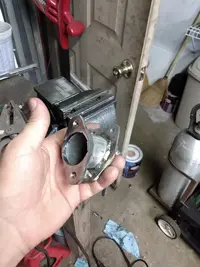
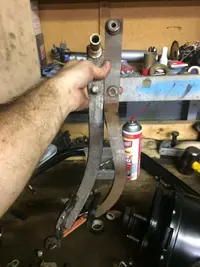
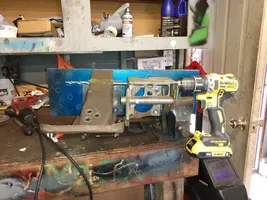
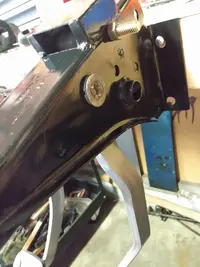
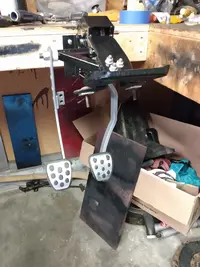
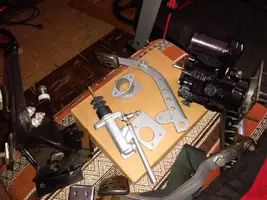
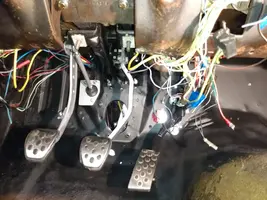
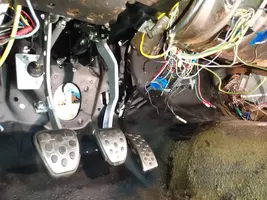
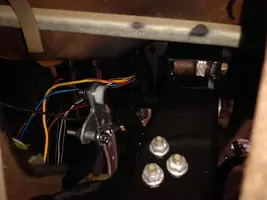
Continuing to make and install everything I need to with the engine and tranny out. I "duplicated" the stock cobra geometry into my '68 pedal box and so far it all seems to work great! That clutch master adapter is a copy of the expensive kits online and made out of 2" diameter exhaust tubing and some 1/8" plate.
 

Attachments

  • 62.webp
    62.webp
    115.5 KB · Views: 266
  • 63.webp
    63.webp
    202.2 KB · Views: 269
  • 64.webp
    64.webp
    314.7 KB · Views: 255
  • 65.webp
    65.webp
    172.8 KB · Views: 275
  • 66.webp
    66.webp
    191.5 KB · Views: 284
  • 67.webp
    67.webp
    315.8 KB · Views: 266
  • 68.webp
    68.webp
    201.6 KB · Views: 264
  • 69.webp
    69.webp
    226.4 KB · Views: 260
  • 70.webp
    70.webp
    304 KB · Views: 285
  • 71.webp
    71.webp
    100.1 KB · Views: 270
  • Like
Reactions: 2Blue2
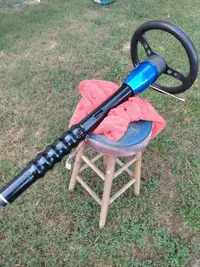
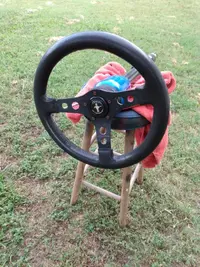
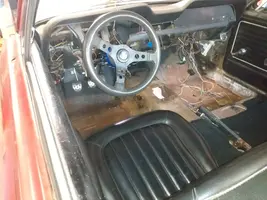
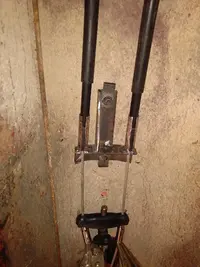
Last group of pics for now. Moving into the car I rebuilt and modded the steering column for a universal at the end. I also modded the car to accept the Cobra emergency brake handle and cut and recrimped the cables to work in the car. It works and works fantastic! First time I have owned the car and it had emergency brakes that worked.
 

Attachments

  • 72.webp
    72.webp
    252.6 KB · Views: 254
  • 73.webp
    73.webp
    192.3 KB · Views: 242
  • 74.webp
    74.webp
    258.6 KB · Views: 251
  • 75.webp
    75.webp
    245 KB · Views: 265
  • 76.webp
    76.webp
    229.3 KB · Views: 266
  • 77.webp
    77.webp
    202.1 KB · Views: 252
  • 78.webp
    78.webp
    407 KB · Views: 266
  • 79.webp
    79.webp
    270.3 KB · Views: 266
  • 80.webp
    80.webp
    232.3 KB · Views: 266
  • 81.webp
    81.webp
    319 KB · Views: 277
  • Like
Reactions: hbstang and 2Blue2
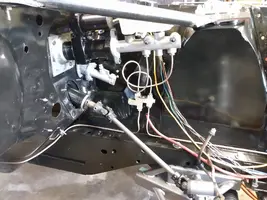
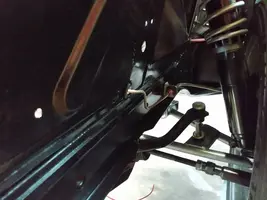
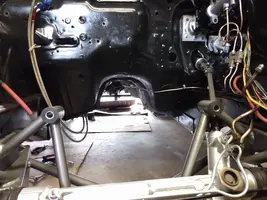
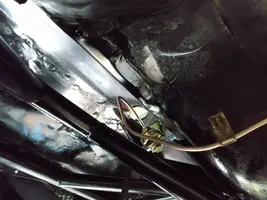
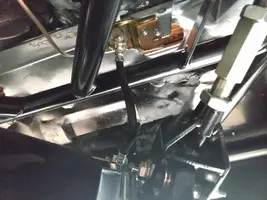
More pictures! So with the engine bay empty, the next big step was to tighten up the wiring and run brake lines. I bought a 25' coil of 3/16" CuNi brake line and fittings and bent my own lines. I used the Cobra distribution block since I was using the Cobra brakes front an rear. I decided to run the lines forward and around to the passenger side instead of back and toward the fire wall. I converted the rear axle brake lines to Fox style with a single body line. Trimming, looming, and making grounds for the wiring is boring so I just have the final layout.
 

Attachments

  • 82.webp
    82.webp
    241.9 KB · Views: 264
  • 83.webp
    83.webp
    253.2 KB · Views: 257
  • 84.webp
    84.webp
    346.7 KB · Views: 266
  • 85.webp
    85.webp
    160.9 KB · Views: 237
  • 86.webp
    86.webp
    139.6 KB · Views: 264
  • 87.webp
    87.webp
    238.4 KB · Views: 270
  • 88.webp
    88.webp
    202.2 KB · Views: 256
  • 89.webp
    89.webp
    242.3 KB · Views: 239
  • 90.webp
    90.webp
    309 KB · Views: 263
  • 91.webp
    91.webp
    262.3 KB · Views: 267
  • Like
Reactions: 2Blue2
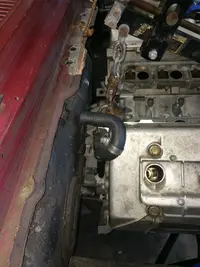
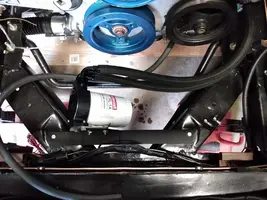
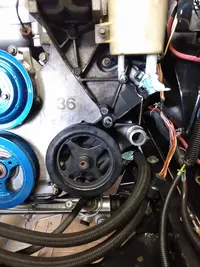
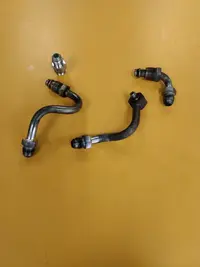
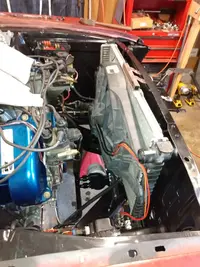
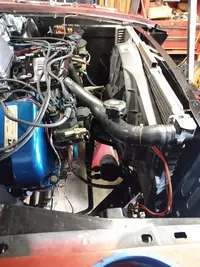
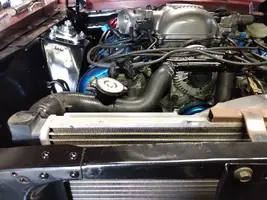
Last Engine bay pic showing the wire loomed and steering hooked up. I found the easiest way to attach 6AN lines for the hydroboost was to braze 6AN fitting onto the stock tubing. Quick shot of the oil filter relocated and radiator hooked up. Of course the intake is too tall, but I wanted to put a hood scoop on regardless so it worked out!
 

Attachments

  • 92.webp
    92.webp
    322.6 KB · Views: 276
  • 93.webp
    93.webp
    291 KB · Views: 260
  • 94.webp
    94.webp
    282 KB · Views: 261
  • 95.webp
    95.webp
    256.9 KB · Views: 261
  • 96.webp
    96.webp
    84.8 KB · Views: 278
  • 97.webp
    97.webp
    259.5 KB · Views: 245
  • 98.webp
    98.webp
    287.7 KB · Views: 275
  • 99.webp
    99.webp
    301 KB · Views: 266
  • 100.webp
    100.webp
    221.1 KB · Views: 270
  • 101.webp
    101.webp
    293.9 KB · Views: 298
  • Like
Reactions: hbstang and 2Blue2
A couple random intermission pictures. I made my own shifter out of 1/4" plate and 1/2" tubing. I cut and bent the tubing around a dead blow hammer and actually made it to place the shifter where my hand naturally wants to be. Tapped the end for the shift knob. Cost like $6. That crap they sell online is a total rip off.
 

Attachments

  • 103.webp
    103.webp
    286.4 KB · Views: 275
  • 104.webp
    104.webp
    314.1 KB · Views: 277
  • 105.webp
    105.webp
    204 KB · Views: 273
  • Like
Reactions: 2Blue2
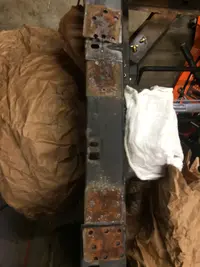
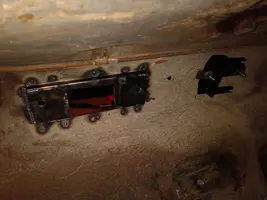
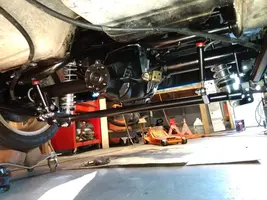
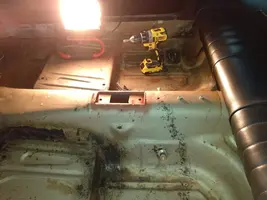
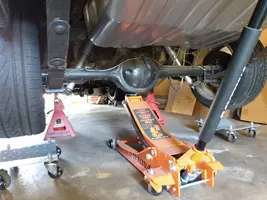
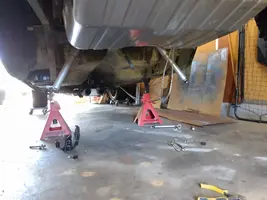
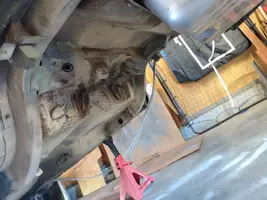
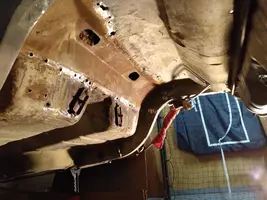
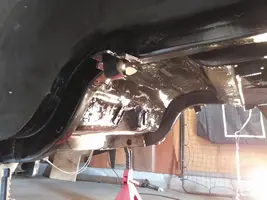
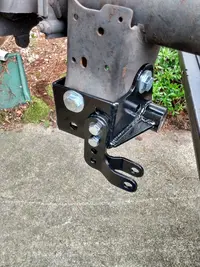
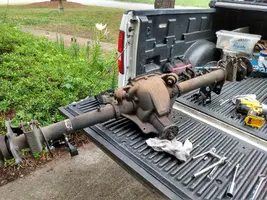
Rear axle is up next. I had to pull the rear axle and suspension and remove the shock brace from the car. Other than working upside under the car, this was actually a pretty easy part of the project. This is also where I really discovered just how poorly these cars were put together :hide:
 

Attachments

  • 106.webp
    106.webp
    197 KB · Views: 282
  • 107.webp
    107.webp
    146.3 KB · Views: 259
  • 108.webp
    108.webp
    164.2 KB · Views: 260
  • 109.webp
    109.webp
    261.8 KB · Views: 269
  • 110.webp
    110.webp
    236.9 KB · Views: 277
  • 111.webp
    111.webp
    253.2 KB · Views: 263
  • 112.webp
    112.webp
    228.5 KB · Views: 278
  • 119.webp
    119.webp
    167.9 KB · Views: 266
  • Like
Reactions: hbstang and 2Blue2
Last of the build pics!
 

Attachments

  • 113.webp
    113.webp
    637.9 KB · Views: 294
  • 114.webp
    114.webp
    267.6 KB · Views: 262
  • 115.webp
    115.webp
    727.4 KB · Views: 271
  • 116.webp
    116.webp
    243.5 KB · Views: 278
  • 117.webp
    117.webp
    253.2 KB · Views: 259
  • 120.webp
    120.webp
    908.1 KB · Views: 265
  • 121.webp
    121.webp
    253 KB · Views: 273
  • 122.webp
    122.webp
    331 KB · Views: 263
  • 123.webp
    123.webp
    141.3 KB · Views: 266
  • 124.webp
    124.webp
    238.4 KB · Views: 305
So this went faster than I thought...I wish the project went like this in real life :rlaugh:

Here's a video of it running:
View: https://youtu.be/UCkDmWV7rdA


That clicking noise is a bad alternator, and also the reason the voltage is less than 12v. Still have tweaking to do, chase down vacuum leaks, hook up a line to the fuel regulator, etc. Next project is fiberglassing an intake tube. I'll start posting regular progress pics and updates as things happen from now on. Next video will be me driving it. If you have any questions, holla!
 
  • Like
Reactions: 2Blue2
Seems like a lot of work for a coilover solid-axle rear end with all the bolt-on kits around. I have played with the idea of IRS myself using a Ford 8.8 that I have mounted in a Miata cradle....the Miata IRS cradle and control arms are fairly compact(and the track width between it an a 66 are almost identical). The only reason I didn't tackle that one was because when I measured it I would have had to change the shock and spring angle to clear the frame rails and I wasn't sure how that would affect things.
 
  • Like
Reactions: 2Blue2