- Aug 2, 2014
- 181
- 43
- 38
The work involved is probably a wash compared to something like TCP rear cradle n' coilover kit. Once I removed the shock brace, the cradle has 4 bolts and 2 mount points to fix it in. All told, probably 20 hours to get it installed. The real boon is it allowed me to use so many parts from the Cobra saving me thousandsSeems like a lot of work for a coilover solid-axle rear end with all the bolt-on kits around. I have played with the idea of IRS myself using a Ford 8.8 that I have mounted in a Miata cradle....the Miata IRS cradle and control arms are fairly compact(and the track width between it an a 66 are almost identical). The only reason I didn't tackle that one was because when I measured it I would have had to change the shock and spring angle to clear the frame rails and I wasn't sure how that would affect things.
 The IRS sounds pretty cool! If you do that, be sure to share pics. That would be neat to see.
2Blue2, no burnouts yet. Once I get a full mile on it, maybe, hehehe


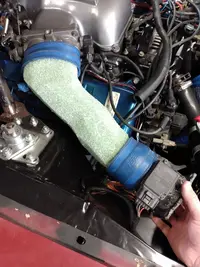
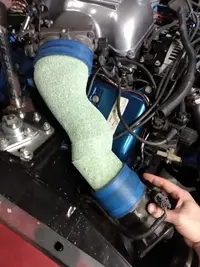

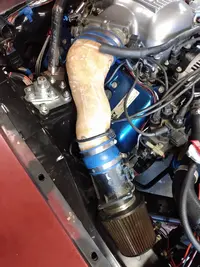
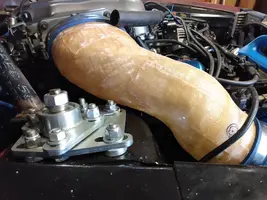
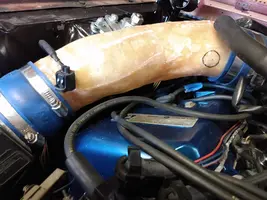
 Probably in the next couple weekends...oh yeah, need to trim the inner hood structure some