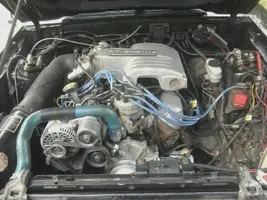
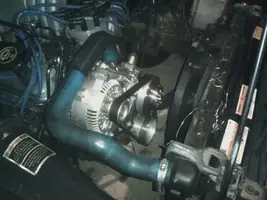
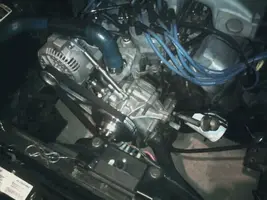
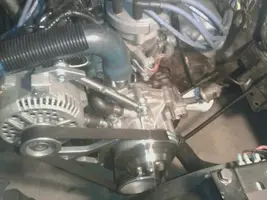
I deleted my A/C and P/S a while ago. For a long time I have been running it by reversing the tensioner. This worked enough to get around but the belt slipped a lot, there was just not enough tension. I already have a 3G alternator and a ASP underdrive pulley set. So I had it run like this:
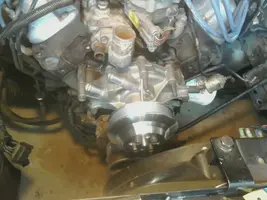
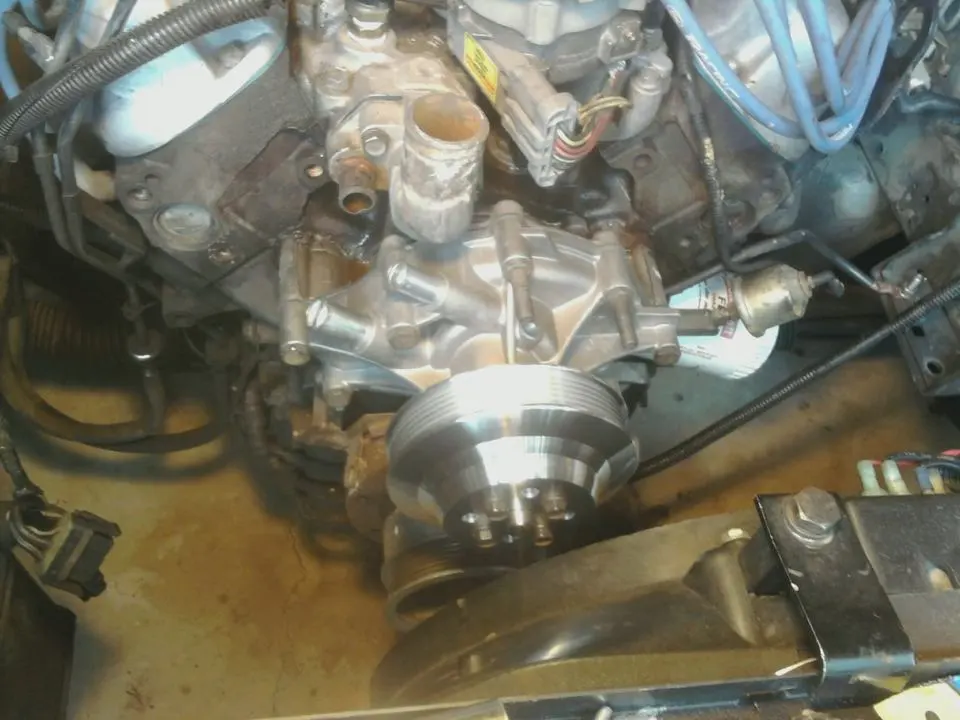
So I got a waterpump for a '90Crown Vic. Autozone part CWP-641, March 2004 pulley which is a grooved water pump pulley holes drilled for both the clockwise and counterclockwise pumps. I wanted to go electric but it's just not in the budget. Here is the W/P with just the pulley on it. That pulley is too nice for aftermarket.
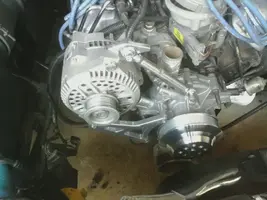
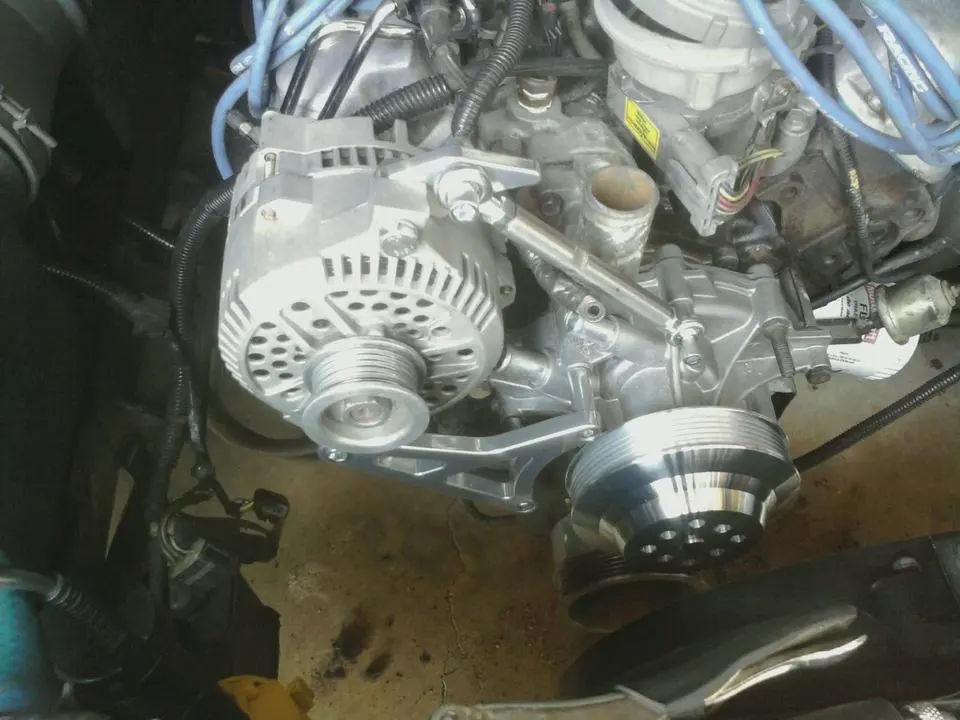
Then for the alternator. I still wouldn't have much tension with the stock tensioner system. I don't know, but I figured there wouldn't be much room for it to really be able to get a decent angle to dig in so I got the March 30025-09 alternator bracket. This is how it is setup the way March intended:
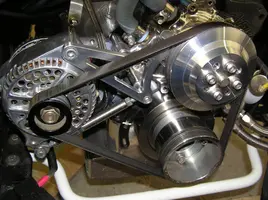
There is another way to get it done, and that is where the alternator is upside down with the tension rod below. Kind of like this:

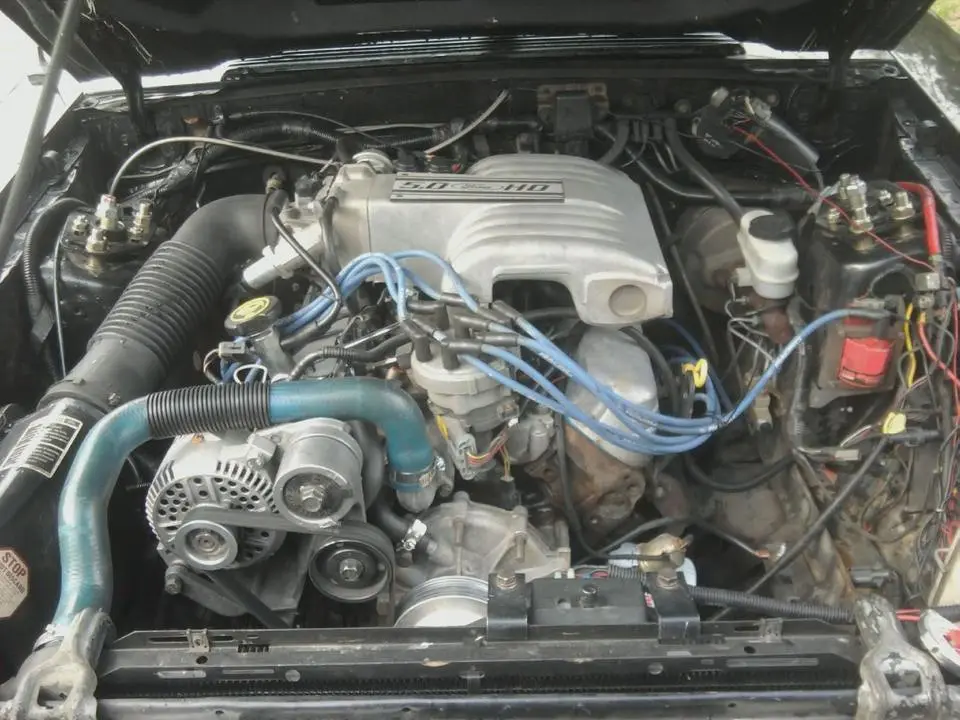
The only thing is my 3G is too big. I've tried to run it and I've messed with it a bunch. Looks like I'm going to have to do some grinding. Is it worth it? It looks so much cleaner under there without the alternator sticking way up there. You can just see the heads, even if they are ugly stock E7's, but it looks so clean under there. Any suggestions or is there a reason I should run it with the alternator up there?
So I got a waterpump for a '90Crown Vic. Autozone part CWP-641, March 2004 pulley which is a grooved water pump pulley holes drilled for both the clockwise and counterclockwise pumps. I wanted to go electric but it's just not in the budget. Here is the W/P with just the pulley on it. That pulley is too nice for aftermarket.
Then for the alternator. I still wouldn't have much tension with the stock tensioner system. I don't know, but I figured there wouldn't be much room for it to really be able to get a decent angle to dig in so I got the March 30025-09 alternator bracket. This is how it is setup the way March intended:
There is another way to get it done, and that is where the alternator is upside down with the tension rod below. Kind of like this:
The only thing is my 3G is too big. I've tried to run it and I've messed with it a bunch. Looks like I'm going to have to do some grinding. Is it worth it? It looks so much cleaner under there without the alternator sticking way up there. You can just see the heads, even if they are ugly stock E7's, but it looks so clean under there. Any suggestions or is there a reason I should run it with the alternator up there?