

You are using an out of date browser. It may not display this or other websites correctly.
You should upgrade or use an alternative browser.
You should upgrade or use an alternative browser.
1966 Mustang Coupe Restomod
- Thread starter rusty428cj
- Start date

I have been busy working in the shop and I need to update
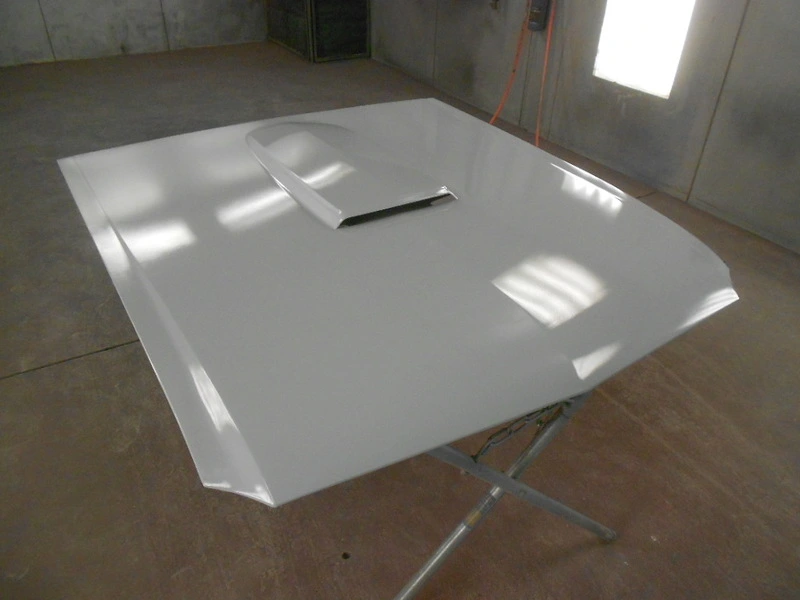
I block sanded the fiberglass hood
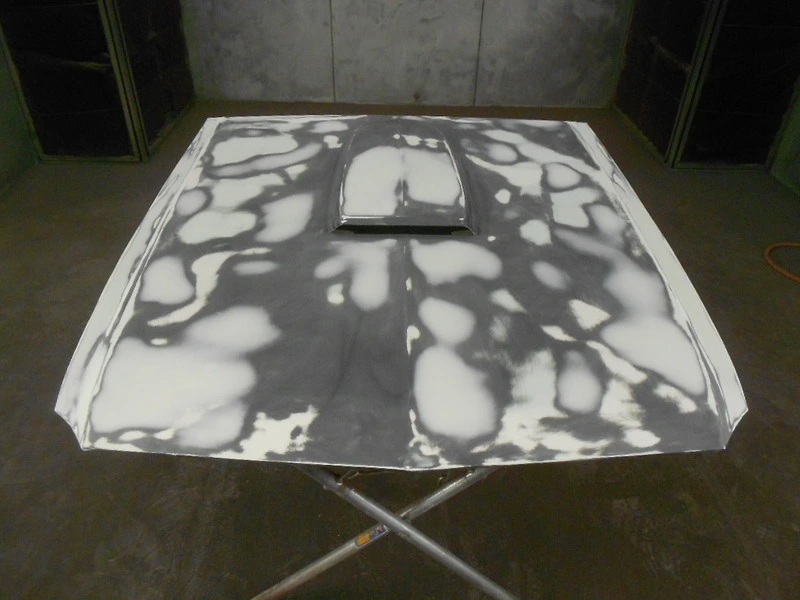
Sprayed one coat of SPI black epoxy
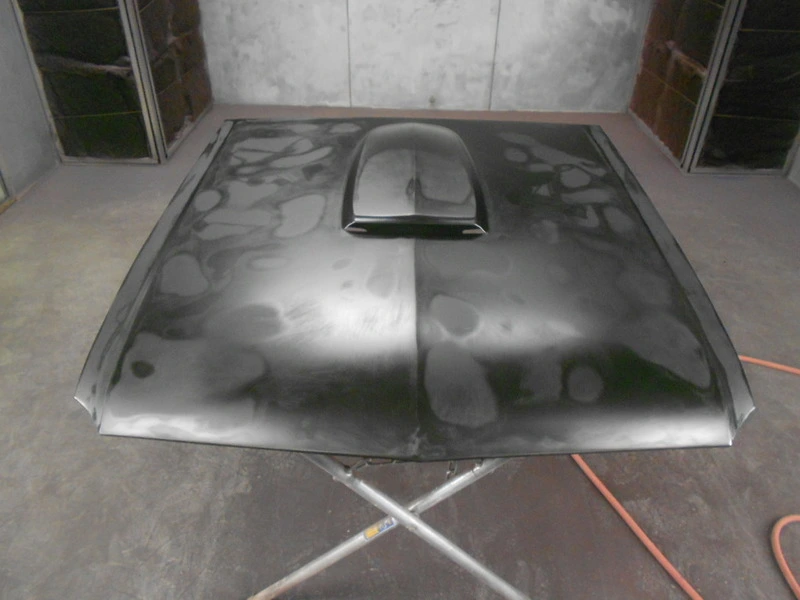
Two Coats of SPI Turbo primer
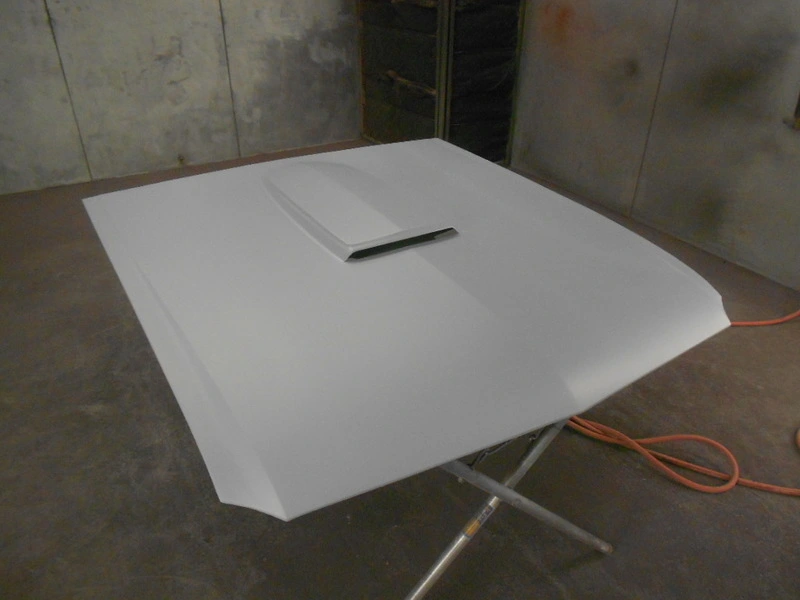
Block sanded again
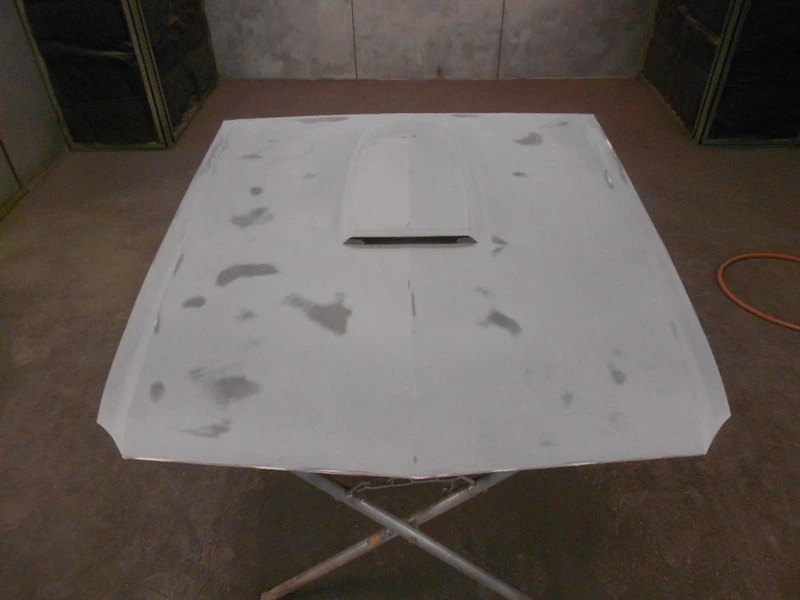
Two coats of SPI epoxy
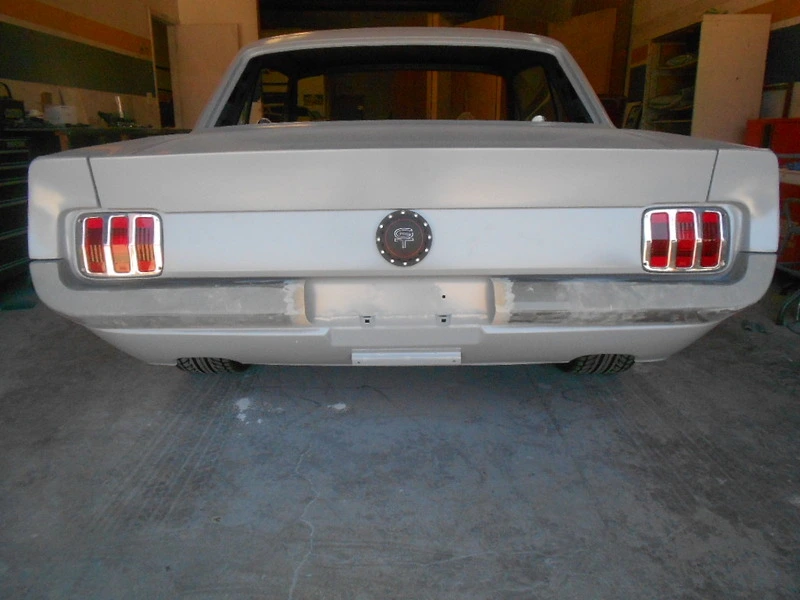
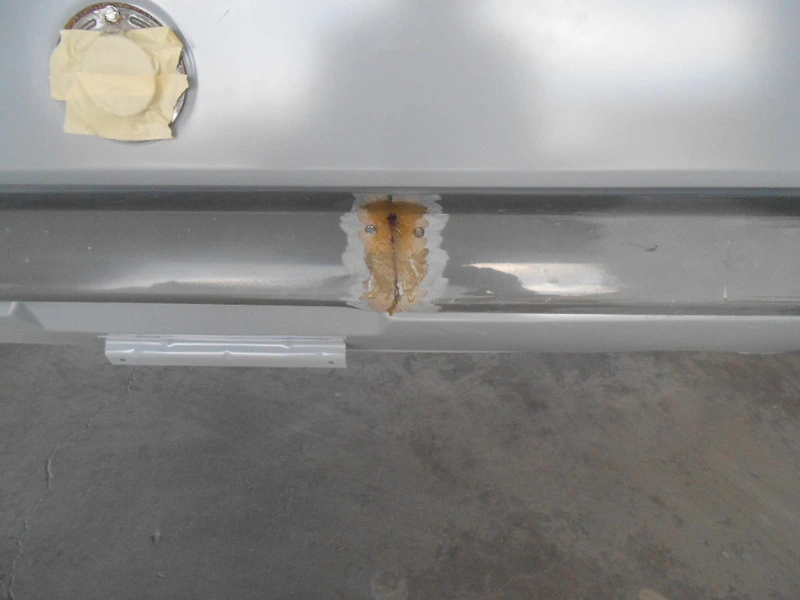
The fiberglass bumper did not fit our car. The center section did not line up with the lower valance and the bumper was to narrow.
I cut the center out of the bumper and had to modify the holes in the taillight panel to get the bumper lowered.
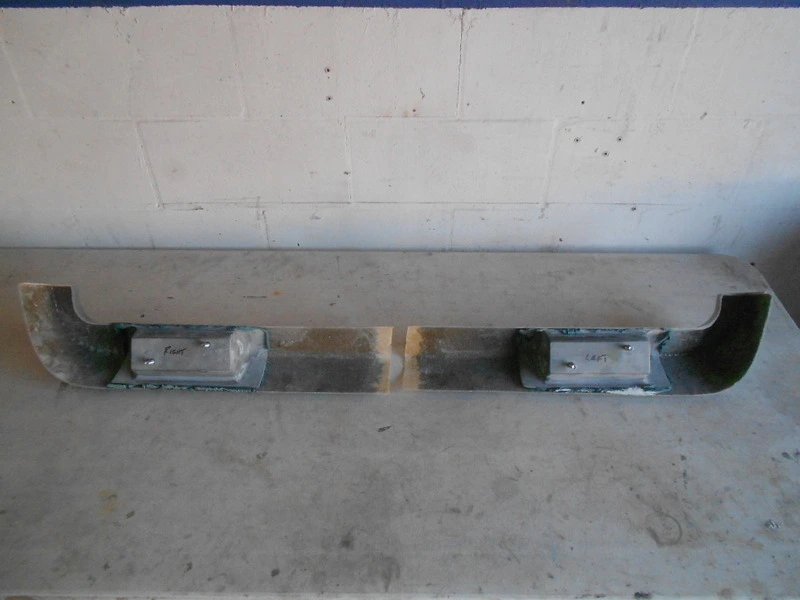
I used Duraglass to attach the brackets to the bumper. Later I added a couple layers of fiberglass to hold them in place
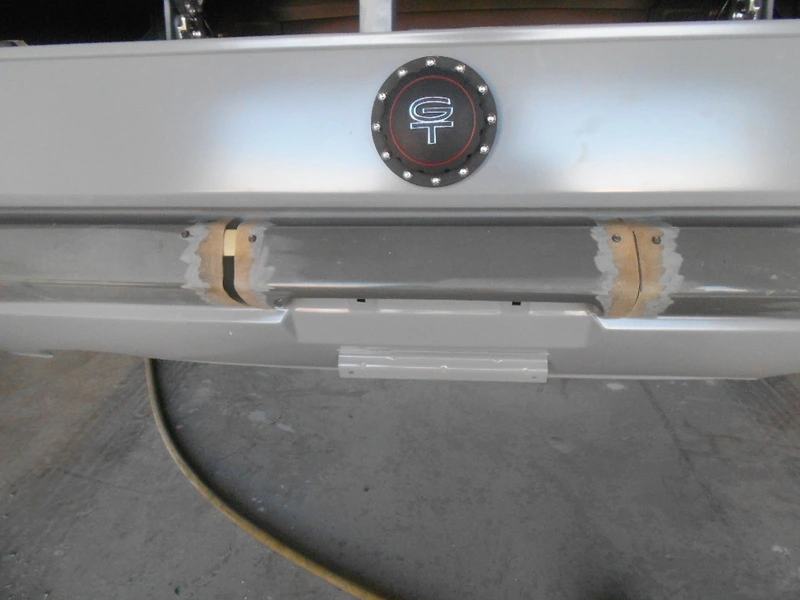
This shows you have much I need to add to the left side
I added fiberglass to the top to hold it in place
I clamped it to a long piece of angle and added fiberglass on the back side.
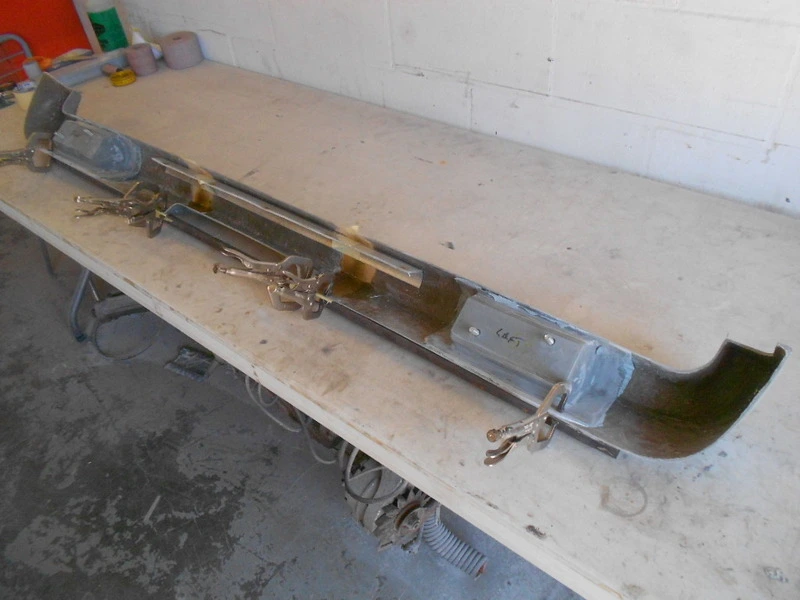
I removed the braces and clamps and finished adding fiberglass to both sides and this is how it looks now. I still have to work on the gaps.
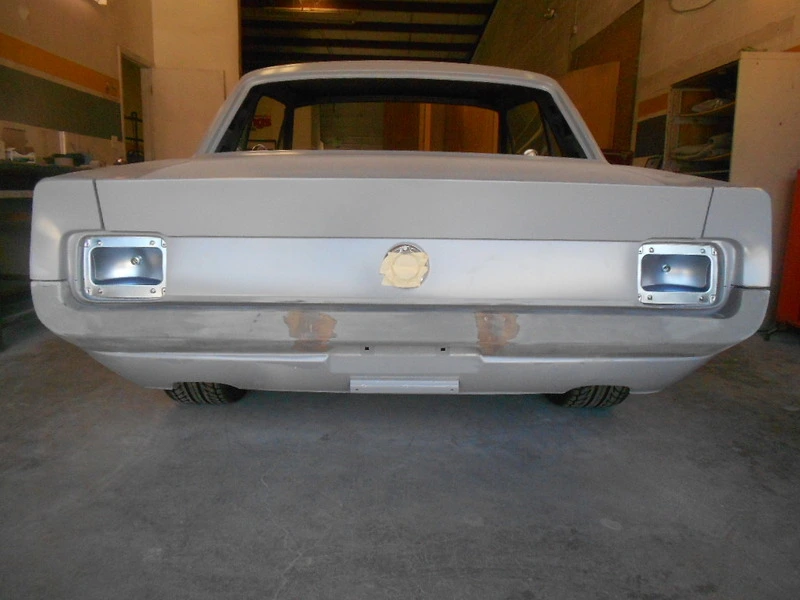
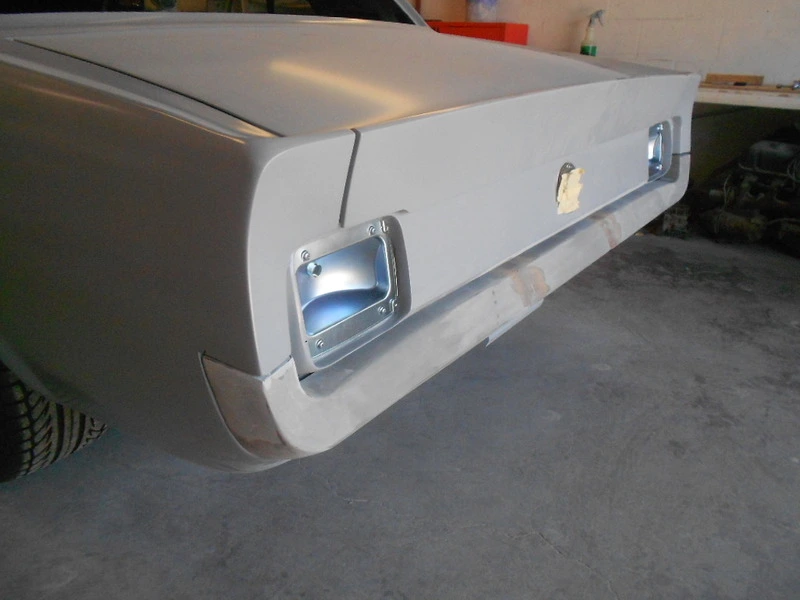
I block sanded the fiberglass hood
Sprayed one coat of SPI black epoxy
Two Coats of SPI Turbo primer
Block sanded again
Two coats of SPI epoxy
The fiberglass bumper did not fit our car. The center section did not line up with the lower valance and the bumper was to narrow.
I cut the center out of the bumper and had to modify the holes in the taillight panel to get the bumper lowered.
I used Duraglass to attach the brackets to the bumper. Later I added a couple layers of fiberglass to hold them in place
This shows you have much I need to add to the left side
I added fiberglass to the top to hold it in place
I clamped it to a long piece of angle and added fiberglass on the back side.
I removed the braces and clamps and finished adding fiberglass to both sides and this is how it looks now. I still have to work on the gaps.

horse sence
15 Year Member

We are back working on this project. I had to do a little bodywork on the front of the fenders to get them to line up to the new front valance and epoxy primed.
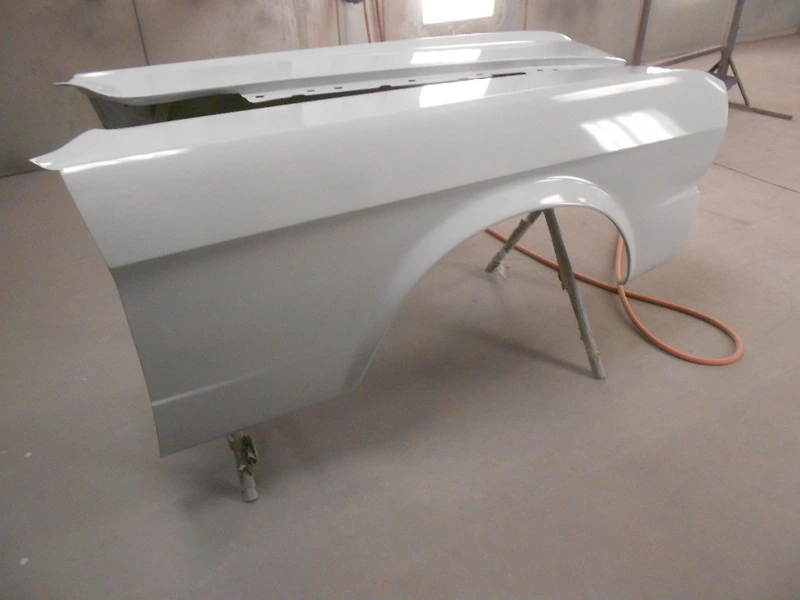
Front valance and rear bumper block sanded and epoxy primed
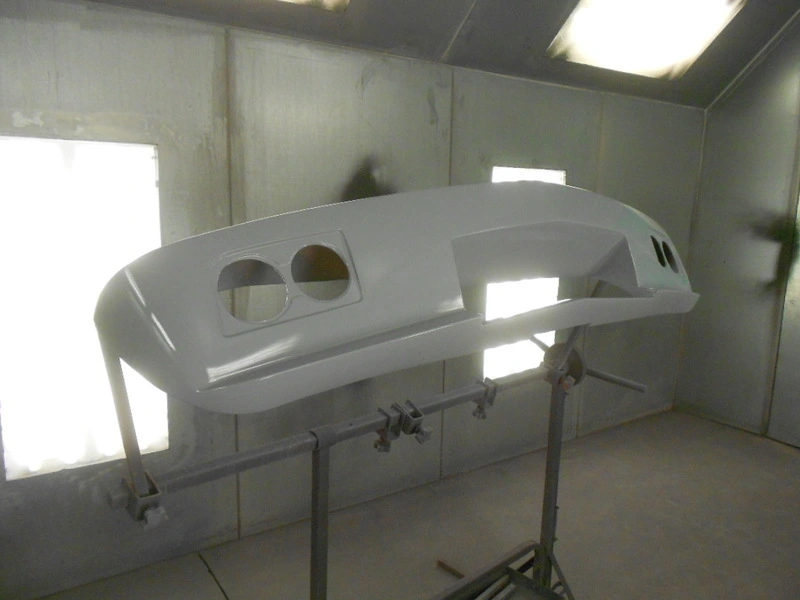
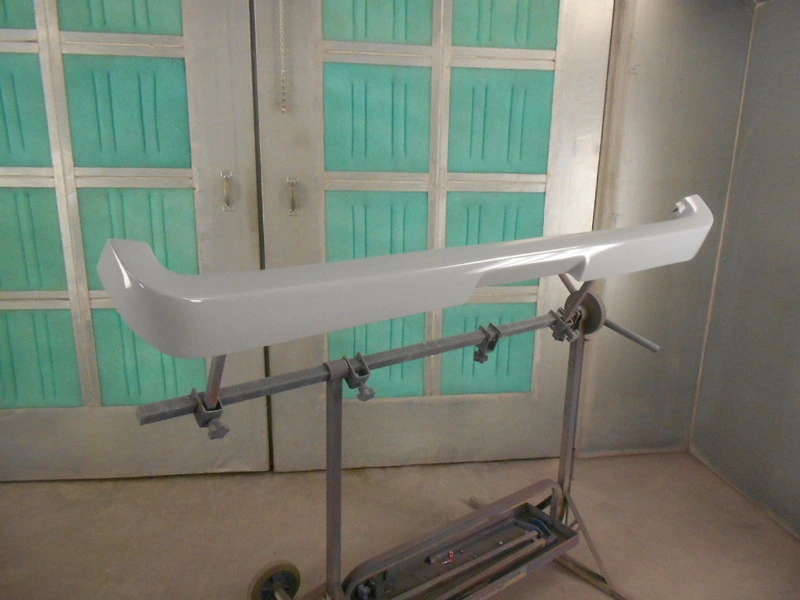
Test fitting one more time
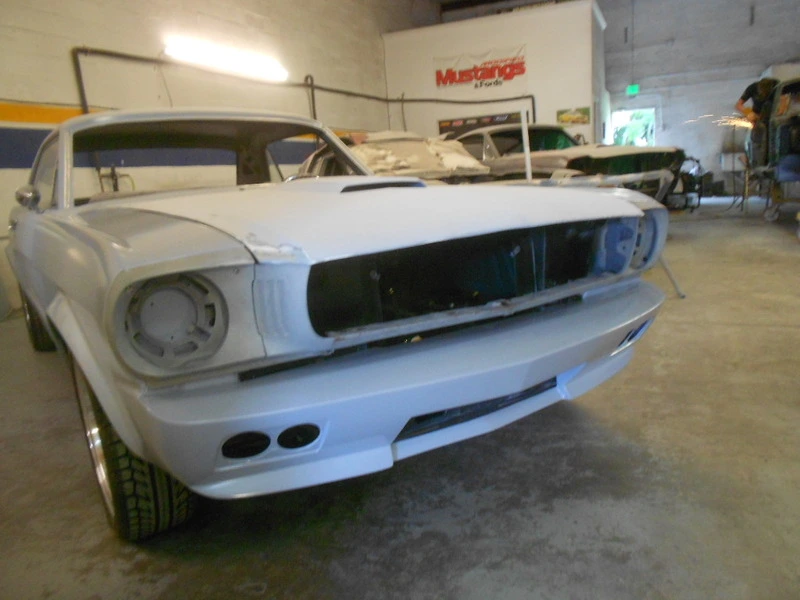
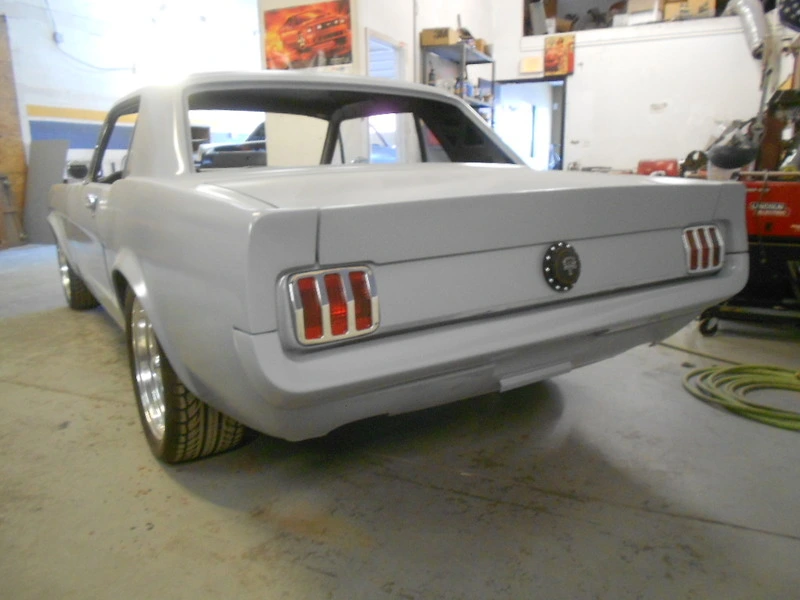
Front valance and rear bumper block sanded and epoxy primed
Test fitting one more time

restmod
Member
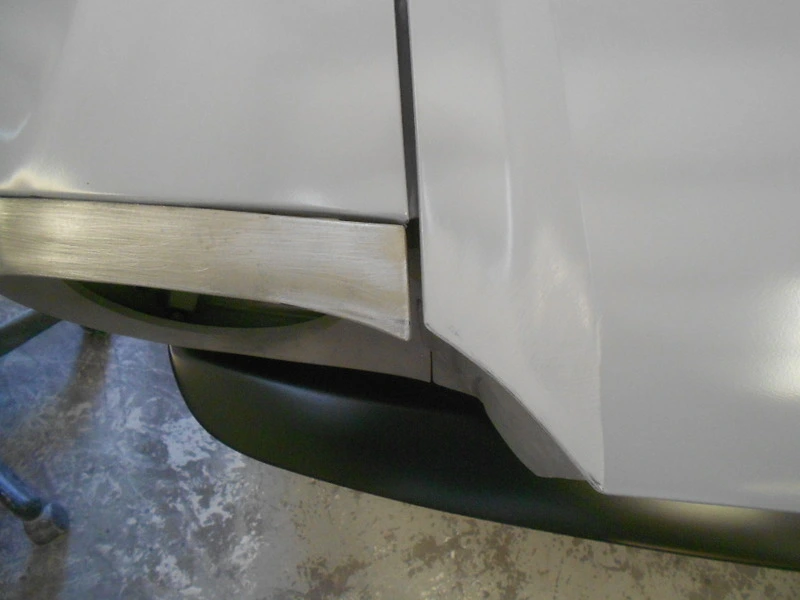
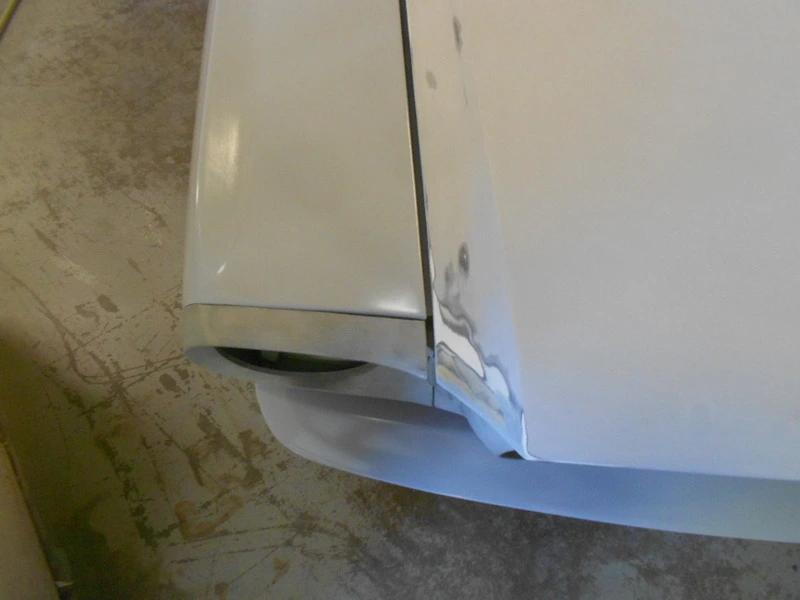
We have been working on this doing a lot of little things to make it look right. The hood did not line up with the headlight buckets so I had to add fiberglass to the end of the hood.
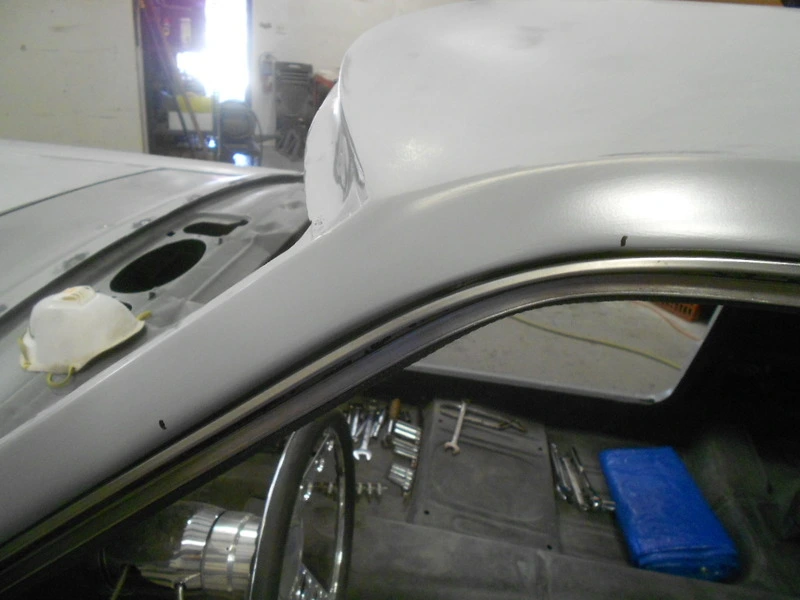
Brian test fit all the door glass, vent windows, quarter windows, windshield and back glass moldings
This area needed a little work
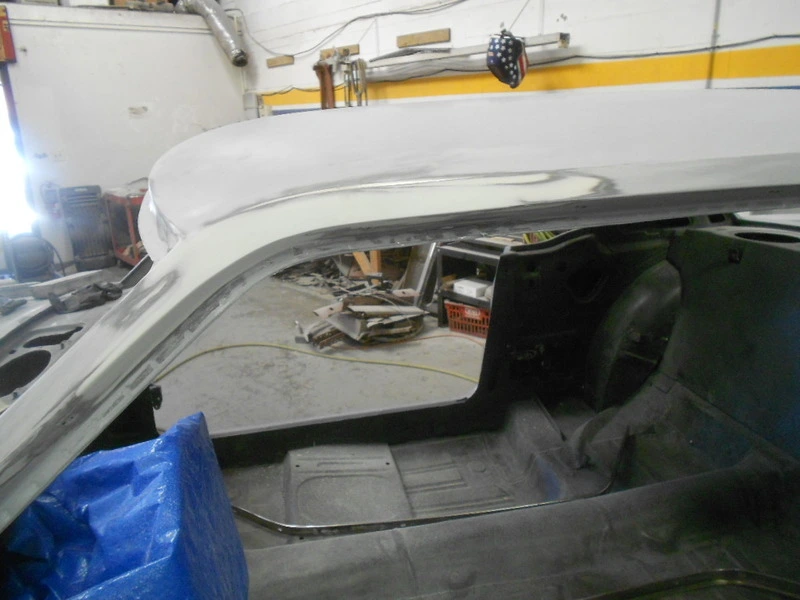
I worked on the body lines
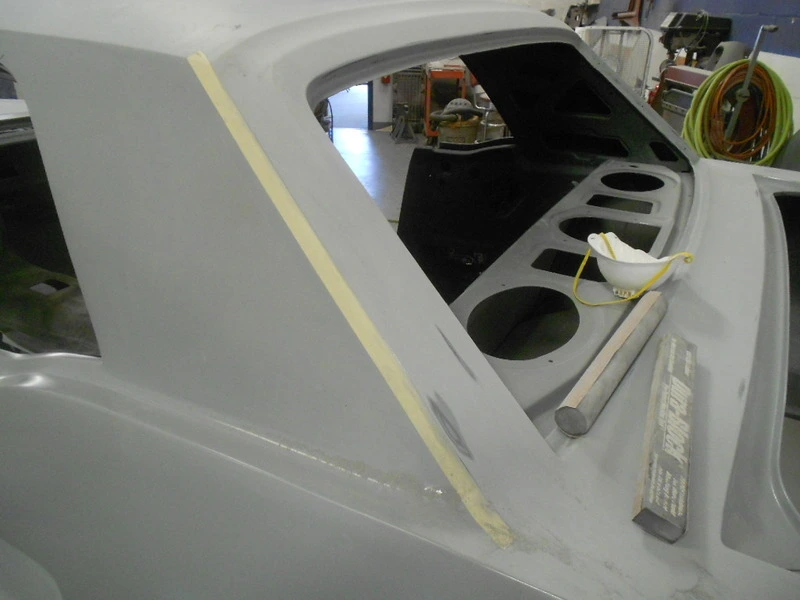
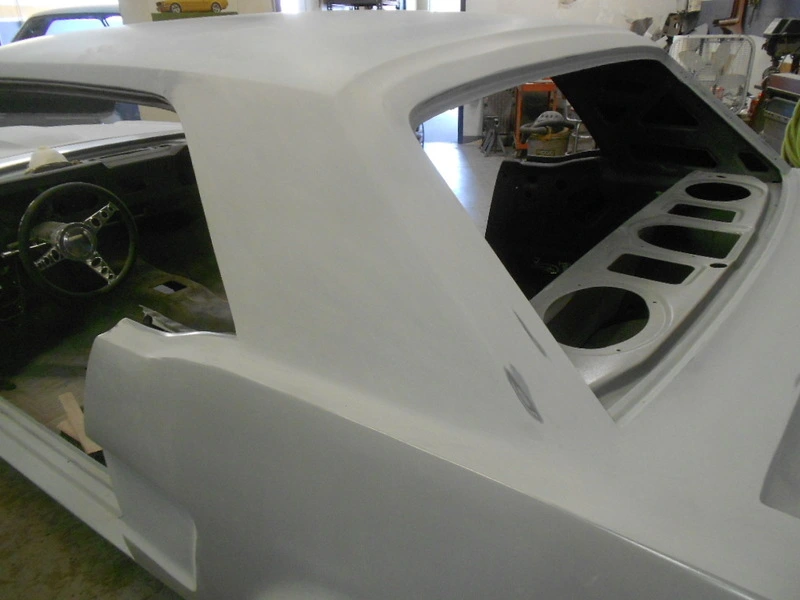
As you can see in this photo the front valance was a little high and the fender had a low spot that needed bodywork
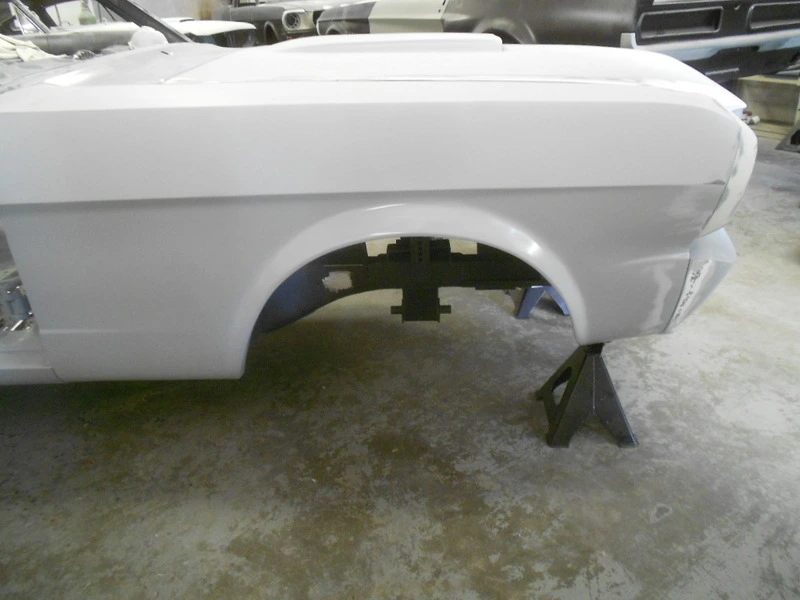
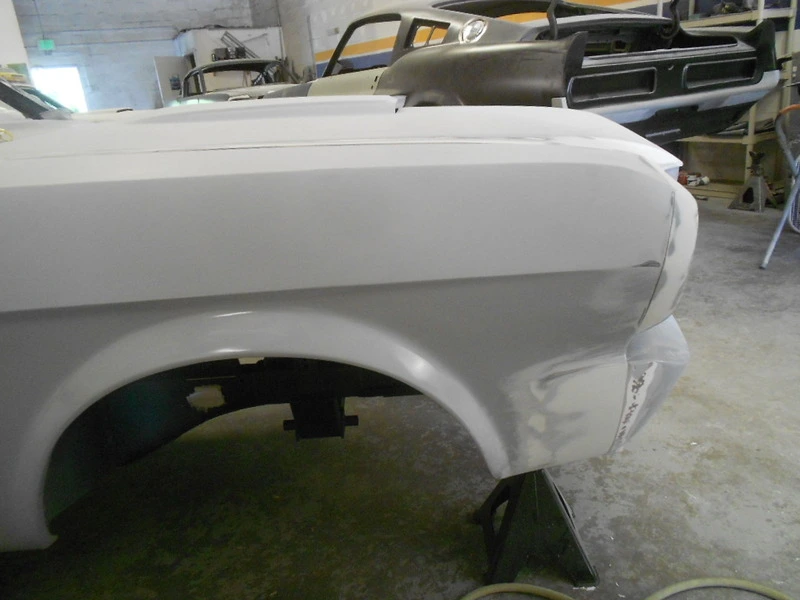
In the middle of a lot of block sanding and looking for any imperfections
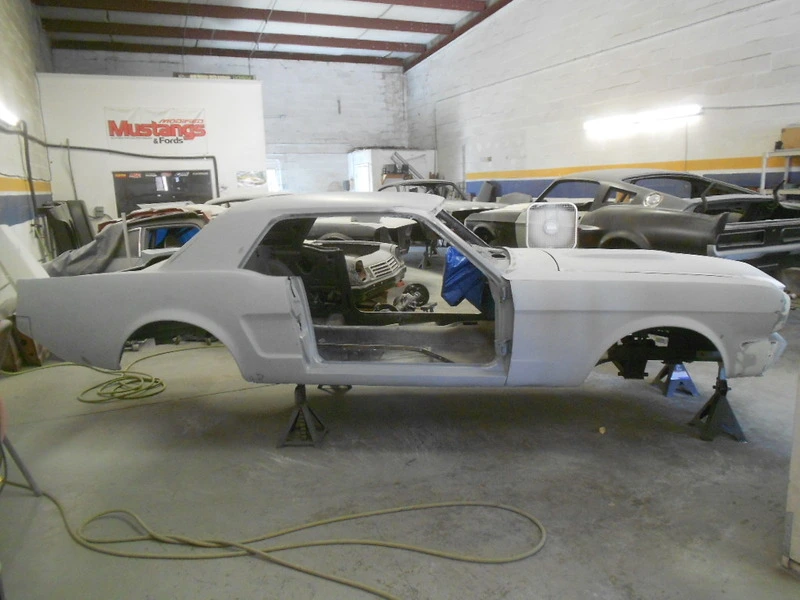
Brian test fit all the door glass, vent windows, quarter windows, windshield and back glass moldings
This area needed a little work
I worked on the body lines
As you can see in this photo the front valance was a little high and the fender had a low spot that needed bodywork
In the middle of a lot of block sanding and looking for any imperfections
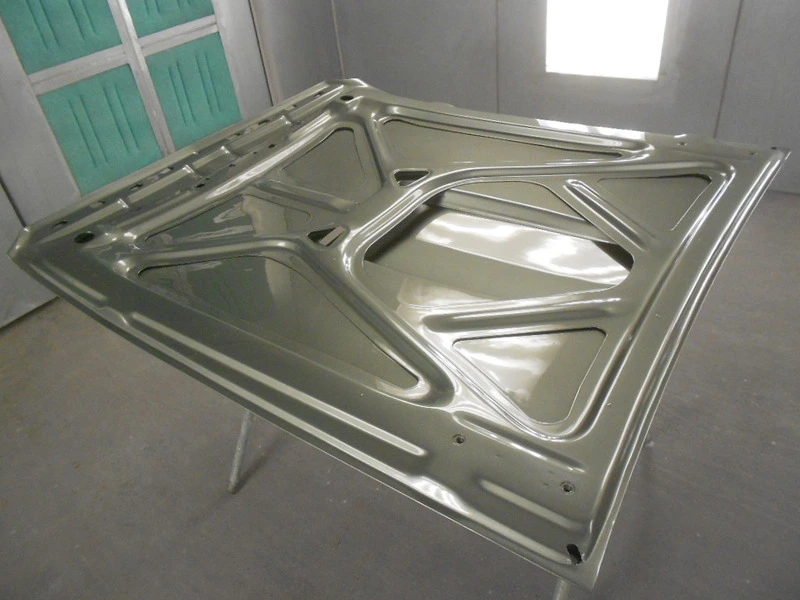
The back of the hood was sanded and epoxy primed
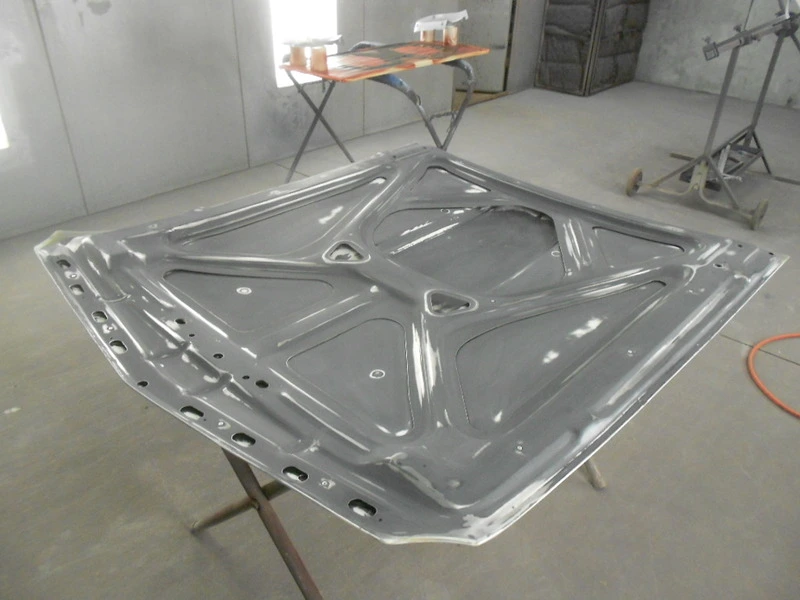
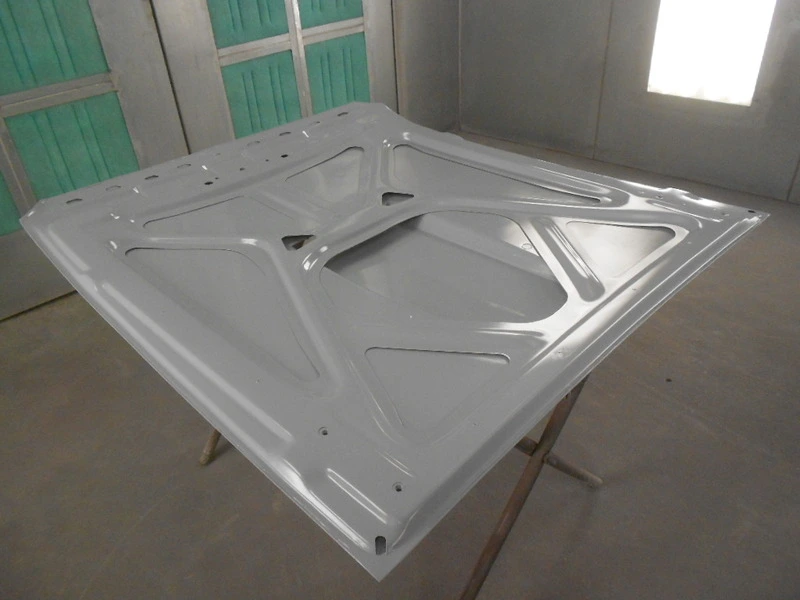
Block sanded the body and epoxy primed
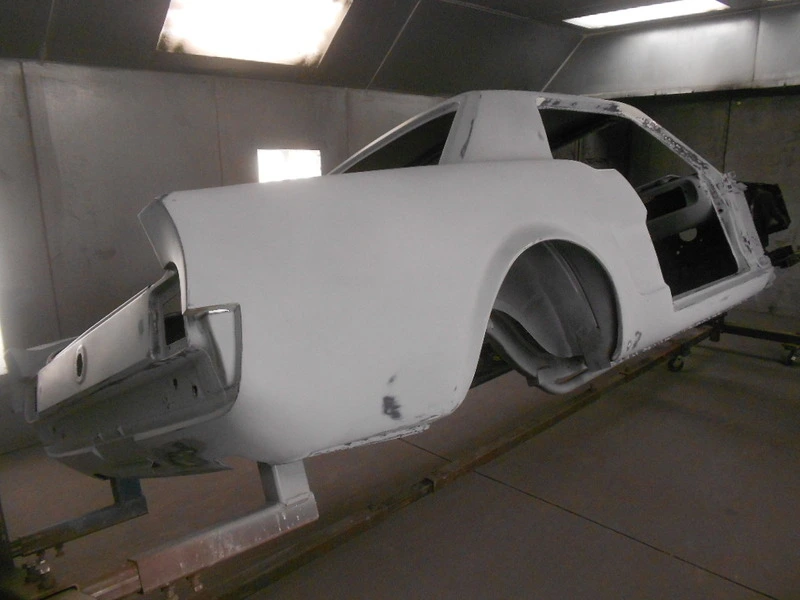
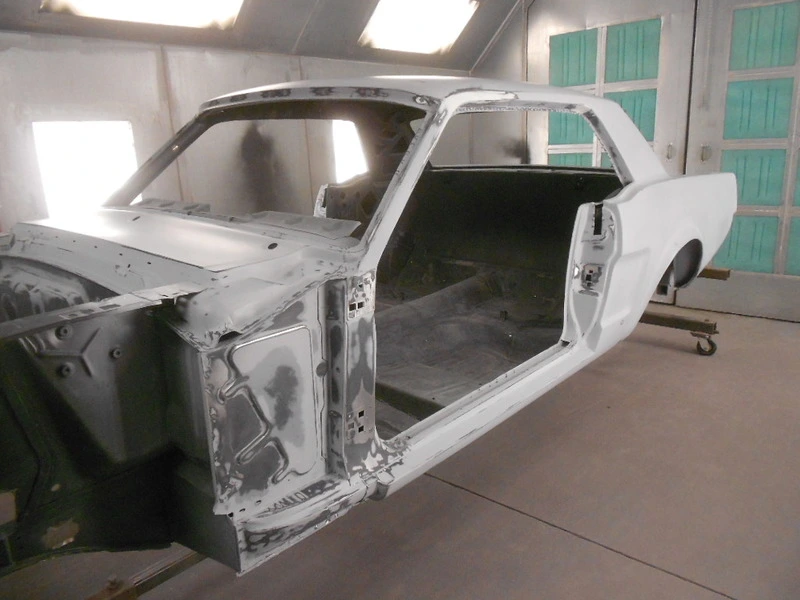
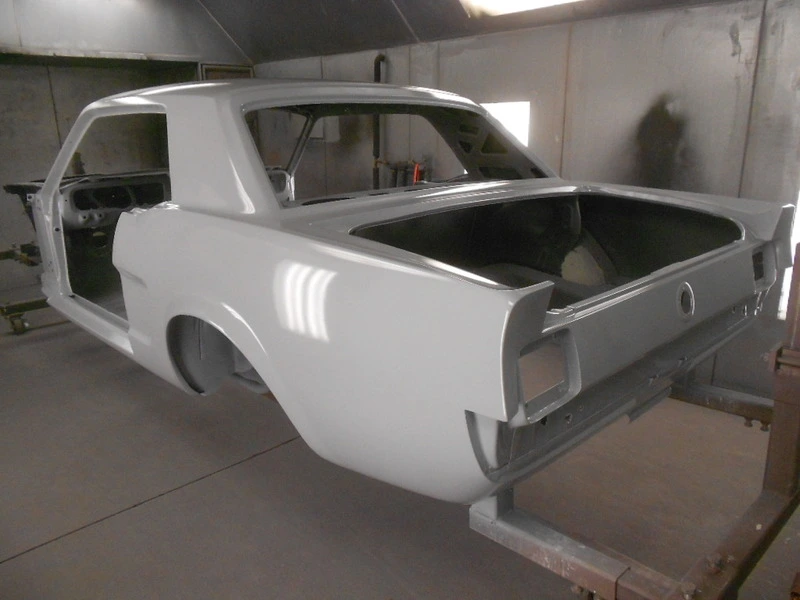
The trunk was sanded and epoxy primed
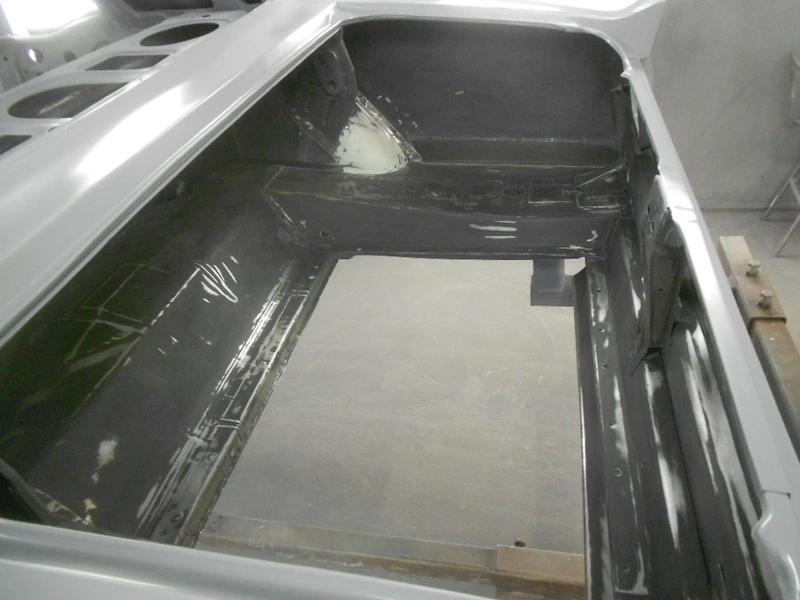
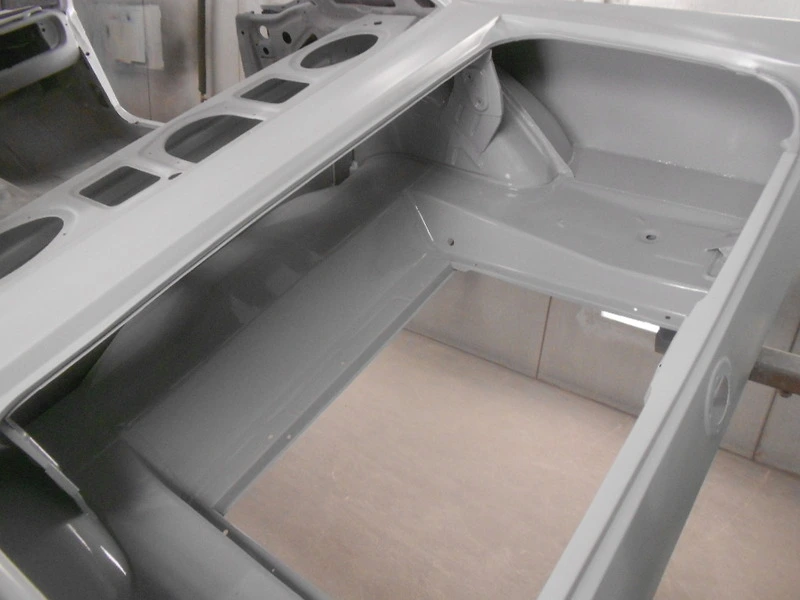
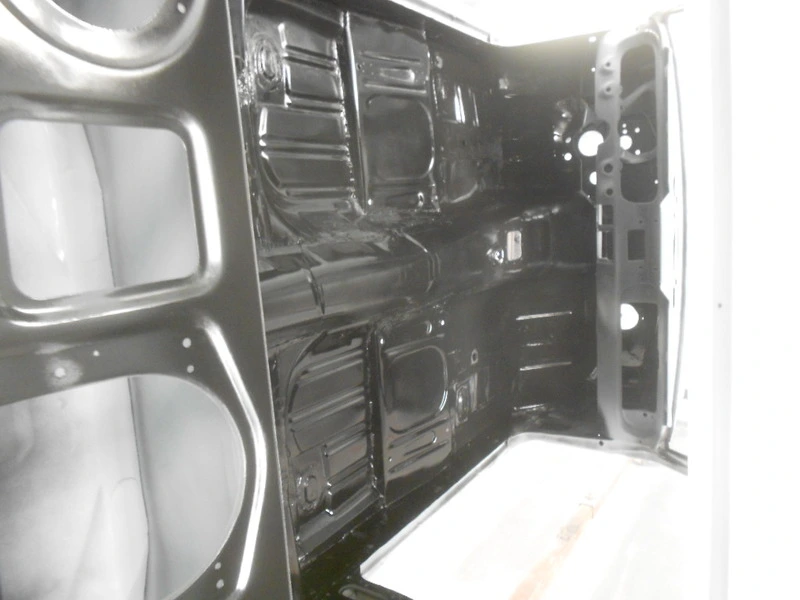
The engine compartment was sanded and epoxy primed
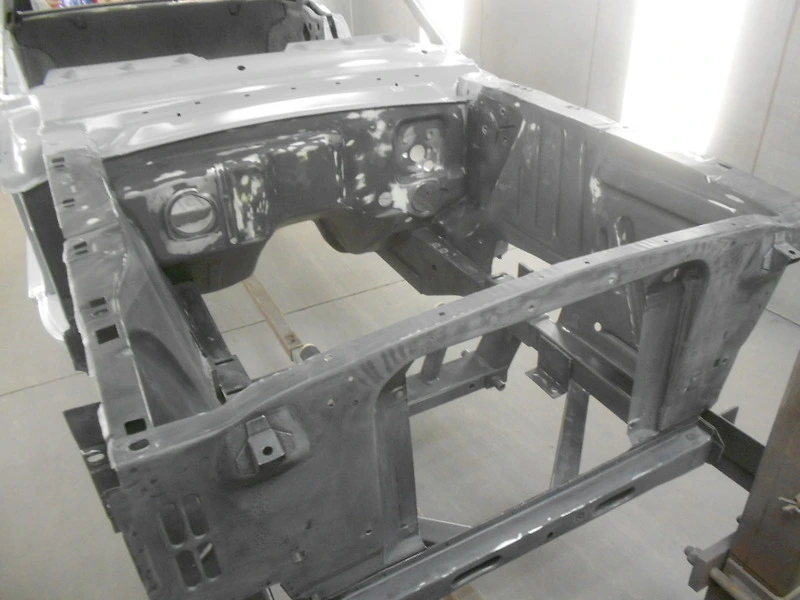
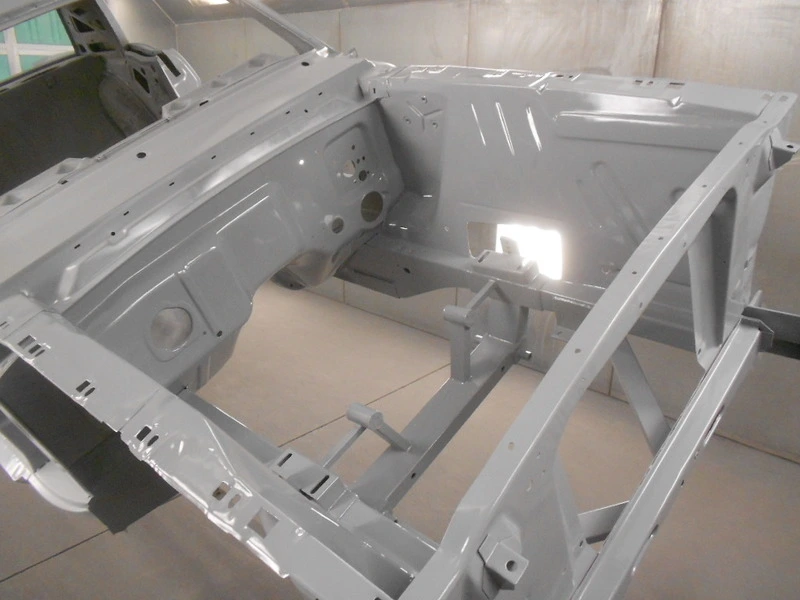
Block sanded the body and epoxy primed
The trunk was sanded and epoxy primed
The engine compartment was sanded and epoxy primed
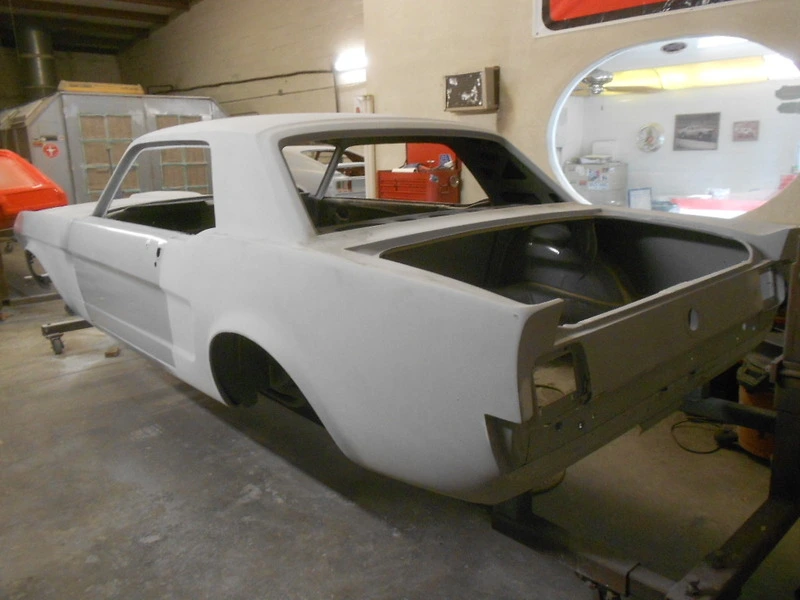
I need to get you caught up on the progress we have made. The body is back on the rotisserie getting ready for paint.
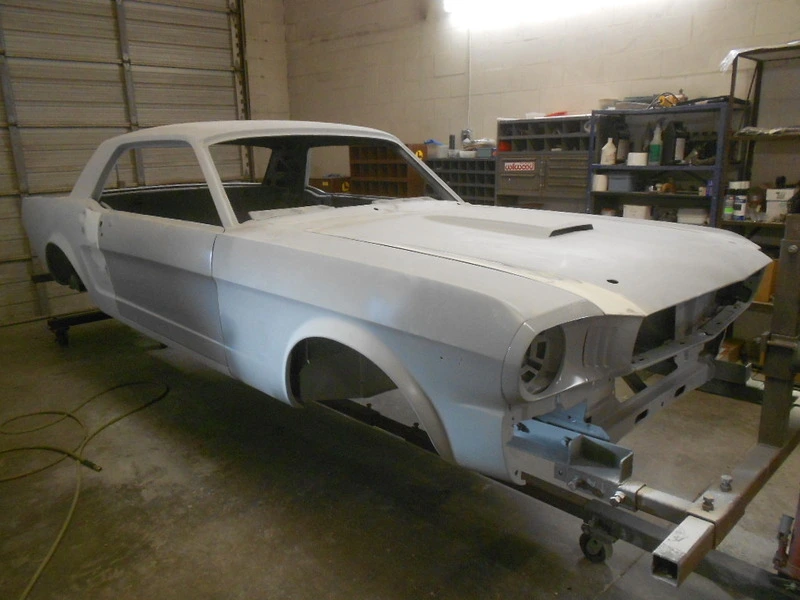
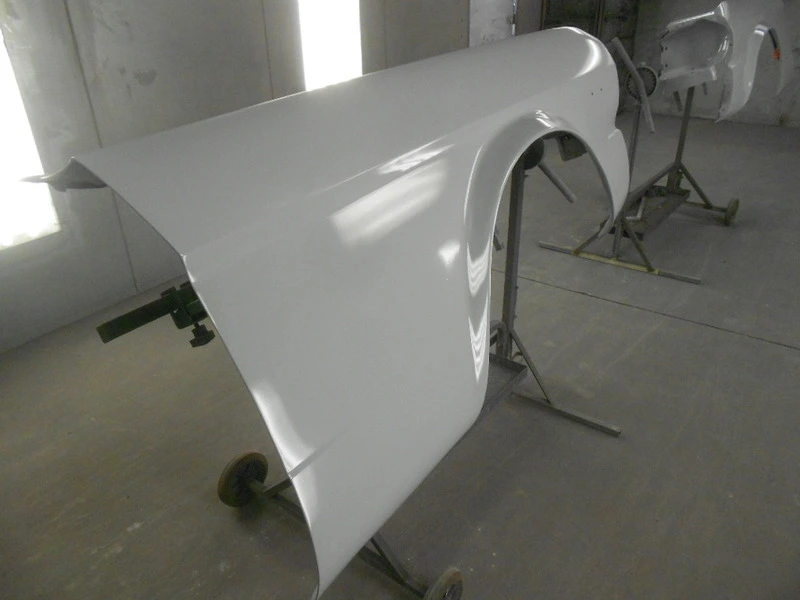
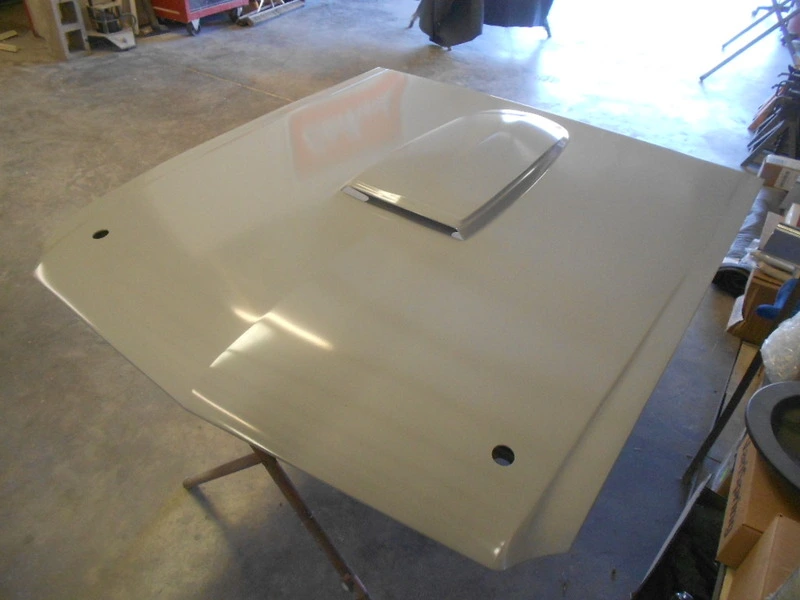
Epoxy primed the fenders and hood
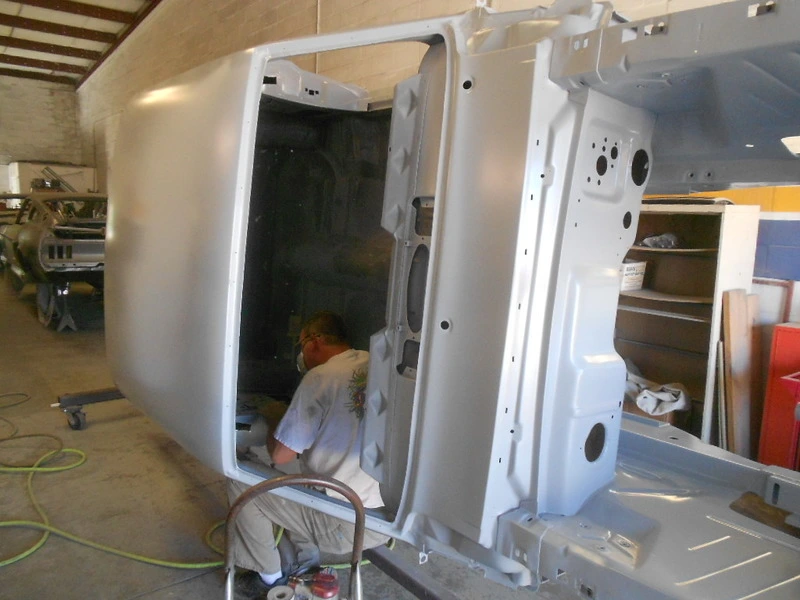
Sanding the interior getting it ready for Lizard Skin
Epoxy primed
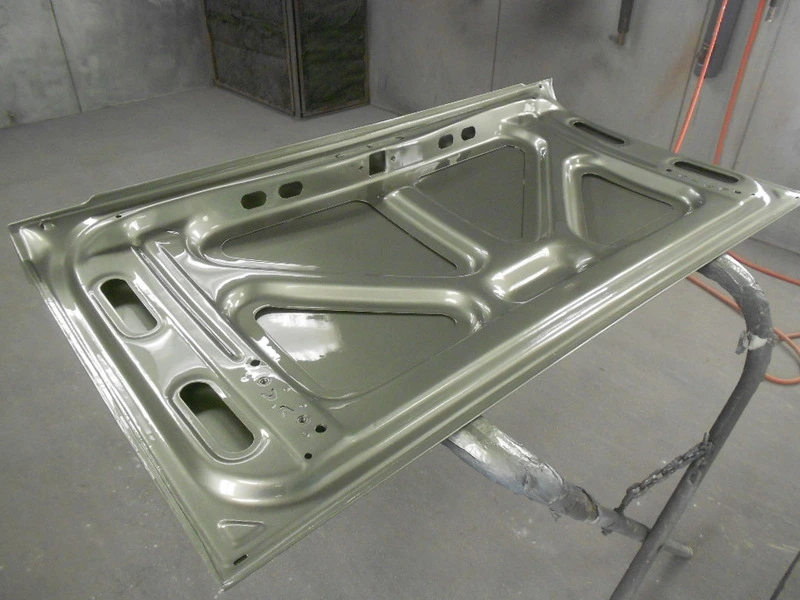
Sanded the back of the hood and deck lid, epoxy primed, sprayed 3 coats of Pepper Gray and the next day 3 coats of SPI Universal Clear
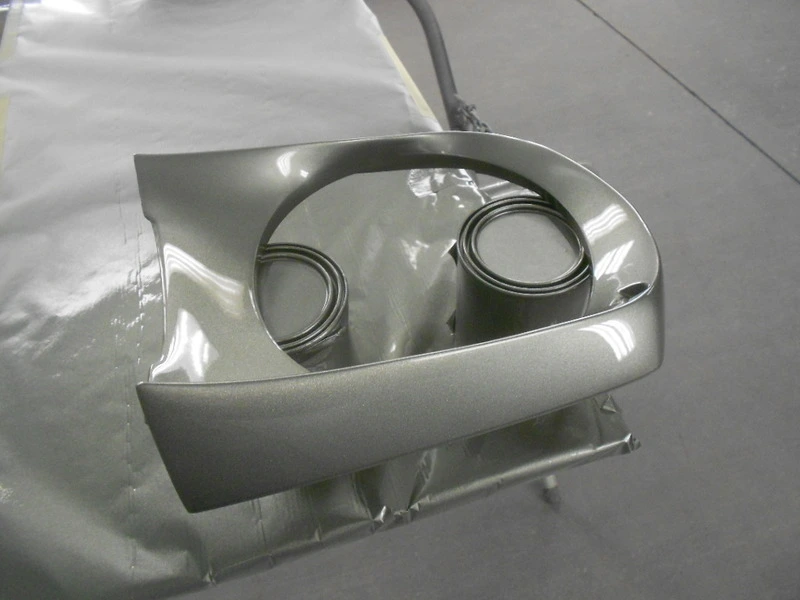
I painted the headlight buckets
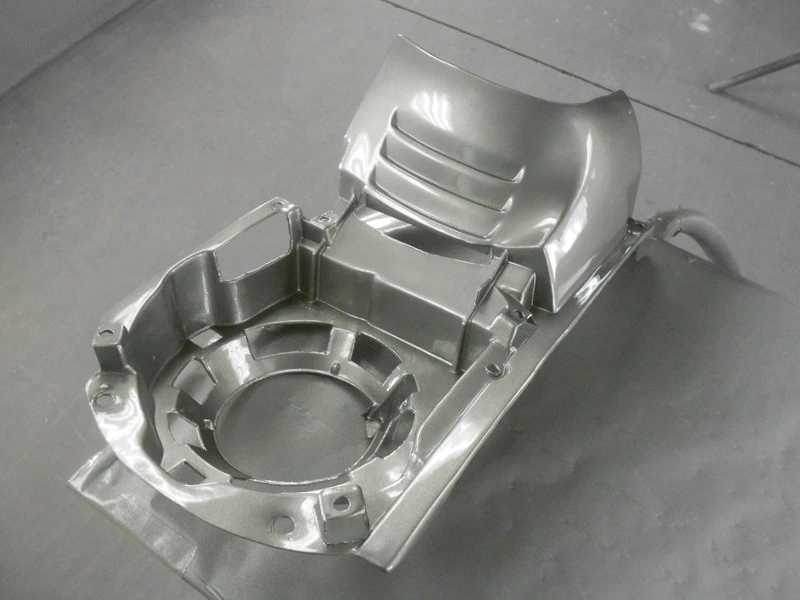
Epoxy primed the fenders and hood
Sanding the interior getting it ready for Lizard Skin
Epoxy primed
Sanded the back of the hood and deck lid, epoxy primed, sprayed 3 coats of Pepper Gray and the next day 3 coats of SPI Universal Clear
I painted the headlight buckets

After sanding we found a couple of small imperfections I wasn't happy with so I fixed them and epoxy primed again. It will be ready for paint after a little wet sanding with 600.
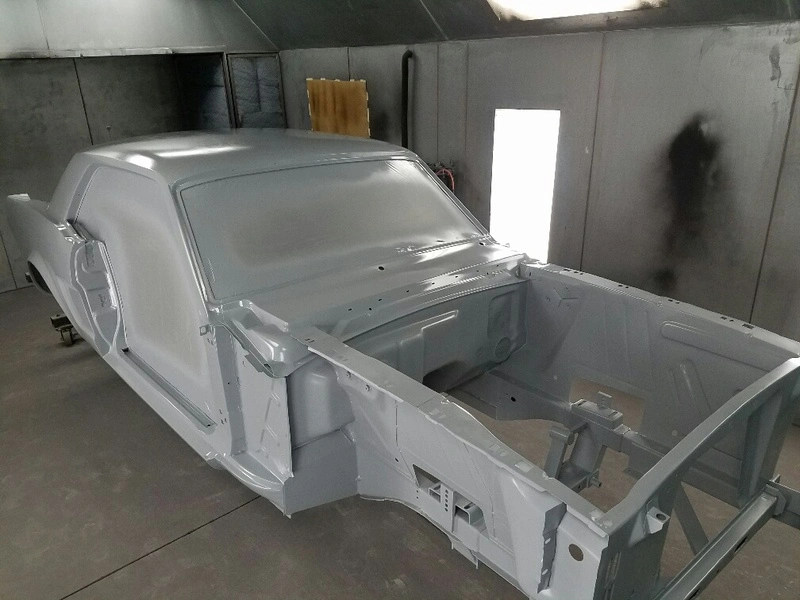
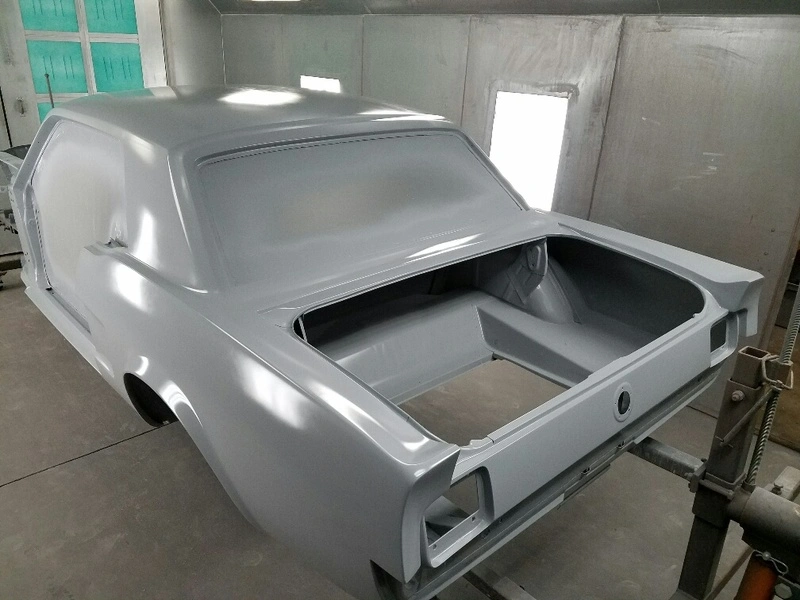

skyline247
Advanced Member

1990Coupe
Founding Member
horse sence
15 Year Member
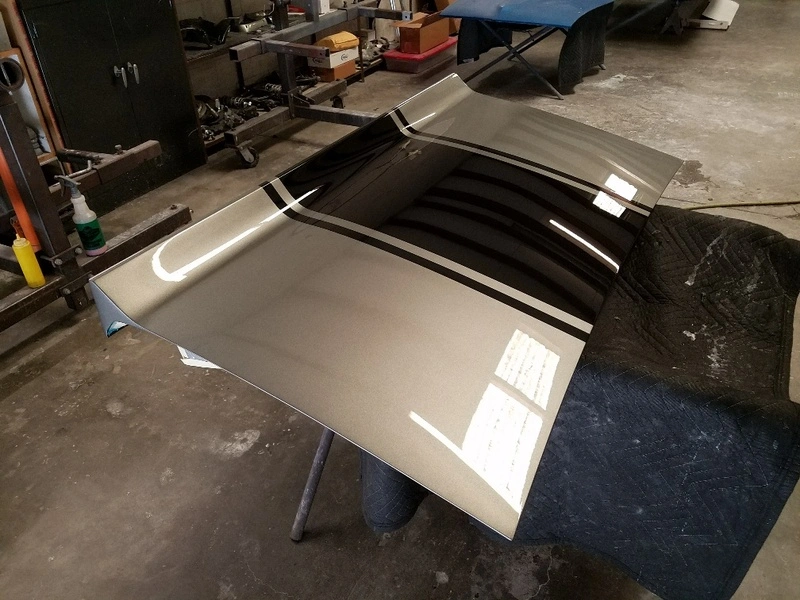
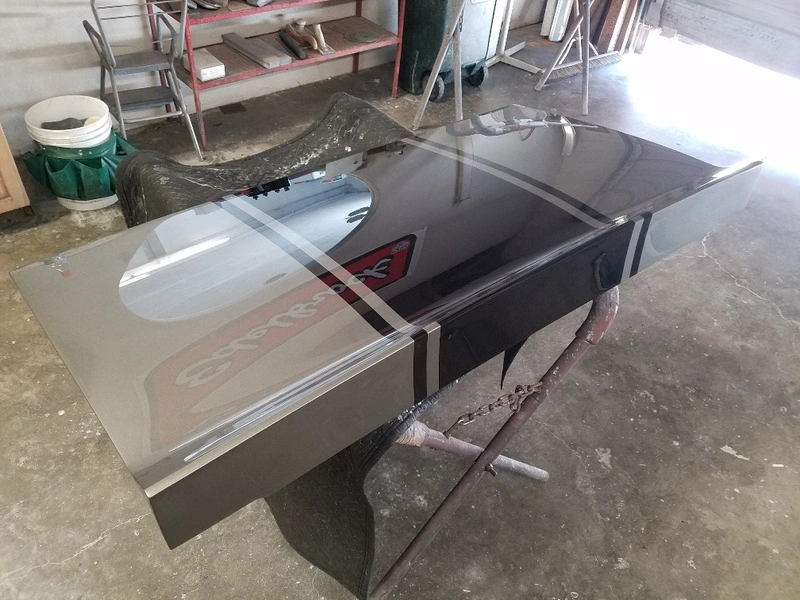
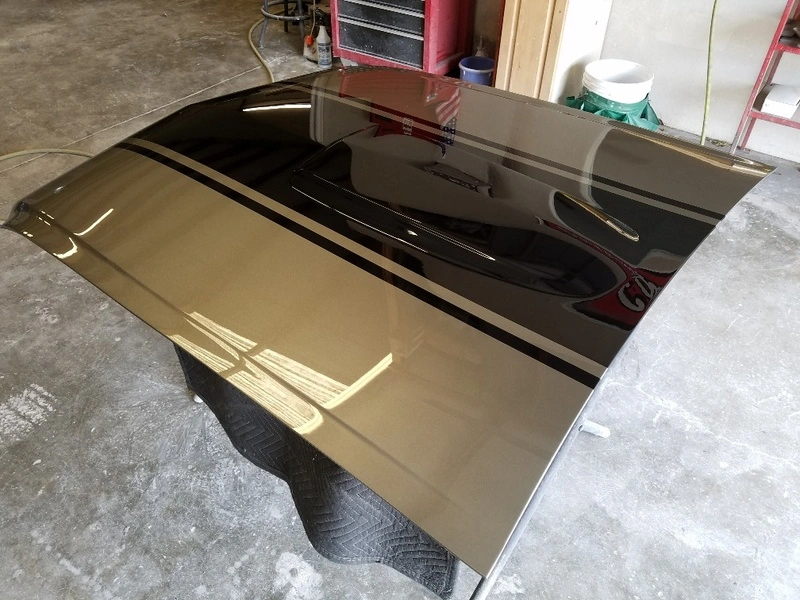
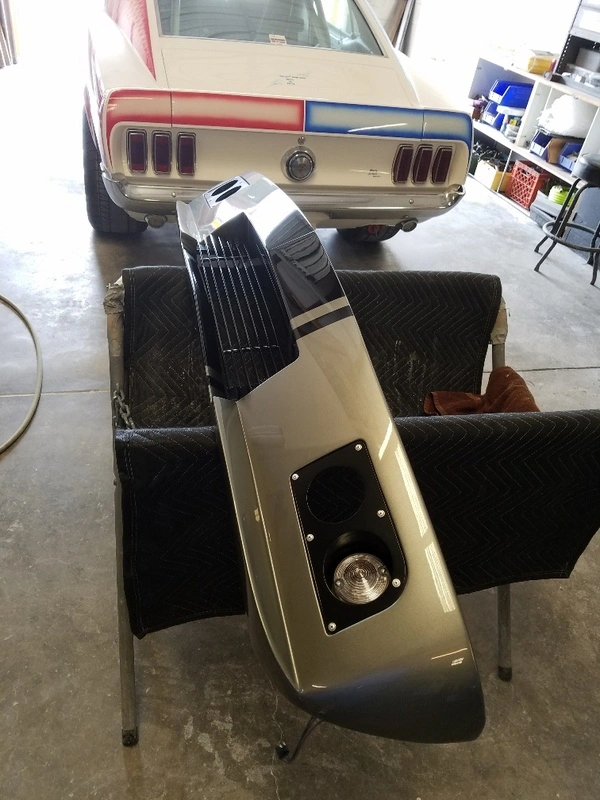
I know that is pepper grey ,but a couple of those pics look bronze and i think that would have looked realy good as well with those black stripes ...it is looking greatBrian started laying out the stripes on the body
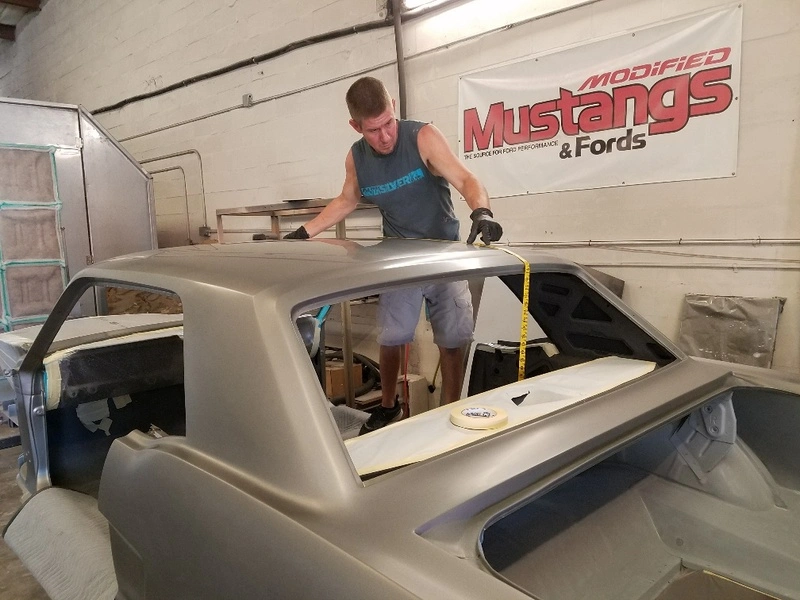
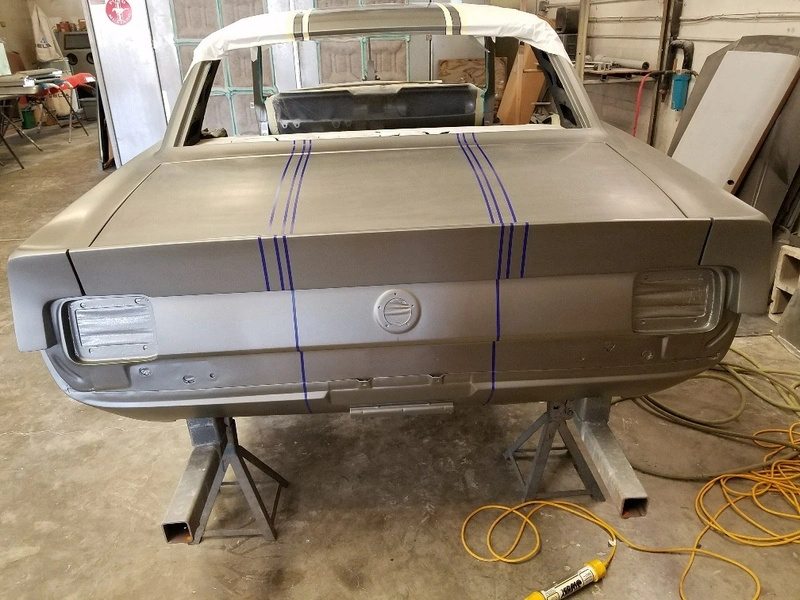
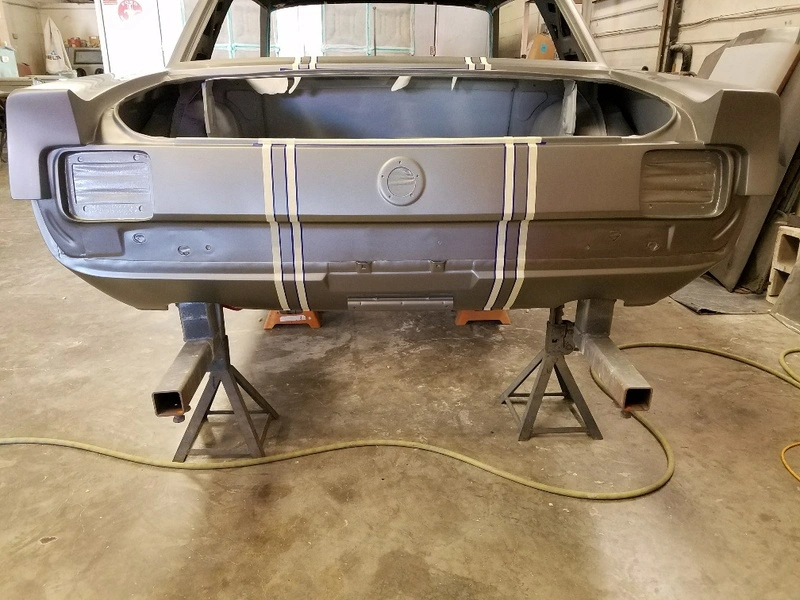
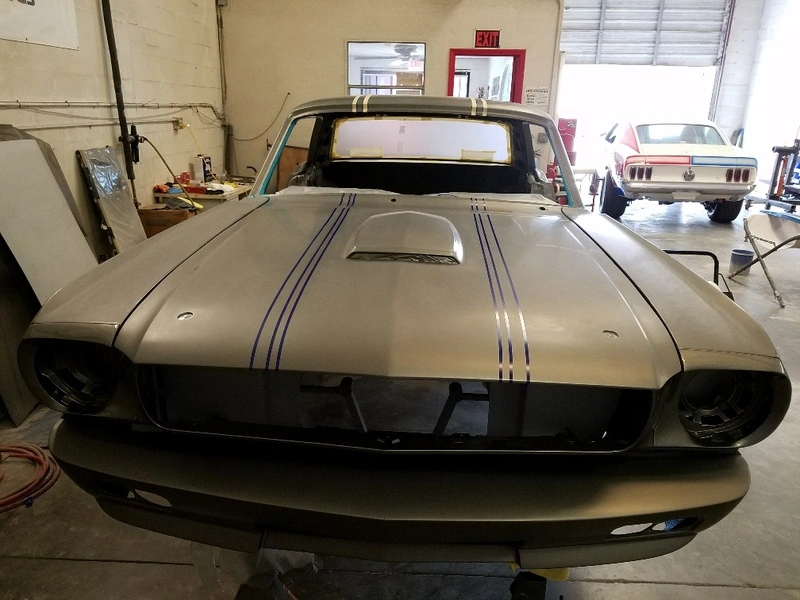
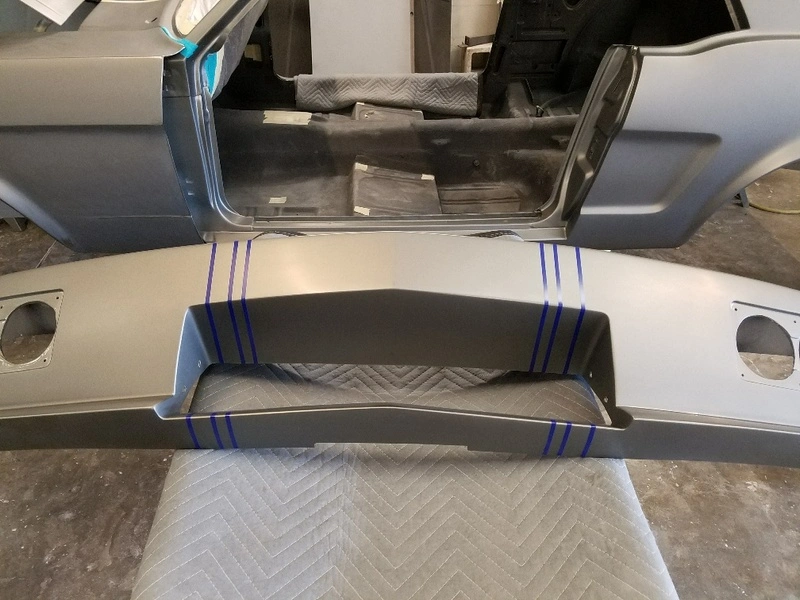
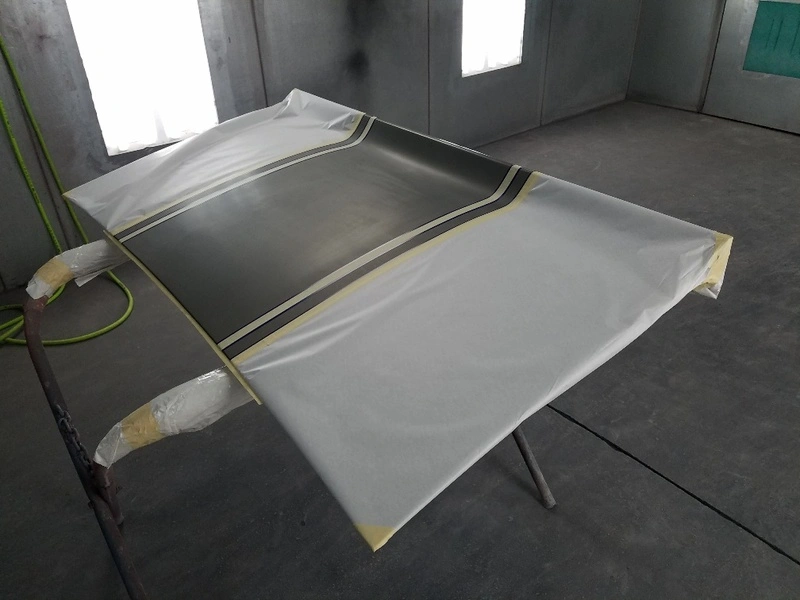
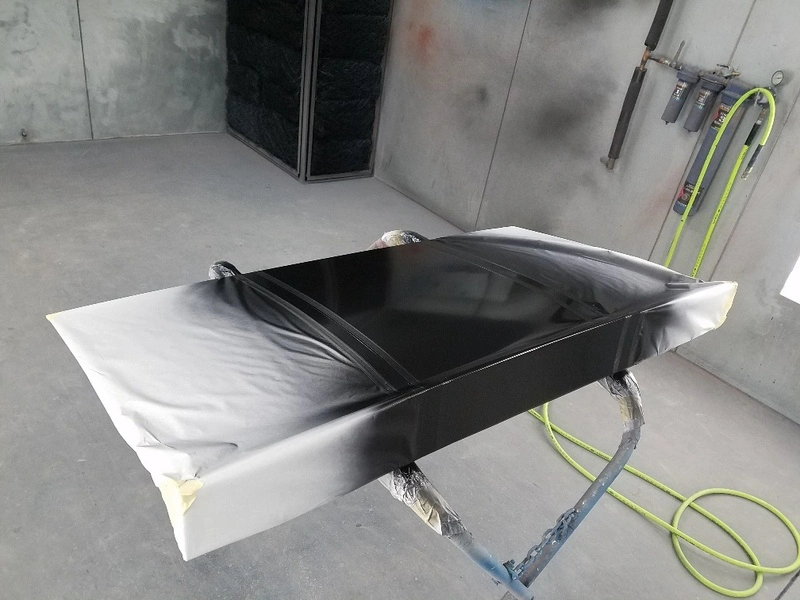
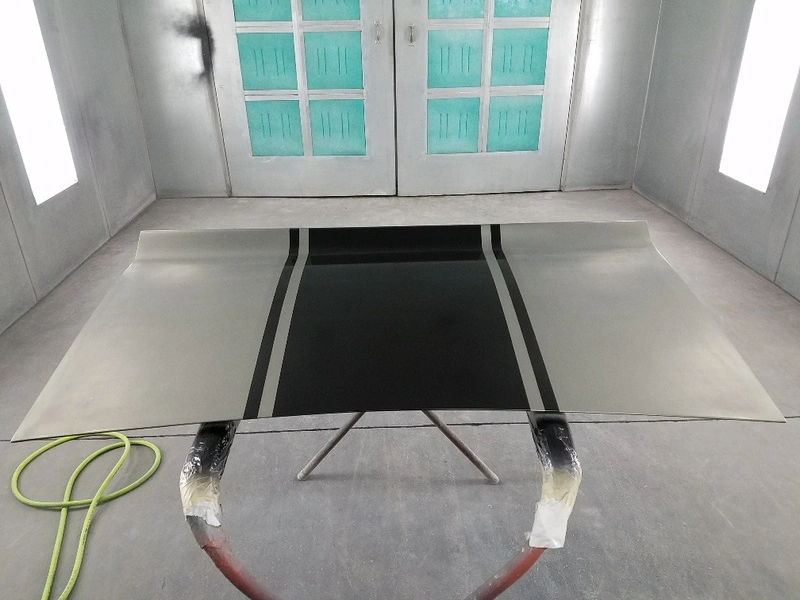
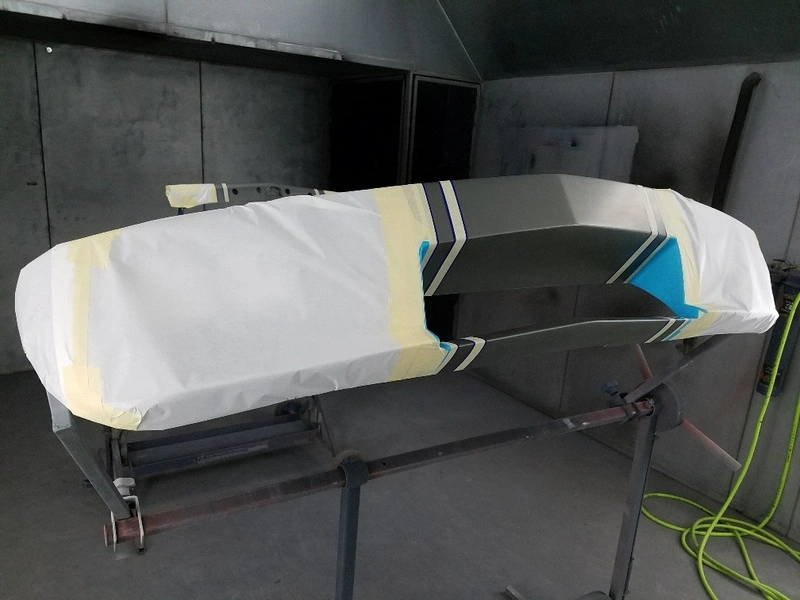
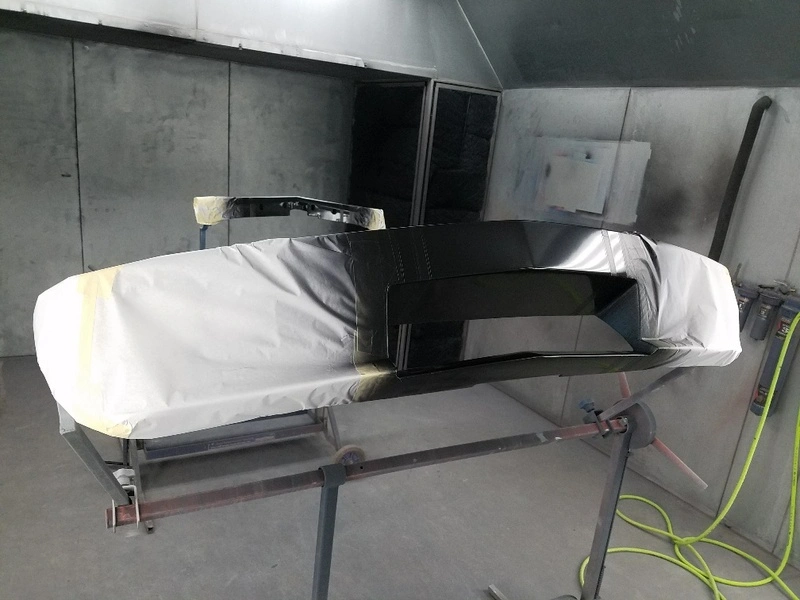
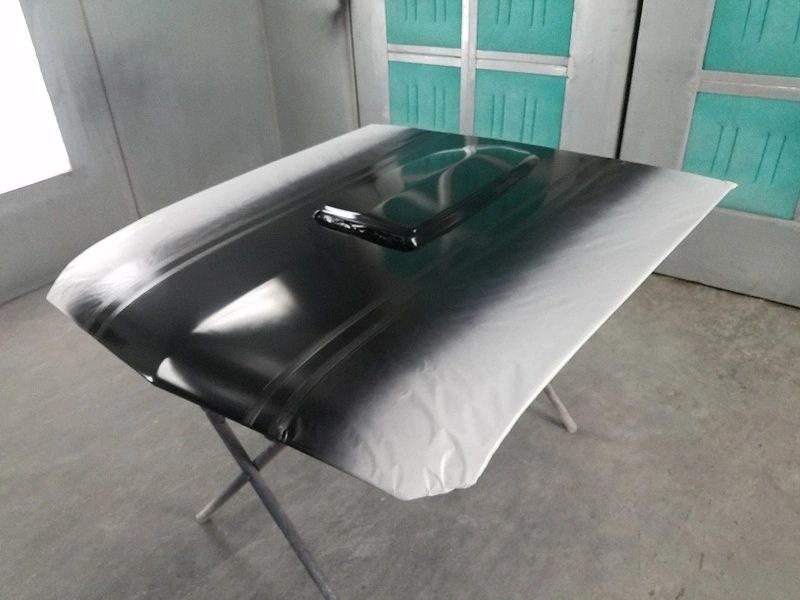
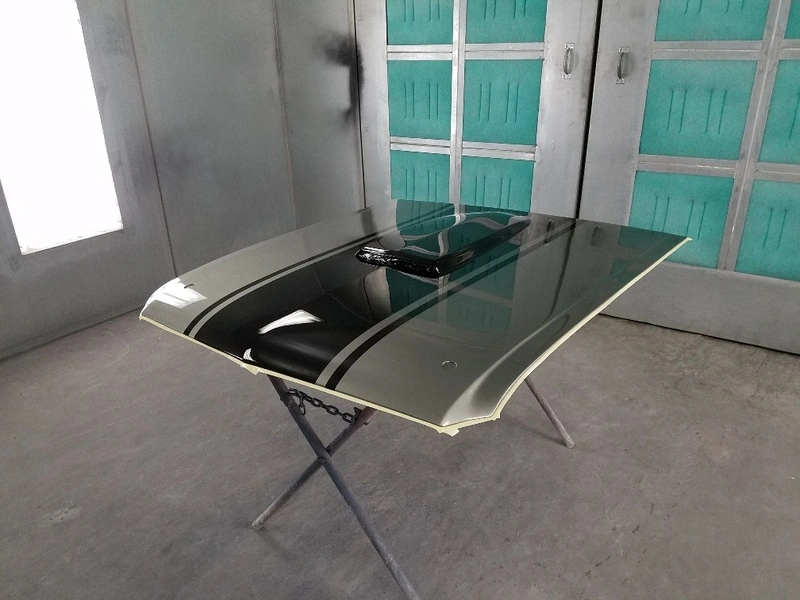
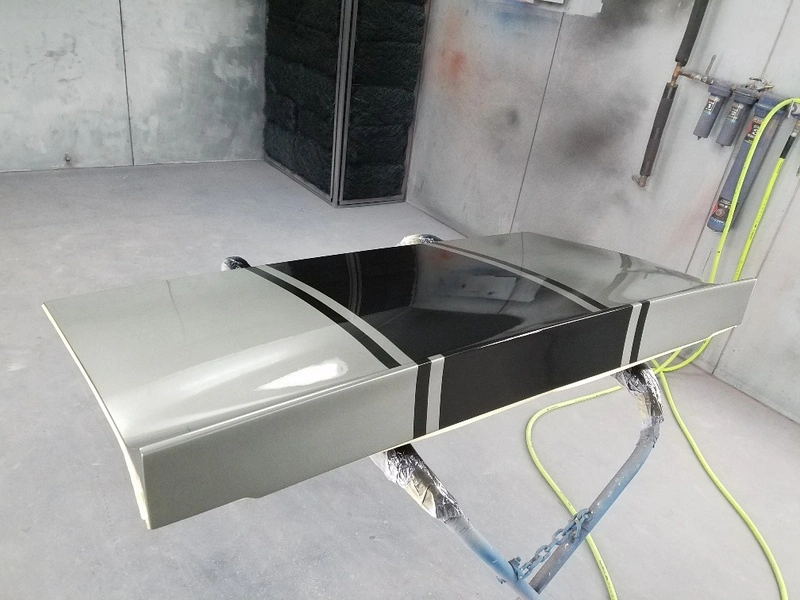
Five coats of clear wet sanded and buffed
Similar threads
- Replies
- 12
- Views
- 7K

- Replies
- 3
- Views
- 3K


- Replies
- 148
- Views
- 20K

