

You are using an out of date browser. It may not display this or other websites correctly.
You should upgrade or use an alternative browser.
You should upgrade or use an alternative browser.
67 Super Snake Project
- Thread starter 67FBack
- Start date

Interior Panels
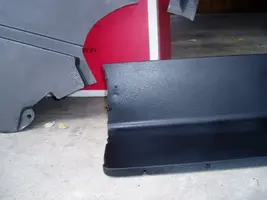
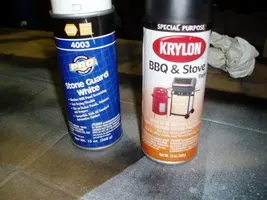
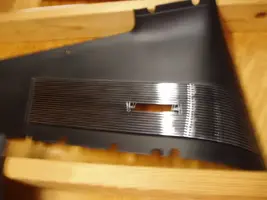
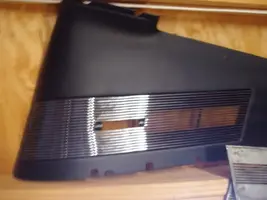
NAPA Pro Stone Guard says it will "Match OEM Panel Texture". Looks very close. But you have to be about 24"-36" away from the panel when applying it.
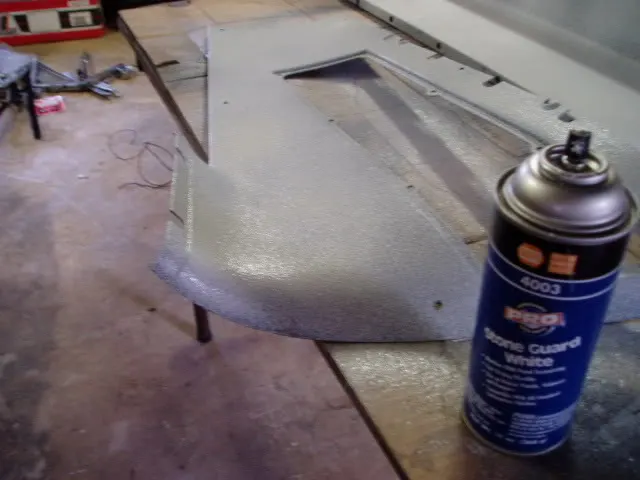
Since the texture is white, I used a semi flat BBQ paint that looks very close to the normal color of stock panels! Not nearly as shiny as the other "Hammered" paint I was trying.
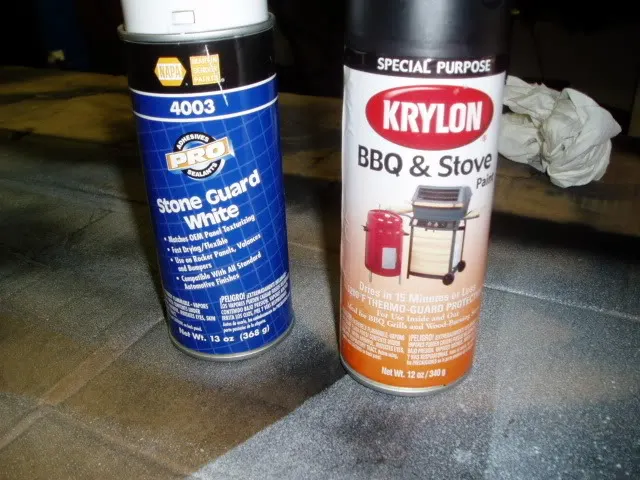
I am very satisfied with the results.
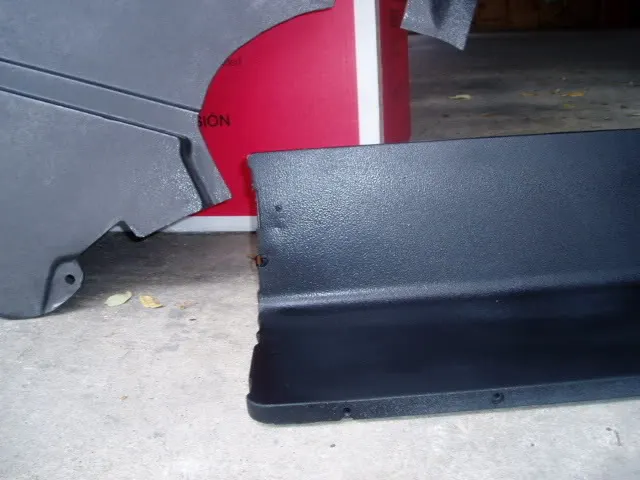
NAPA Pro Stone Guard says it will "Match OEM Panel Texture". Looks very close. But you have to be about 24"-36" away from the panel when applying it.
Since the texture is white, I used a semi flat BBQ paint that looks very close to the normal color of stock panels! Not nearly as shiny as the other "Hammered" paint I was trying.
I am very satisfied with the results.
Attachments
Glass
I ordered all new grey tint glass today. $1045 for all 6 pieces from Bob's Classic Auto Glass. Front windshield will have a dark band across the top. The price includes shipping and insurance.
I ordered all new grey tint glass today. $1045 for all 6 pieces from Bob's Classic Auto Glass. Front windshield will have a dark band across the top. The price includes shipping and insurance.
Tubbing & Rear Fold Down Seat
Wow, if I had known how much time would be spent on narrowing the rear seat by 2" (cutting, re-welding), cutting all the trim pieces, etc., I might have decided on just a rear tray.
But it is starting to come together.
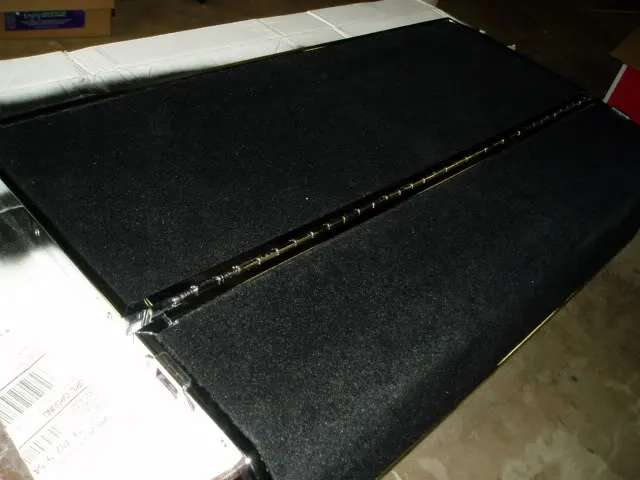
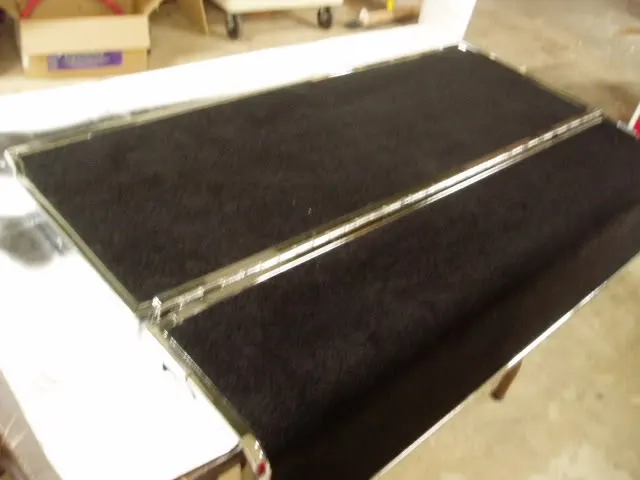
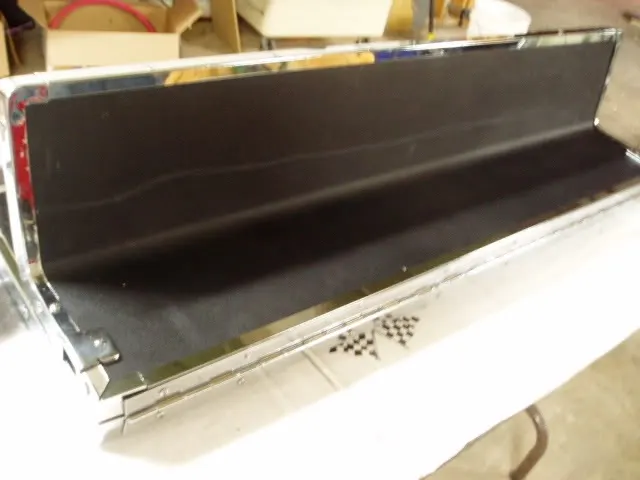
Wow, if I had known how much time would be spent on narrowing the rear seat by 2" (cutting, re-welding), cutting all the trim pieces, etc., I might have decided on just a rear tray.
But it is starting to come together.
Attachments

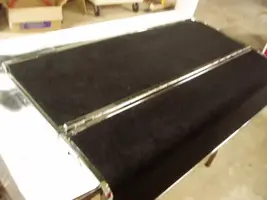
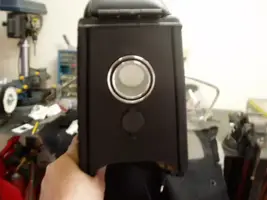
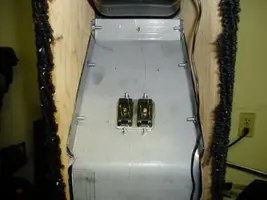
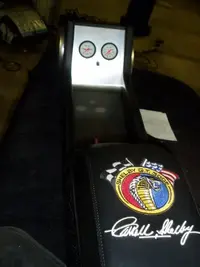
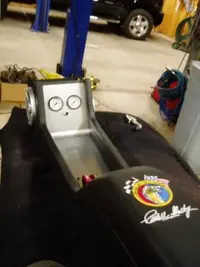
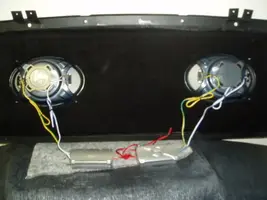
I installed the Nitrous Switch and Speakers. I dont think speakers over 5 1/2" would fit in the console. I used a 2 way Infiniti Kappa. I just need the gauges, and then to wire it all up.
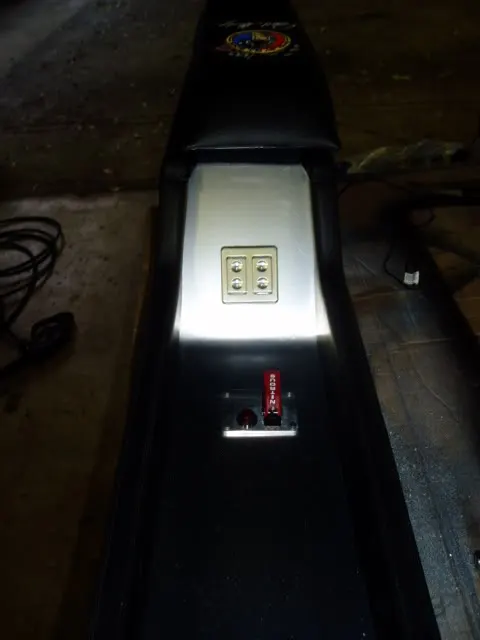
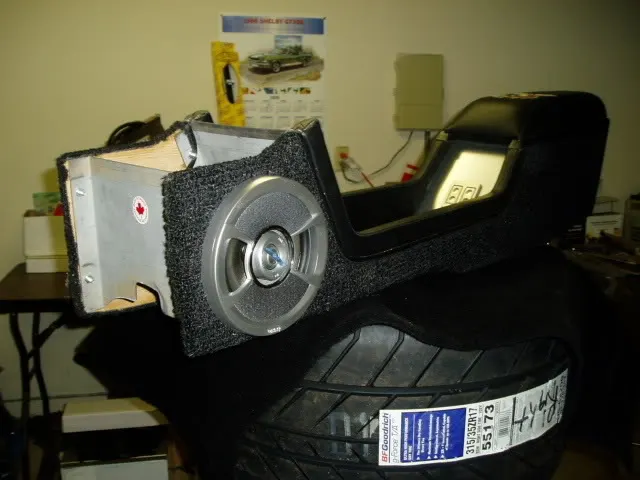
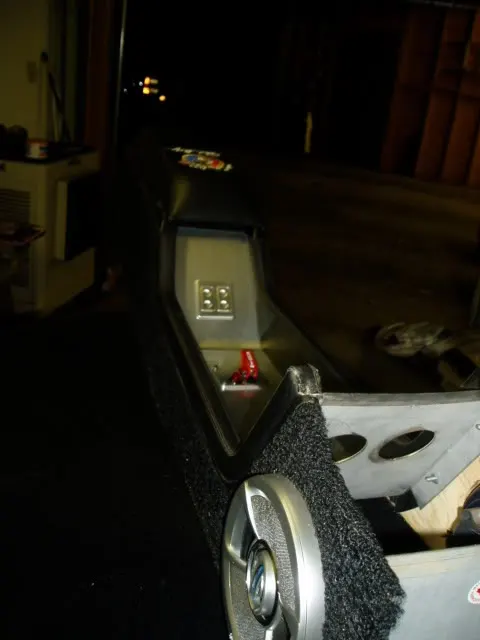
Now which mechanic in Dallas has a "Remove Before Flight" ribbon on his wall? It sure didn't show up with my switch!
Now which mechanic in Dallas has a "Remove Before Flight" ribbon on his wall? It sure didn't show up with my switch!
Attachments

TKO 600
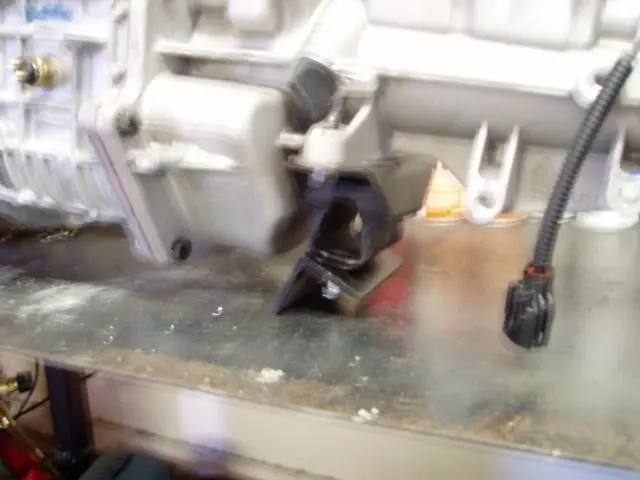
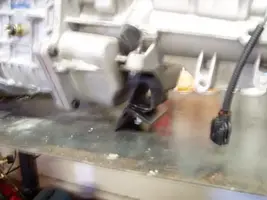
Got the transmission out for test fitting. I bolted on the Shelby shifter, Lakewood Bell housing and transmission mount.
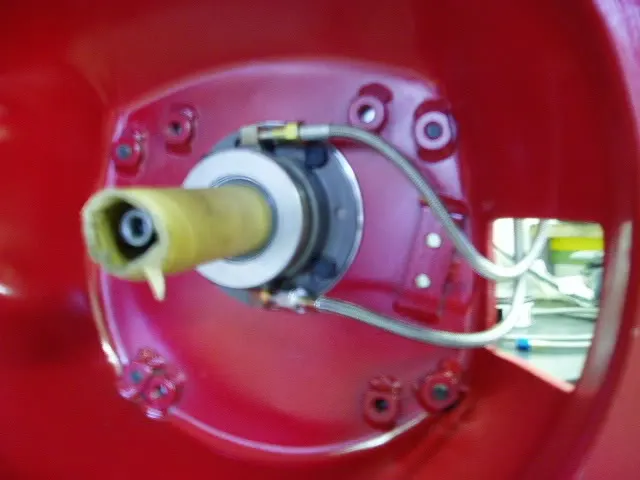
The hydraulic throwout bearing:
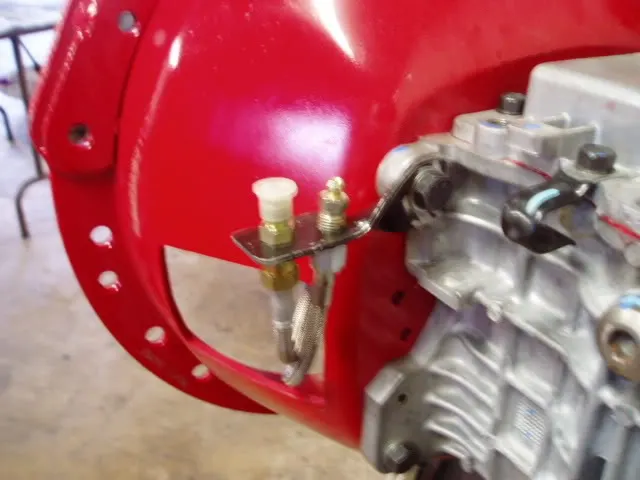
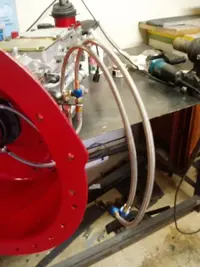
Built a bracket for the hoses from the the hydraulic throwout bearing:
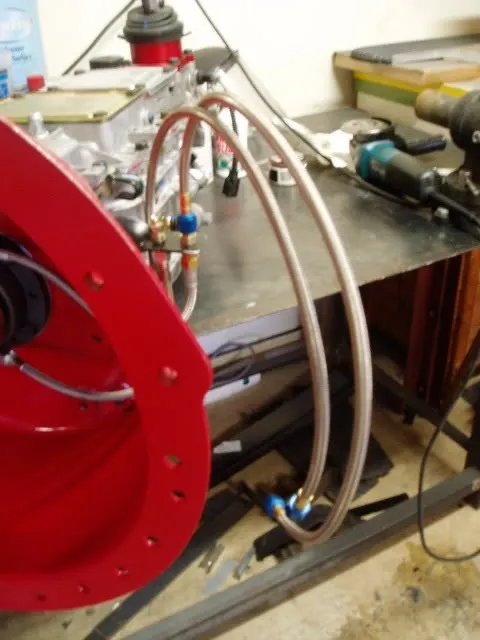
And hoses to the clutch master cyllinder:
Got the transmission out for test fitting. I bolted on the Shelby shifter, Lakewood Bell housing and transmission mount.
The hydraulic throwout bearing:
Built a bracket for the hoses from the the hydraulic throwout bearing:
And hoses to the clutch master cyllinder:
Attachments


Center Console
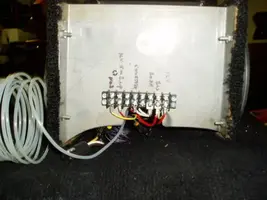
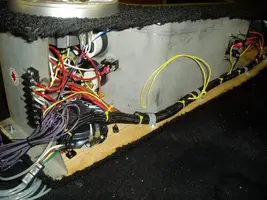
I spent another 6 hours on finishing the console. I decided to put an electrical junction at the front of the console, use quick disconnect plugs for the speakers, power windows, and all electrical connections to ease the installation process.
There are quite a few wires under there!!!
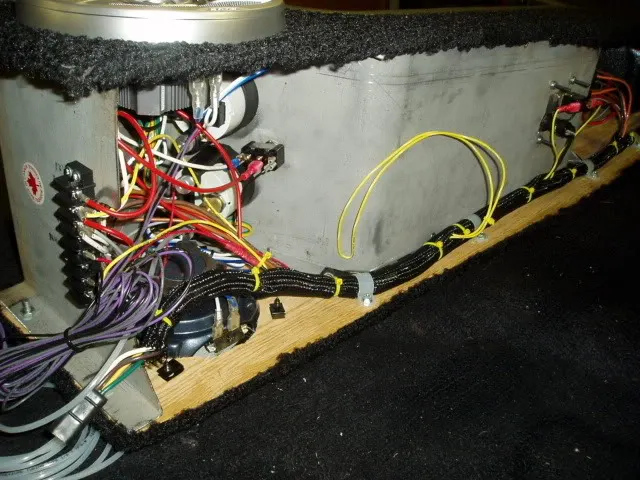
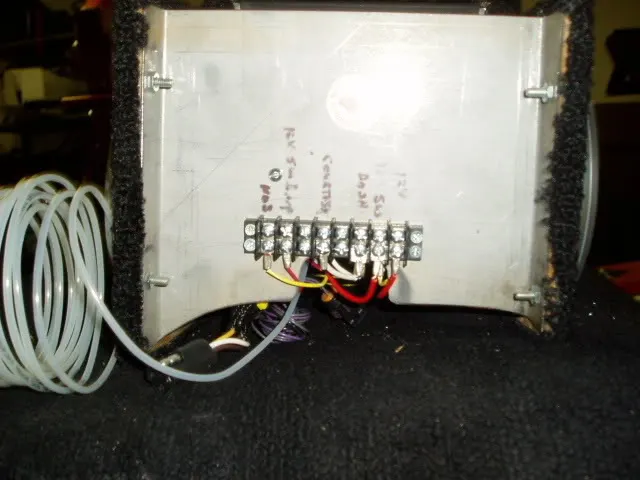
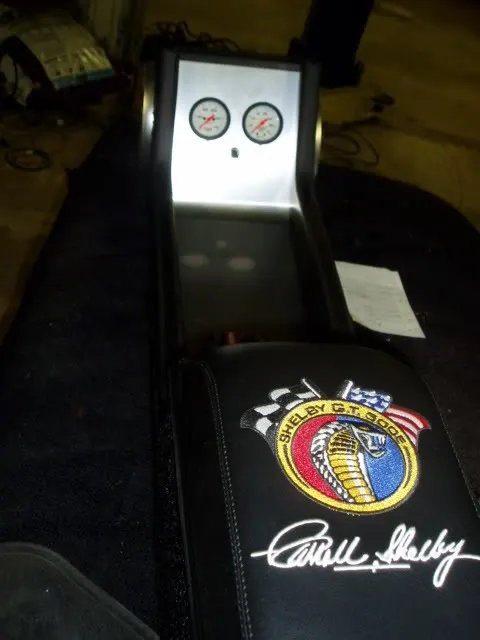
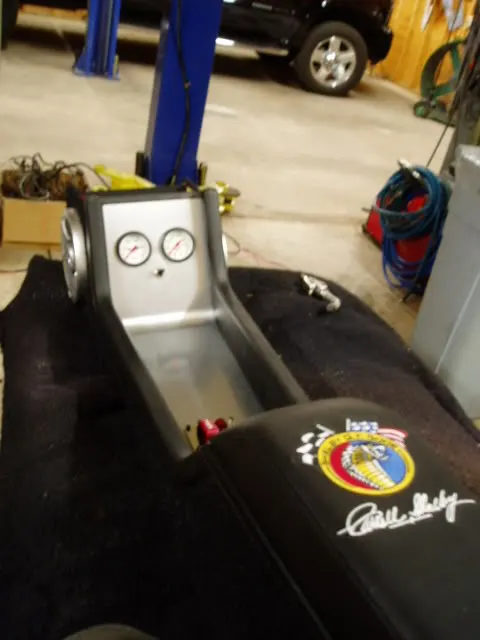
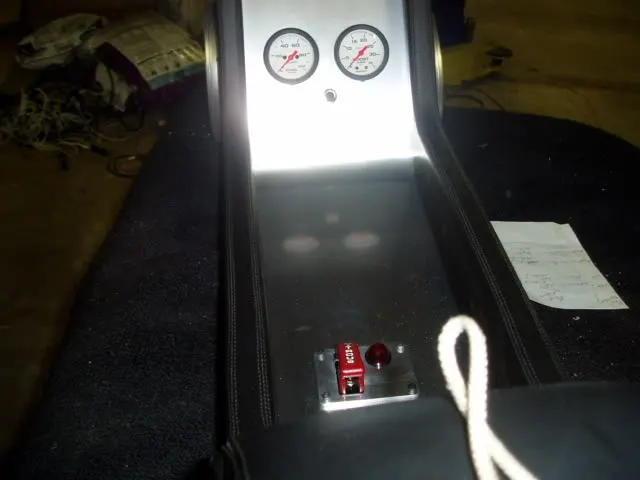
I spent another 6 hours on finishing the console. I decided to put an electrical junction at the front of the console, use quick disconnect plugs for the speakers, power windows, and all electrical connections to ease the installation process.
There are quite a few wires under there!!!
Attachments

Stereo
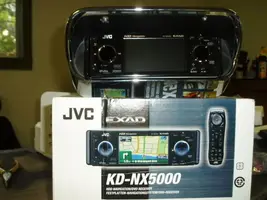
Found this little jem for a steal at Shipdog. 3 1/2" screen, DVD, HDD, Navigation, 40 meg HD (16 for nav, 24 for music-pictures etc), CD, Mpeg1, Mpeg2,
View attachment 397627
Found this little jem for a steal at Shipdog. 3 1/2" screen, DVD, HDD, Navigation, 40 meg HD (16 for nav, 24 for music-pictures etc), CD, Mpeg1, Mpeg2,
View attachment 397627

67 Evil Eleanor
New Member

68FBJJZ109
Member
Gret progress, Did you have any fitment issues with your lakewood bellhousing, All my friends who have installed them said the had to shim, and adjust things to get them toseat properly so not throw off the driveline. I saw a article about it in on ford muscle.com. I was just wondering since this week my TKO 900 and lakewood bellhousing should be in, thanks.
Console
Thanks!
The console was $445 through Unique Performance. But I don't think they are selling any more parts, except through vendors. I have not seen it available anywhere else yet.
Great looking work. How much was that console?
Thanks!
The console was $445 through Unique Performance. But I don't think they are selling any more parts, except through vendors. I have not seen it available anywhere else yet.
Gret progress, Did you have any fitment issues with your lakewood bellhousing, All my friends who have installed them said the had to shim, and adjust things to get them toseat properly so not throw off the driveline. I saw a article about it in on ford muscle.com. I was just wondering since this week my TKO 900 and lakewood bellhousing should be in, thanks.
TKO 900? nice! Is it from MMR?
The bell housing fit very tight to the transmission. But I have not bolted it to the engine yet. I will still have to do the alignment procedures. As I understand it, due to engine manufacturers tolerances in regards to dowel pin locations, it can cause a bore misalignment that needs to be checked and corrected with offset dowel pins if the alignment is out by .005 .
I will also mount the headers to check for any clearance issues with the bell housing. It is a whole lot easier to fix it outside the car than after everything is installed.
68FBJJZ109
Member
Yeah, Its from MMR, i figured it should take what i was throwing at it. Yes I know from my friends that its better do all the final fitment before it goes in the car, other wise you swear alot more haha. Well good luck with it hopefully it doesnt require much effort to mount it properly. When do you think the car will be done?
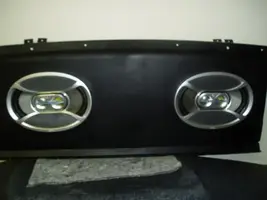
Almost Ready for paint
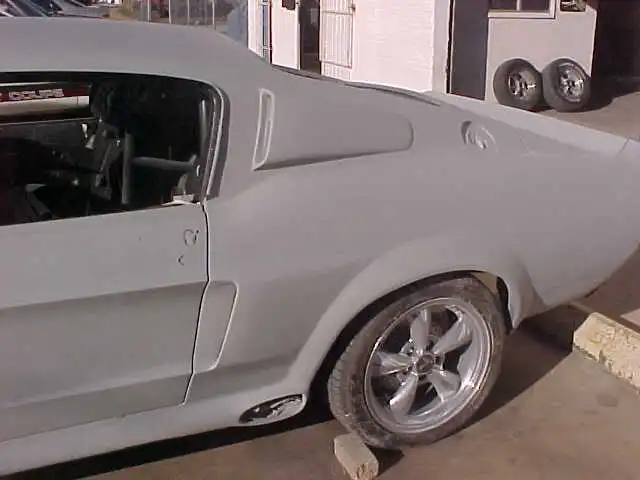
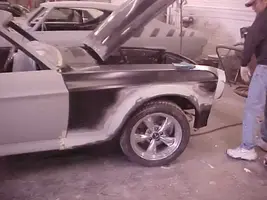
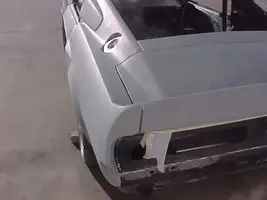
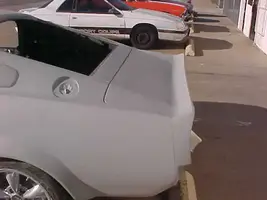
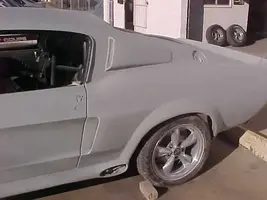
Well, the car is almost ready for paint. A few surprises here though.
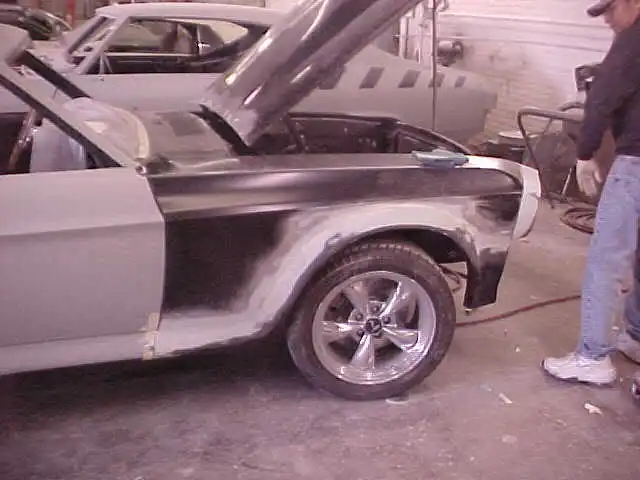
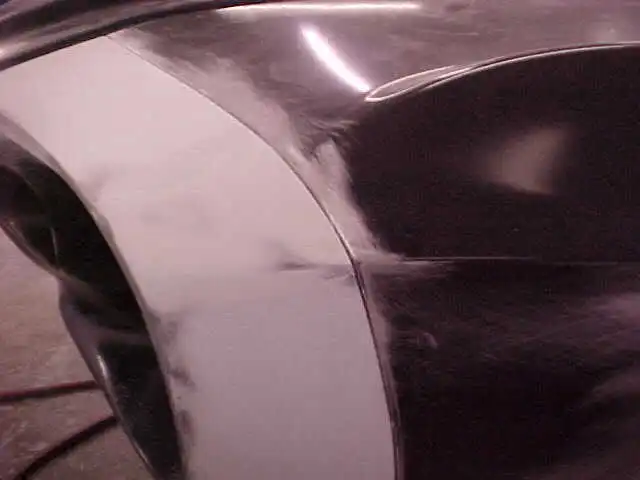
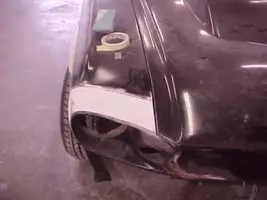
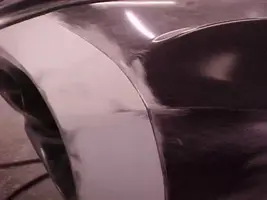
Biggest surprise, the front flares and fender rocker panels cut from the fiberglass fenders and moulded on to steel fenders.
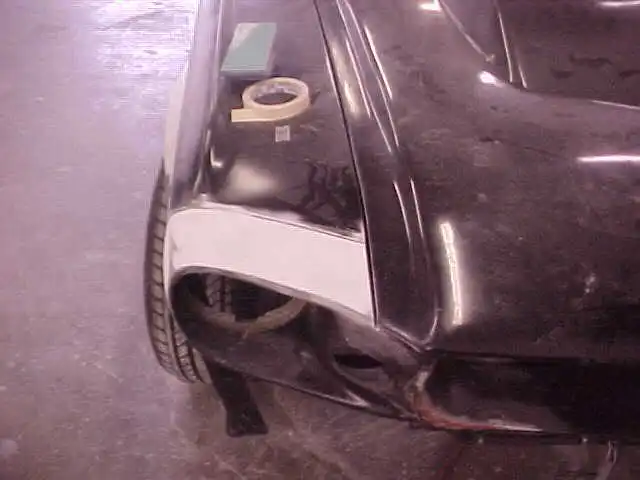
Front nose is a bolt on piece now! The upper nose piece was by far the most time consuming.
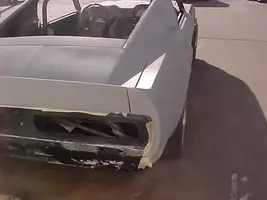
Rear end caps have nice and tight gaps.
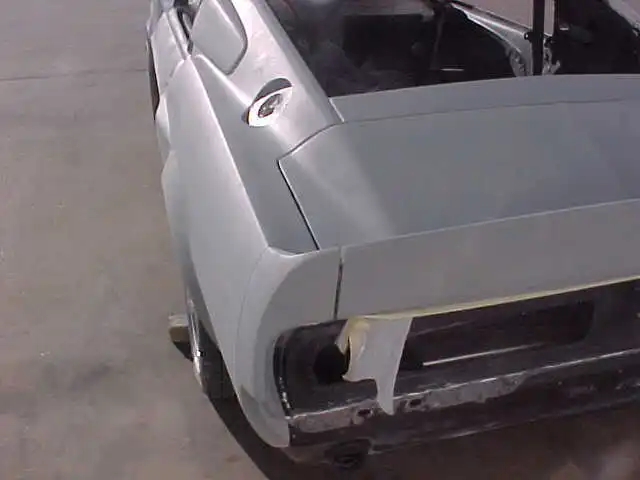
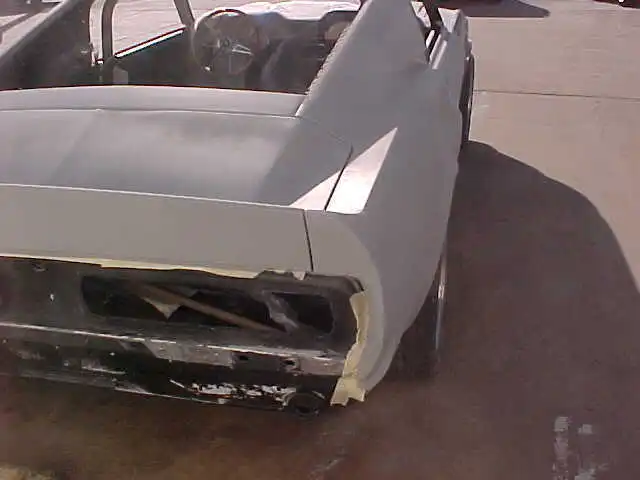
And they are bolted on.
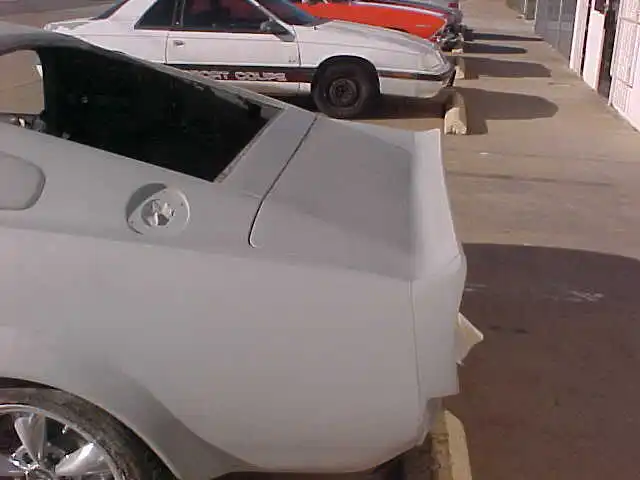
Upper and lower side scoops, rocker panel and rear flares finished.
I'm going to Dallas on Monday to check it out in person!
Well, the car is almost ready for paint. A few surprises here though.
Biggest surprise, the front flares and fender rocker panels cut from the fiberglass fenders and moulded on to steel fenders.
Front nose is a bolt on piece now! The upper nose piece was by far the most time consuming.
Rear end caps have nice and tight gaps.
And they are bolted on.
Upper and lower side scoops, rocker panel and rear flares finished.
I'm going to Dallas on Monday to check it out in person!
Attachments
Vent Wings
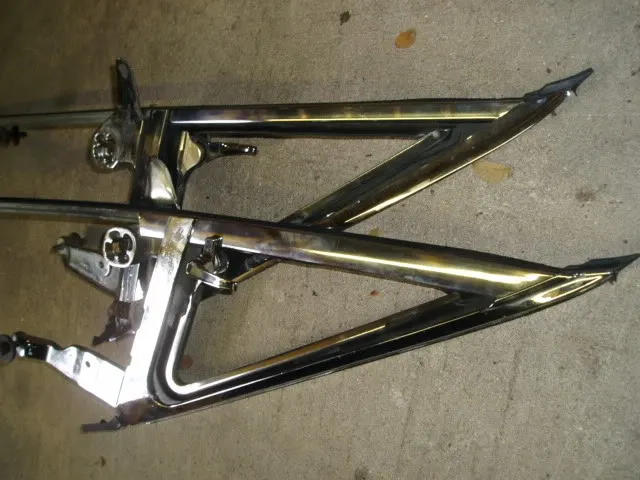
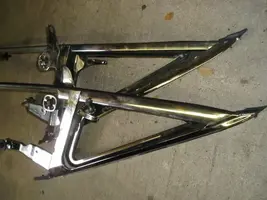
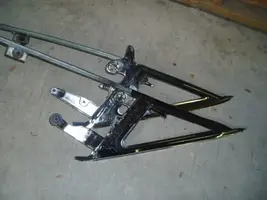
I rebuilt the vent wings. Even after many hours of polishing, it does not remove the pitting. But it is better than it was. New rubber inside, on the front door edge, and new felt lines the window channel. The only special tools need to repair these items is a narrow rivet gun, and a small punch (I used a small drill bit) to drive out the roll pin to replace the wing locks.
[EDIT] I just couldn't put a pitted part on the car. I disassembled them and took them to get plated. $250
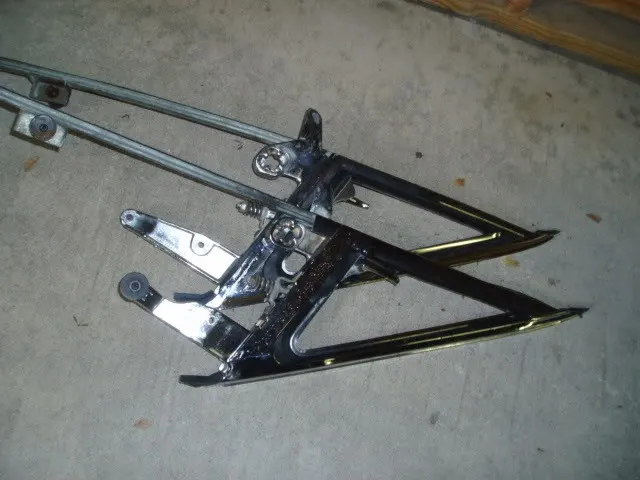
I rebuilt the vent wings. Even after many hours of polishing, it does not remove the pitting. But it is better than it was. New rubber inside, on the front door edge, and new felt lines the window channel. The only special tools need to repair these items is a narrow rivet gun, and a small punch (I used a small drill bit) to drive out the roll pin to replace the wing locks.
[EDIT] I just couldn't put a pitted part on the car. I disassembled them and took them to get plated. $250
Attachments

Similar threads
- Replies
- 18
- Views
- 649


- Replies
- 3
- Views
- 272
- Replies
- 2
- Views
- 280
