67 Super Snake Project

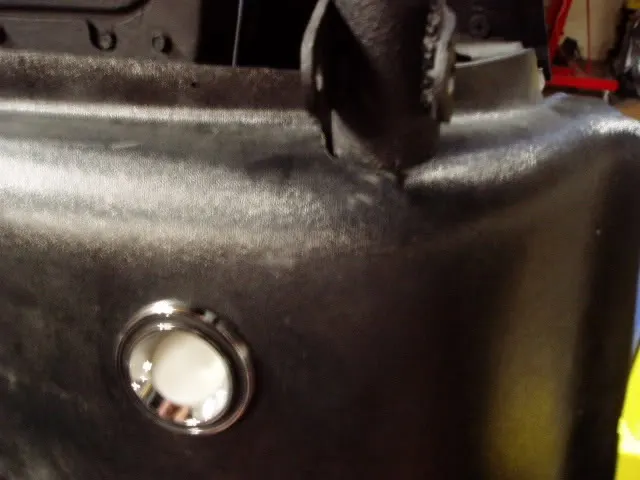
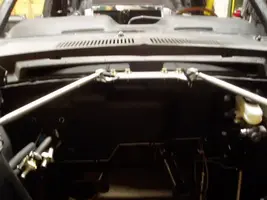
I purchased a 1 5/8" holes saw to cut the holes for the new interior lamps. Let me tell you, it was not an easy task installing them. I used a rat tail file to remove all the extra plastic, crimped the new light holder tabs down, and still had a difficult time installing them. I think that 1 3/4" would have been too big a hole. I also used a die grinder to cut out the hole for the roll bar.

PA110016-1.webp
 

Attachments

  • PA110016-1.webp
    PA110016-1.webp
    21.3 KB · Views: 193
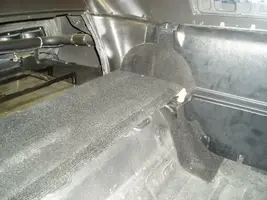
I put the carpet on the interior wheel wells. And then I cut the interior rear quarter panels to allow for the tubbed rear end. Took my time and this is what I came up with. Note how I cut it forward and then back at the mounting place for the rear seat. BTW, these panels are not bolted in yet. And I am not pleased with the glossy paint I used on the interior panels. I am still searching for the correct hue (what a dork, hue????, how about flat? WTH, different light reflectivity!).

PA160015.webp
 

Attachments

  • PA160015.webp
    PA160015.webp
    46.9 KB · Views: 183
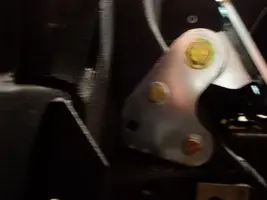
Bad picture, but I mounted the FE motor mounts. Not sure if it is correct because the motor mounts did not bolt in without a lot of adjustments. The frame holes did not align. I had to grind down the outer side of the mounts, probably because I welded in the lower shock tower bracing. And they only came with 4 bolts! I will put in the additional 2 bolts.

PA160021.webp
 

Attachments

  • PA160021.webp
    PA160021.webp
    10.1 KB · Views: 160
I have played with the idea of going turbo, but it would void the warranty that Keith Craft puts on the engine. And the new EFI system is actually increasing the horsepower. One of the EFI engines put out over 900HP.

So, forgetting about all the headaches and lack of room for installation, but the increase in cost, losing the warranty & the EFI increasing the HP even more.. makes the turbo almost unnecessary.

Although...

427_shelby.webp


would peg
vu.gif
the cool meter!
 

Attachments

  • 427_shelby.webp
    427_shelby.webp
    37.4 KB · Views: 160
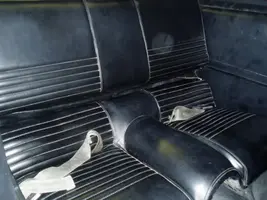
Played a little with the back seats. I am going to have the upper seat reduced by 2" in width. I could probably get away with not doing anything, but I am going to have the seats re-upholstered with the same pattern as the Shelby seats (not the logo).

PA190001.webp
 

Attachments

  • PA190001.webp
    PA190001.webp
    33.6 KB · Views: 164
Getting the car ready to go to the body shop. All the last little things that take a lot of time!

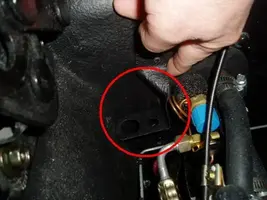
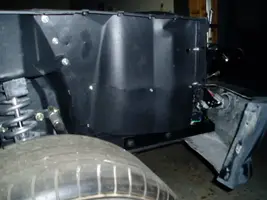
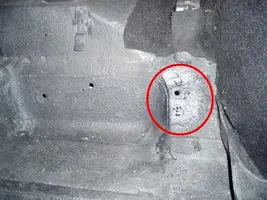
Like the factory (bs) splash shield for the new relay cluster underneath the passenger side front fender.

PA220011.webp


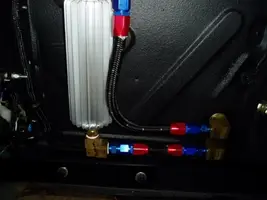
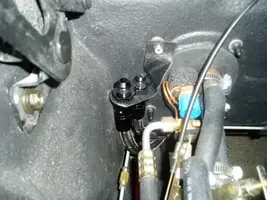
And the oil cooler lines from underneath the the driver side fender

PA260002.webp


PA220016.webp


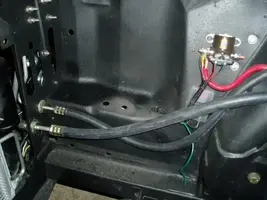
The fuel pressure & return line bracket

PA220015.webp


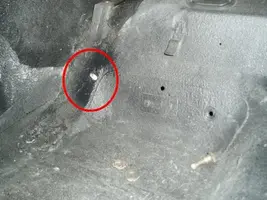
The rear seat belt brackets welded in

PA220007.webp


PA220010.webp


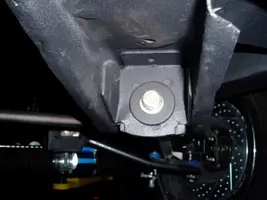
and the front end strut rod washers that started to rust that needed paint

PA220003.webp
 

Attachments

  • PA220016.webp
    PA220016.webp
    74.5 KB · Views: 185
  • PA220015.webp
    PA220015.webp
    28.9 KB · Views: 144
  • PA260002.webp
    PA260002.webp
    28.7 KB · Views: 196
  • PA220011.webp
    PA220011.webp
    19.7 KB · Views: 174
  • PA220003.webp
    PA220003.webp
    23.6 KB · Views: 165
  • PA220010.webp
    PA220010.webp
    42.9 KB · Views: 174
  • PA220007.webp
    PA220007.webp
    57.2 KB · Views: 195
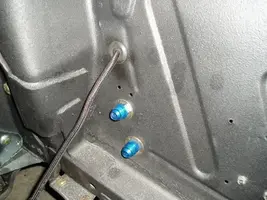
Got the fittings and bracket for the fuel system installed

PA260001.webp


And got the security system installed (what no picture?) Trick baby, trick!!!

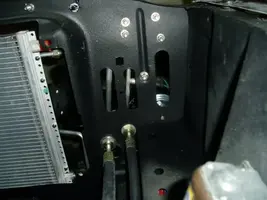
I have been debating as to where to pull in the fresh air for the Supercharger. UP pulls it from the driver side, but I have tried to make room to pull it from the passenger side. Look at all that room!

PA260004.webp


PA260006.webp
 

Attachments

  • PA260001.webp
    PA260001.webp
    46.7 KB · Views: 171
  • PA260004.webp
    PA260004.webp
    45 KB · Views: 165
  • PA260006.webp
    PA260006.webp
    34.4 KB · Views: 170
70vert said:
Richard,
Amazing project. Looks like you and I have similar taste in some of the parts, though I'm on a bit more of a budget - even still, I get accused of buying spendy parts. :D
I have a problem with my (earlier) set of UP coilovers. Where the UCA comes out, it hits my 17x8, 4.75bs Coy's C-67 rims: (Eleanor style)

http://homepage.mac.com/jbauder/PhotoAlbum77.html

It only happens on hard braking, but still. I have a 5/16" spacer on there and the right side (non-driver) scrapes the UCA a little on hard braking. I have filed down the UCA and the rim has a few scrapes on it, but it still happens.
Question is, when you look at my photo there, does it look like your UCA, or is yours more round and less teardrop-shaped? I have heard that they redesigned that and I have an email in to them with no reply. What's your wheel size there, 17x8"? 4.5bs?
Thanks in advance, should help me figure out a few things.

Joe

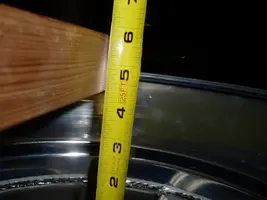
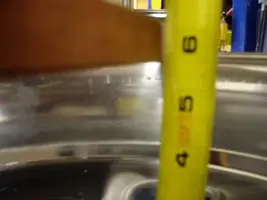
Joe, I just checked my front wheels and they are 17x8 w 4.25" backspacing. I didn't get a measurement to the UCA.

P7280028-1.webp


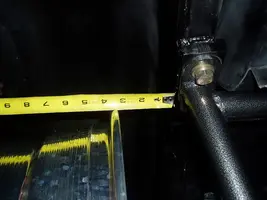
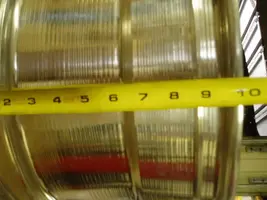
The rears are 17x9.5 w 5.5" backspacing. They leaave me about 3" on the inside to the frame.

P7280006-1.webp


P7280007-1.webp


P7280018-1.webp
 

Attachments

  • P7280028-1.webp
    P7280028-1.webp
    26.9 KB · Views: 196
  • P7280018-1.webp
    P7280018-1.webp
    40.7 KB · Views: 181
  • P7280007-1.webp
    P7280007-1.webp
    26.4 KB · Views: 167
  • P7280006-1.webp
    P7280006-1.webp
    13.5 KB · Views: 146
Thanks for checking . . .

thanks Rich, and thanks for the amazing detail you've shown us all in the photos. You've helped out a lot of people considering similar projects. Now I know with my 4.75bs wheels (pretty devoted to them) I'll need a drop spindle for sure so I don't hit that UCA.

67FBack said:
Joe, I just checked my front wheels and they are 17x8 w 4.25" bs. The rears are 17x9.5 w 5.5" bs.
 
Great work on the car. Really like the level of detail you are giving everything. Can you share some pics of the powerplan you have planned for this car? Need more frequent updates - this took me nearly 30 minutes to read and drool over everything!!
 
jcode68 said:
Great work on the car. Really like the level of detail you are giving everything. Can you share some pics of the powerplan you have planned for this car? Need more frequent updates - this took me nearly 30 minutes to read and drool over everything!!


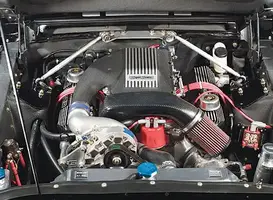
I am planning on letting Keith Craft build me a :

427 BB Shelby Aluminum Block
Either Shelby or Edelbrock Performer Heads
Edelbrock EFI Intake
Either Big Stuff 3 or Fast EFI
Vortech S Trim Super Charger .. or ... (twin turbo, but don't tell anyone.. :)

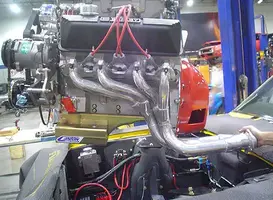
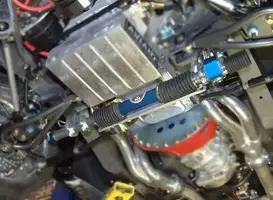
Something that looks like this (not mine BTW):

Headers.webp


427FE.webp


Power_Rack_Pinion.webp


Ordering it at the end of November.

More Pictures Here
 

Attachments

  • 427FE.webp
    427FE.webp
    31.2 KB · Views: 161
  • Headers.webp
    Headers.webp
    29.5 KB · Views: 160
  • Power_Rack_Pinion.webp
    Power_Rack_Pinion.webp
    17.6 KB · Views: 187
Sicarius428 said:
Does that block in the picture above have duall cross main bolts and if so will they work on a cobra jet block? You got me planning my complete rebuild project.
Kevin

That is a Carroll Shelby aluminum block. It is a direct bolt in replacement for 390-427-428 cast iron engines and is 45% lighter, but stronger than original. The main caps are studs, with additional 4 cross bolts on caps 2-3-4. A little pricey though. $5300 just for the block. It has a CS on it ! View attachment 425500
 
Yeah I think I am going to stick with my stock block. I can probably have it rebuilt for that price. Any ideas where to get cross bolt mains. I saw some on ebay but don't know i quite trust them.
Kevin