
You are using an out of date browser. It may not display this or other websites correctly.
You should upgrade or use an alternative browser.
You should upgrade or use an alternative browser.
DIY air to air intercooler on Kenne Bell for 92 LX
- Thread starter 92rohcp
- Start date


Flavadave4
Active Member

you cant get into his link b/c your not a memeber, looks like a good project, I just wonder what the temps were before and after

Cobra912
Active Member

1991notchbackLX
Active Member
that thing looks like an absolute monster! it doesn't look very fun to work on though if you have normal sized hands


Try to copy and paste the text and pictures for the project from your link on the other site, into this thead. You can't view it over there without becoming a member, and we're not in the habit of promoting competative web sites here on Stangnet. 
Nice car BTW.
Nice car BTW.

ID89GT
10 Year Member

OMG.....Its fast now. I put on the 2.5" pulley today and it ran like a rapped ape. I saw 13 psi from my data logs and the best thing is ACT temps were 63 degrees, 10 degrees above ambient. I only lost 1.5 psi through the intercooler from last year running 14.5 with the same pulley. The difference is huge feels like a different car. Its never pulled so hard anywhere in 3rd gear it will smoke the tires and go sideways. 4th gear is on the verge of breaking loose now, and I haven't even run meth or extra, timing 17* total now. The blower wine is very noticable now anytime under load. I really can't believe how fast this car is now. Like I said last year I ran the 14.5 psi with meth and it was not even close to what the 13 psi intercooled feels like. This is what I was hoping for, and I got all of it and more. Can't wait to get the meth nozzle in and try some timming now.
I also re did my bypass valve tubing with some 1.5 in plumbing pipe and new silicone elbow, Loks good now.
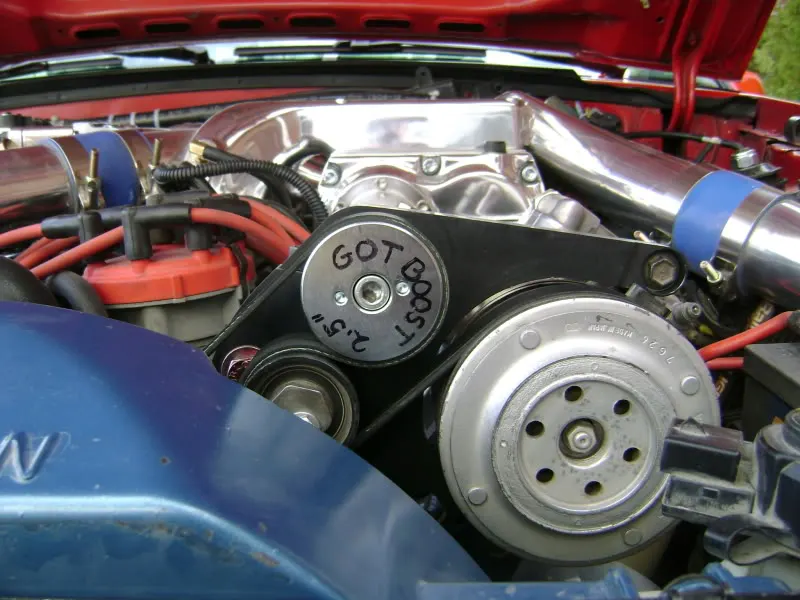
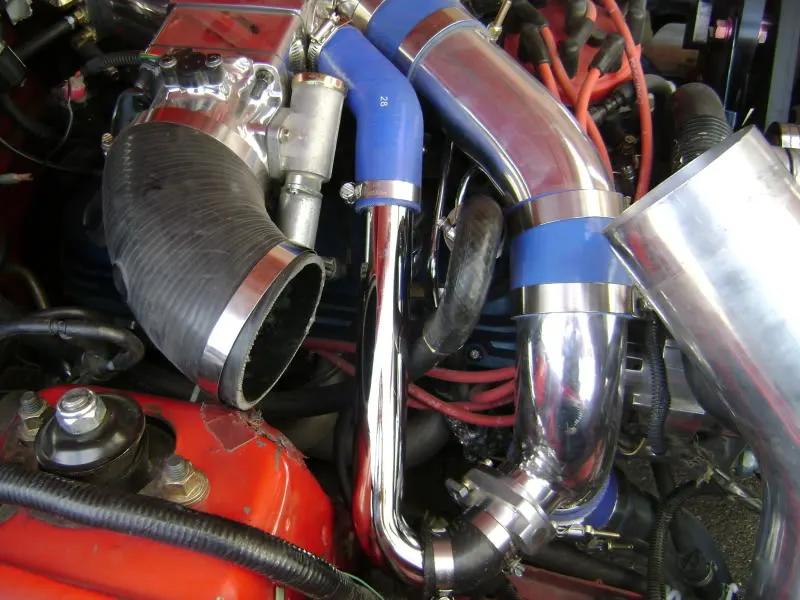
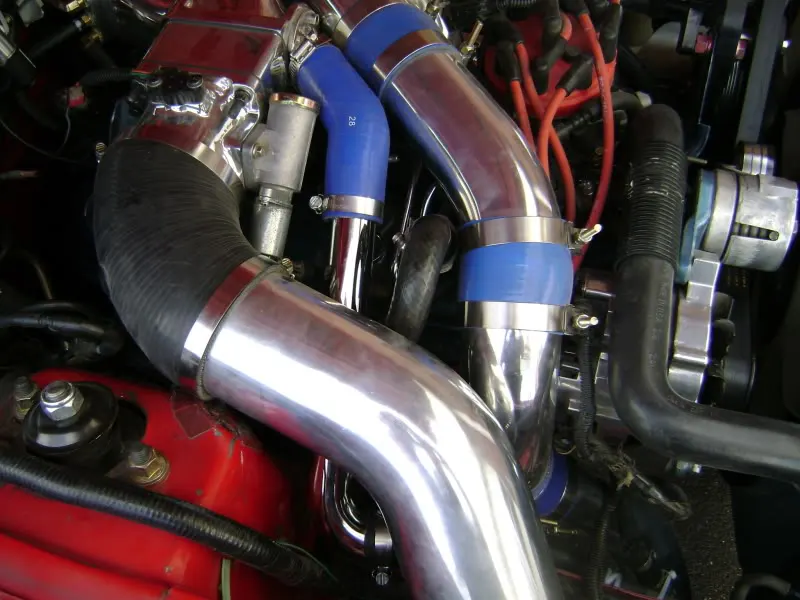
I also re did my bypass valve tubing with some 1.5 in plumbing pipe and new silicone elbow, Loks good now.

 what were the temps before the intercooler, Can you do another one?
How did you work it? Curious minds want to know. Is there an adapter for the housing for the coldside piping, or did you have to fab and weld everything yourself onto the housing?
BTW, that car is absolutely BAD ASS.
Here is the fabrication process I went through. All from scratch.
033009
Alright project has started. I baught a kit last night 31x12x3 with 3" inlet outlet. Gonna try a little larger than Mike did with the Pipe 2.75" as 3" just didn't seem possible. The issue with 3" is the area at the end of the intake just can't support that. I'll take some pics when I get going, right now I'm just mocking things up and making plans. I will try and keep the bypass in place, which will make it a challeng for sure, but will be worth it in the end. I'll be visiting some shops for welding estimates. I may even spray meth in the discharge after the I/C.
I realize here that I will have to do some more work to get the 3 in outlet inside the bolts, But I have 5/8 in above the intake and I will use that and open part of the top. The clay represents how it will look up top.
__________________
040109
Alright got some work done today. Prep work for the Intercooler and pipe should be in Monday. Radiator and A/C condensor is out and I made the opening at mouth of the front cover larger and clearanced some areas for 3" pipe. I'm pretty happy with how that came out the opening is much larger now and should cool the I/C better. I used screws to pin the mouth up to the bumper support and drilled holes in the bottom and used zip ties to make the lower lip thinner. The Blue tube I used for the mockup for the aluminum pipe is 3 inch and I decided to try and make 3 inch work, we will see what happens. The bypass had to be removed, I just could not make the inlet fit above it and clear the hood. I will fab it up to the inlet pipe some how when I get the welding done.
The pipe connecting to the manifold had to be flatened and sqaured and cut on 2 angles to fit, took alot of work but fits nice.
Passenger side U bend.
I realize here that I will have to do some more work to get the 3 in outlet inside the bolts, But I have 5/8 in above the intake and I will use that and open part of the top. The clay represents how it will look up top.

So did you weld a plate in the KB plenum so the air goes to the intercooler?
Yes, a block off plate was welded to reroute the air to the intercooler.
So did you weld a plate in the KB plenum so the air goes to the intercooler?
That would be my guess. The upper plenum is no longer wide open, but split into two halves. one for the inlet side and into the blower and the other through the outlet side, through the A/A intercooler and into the lower manifold. Pretty well thought out actually. I would imagine the lagest restriction at this point is the volume he's got to work with itself. Either way, I'm sure it makes enough power to split the stock block clean in half.
What are the rest of the specs on the motor? Aftermarket block?
92 stock block & cam, KB 2.1 Big Bore kit, Flow/Blow 12.5 psi, water/meth injection dual nozzle 21 gph, Tmoss ported lower, TW heads, 60 lb injectors, 95mm PMAS Velocity MAF, custom 4" intake, 90mm T/B, 255lph HP intank, FP stock, Crane HI-6R, SCT tune by LaSota racing and Zeitronix wideband.
I got all the meth nozzles in today 6gph before the screws in the back of the flowzilla, and 9gph in the 3 inch pipe just before the discharge. I fabricated the bund today from an incert off the intercooler kit. I cut it in half, shaped it for the pipe radius then tapped it for threads. I also tried my hand at a new product for welding aluminum, called Durafix Dura Fix Aluminum Welding Aluminum Brazing Aluminum Soldering & Repair Rod it really works well and I was able to sand it and polish the welds. The nice thing abou the Durafix is the welding rods melt into aluminum, kinda like brazing at 735 degrees. So you can use propane or MAP gas with a benzomatic burner tip. I can't wait to try it out and get some hard data. Its gonna rain for 5 days here.
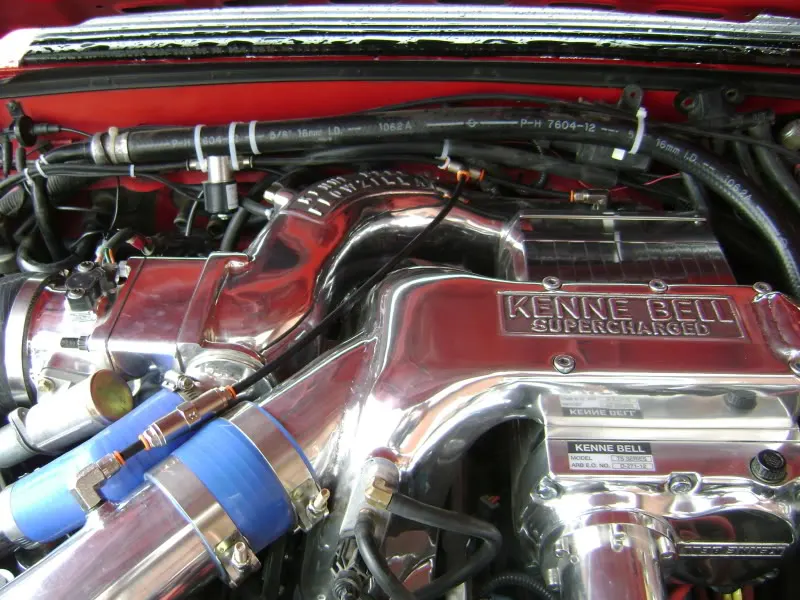
This is the bung I welded in with DuraFix rods and the propane torch
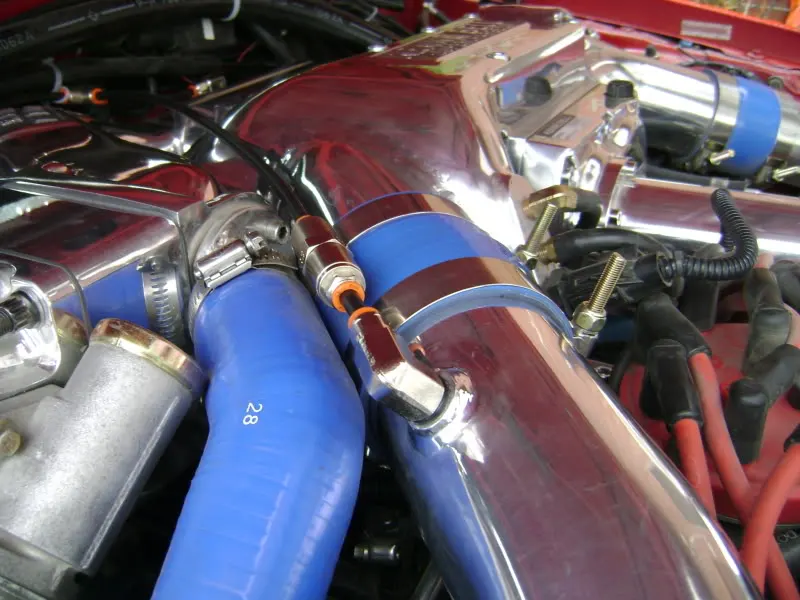
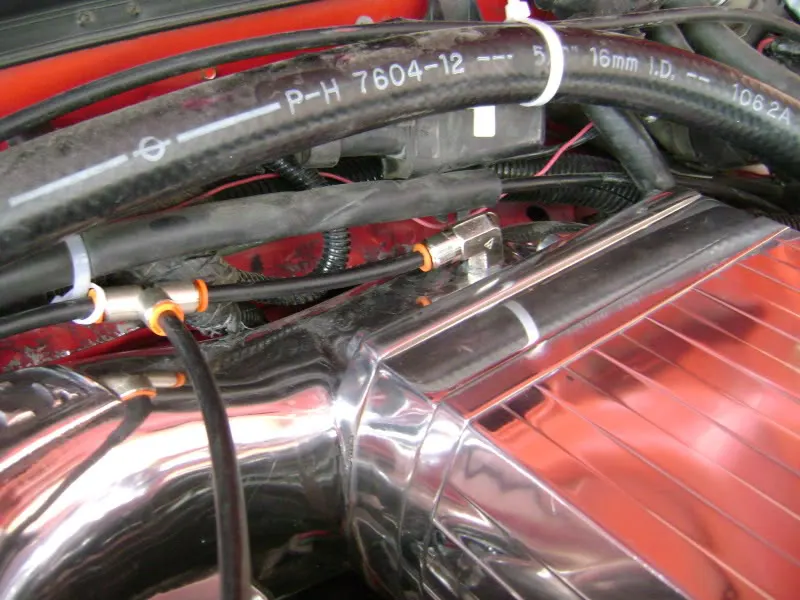
This is the bung I welded in with DuraFix rods and the propane torch
Similar threads


- Replies
- 24
- Views
- 1K
- Replies
- 3
- Views
- 773

- Replies
- 1
- Views
- 377
