Pics of ROUSCHARGER INSTALL

toolttime

New Member
Dec 17, 2005
59
0
0
Alberta Canada
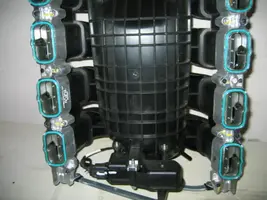
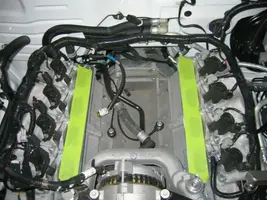
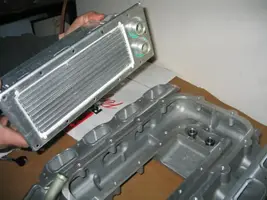
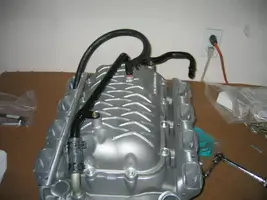
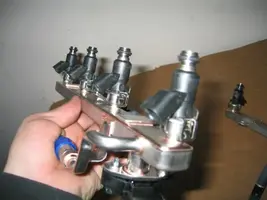
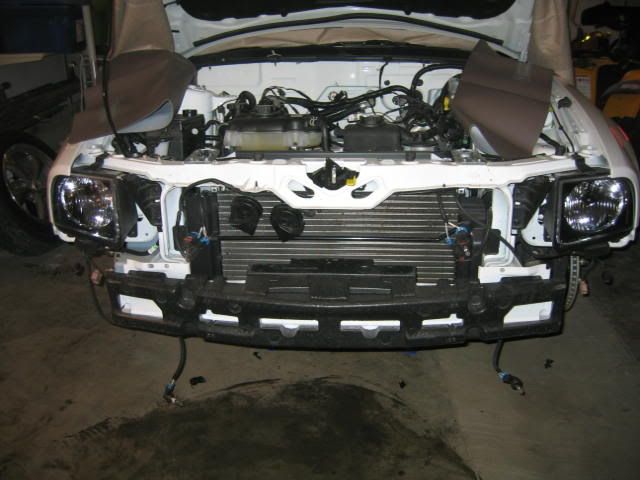
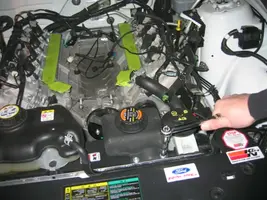
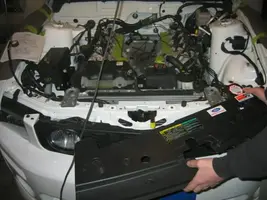
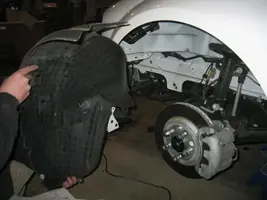
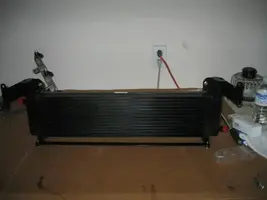
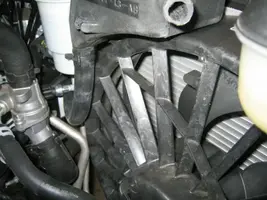
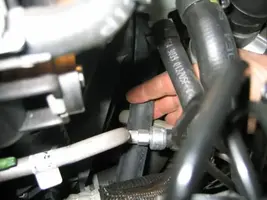
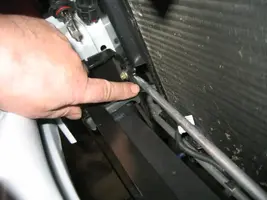
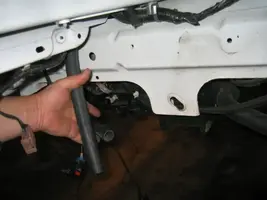
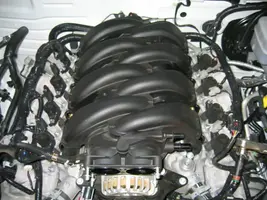
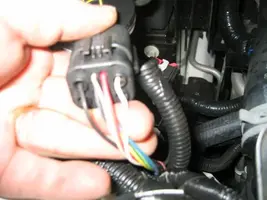
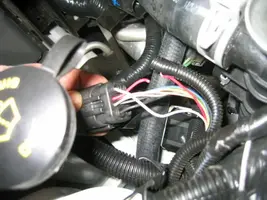
Here are pics we have taken during our install. Basically the first part is modifiing, like moving wire connectors, heater hoses, alternator air box . etc. 2nd part is preassemble, intake w intercooler, cooler for front of rad , etc. This is where we are at at now. On the weekend we have to baisically remove front of car to install coller. The parts are well packaged and maked. Instructiobns so far are pretty clear.
 

Attachments

  • superchargerproject 031.webp
    superchargerproject 031.webp
    34.3 KB · Views: 195
  • superchargerproject 032.webp
    superchargerproject 032.webp
    24.5 KB · Views: 198
if you use a photo hosting service like photobucket (which was mentioned earlier), you can show up to 20 images per reply. this would be the best use of your time, and easier too.
 
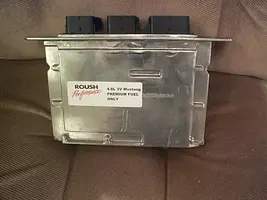
CPU back from roush today I was suprised it is here already since I had sent on Friday the 23 december with xmas in between. They have there sticker on it so it must have made it there. Roush does the reflash on the cpu as part of the package. They have a prepaid Fedex box in the kit to send to roush


DCP02554.webp
 

Attachments

  • DCP02554.webp
    DCP02554.webp
    27.4 KB · Views: 92
Well the last day of 05 and we started of by mounting the water tank for intercooler
superchargerproject097.webp


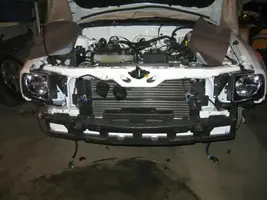
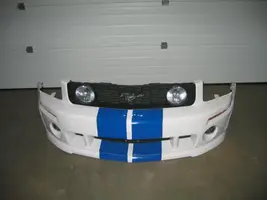
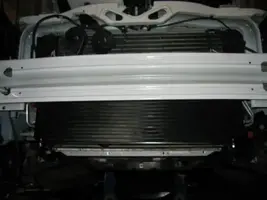
Then we jacked up car took off front wheels to be able to remove front half of inner fenders and the front bumper. Actually remove the front of the car was probably the easiest thing we have done. This is to install the cooler for intercooler.
superchargerproject098.webp


superchargerproject105.webp
G]

superchargerproject106.webp


[
superchargerproject108.webp


superchargerproject108.jpg
 

Attachments

  • superchargerproject097.webp
    superchargerproject097.webp
    37.2 KB · Views: 91
  • superchargerproject098.webp
    superchargerproject098.webp
    26.7 KB · Views: 94
  • superchargerproject105.webp
    superchargerproject105.webp
    17 KB · Views: 99
  • superchargerproject108.webp
    superchargerproject108.webp
    25.7 KB · Views: 88
  • superchargerproject106.webp
    superchargerproject106.webp
    10.3 KB · Views: 87
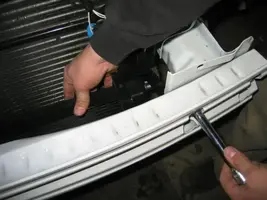
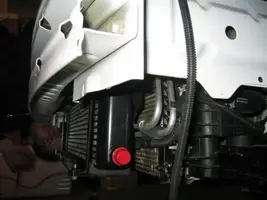
We now installed the cooler and I must say the way it was built was like it came right from ford themselves it was perfect fit. We removed the crush beam
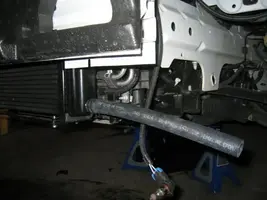
(styrofoam lol)from the front . Removed the 2 inside bumper bolts. this is where the cooler mounts. We then installed the 2 supllied hoses to the engine compartment on paseenger side the other to the drivers side fender area. this is where the water pump for inter cooler goes. On the pump side we had to cut a few inches of hose off at a time to get the kinks out of the hose.

superchargerproject096.webp


superchargerproject112.webp


superchargerproject113.webp


superchargerproject115.webp


superchargerproject116.webp


superchargerproject117.webp


superchargerproject119.webp


superchargerproject121.webp


superchargerproject122.webp


superchargerproject124.webp


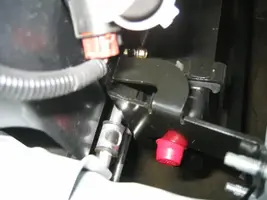
Had to adjust a/c lines to make sure they didn't rub against cooler

superchargerproject120.webp
 

Attachments

  • superchargerproject113.webp
    superchargerproject113.webp
    22.8 KB · Views: 94
  • superchargerproject112.webp
    superchargerproject112.webp
    18.5 KB · Views: 100
  • superchargerproject096.webp
    superchargerproject096.webp
    9 KB · Views: 97
  • superchargerproject115.webp
    superchargerproject115.webp
    11.5 KB · Views: 85
  • superchargerproject116.webp
    superchargerproject116.webp
    16.9 KB · Views: 90
  • superchargerproject117.webp
    superchargerproject117.webp
    13.2 KB · Views: 93
  • superchargerproject119.webp
    superchargerproject119.webp
    20.3 KB · Views: 96
  • superchargerproject122.webp
    superchargerproject122.webp
    25.3 KB · Views: 101
  • superchargerproject121.webp
    superchargerproject121.webp
    17.4 KB · Views: 107
  • superchargerproject120.webp
    superchargerproject120.webp
    18.5 KB · Views: 97
  • superchargerproject124.webp
    superchargerproject124.webp
    13.5 KB · Views: 93
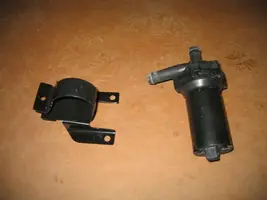
Here's the intercooler water pump and bracket. We had to remove a plug from close to cpu and cut of a red wire. We then solderd the supllied harness for pump and ran near top of rad to the drivers side.

superchargerproject126.webp


superchargerproject127.webp


superchargerproject128.webp


superchargerproject129.webp
 

Attachments

  • superchargerproject126.webp
    superchargerproject126.webp
    12.6 KB · Views: 96
  • superchargerproject127.webp
    superchargerproject127.webp
    26.8 KB · Views: 95
  • superchargerproject128.webp
    superchargerproject128.webp
    18.7 KB · Views: 120
  • superchargerproject129.webp
    superchargerproject129.webp
    27.6 KB · Views: 88
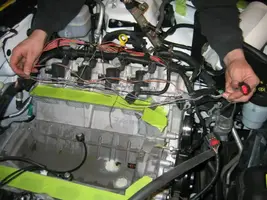
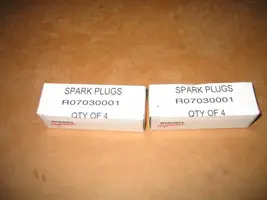
Next we installed the supplied cooler autolite spark plugs. the order They do things in the instructions seem to make things easier to do. Like the spark plugs we be a little tight with everything on to change.

superchargerproject130.webp


superchargerproject132.webp


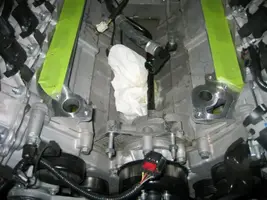
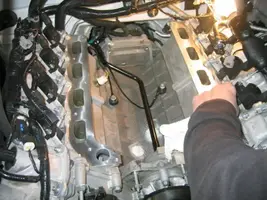
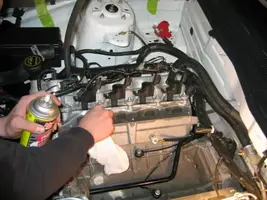
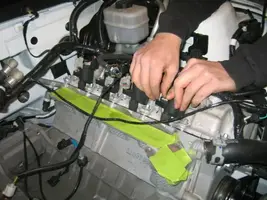
we then reinstalled the cooler lines we haad to modify into water pump under intake. Remove tape and clean the surface area to insatl the intake


superchargerproject135.webp


superchargerproject136.webp
 

Attachments

  • superchargerproject136.webp
    superchargerproject136.webp
    34.6 KB · Views: 85
  • superchargerproject135.webp
    superchargerproject135.webp
    31.9 KB · Views: 114
  • superchargerproject132.webp
    superchargerproject132.webp
    30.1 KB · Views: 89
  • superchargerproject130.webp
    superchargerproject130.webp
    13 KB · Views: 85