

I finished it! Albeit with a few dirty welds since the argon gave out.
The rear of trans tunnel required a little persuading, but it's done. While I was there, there was a small 1.5" crack at the top of the rear floorpan, so I welded it up.
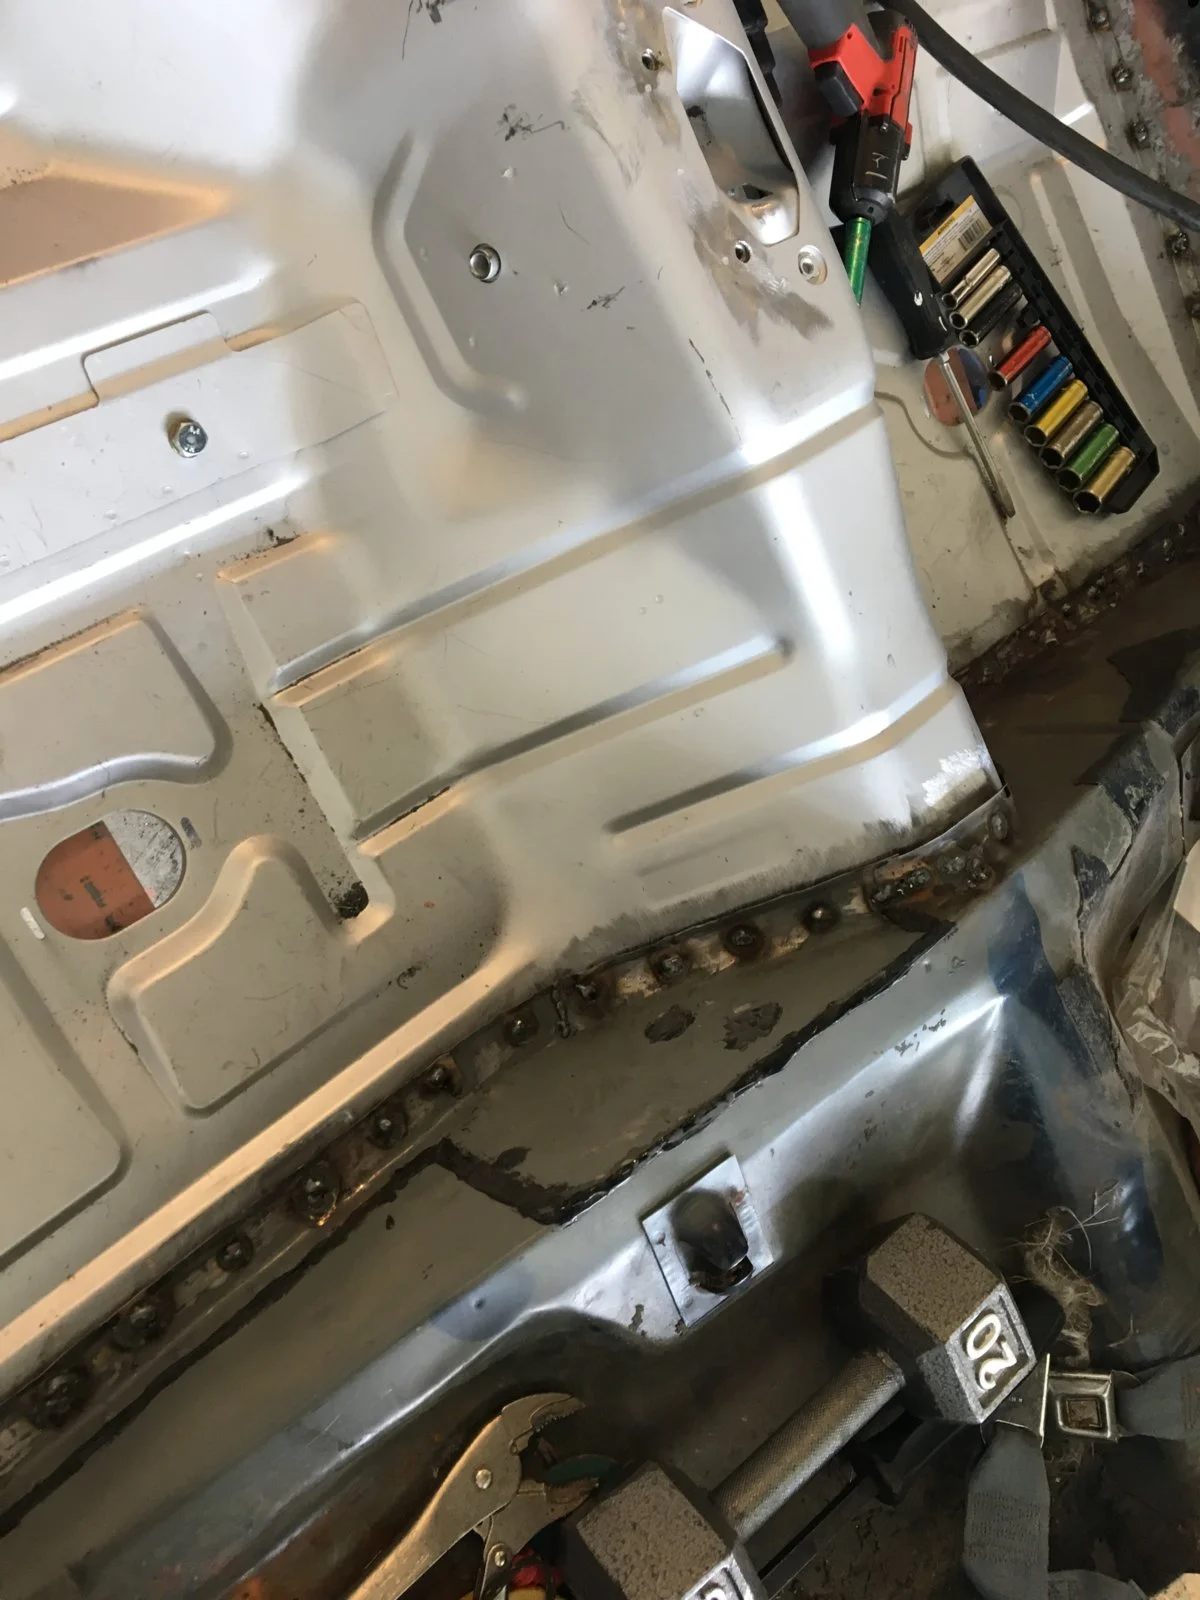
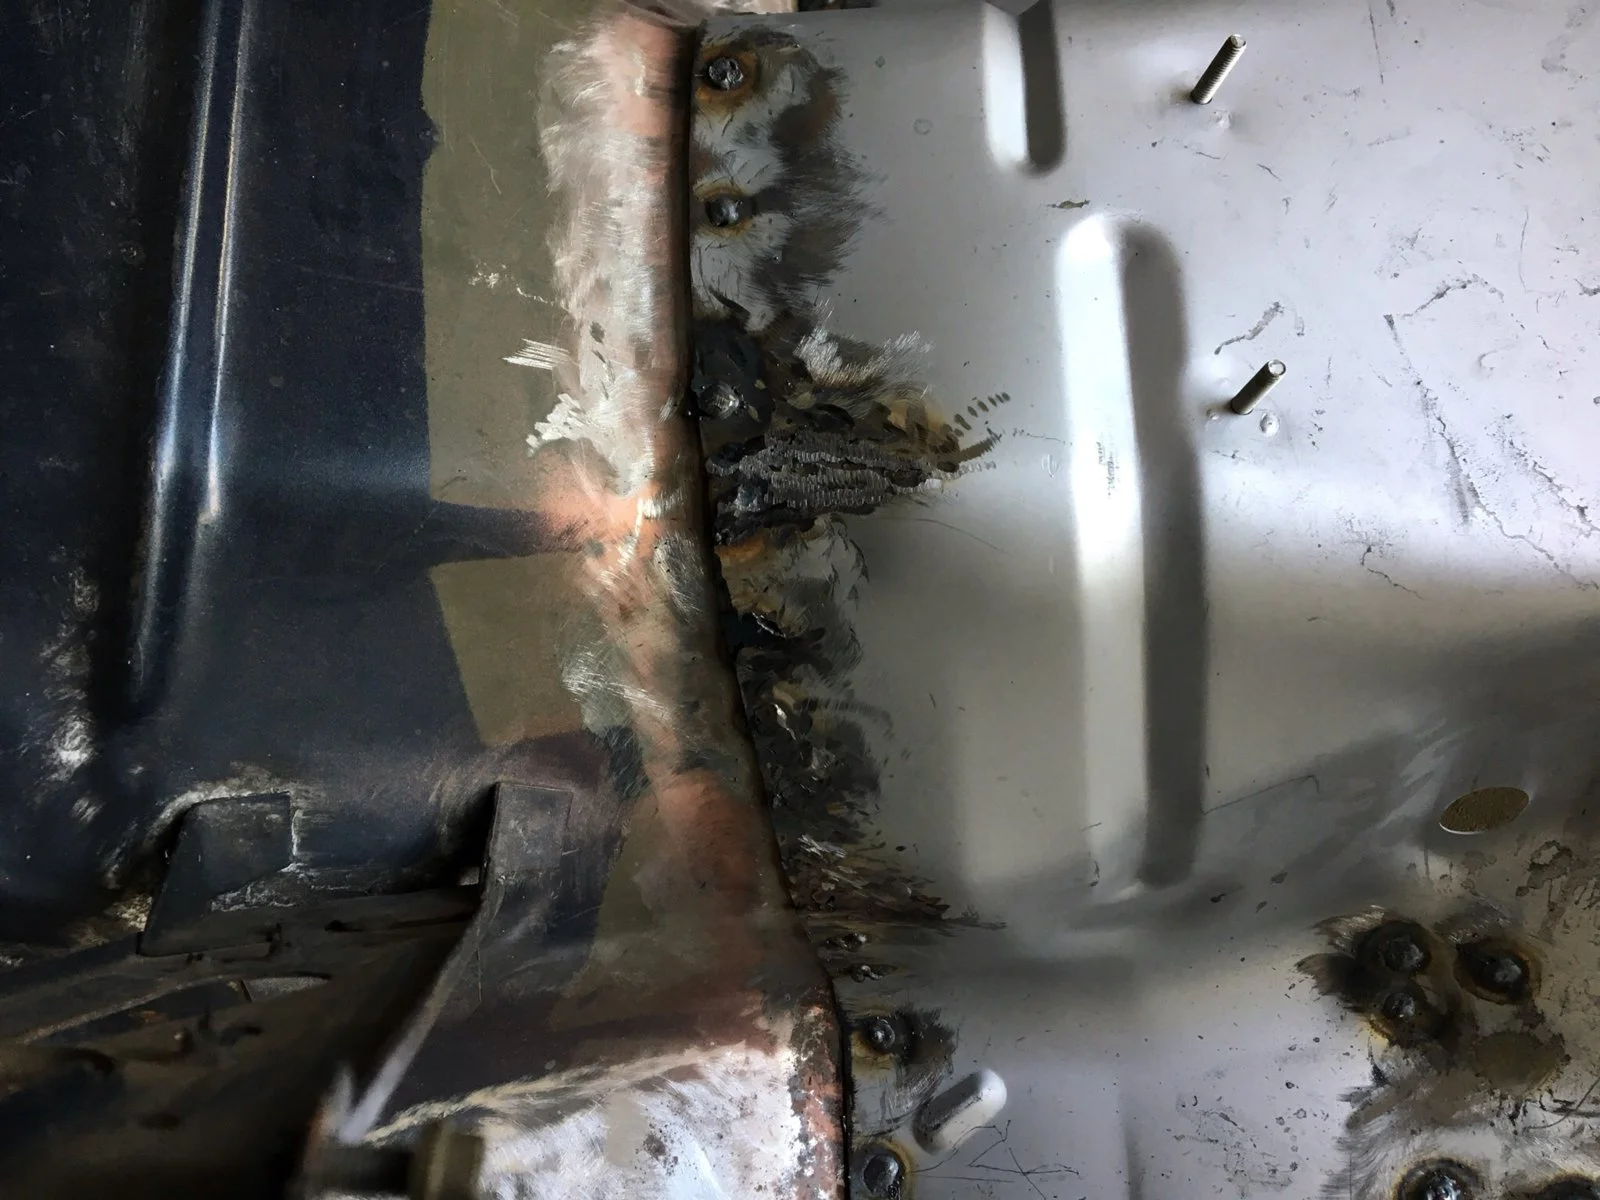
Then began the front trans tunnel/firewall match up section. The new pan bulged on the left side, I don't know if it's due to a difference in '87^ mustang's trans tunnel or because this pan was pressed in china. It was about a 10" section. There was no beating this into shape. At first I took my die grinder with a cut off wheel and made a small slice in the upper and lower areas where the bulge started. That wasn't enough. I took my grinder and widened the gap a bit. That worked. I welded in the center of the cut area and then ground a little more off each end of the cut area so the ends would matchup when pressed together. So, yack, yack, yack, pictures. Notice how dirty, porous and ugly the welds are here. Those last four were a challenge, especially since I had to use one hand to hold the metal down while welding with the other.
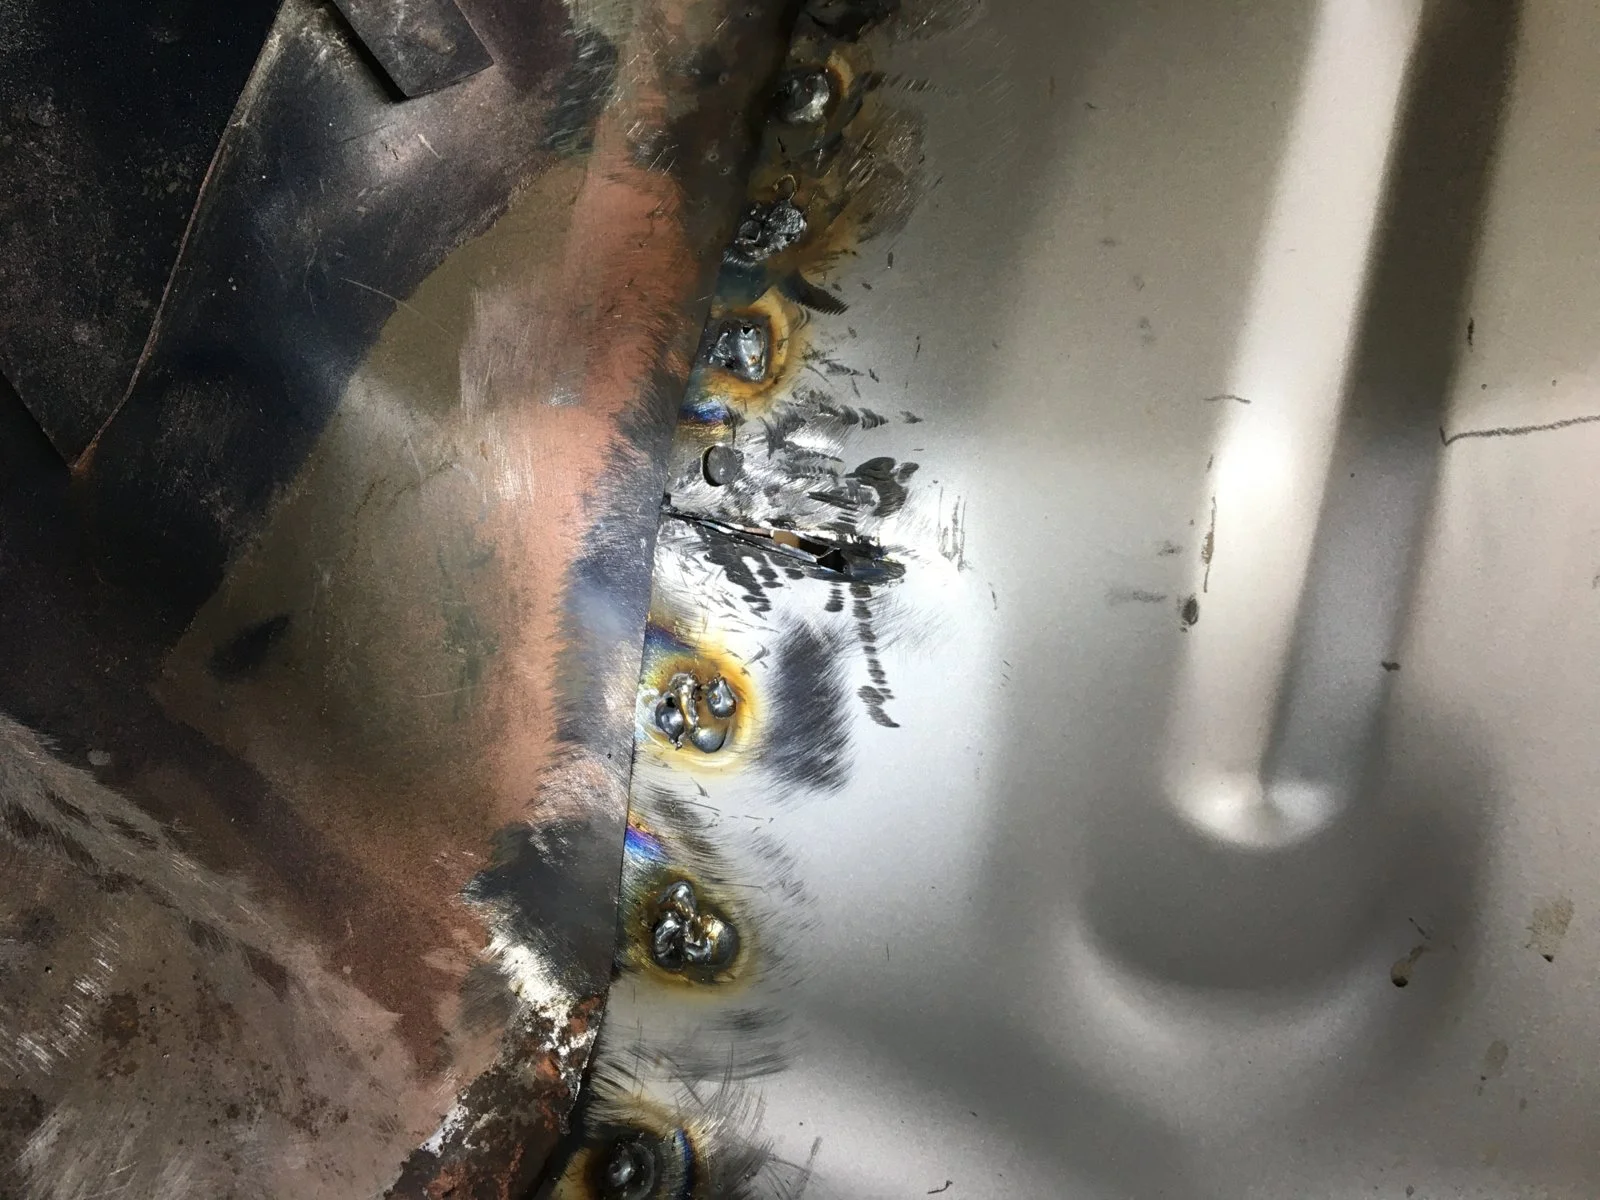
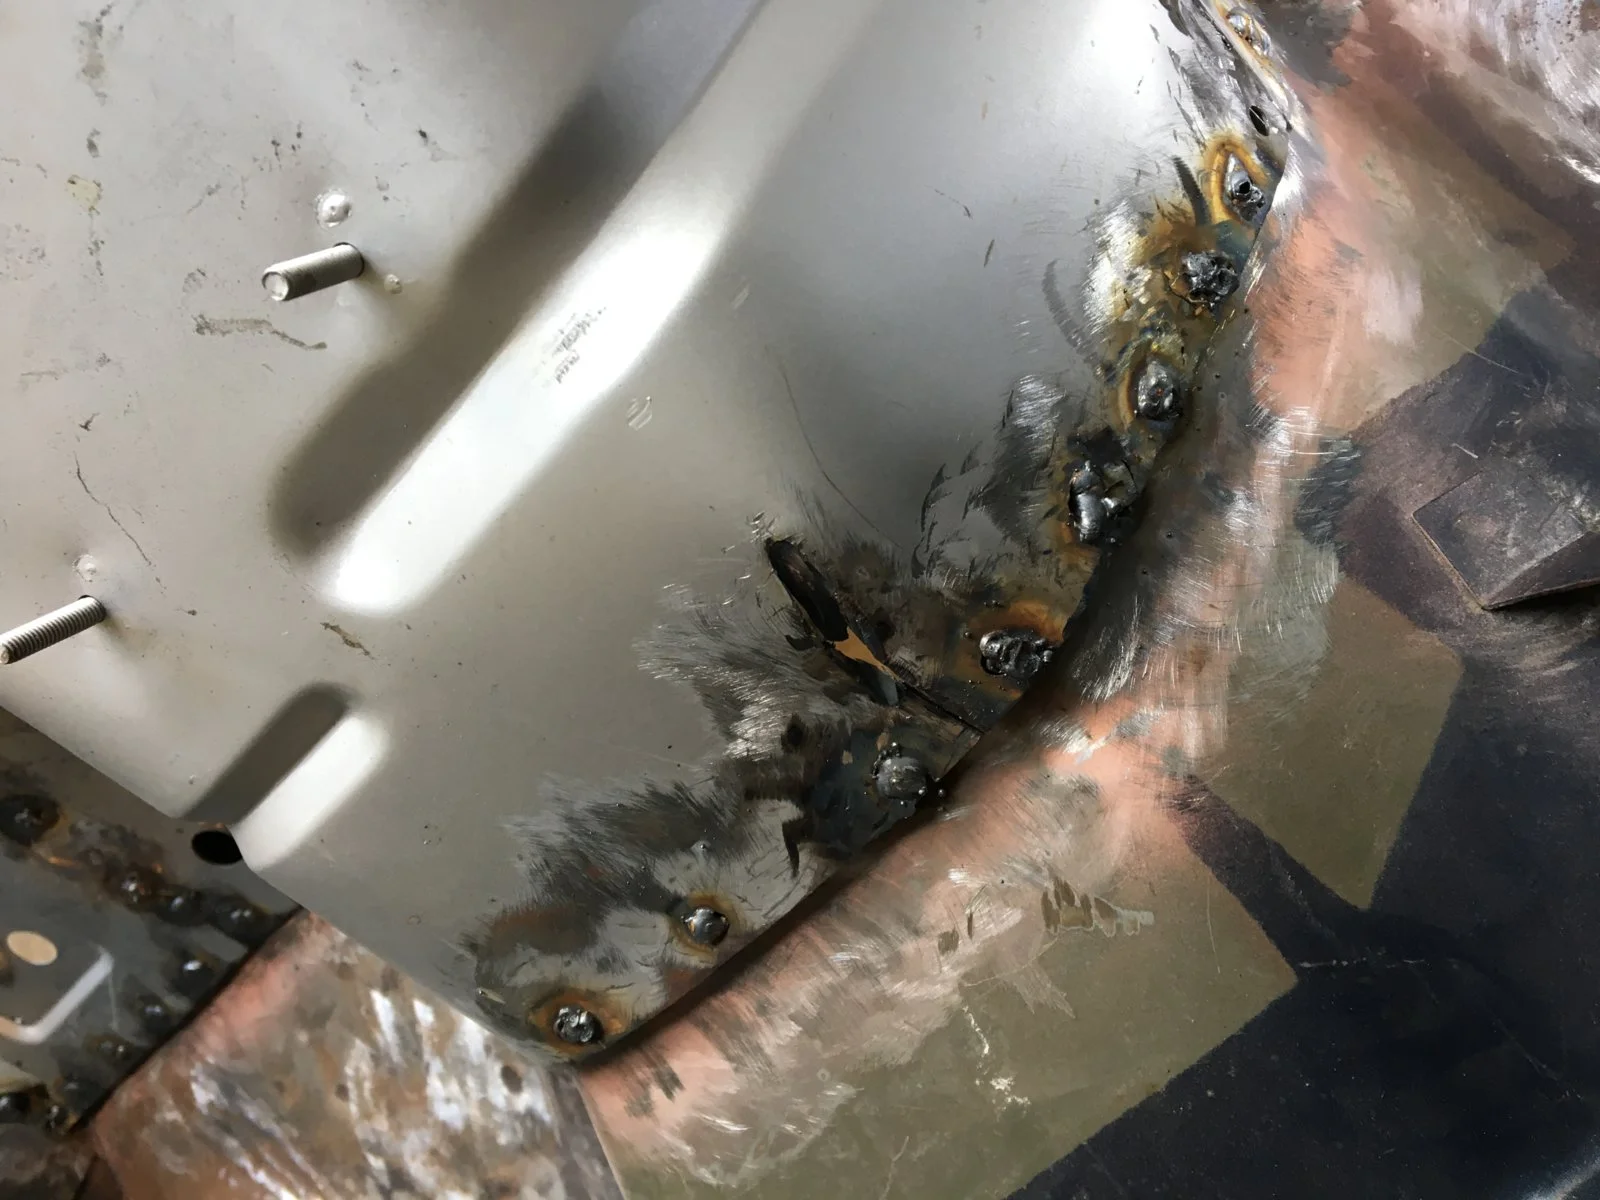
Then I welded up my slices and dressed them since they were so ugly and dirty looking they were offending me by their mere presence. Look at all that brown around the weld at the top of the tunnel.
Here's the next small project, the front seat brace. It really fits pretty nicely considering it's of oriental persuasion!
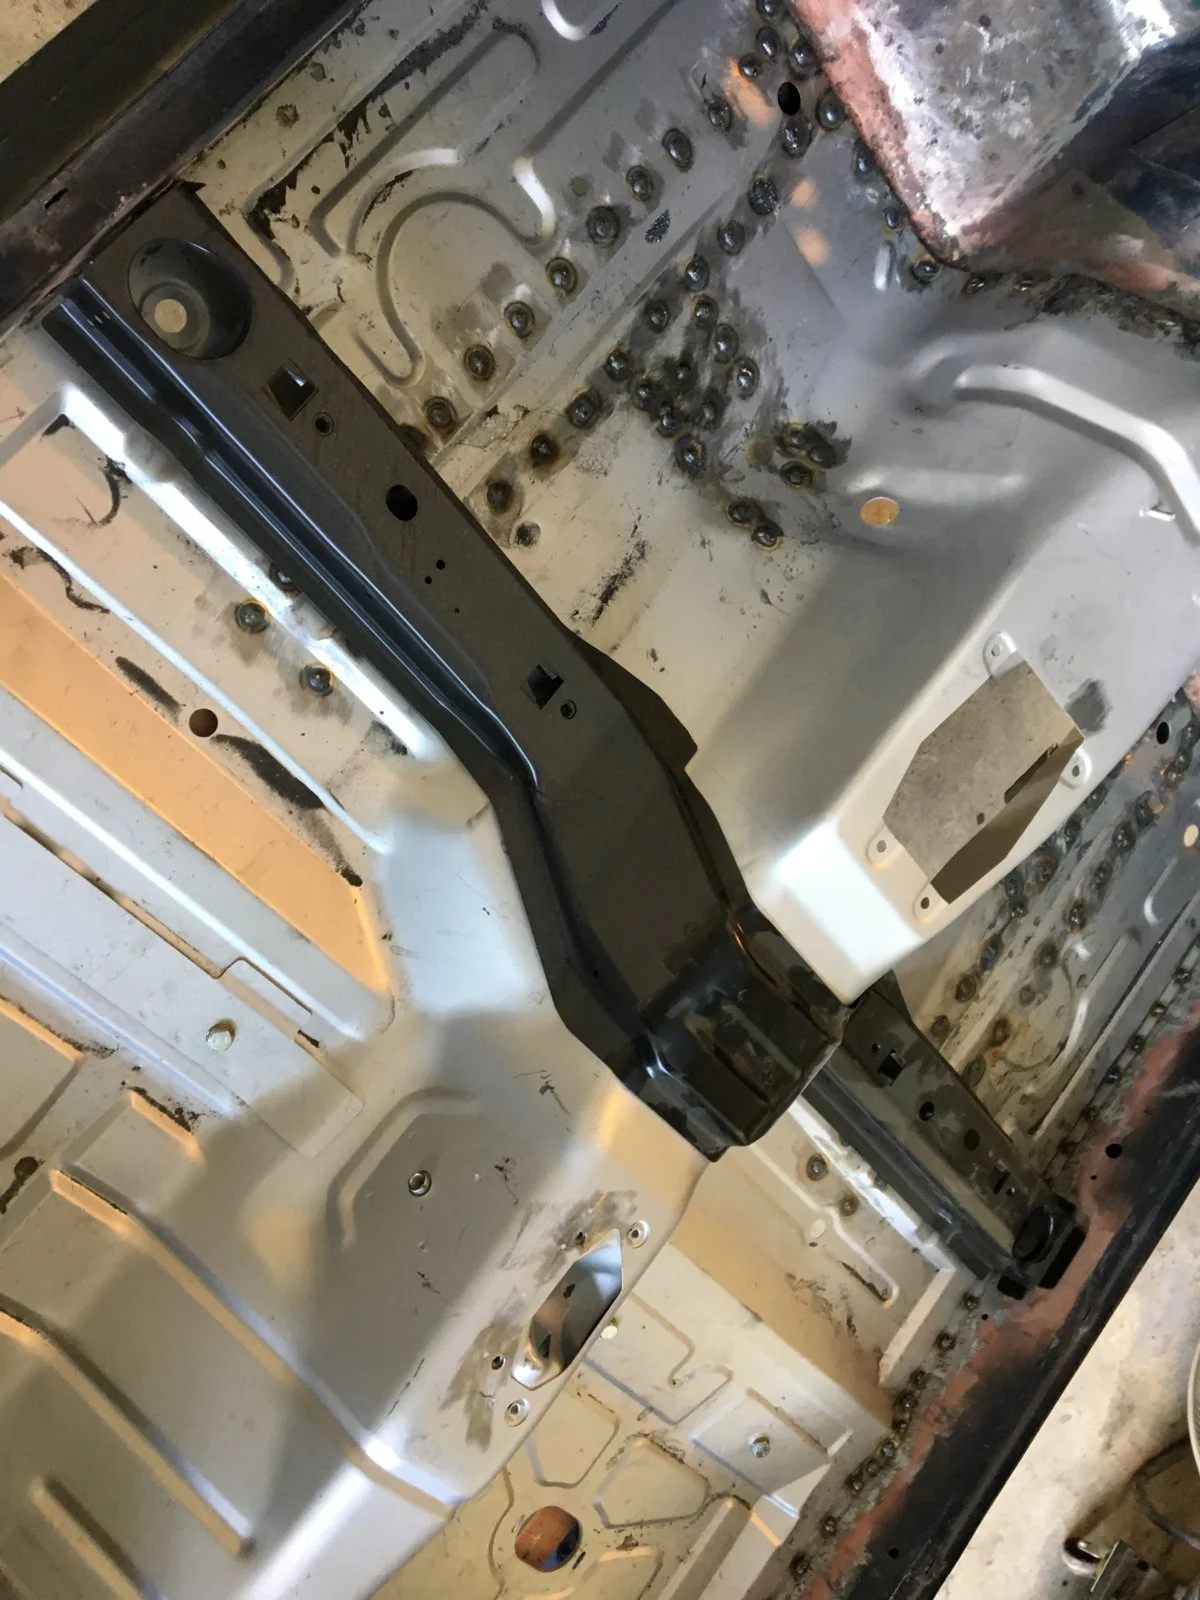
Tomorrow I'll smooth the welds in the immediate area the brace goes and a few others. Drill the welding holes in the brace itself. Then I'll clean up the pan and POR15 it prior to the brace. I'll even get the underside as well.
If there's any time left over I'll grind down the 1x1 tubing to get ready for the ladder system.
The rear of trans tunnel required a little persuading, but it's done. While I was there, there was a small 1.5" crack at the top of the rear floorpan, so I welded it up.
Then began the front trans tunnel/firewall match up section. The new pan bulged on the left side, I don't know if it's due to a difference in '87^ mustang's trans tunnel or because this pan was pressed in china.
It was about a 10" section. There was no beating this into shape. At first I took my die grinder with a cut off wheel and made a small slice in the upper and lower areas where the bulge started. That wasn't enough. I took my grinder and widened the gap a bit. That worked. I welded in the center of the cut area and then ground a little more off each end of the cut area so the ends would matchup when pressed together. So, yack, yack, yack, pictures. Notice how dirty, porous and ugly the welds are here. Those last four were a challenge, especially since I had to use one hand to hold the metal down while welding with the other.Then I welded up my slices and dressed them since they were so ugly and dirty looking they were offending me by their mere presence. Look at all that brown around the weld at the top of the tunnel.
Here's the next small project, the front seat brace. It really fits pretty nicely considering it's of oriental persuasion!
Tomorrow I'll smooth the welds in the immediate area the brace goes and a few others. Drill the welding holes in the brace itself. Then I'll clean up the pan and POR15 it prior to the brace. I'll even get the underside as well.
If there's any time left over I'll grind down the 1x1 tubing to get ready for the ladder system.





