Steel1
Mustang Master
Definitely looks like you have just the stock master cylinder.
You could make-up a short line for the front, you can get different lengths
of brake lines with the ends installed from any auto parts store.
Not sure if the 94-94 m/c is better or worse , I do know that it is suggested to also change the
booster when upgrading for better pedal feel.
Seems to be hit or miss, some people report issues without a
booster change some don't. I took my chances and did not change the booster, so far I'm happy with my set-up.
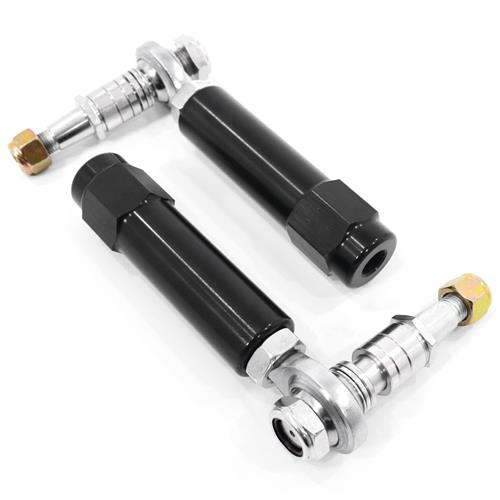
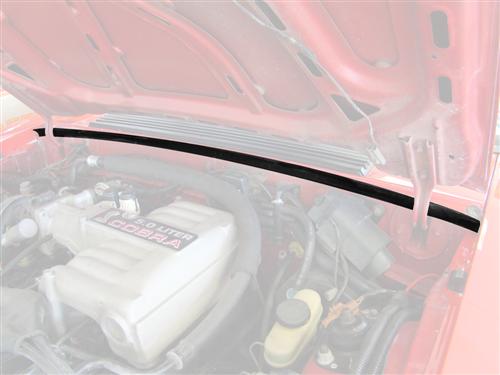
included a couple of pics for your reference.


You could make-up a short line for the front, you can get different lengths
of brake lines with the ends installed from any auto parts store.
Not sure if the 94-94 m/c is better or worse , I do know that it is suggested to also change the
booster when upgrading for better pedal feel.
Seems to be hit or miss, some people report issues without a
booster change some don't. I took my chances and did not change the booster, so far I'm happy with my set-up.
included a couple of pics for your reference.