Build Thread Enola- Finishing touches

Today I only managed to score the edis8 module..... all the coil packs had already been stripped. I was lucky to get the module, I had to check 15 cars before I found one in a 4.6 grand marquise.... There was only one v8 explorer on the yard and it was stripped. So I still need the cam sensor.

Ls coils valve cover mounted? Maybe......

Today I'm playing around in the laboratory.......
20170709_204601.webp
20170710_151203.webp
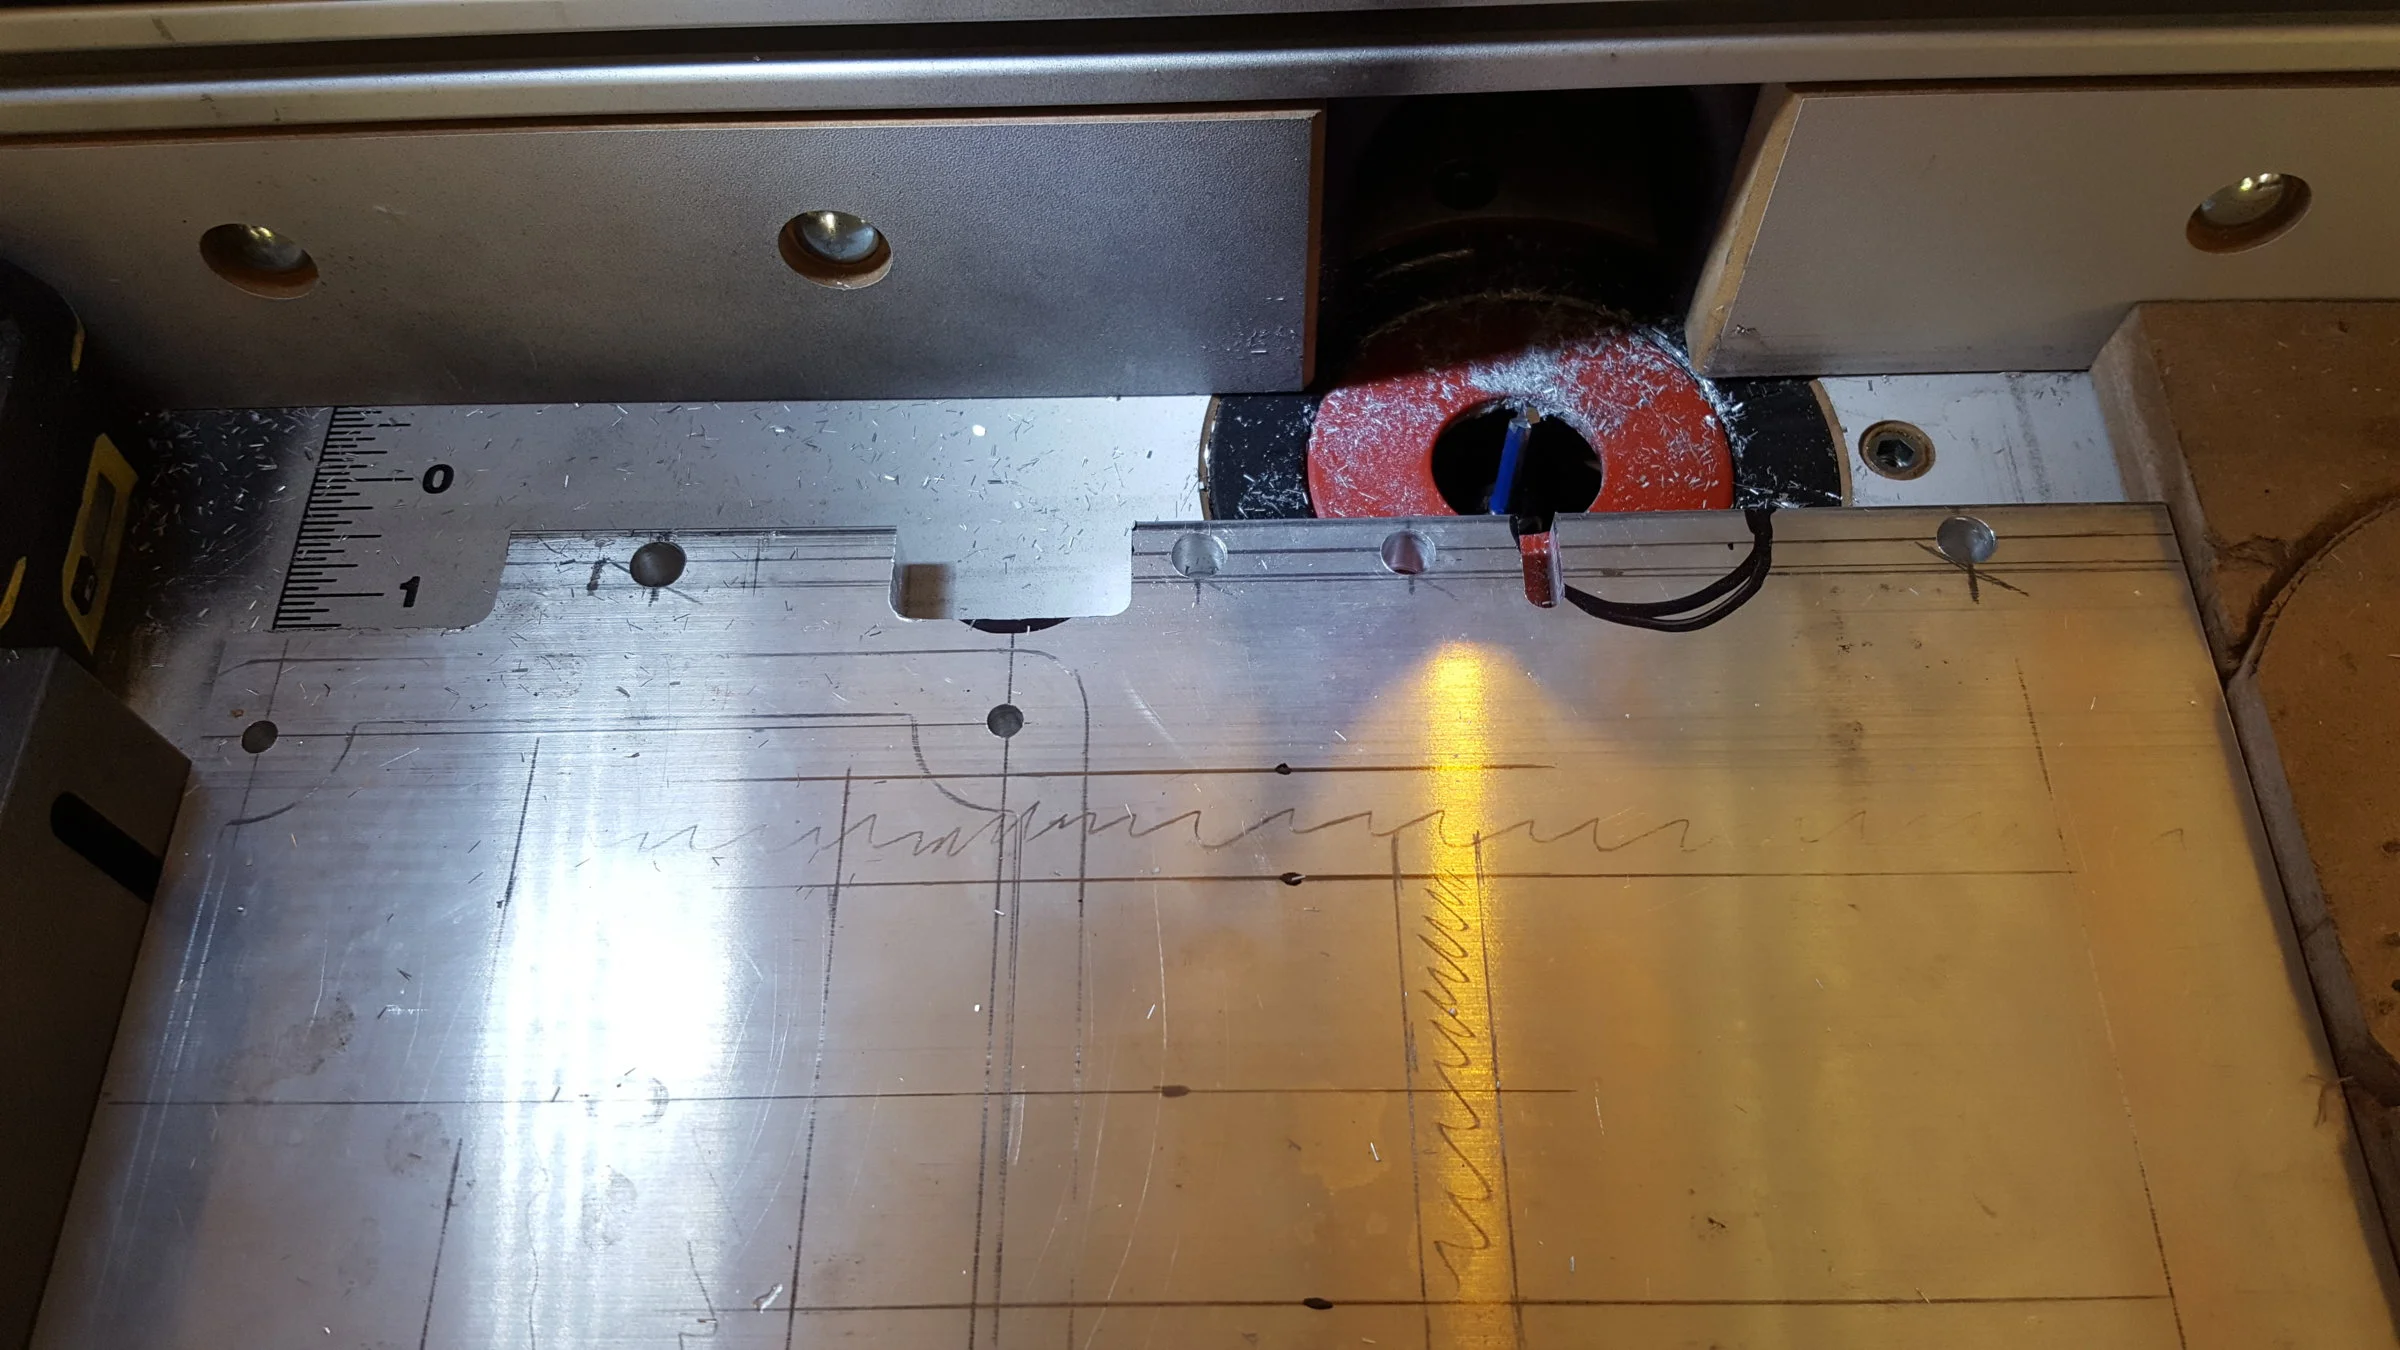
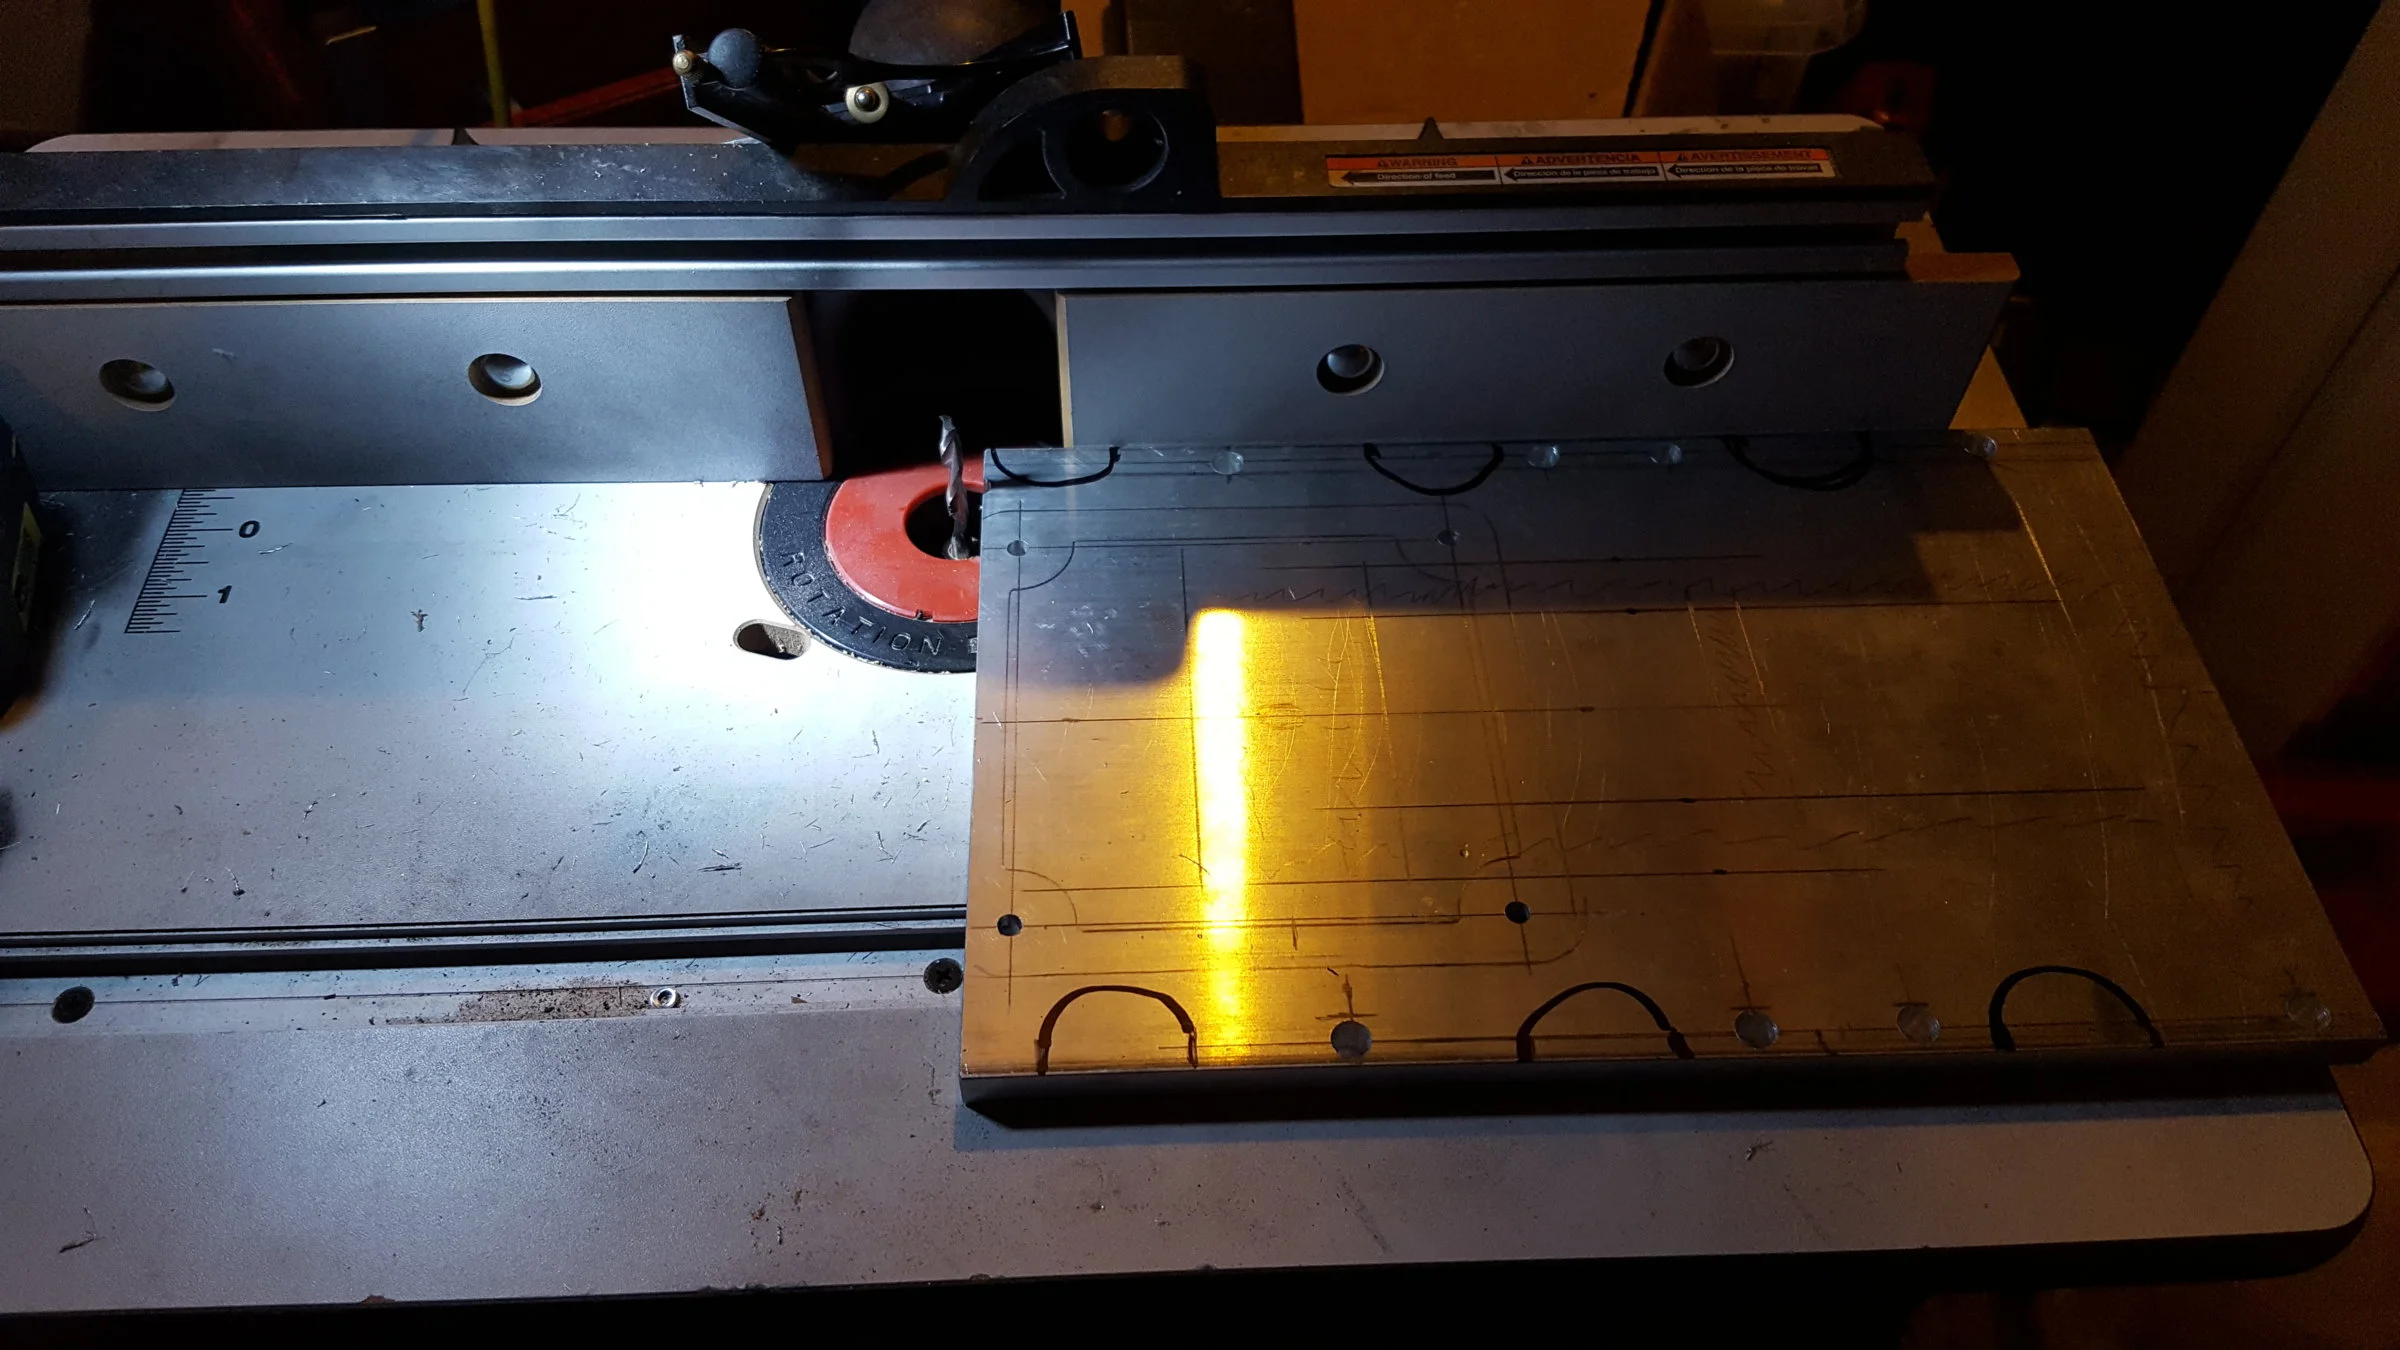
the trick is to make many shallow cuts. On this 0.5" plate it takes 5 cuts.
 
Well this proved interesting. I managed to avert disaster, I almost lost a friggin eye. Good thing I was wearing eye protection! I got a bit to greedy with a larger cut bit on the pocket I was doing. It exploded..... not cool, I finished it with a smaller bit I think I'm done.. Lol it turned out ok.
20170710_193241~2.webp
20170710_193323~2.webp
if you've ever tried using a roundover bit on aluminum then you know how difficult this is. Unfortunately I had a little bit of walk on this one and had to clean it up with a file. Luckily I left plenty of room away from the gasket. On the manifold itself I'm going to have to trim the gasket area by almost an inch and a half I'll still have a little over a half inch of gasket surface after that.
 
Glad you didn't lose an eye, buddy :nice:

I blew up grinder 4 inch grinder disc that I put on a die grinder. It sounded like a gun shot....and it hit my boss in the side. :nonono:

We were cutting aluminum block to drop his Colorado pick up. I'll never do that again.
 
Blower mount holes counter sunk. The forstner bits I got were not cutting it, so I drilled the depth I needed with a regular bit. Then I chucked up the same size straight cut router bit (in the router) and slowly raised the bit into the hole until I had a flat bottom for the bolt to rest against.... i know there are easier ways but..... necessity is the mother of invention round here. :D
20170710_201544.webp
20170710_201559.webp
 
Using a router as a low budget bridgeport eh?.....You and me Steve,........All it takes is a little ingenuity, and the willingness to try something. I used my router w/ a carbide burr to square off the holes I cut out of my block for the pushrod clearance ( with a jigsaw)
ot4v-jpg.119652.webp

Lets not forget the liberal usage of the requisite amounts of Jb Weld...

But specific to your thread.......What is the dropped cut behind the square opening for?
 
  • Like
Reactions: a91what
@madmike1157 the dropped cut was going to run the full length of the manifold opening, with a beveled edge on the main blower opening. The idea was to increase flow, but after some thought I don't think it's even remotely necessary.
OK then,..what I'm seeing is that part of your newly cut hole is blocked by the intake runners themselves,...what are we gonna do about that?
 
OK then,..what I'm seeing is that part of your newly cut hole is blocked by the intake runners themselves,...what are we gonna do about that?
The original gasket surface for the blower in that area is over 2"wide... I assume to take load from the blower being pulled on by the belt. Once I trim that back it will have a 1/2" surface to seal against. So no worries there... i will however need to make a support for the blower snout, I don't want this thing being pulled around and messing up all my hard work. Once we get to the bolting together part we will see how much really has to be modified.
 
Just ordered the 36-1 trigger wheel. @madmike1157 how did you mount yours? I am thinking of milling the center out and welding it to the crank pulley..... thoughts?

Also ls coils are out of the question, they have built in ignites makes them non compatible with the edis8...... oh well I will keep hunting for coil packs.
I did however grab a new cam synchroniser (cam sensor) for the swap. Basically all it does is drop in where you pull the distributor out to run the oil pump.
 
Last edited:
Just ordered the 36-1 trigger wheel. @madmike1157 how did you mount yours? I am thinking of milling the center out and welding it to the crank pulley..... thoughts?

Also ls coils are out of the question, they have built in ignites makes them non compatible with the edis8...... oh well I will keep hunting for coil packs.
I did however grab a new cam synchroniser (cam sensor) for the swap. Basically all it does is drop in where you pull the distributor out to run the oil pump.
I had the center cut out to fit on the harmonic balancer from behind, then drilled and tapped new mounting holes in the steel portion of the balancer. Lastly, I had the whole thing chucked up on a lathe and had the thing cut for concentricity. (it was .030" out of round)
 
Have you ever had that "I wish I never did that moment" I have it when I looked under the hood at the holes I created/enlarged for intercooler piping on the last project... now I have to fix/cover them up....

Maybe some cleverly trimmed and riveted pieces of aluminum? It would fit the Frankenstang motif...
Other ideas?
You should have asked me that question right after I decided to cut holes into the third hood.....
 
I need to pull some of the parts I have and put them up for sale, damn spark plug wires cost 120$ and I can't reuse them... only drove the car 100 miles...figures. Intake manifold I drilled for injectors may be difficult to get rid of.

I'm dropping parts off at the machinist tomorrow I want to be sure everything is true before bolting it together. So I will need to get up early and do the injector bungs. (On second thought they may not get dropped off till later in the week)


From what I've read if I grab another edis8 module and wire the two in parallel I can have each run 4 COP.... but I'm not sure how they would hold up that close to the exhaust manifold. Ls coils can be used if i bypass the ignitors but that may take some research.
 
Well I skipped the machine shop until I finish all the parts to get dropped off at one time.

Got the bypass mounted today.
20170717_205540.webp
here you can see I used a holesaw to make a 1" hole in the plate. I then drilled and tapped 10-32 bolts to finish the job. The bypass valve had to be modified slightly so it mounted flush.
20170717_213306.webp
the valve in its permanent home.
20170717_205532.webp
This is the under side of the blower inlet, this hole will have a 1.25" piece of tubing welded to it. The tube and bypass valve will come together with a rubber coupler when the inlet is bolted on.

I will still need to add provisions for the manifold temp sensor and a port for boost reference. Those will be drilled and tapped tomorrow.
 
I welded on the tube for the bypass, then taped up the gasket surfaces and water tested the manifold.

It friggin leaks:fuss:

I think I will just sand blast it clean then give it the jb weld treatment to seal it. Then pretty it up with wrinkle black.... :nonono: anything else that gets made will be from good old steel, that is until I get a decent welder.
 
  • Like
Reactions: Davedacarpainter