Hole saws work great if it is a "virgin" hole that you are making. However, using a hole saw in to enlarge an existing hole is very difficult. If you were to fasten a scrap piece of wood or even 1/8" aluminum sheet to the back side of the existing hole, then the wood lets you make a new "pilot bit" hole and keeps the hole saw steady. I have done this on 1970 Mustang headlight bucket "cups". The halogen light upgrade needed bigger holes for the backside of the fixture to sit down into the cup properly. Apparently, this technique works well on thicker metal too like brake backing plates. At ~3:15 into the video, a guy is using a hole saw to enlarge the hole in his backing plate.
Big hole saws tend to cost several dollars, and it is great if you can borrow one as large as 4.5". It looks as though the jigsaw worked well on the thin metal.
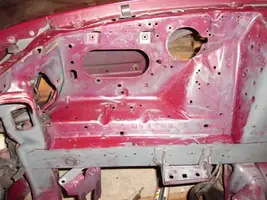
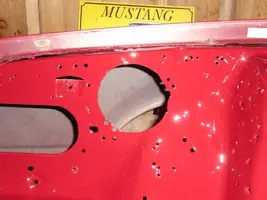
Enlarging hole in brake backing plate

 .
.

") .
.
") ) PP intake, ACCUFAB TB and spacer (beautiful piece), AFM Power Pipe, Tall plain polished aluminum valve covers, billet PS pulley (to finish off the collection..LOL) and I've removed the STB. I have to fill in the large factory induction hole and the STB mounting holes, anyways.
) PP intake, ACCUFAB TB and spacer (beautiful piece), AFM Power Pipe, Tall plain polished aluminum valve covers, billet PS pulley (to finish off the collection..LOL) and I've removed the STB. I have to fill in the large factory induction hole and the STB mounting holes, anyways. 


