

You are using an out of date browser. It may not display this or other websites correctly.
You should upgrade or use an alternative browser.
You should upgrade or use an alternative browser.
1965 Mustang rust repair
- Thread starter rusty428cj
- Start date

EP429
Member

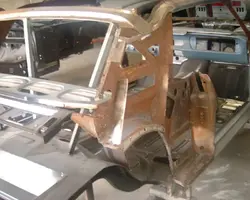
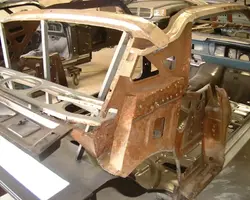
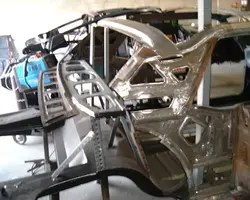
Impressive amount of work!
I didnt realize this until recently, but us mustang guys have it relatively easy when it comes to replacing huge amounts of sheet metal. Since we do not have to custom build many patches.
I didnt realize this until recently, but us mustang guys have it relatively easy when it comes to replacing huge amounts of sheet metal. Since we do not have to custom build many patches.


66Coupe289POWER
Member
May I ask where do you get the repair panels from and are they US made or overseas? Do you have to do any repair work to the panels?

May I ask where do you get the repair panels from and are they US made or overseas? Do you have to do any repair work to the panels?
CJ Pony Parts and I don't know of any sheetmetal made in the US. You have to test fit everything and make it fit your car.
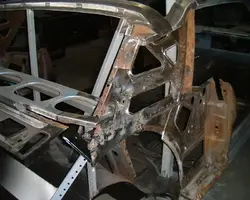
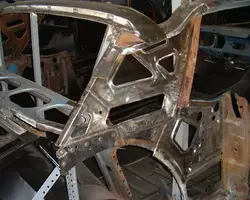
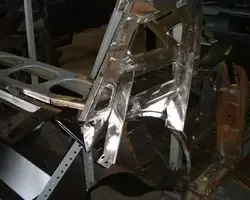
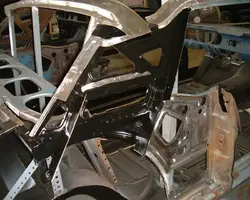
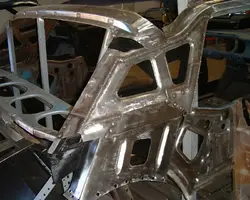
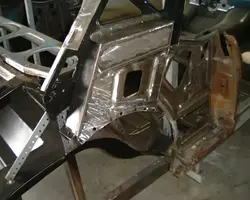
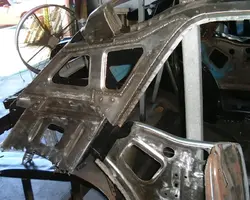
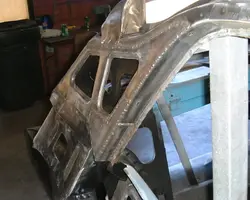
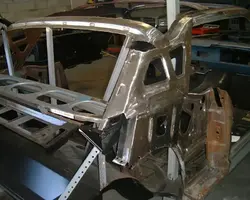
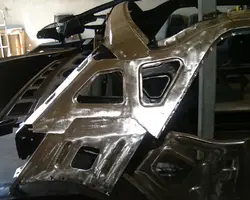
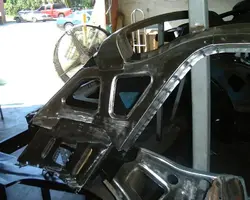
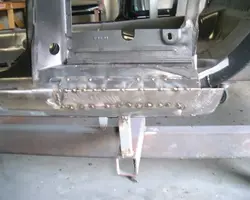
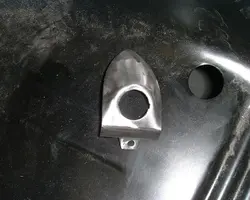
Someone tried to remove the ignition switch by prying on it and ruined the opening so Brian cut it out
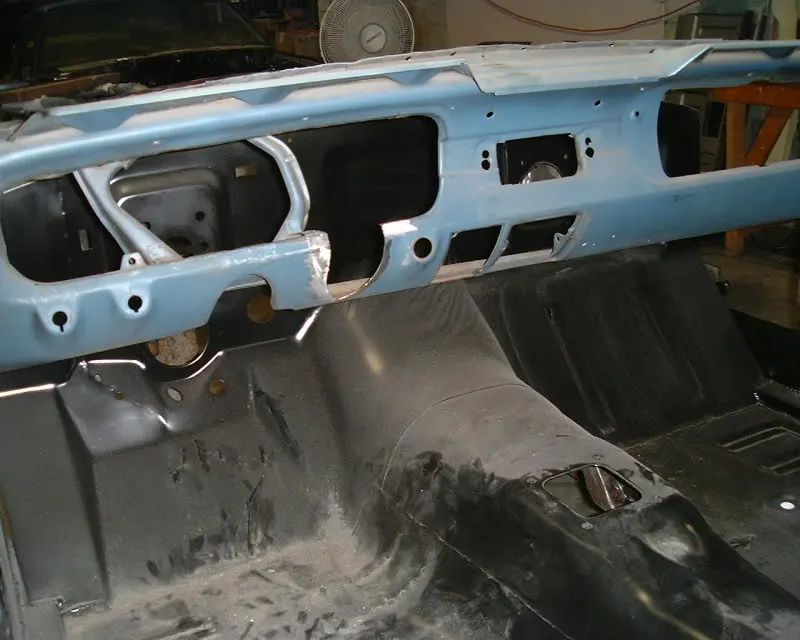
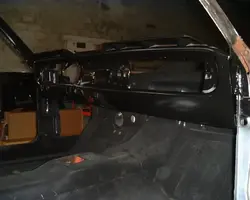
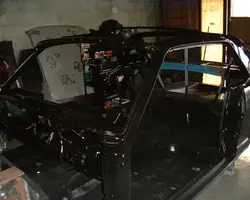
We replaced the dash in the 1965 fastback because of rust but the area around the switch was good.
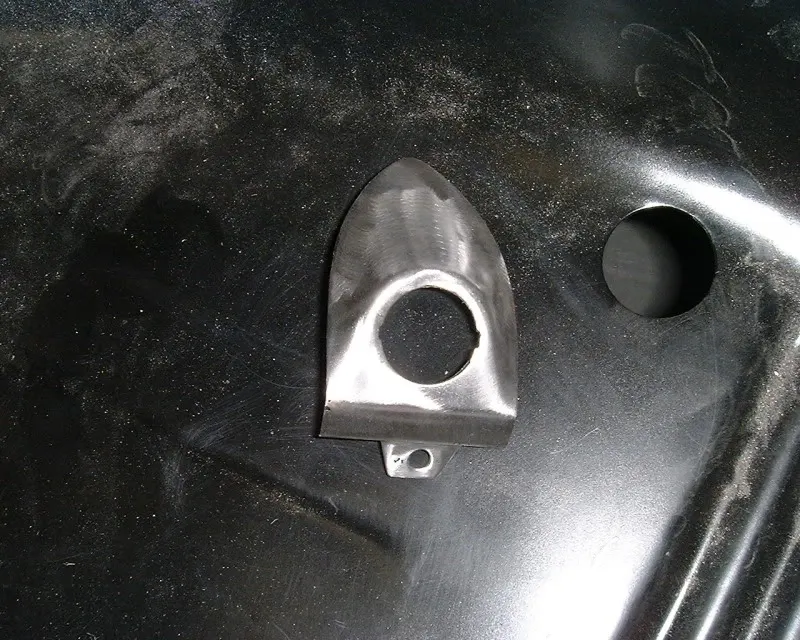
After it was welded in and the welds ground down
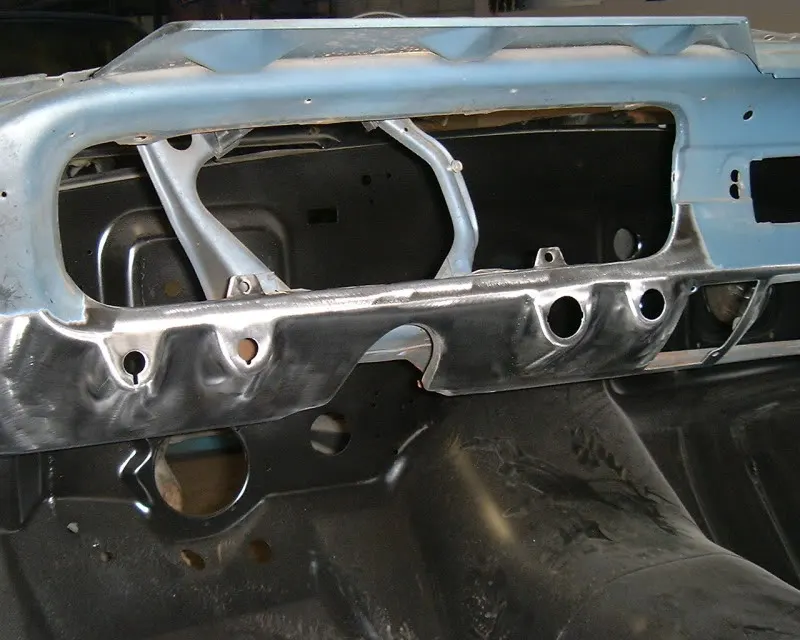
We replaced the dash in the 1965 fastback because of rust but the area around the switch was good.
After it was welded in and the welds ground down
Attachments



lil bull
New Member
dimension
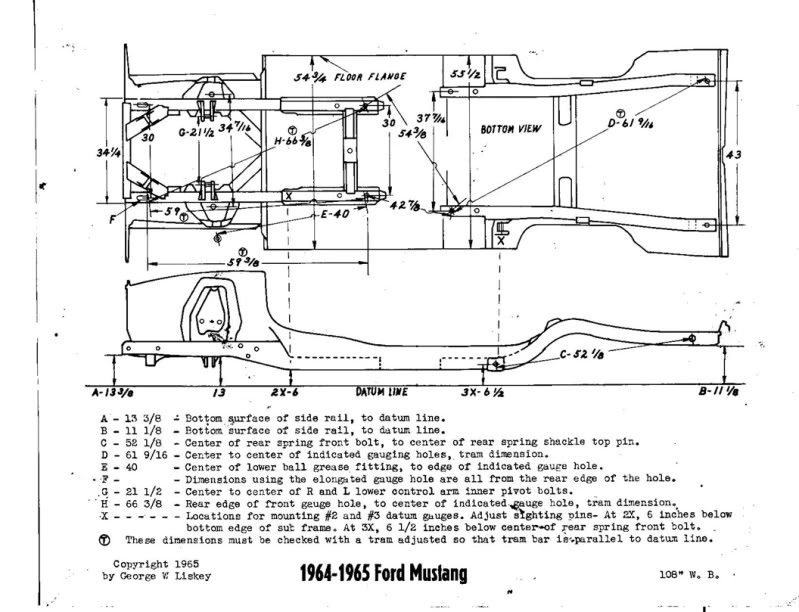
Can u tell me where to get all the correct dimensions so when putting a 65 coupe back together I can make sure it is right and goes down the road as intended. right now the cowl is shot, the firewall the mostly gone as are the floors and floor supports. I have the diagram that is in the 65 Falcon/Mustang book but there are not enough of them to make sure it is correct. thanks.
Can u tell me where to get all the correct dimensions so when putting a 65 coupe back together I can make sure it is right and goes down the road as intended. right now the cowl is shot, the firewall the mostly gone as are the floors and floor supports. I have the diagram that is in the 65 Falcon/Mustang book but there are not enough of them to make sure it is correct. thanks.
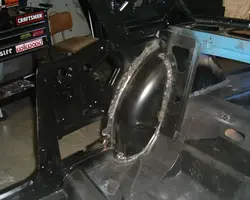
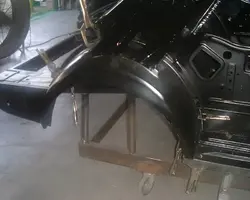
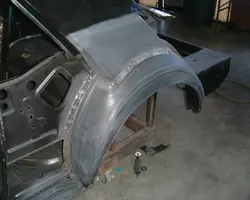
Getting ready to test fit the sheetmetal. The first thing we did was line up the wheelhouse using clamps and screws.
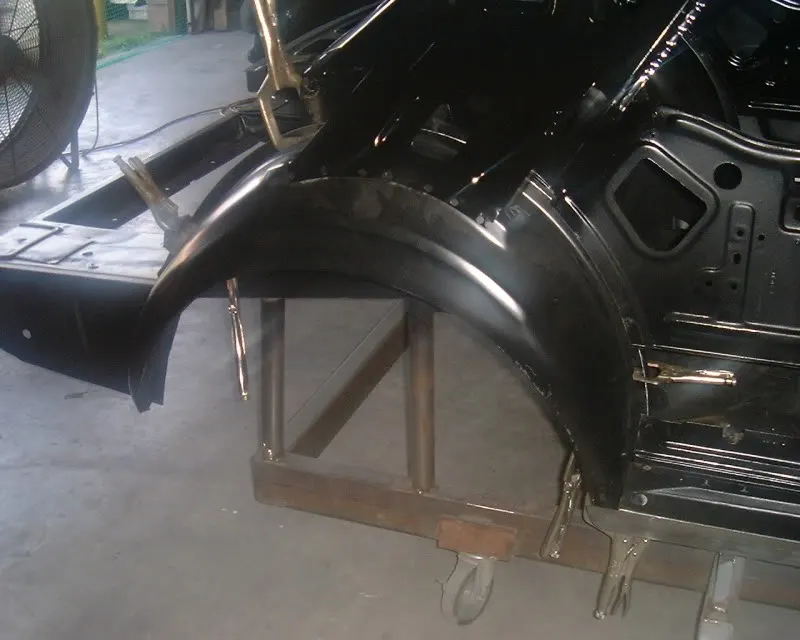
Than all the sheetmetal was test fitted and modified to fit (I forgot to take a picture) than taken off and the wheelhouse were welded.
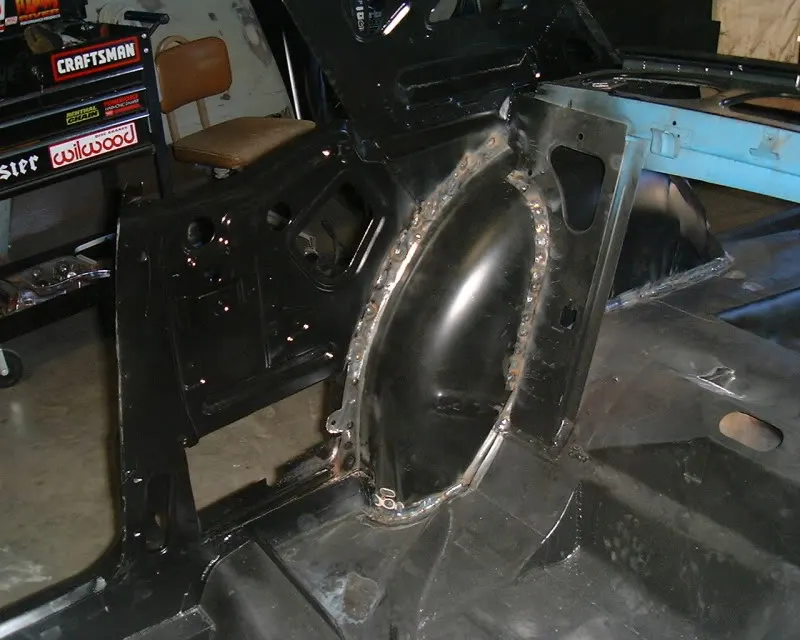
Next step is to scuff everything so we can spray a coat of epoxy primer
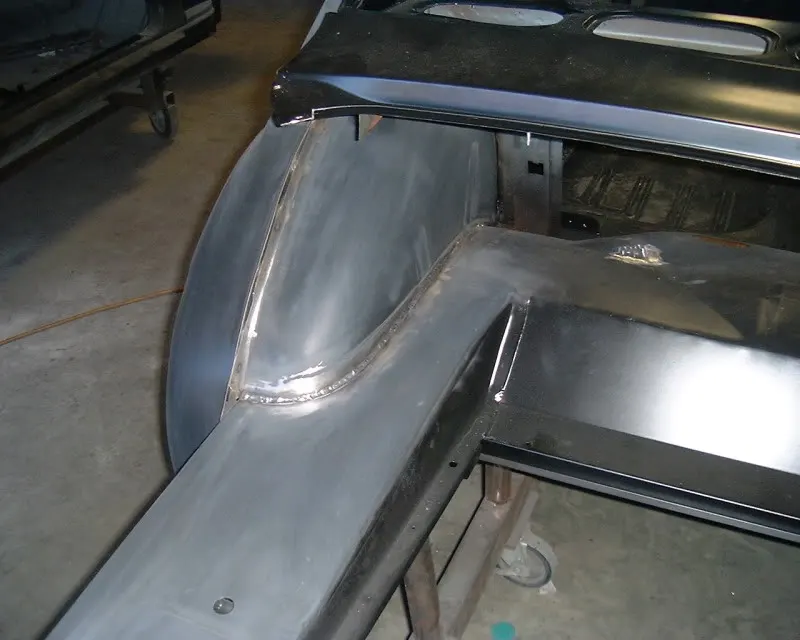
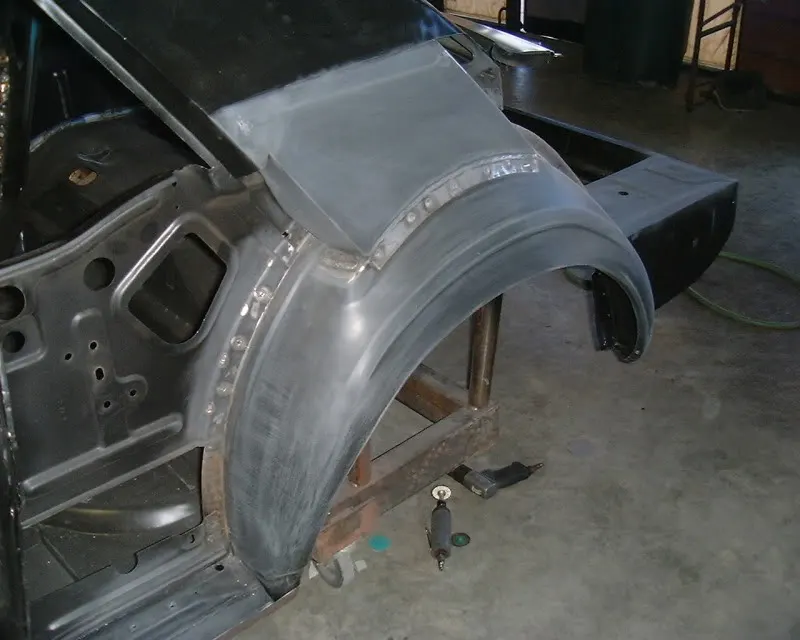
Than all the sheetmetal was test fitted and modified to fit (I forgot to take a picture) than taken off and the wheelhouse were welded.
Next step is to scuff everything so we can spray a coat of epoxy primer
Attachments

65fastbackresto
Active Member
I`m thinking when cars leave your shop
They are better then new. Your work is outstanding and I`m glad you share it with us, just watching your posts has kept me outta trouble several times.
They are better then new. Your work is outstanding and I`m glad you share it with us, just watching your posts has kept me outta trouble several times.

They are better then new. Your work is outstanding and I`m glad you share it with us, just watching your posts has kept me outta trouble several times.
Rusty is the man....he's the Chuck Norris of mustang body men
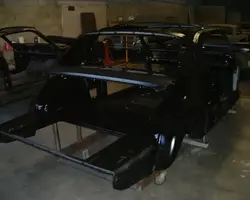
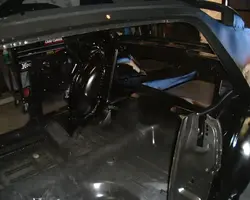
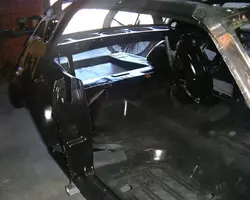
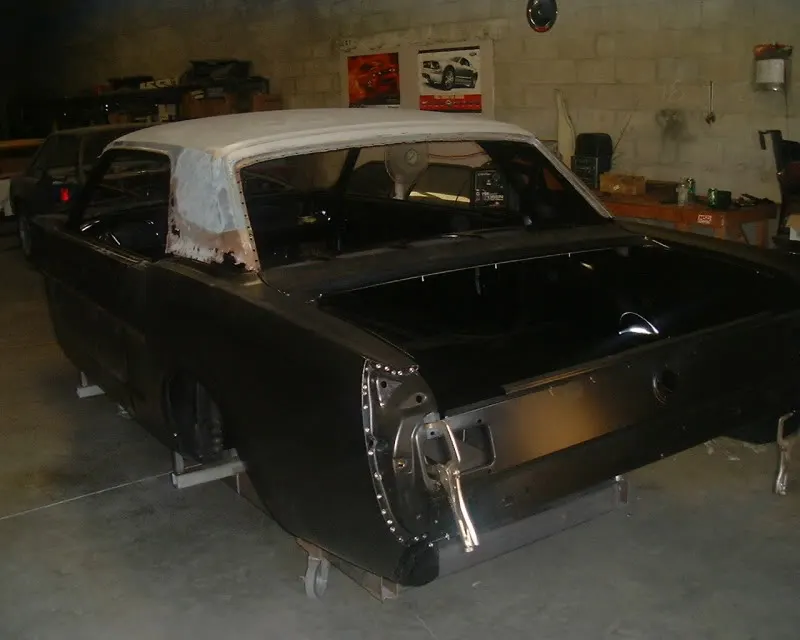
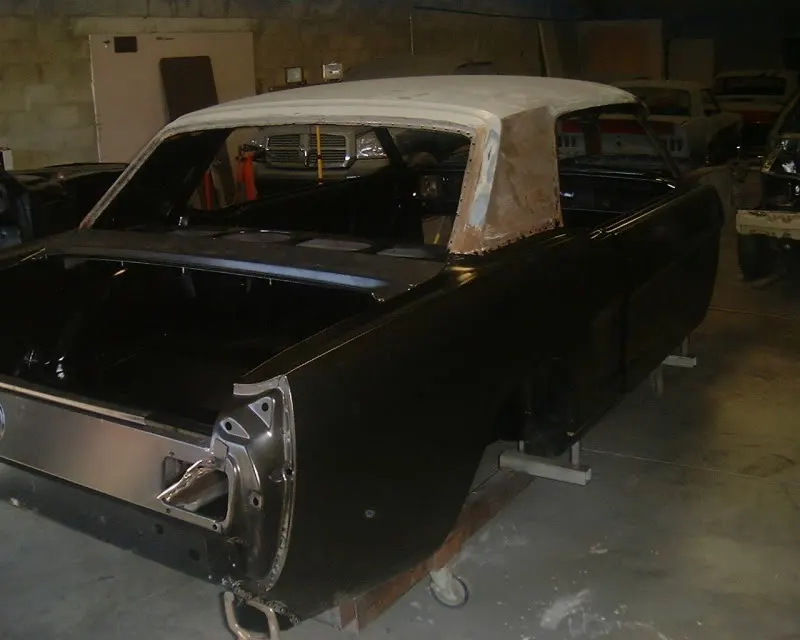
We lined up all the rear sheetmetal as close as we could get it than set the roof on by lining it up where Brian drilled out the spot welds. We had to adjust the rear panel after test fitting the rear window moldings a little. It is quite a challenge trying to line up all this aftermarket sheetmetal that is NOT made like the original sheetmetal.
lil bull
New Member
Can u tell me where to get all the correct dimensions so when putting a 65 coupe back together I can make sure it is right and goes down the road as intended. right now the cowl is shot, the firewall the mostly gone as are the floors and floor supports. I have the diagram that is in the 65 Falcon/Mustang book but there are not enough of them to make sure it is correct. thanks.
This is the only thing I have
We weld it to a cart before we cut anything out so the demensions will stay the same. You have to modify the parts to get the best fit you can.
We weld it to a cart before we cut anything out so the demensions will stay the same. You have to modify the parts to get the best fit you can.
Similar threads
- Replies
- 8
- Views
- 339

- Replies
- 5
- Views
- 106


- Replies
- 13
- Views
- 898
