Couldn't have said it better. Smooth sailing from here on out!Thats no fun, glad you figured it out.
")
Couldn't have said it better. Smooth sailing from here on out!Thats no fun, glad you figured it out.


ohh..thats a dad joke if I ever heard one.Man, that's a trainwreck.
Thank you, thank you! I'll be here all week!
I love those square-nosed Novas.Been a while....haven't been working on the II much... actually not at all.
This covid thing is making life difficult and expensive for me. Work has become MORE work lately too as I have had some staffing challenges.
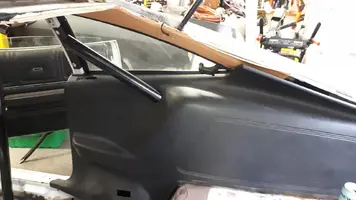
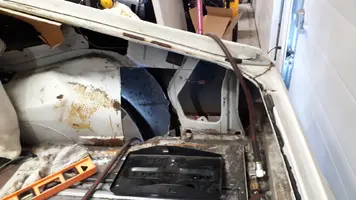
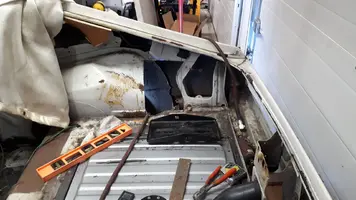
Rest assured if you are following and interested in my project, it will start up again pretty soon. The next major bit won't be very glamorous, as it involves pulling the motor back out, and hours upon hours of welding sheet metal where the firewall and tunnel are just tacked together so far.
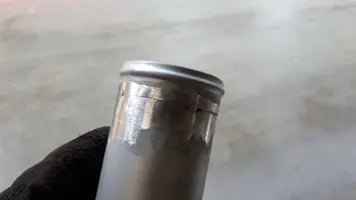
Before doing that I do have to finish up the back end fuel inlet and also figure out / fabricate a battery location, so there is that coming up probably starting next weekend.
That being said, I started thinking about my plan, and after the battery mount, I think I have pretty much all the design fabrication done, so now it's just a matter of going back and welding and finishing everything up that is tacked in place. I may figure out some sort of rear bulkhead of some sort for the very back area where the fuel filler is, and also probably should put in a driveshaft loop. I also need to clearance the lower rear inner quarter panel drop offs for exhaust clearance.
Bought this for entertainment recently. 78,000 original miles 350 4 speed 77 Nova Rally. Not a Mustang but something interesting from the same era as our II's.
Always thought about doing the 74 Ventura GTO version with the 455 Pontiac swap.I love those square-nosed Novas.
Do you remember the HOT ROD article on it?the prospect of doing the 74 GTO, shaker, with a 4 speed and 455. Would be killer..


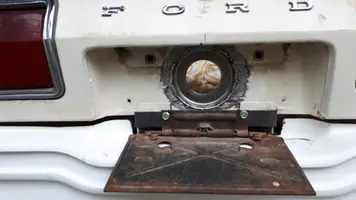


Thanks, Yeah I toyed with the idea of the regular Mustang large cap, but the profile of the rear panel doesn't lend itself to a clean version of that set up. So I thought I would use something that really does not change the appearance of the rear panel at all.Flip down license plate 4gas fill is cool.


Holy Mustang Batman theres a big hole in that Mustanggiant hole in my car.