

You are using an out of date browser. It may not display this or other websites correctly.
You should upgrade or use an alternative browser.
You should upgrade or use an alternative browser.
Progress Thread The next "big" project for my Cobra
- Thread starter LILCBRA
- Start date


First, the good news. The dash is reassembled with the replacement dash pad. No more cracked dash! 
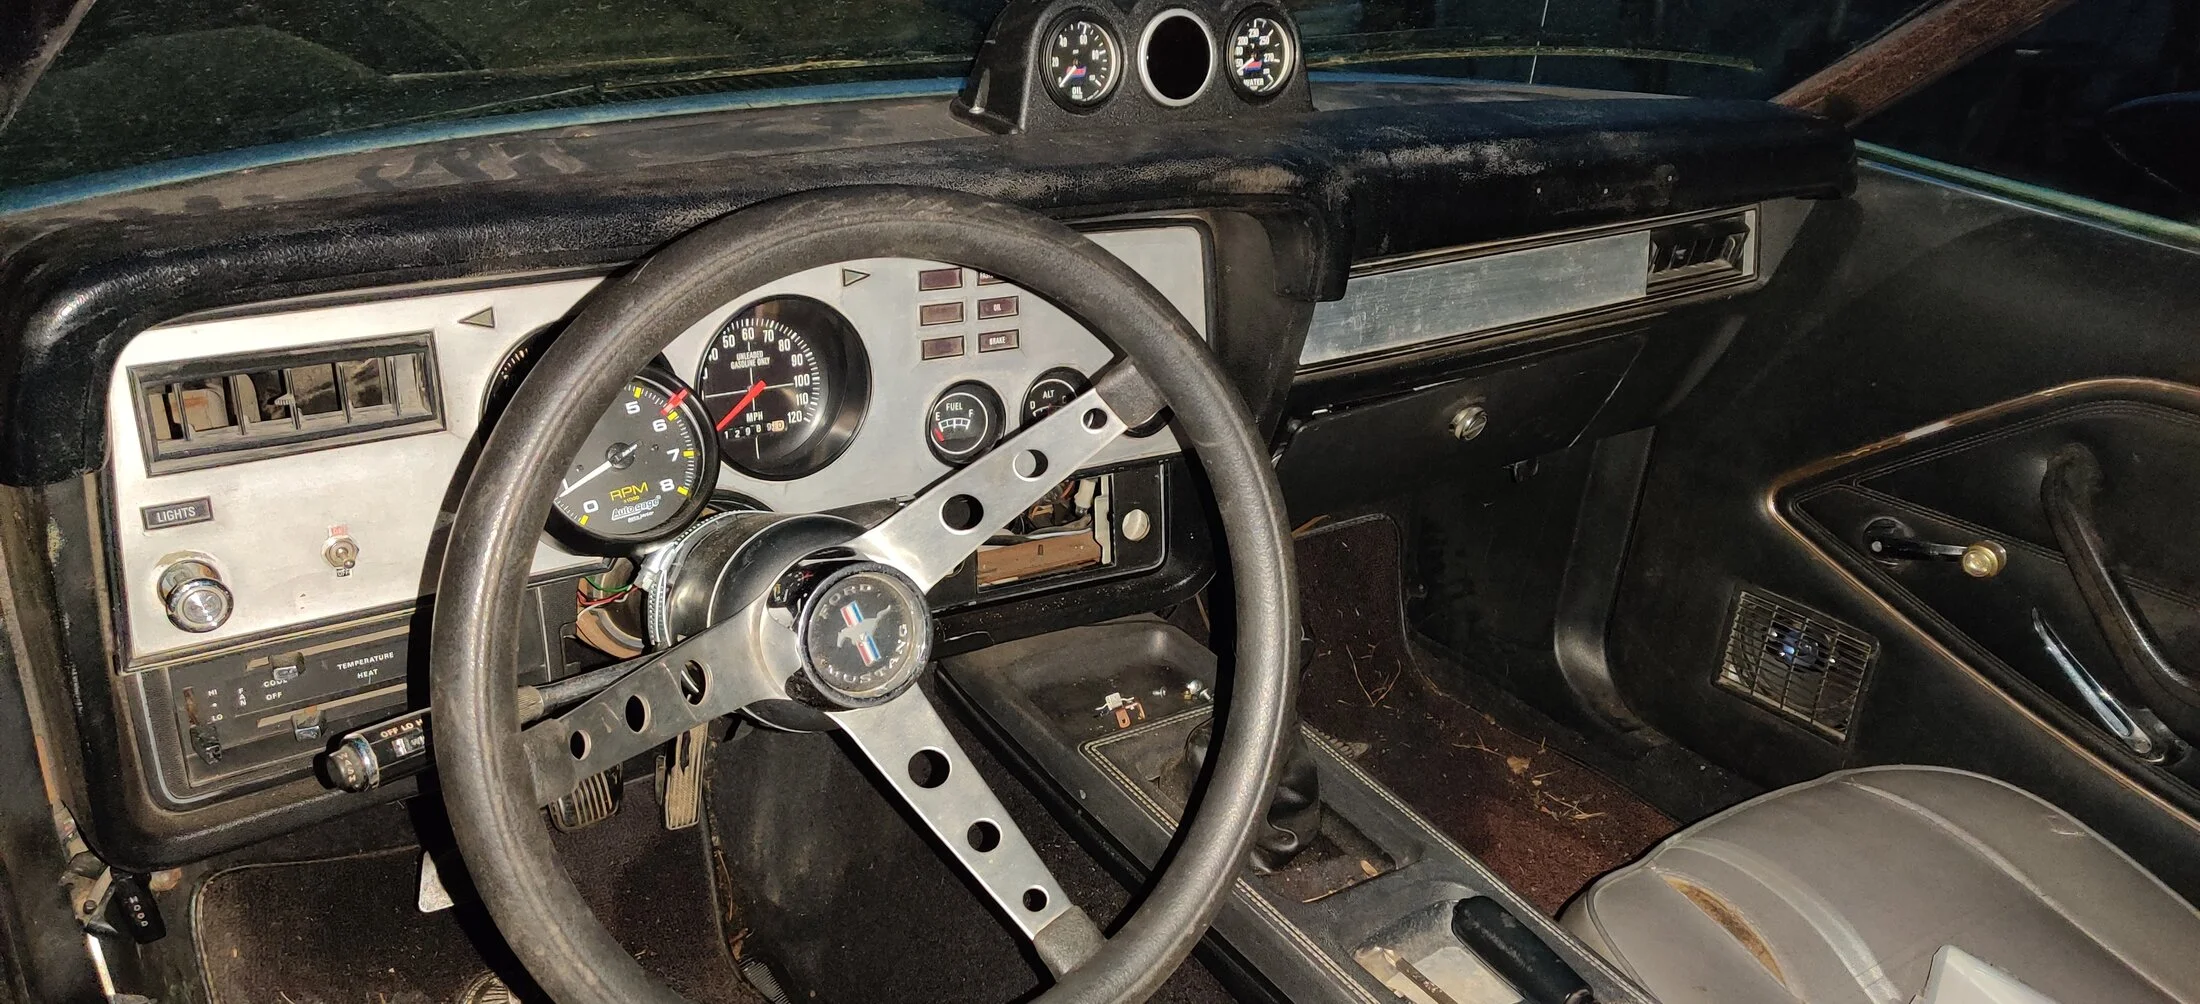
Now, the bad - my dash lights aren't working now. So I have to take the gauge pod back out (maybe tomorrow)....
Now, the bad - my dash lights aren't working now. So I have to take the gauge pod back out (maybe tomorrow)....
I wonder what it would take to put an 85/86 or 87+ dash in there. Have you measured them?
BTW... What's with the tac? Is yours broke?
BTW... What's with the tac? Is yours broke?
I've not measured them, suppose I could though - in case anyone is interested in doing something like that. And the tach is because I wasn't able to get the one working that I put in the car. That's on the agenda now too as I have a replacement. I had a thread and video about that a couple years ago and never did get it resolved. I thought that maybe I had a bad tach adapter or the MSD tach adapter was bad since it would jump around, so I ended up bypassing the stock tach altogether. Now that I have a replacement I'll see if IT won't work right. I mentioned some of that on the previous page.I wonder what it would take to put an 85/86 or 87+ dash in there. Have you measured them?
BTW... What's with the tac? Is yours broke?
Just placed the order for new dash inserts from Classic Auto Reproductions, and I sent an email to Stumpy's fabrication for new subframe connectors. I'm going to ditch my home made connectors as they're running super close to my exhaust pipes. The exhaust knocks into the connectors at idle and is super annoying. And I think Stumpy's (or any straight connector for that matter....) will work better. But if his price still stands, I can't see trying to fab another set myself. They're still advertised for $96 on his website....
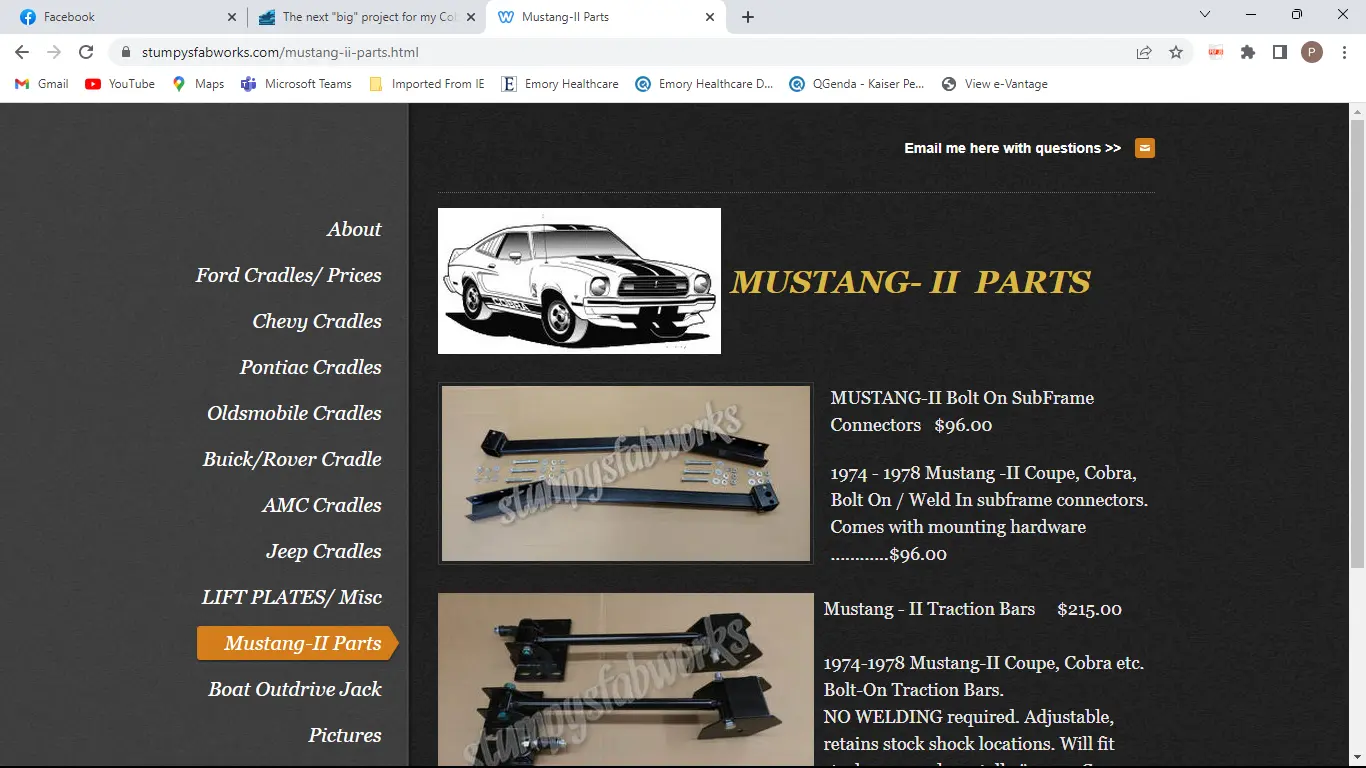
Kurt from Stumpy's has replied already and my order is now placed. 

You're getting pretty excited! I've got at least a month before I can get to work on my car. Kind of jealous of you southern boys right now.
I've been ready to start tackling some of this stuff for a while, guess I just needed motivation. The hope is to meet up with another II owner at a show, and his car is NICE. His will undoubtedly outshine my car, but I'd still like it to be a little more presentable for everyone. I'm starting to run out of time, I'm hoping to have this all done before the second of April which is the date of the show I'm talking about.
Besides, I'm tired of letting it just sit and wait.....

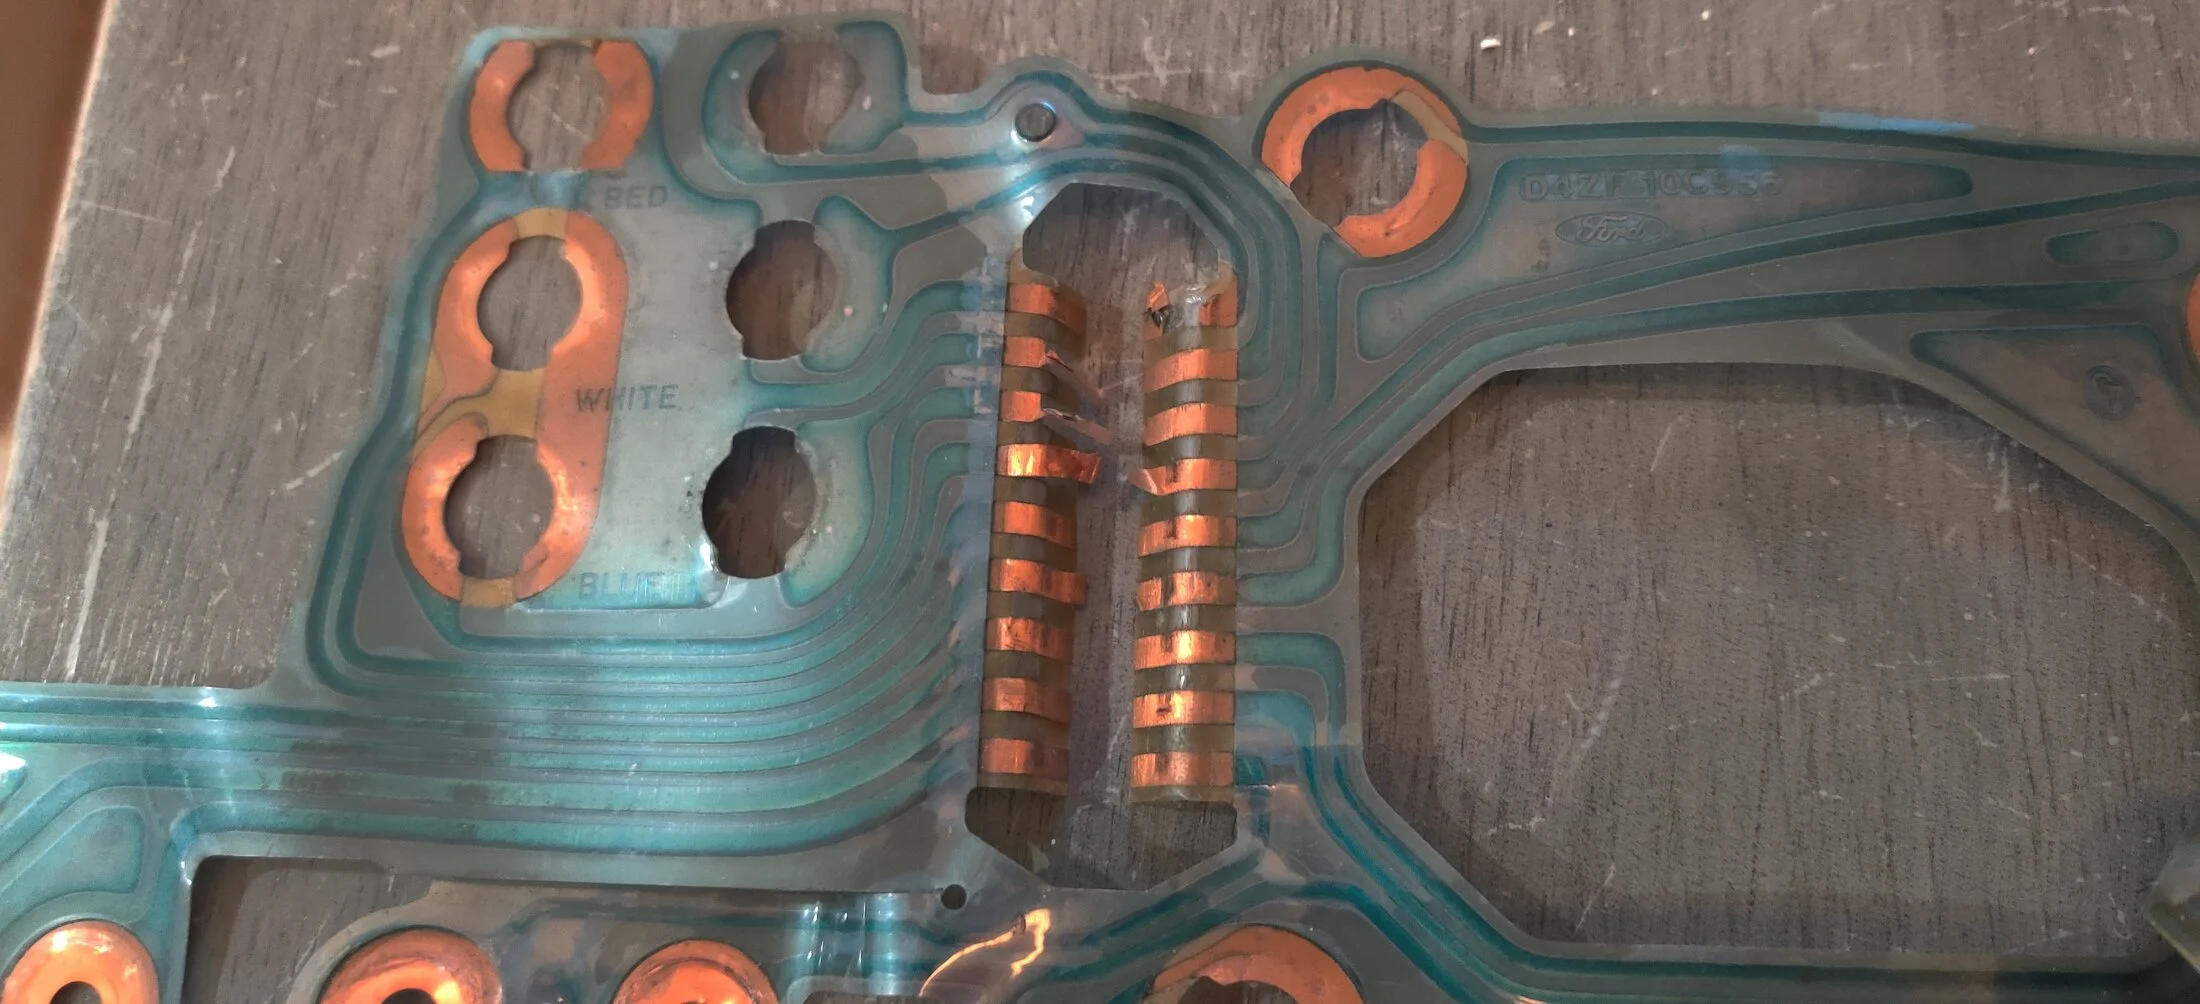
The dash lights work again. Not 100% sure that these connections were the problem, but swapping the circuit board with the one from the other cluster took care of it. As you can see, the connections weren't in optimal condition.
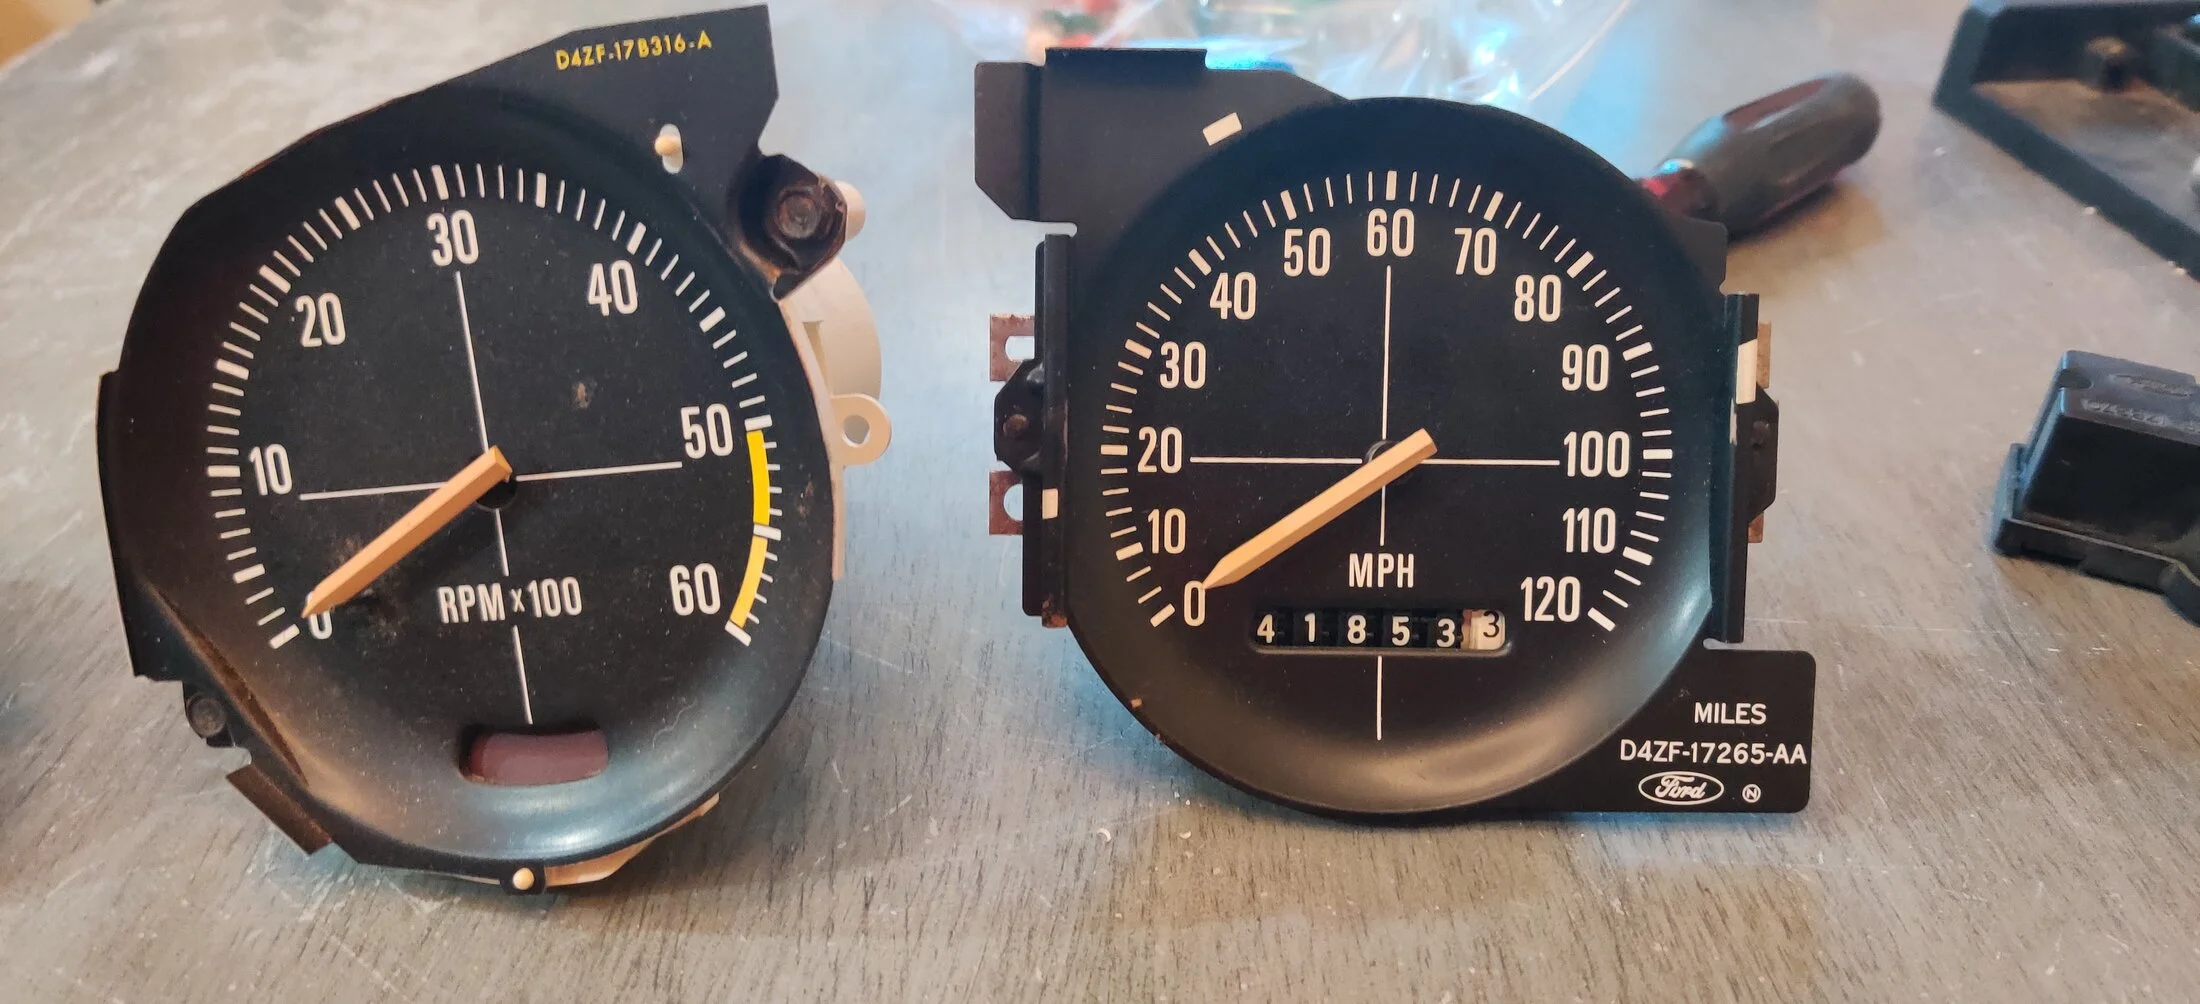
And I had ANOTHER speedometer in the car that I forgot I had. This one is a D4 part number which is different than the other 2. I'm pretty sure it's the needle design as it's the same as the D4 tach. If memory serves, I think I had this in the car to begin with but was having speedometer troubles, so I pulled it a few years ago.
I still have the dash opened up so I can see if I can get the tach working, but that'll be another day....
And I had ANOTHER speedometer in the car that I forgot I had. This one is a D4 part number which is different than the other 2. I'm pretty sure it's the needle design as it's the same as the D4 tach. If memory serves, I think I had this in the car to begin with but was having speedometer troubles, so I pulled it a few years ago.
I still have the dash opened up so I can see if I can get the tach working, but that'll be another day....
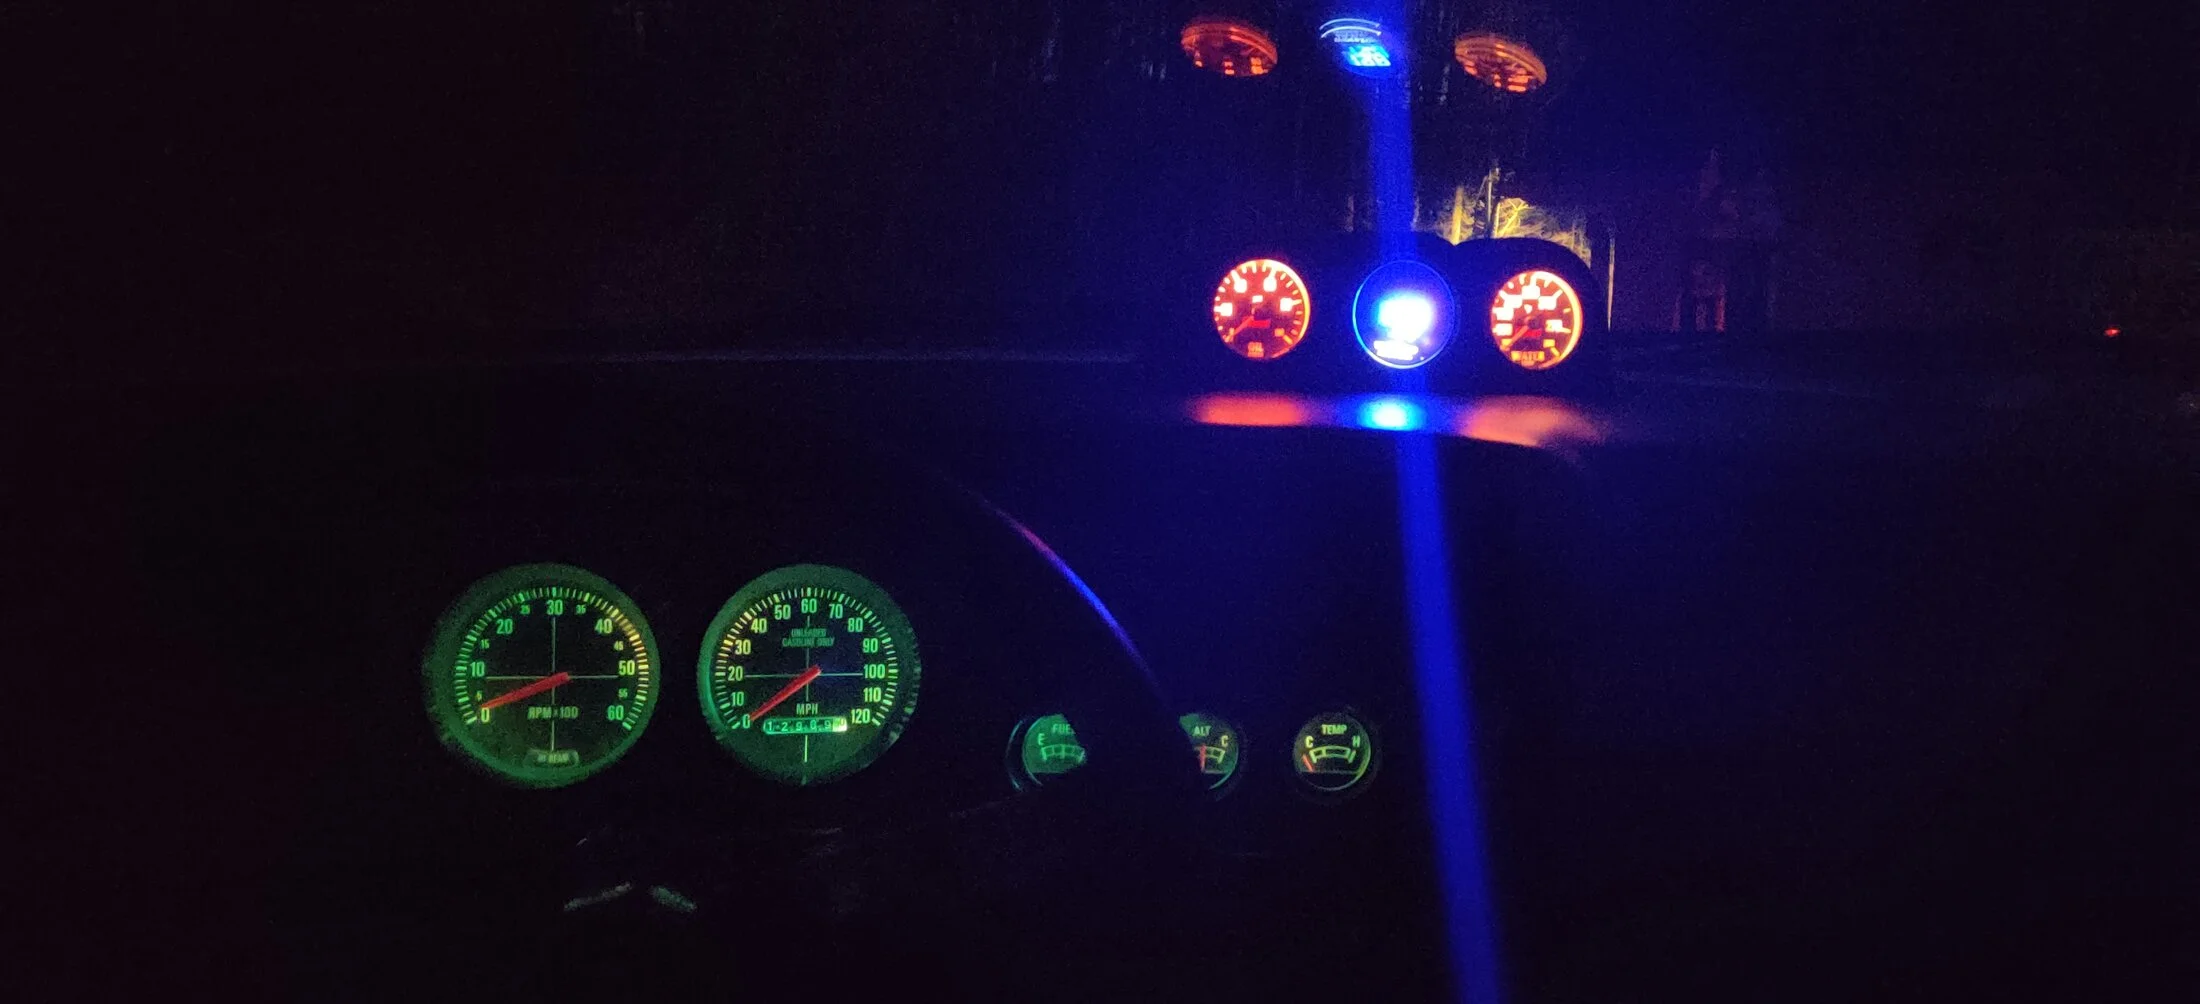
Went back out in the dark to check out the dash lights and see how visible the needles are. I think they'll work....


Just found the correct upholstery for the front seats, and they're about half the price of the stuff that LMR is offering. 

 www.lseat.com
1999-2004 Ford Mustang V6 Custom Real Leather Seat Covers (Front)
1999-2004 Ford Mustang V6 Front leather seats cover are manufactured using superior cow leather. These seats are primarily used as replacements for the factory seats cover. If you are looking to replace new seats cover on your car, then you will need to remove the old cover first. The...
www.lseat.com
You have 99-04 seats?
Yes, that's actually what started this thread and the rabbit hole I've decided to go down.
Got a good bit done today with my girlfriend's help. Cleaned up the underhood wiring a bit more, started the process of adding a volt and vacuum gauge, and started wiring the original tach back into the system. She did some detail cleaning and some wiring of connectors since she's a QA inspector for a wiring company - she does a LOT better than I do at that!
Also got my old subframe connectors cut out and the underside cleaned up a little in preparation for the new subframe connectors. I'm sure I'll need to give some persuasion to something when I start on that since the rear part of the front left subframe is kinda beat up, but I'll cross that bridge when I get to it.....
Last edited:
@Noobz347 The semi-finished results from page 4.
Adding a pic of the seat partially mounted. I need to jack the car to reach the inboard mounting locations.
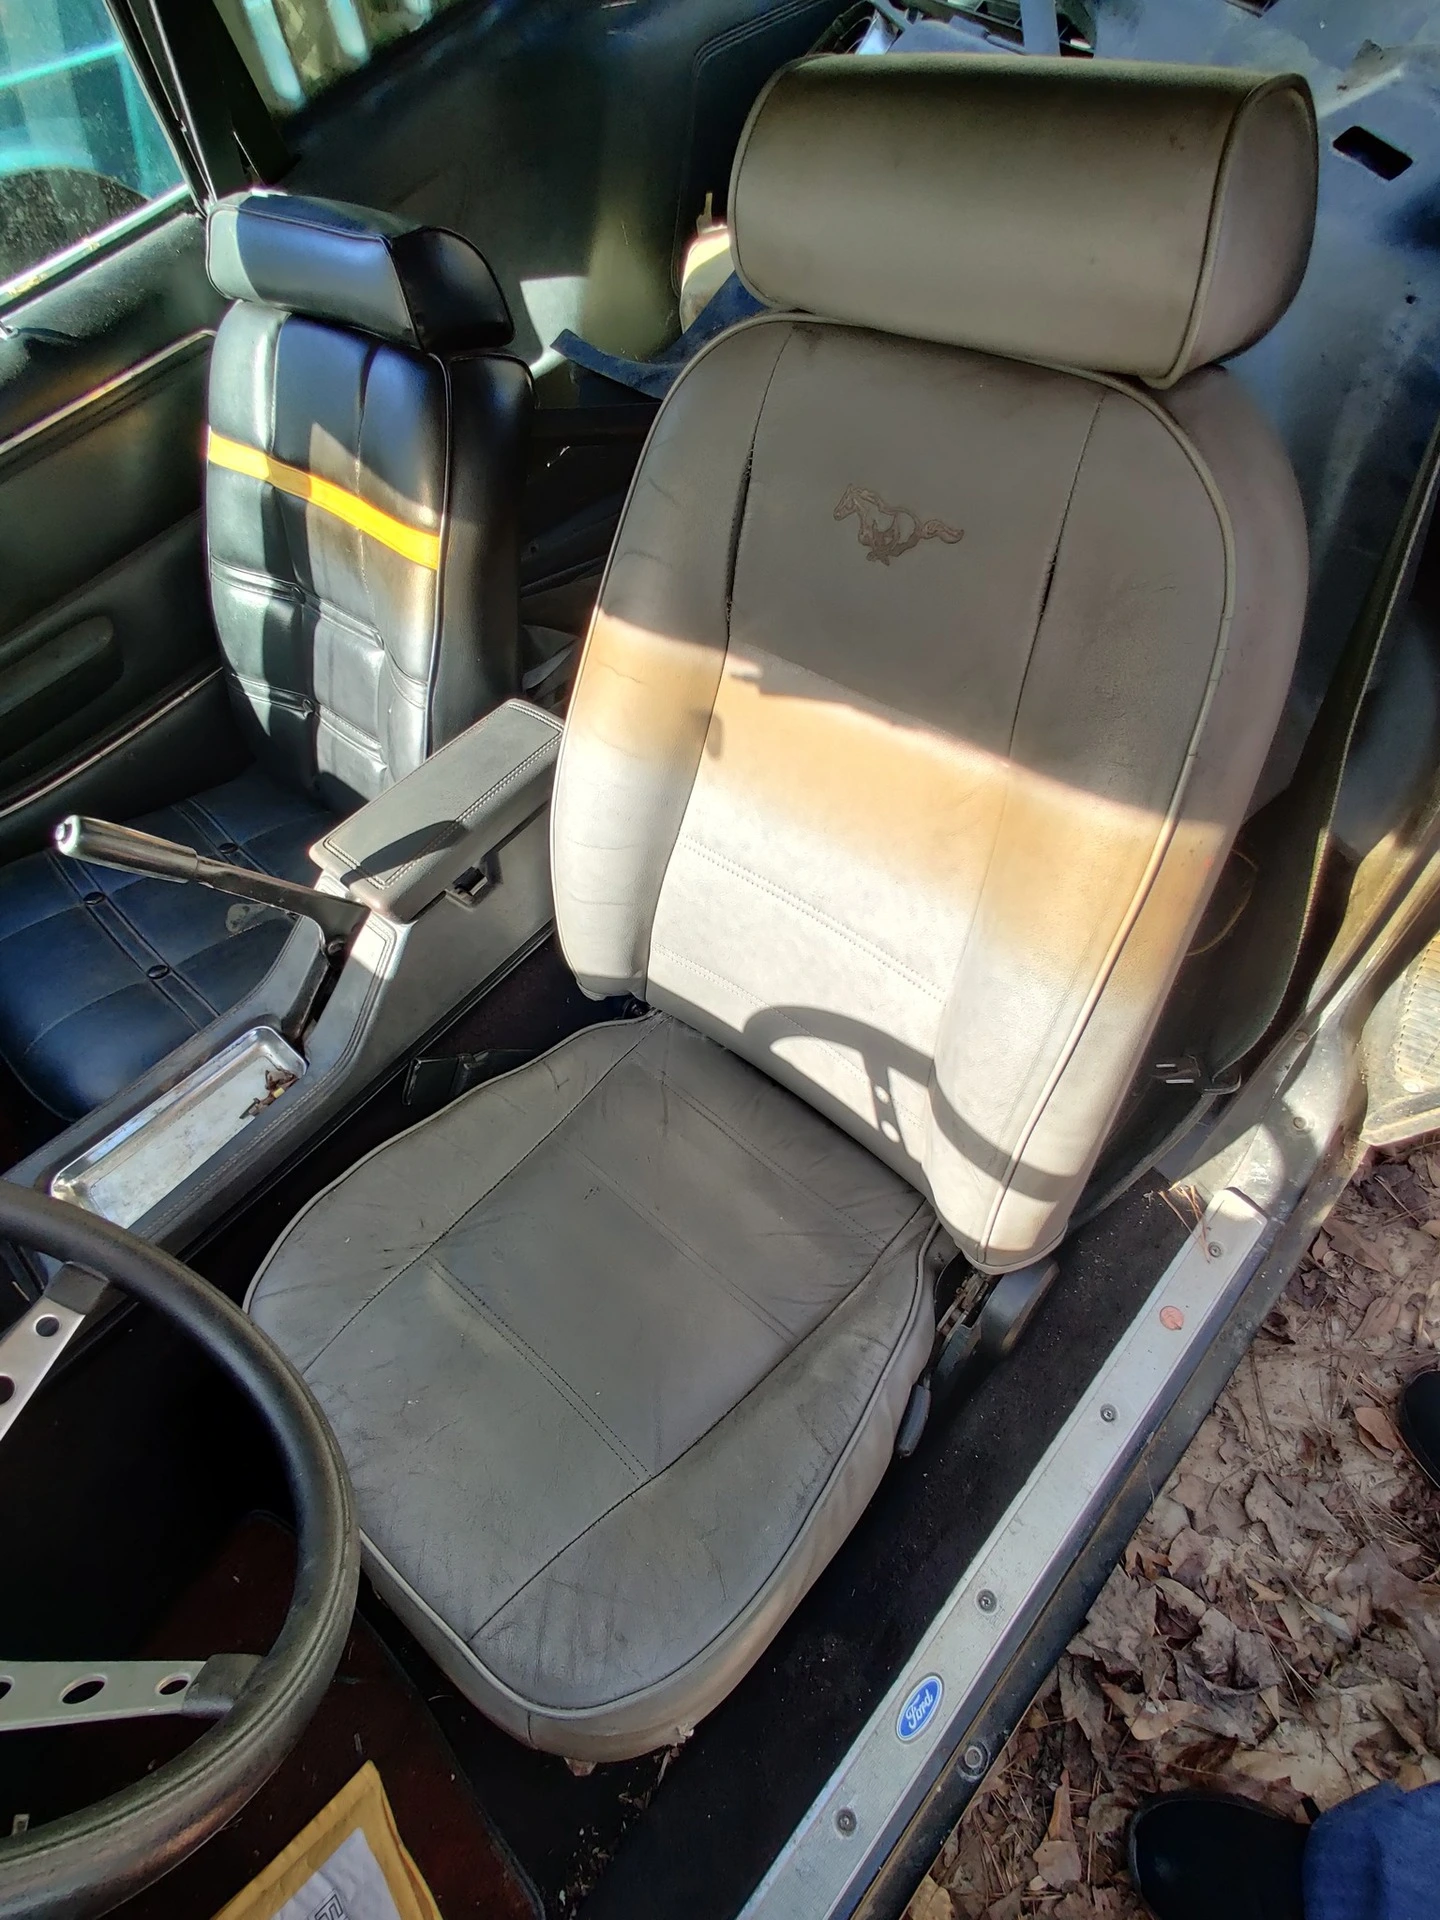
Update: both seats are now installed. The passenger seat has a different bolt pattern for the manual seat track than the driver side had with the power track. I tried to take plenty of pics to illustrate everything....
Here is the piece that doubled as the riser and as the locating jig for the mounting holes. As you can see, it worked well.
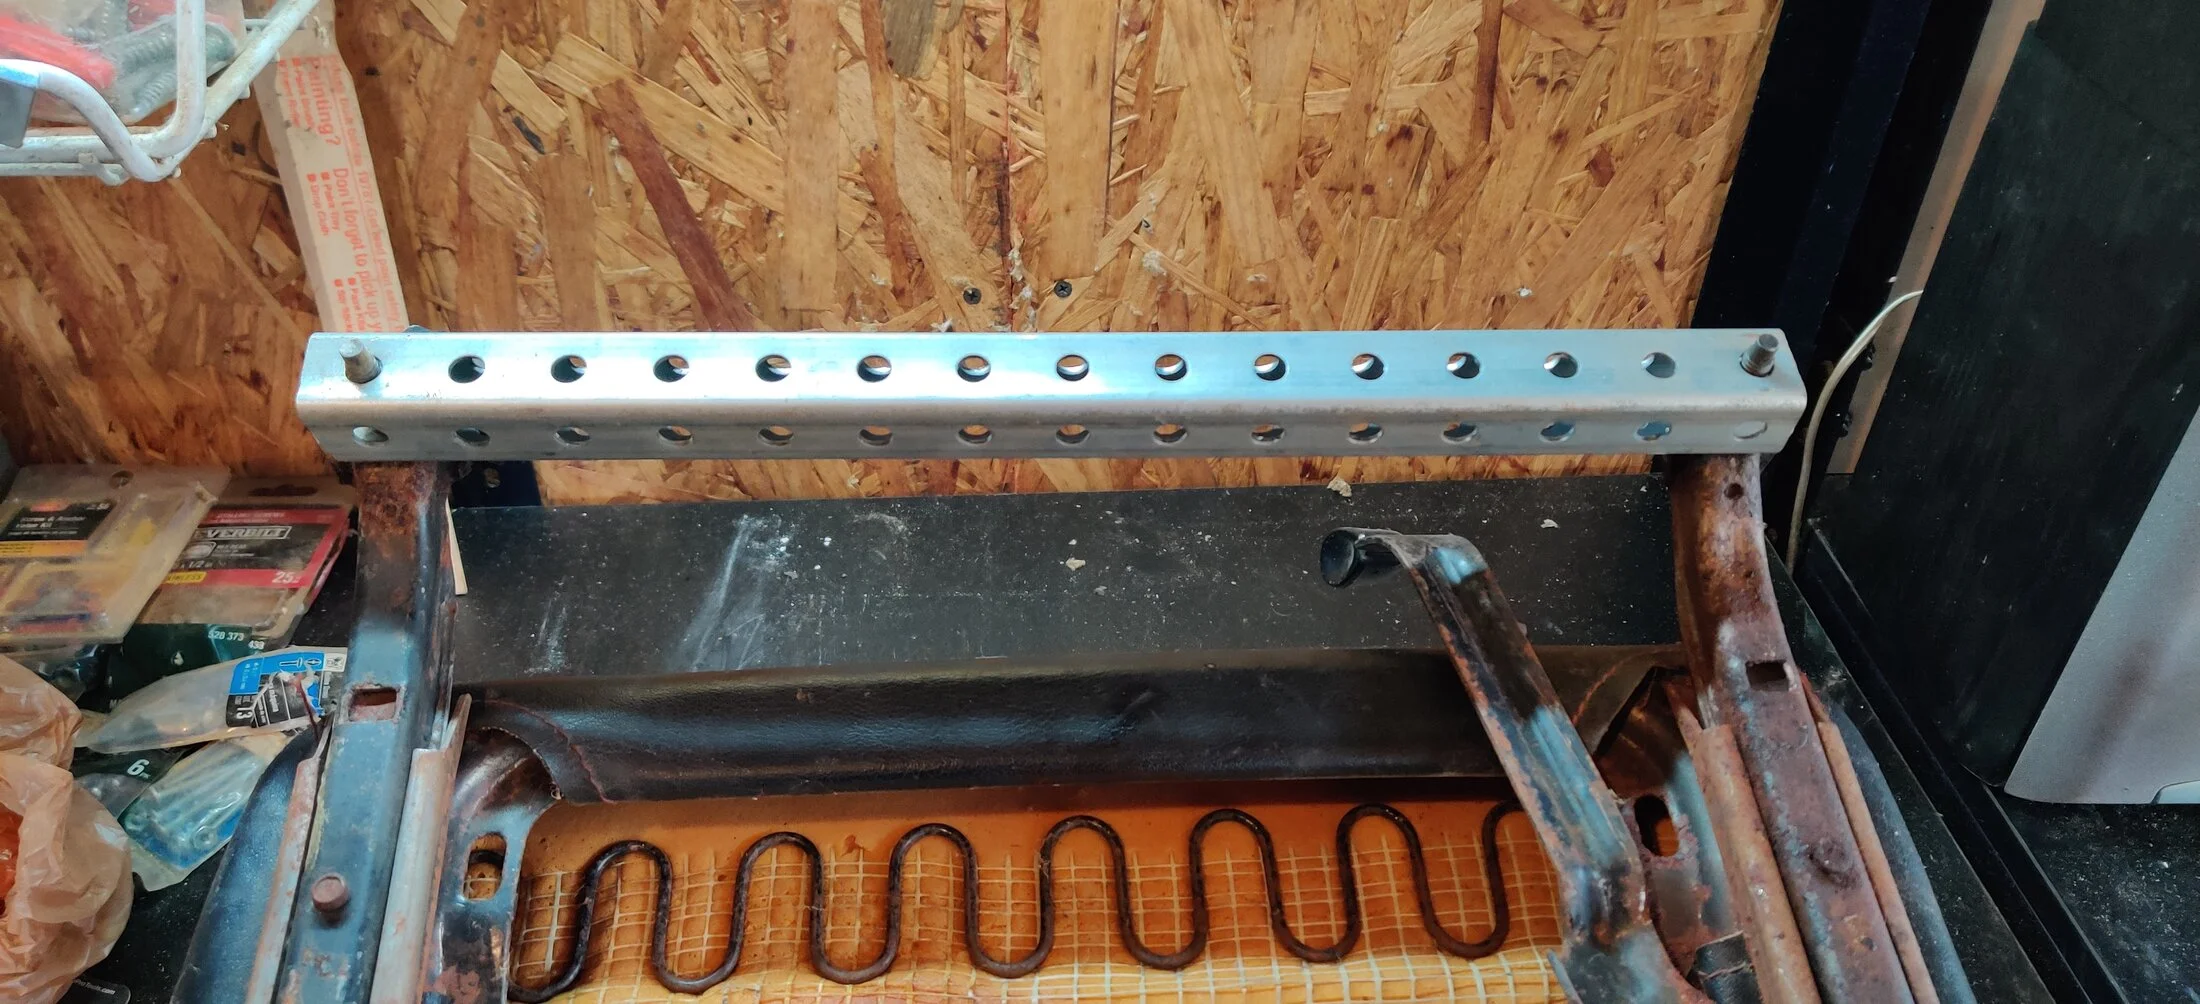
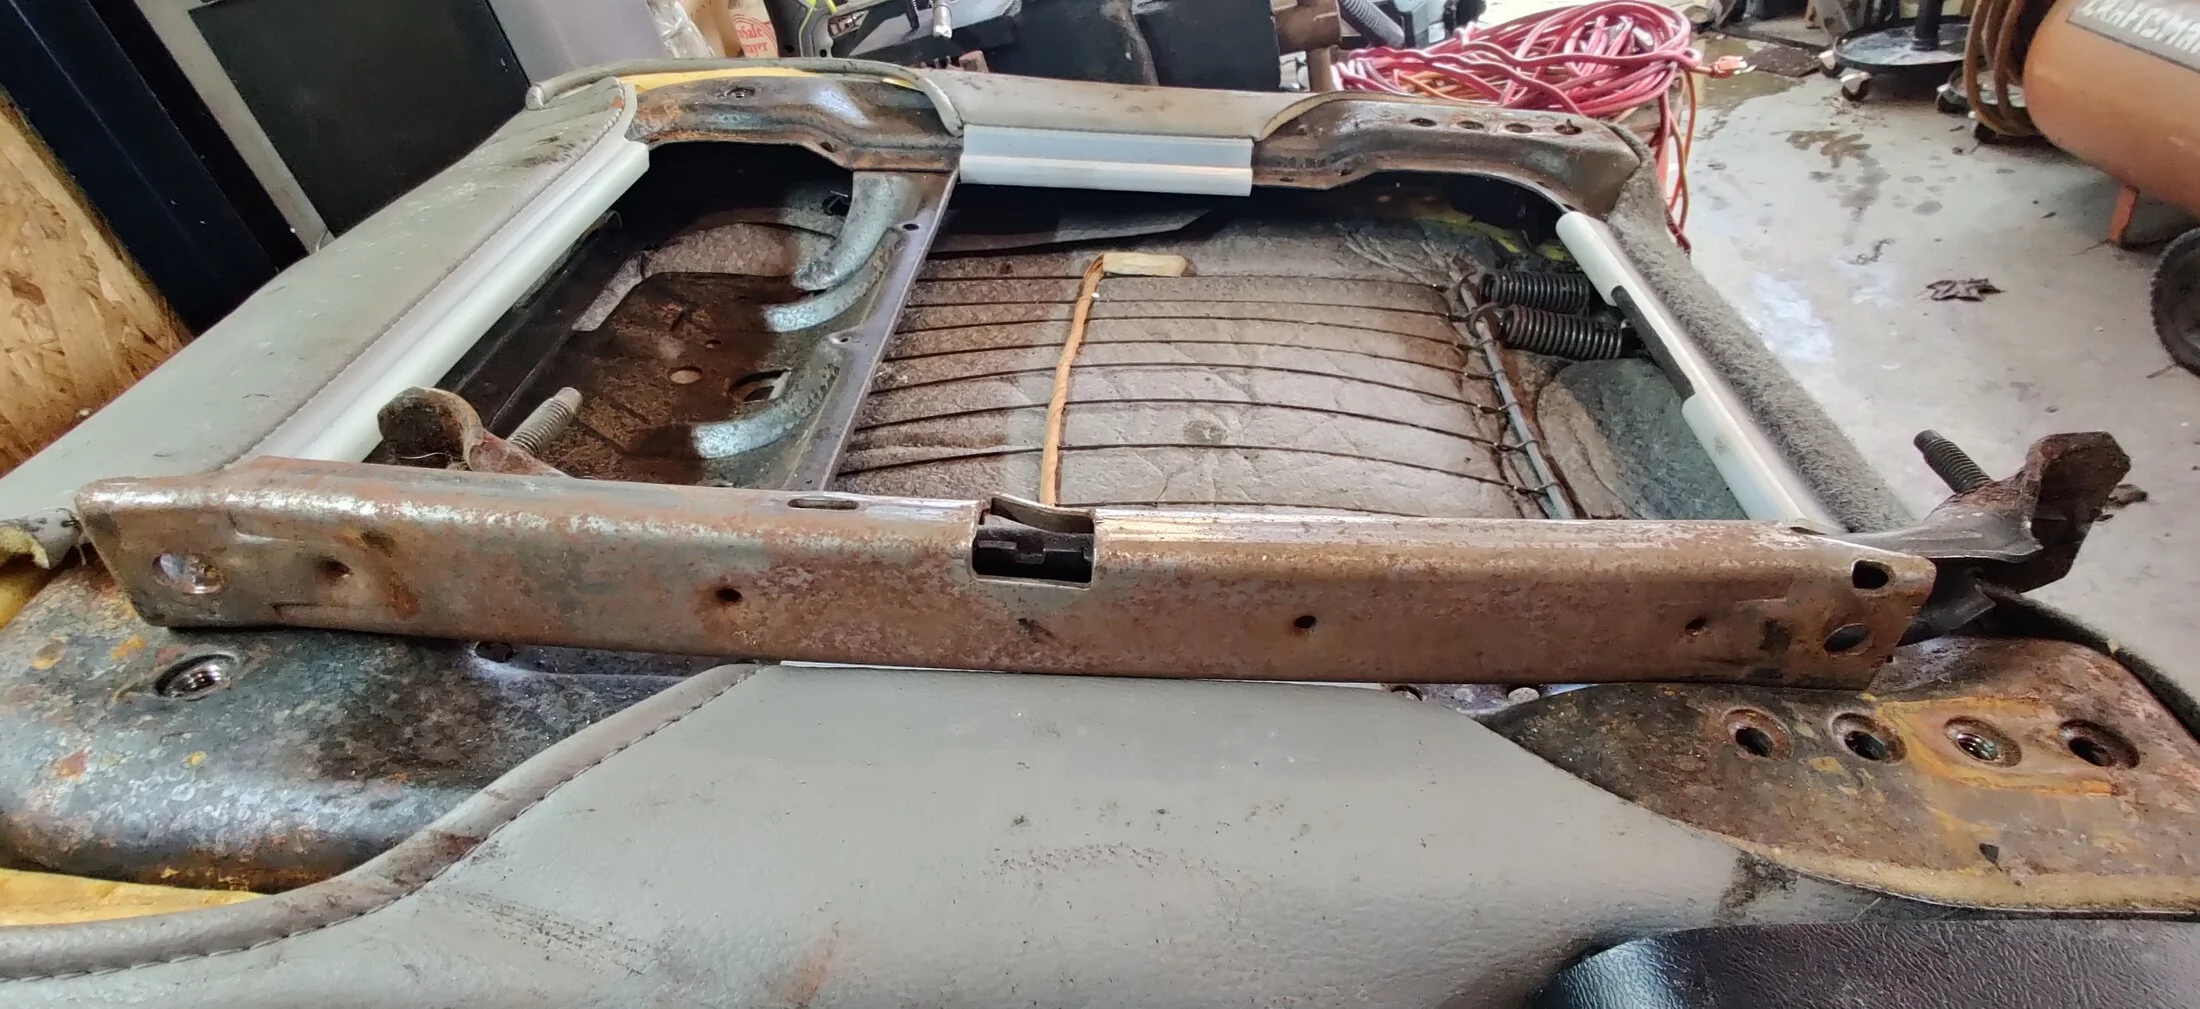
And the back side of the original seat. Notice the broken bolt on the left side. The right side also broke when I tried to remove that rail.

Here you can see the newer track's hole locations are spaced differently. They're also too narrow to try to reuse them.
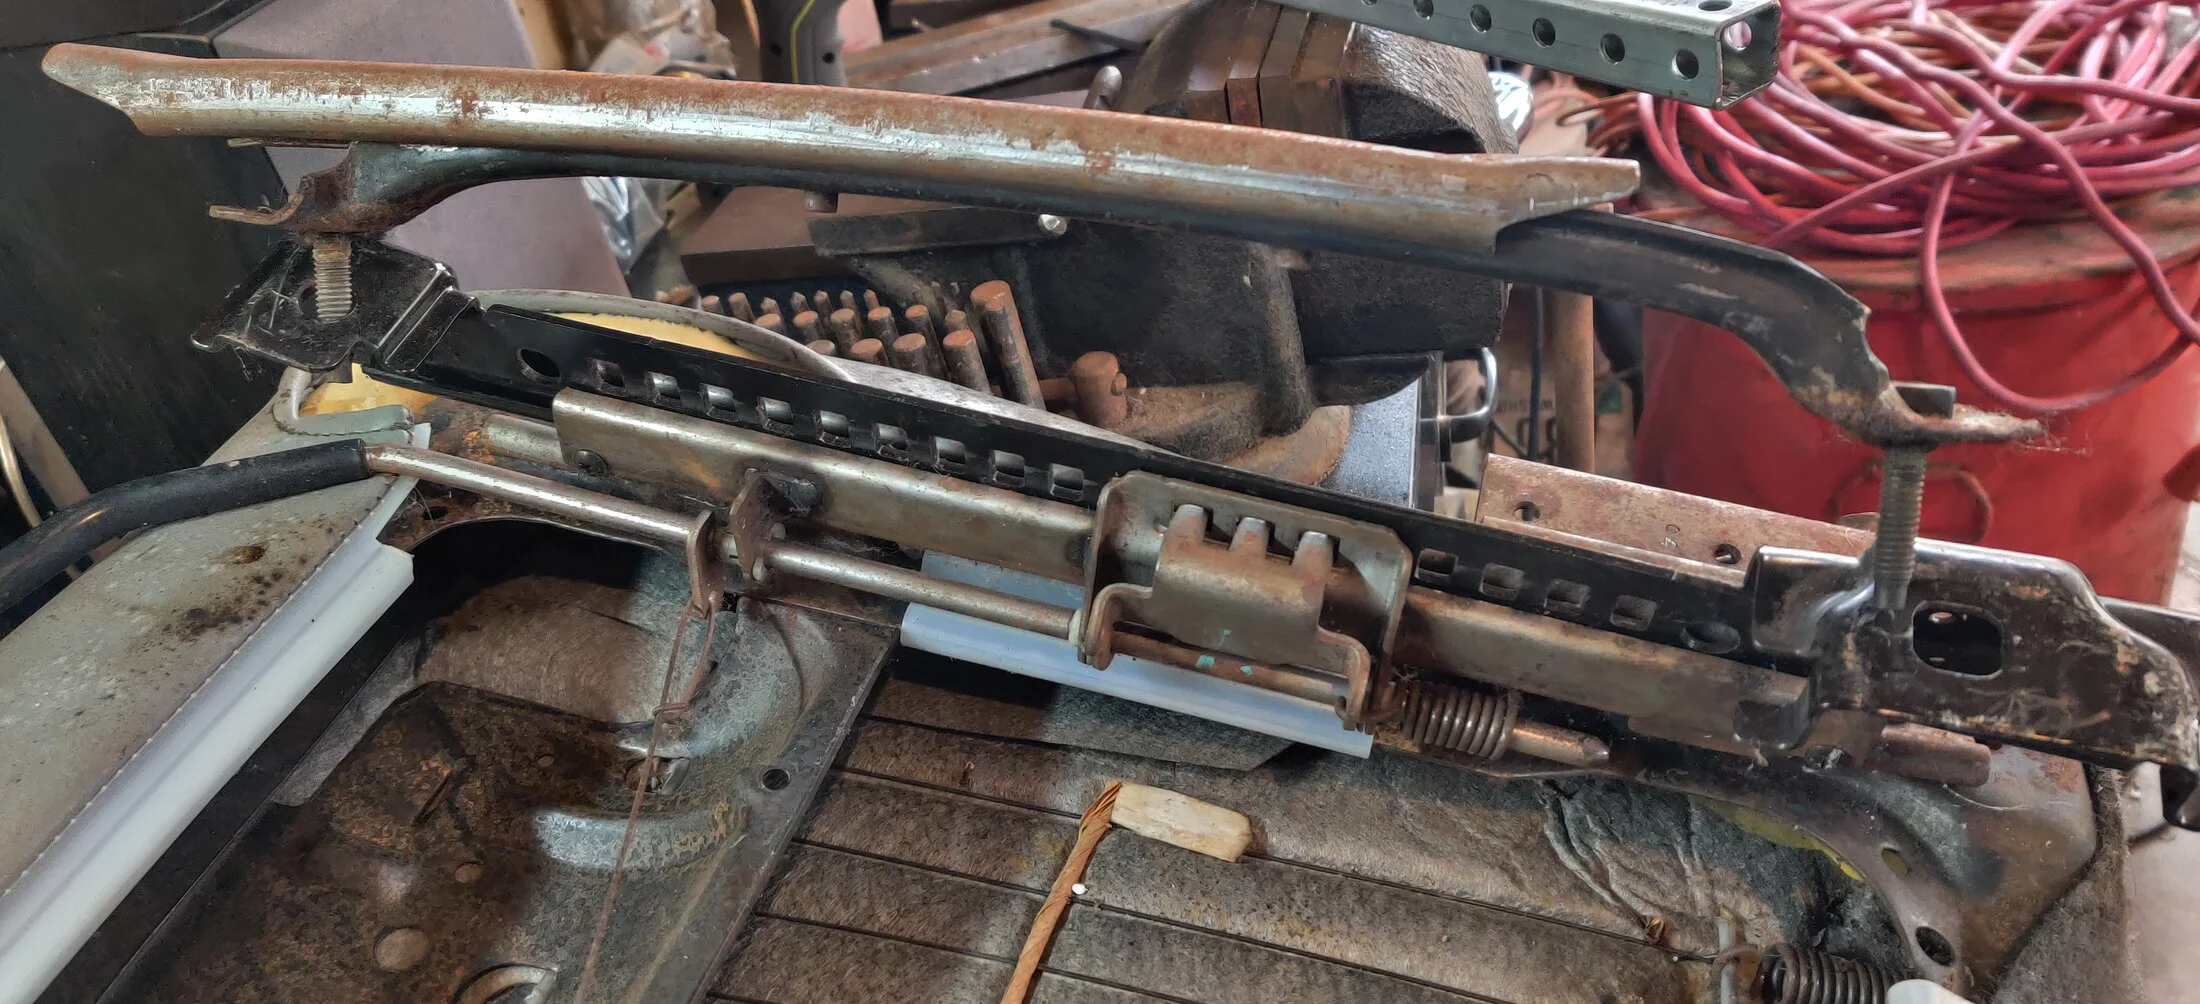
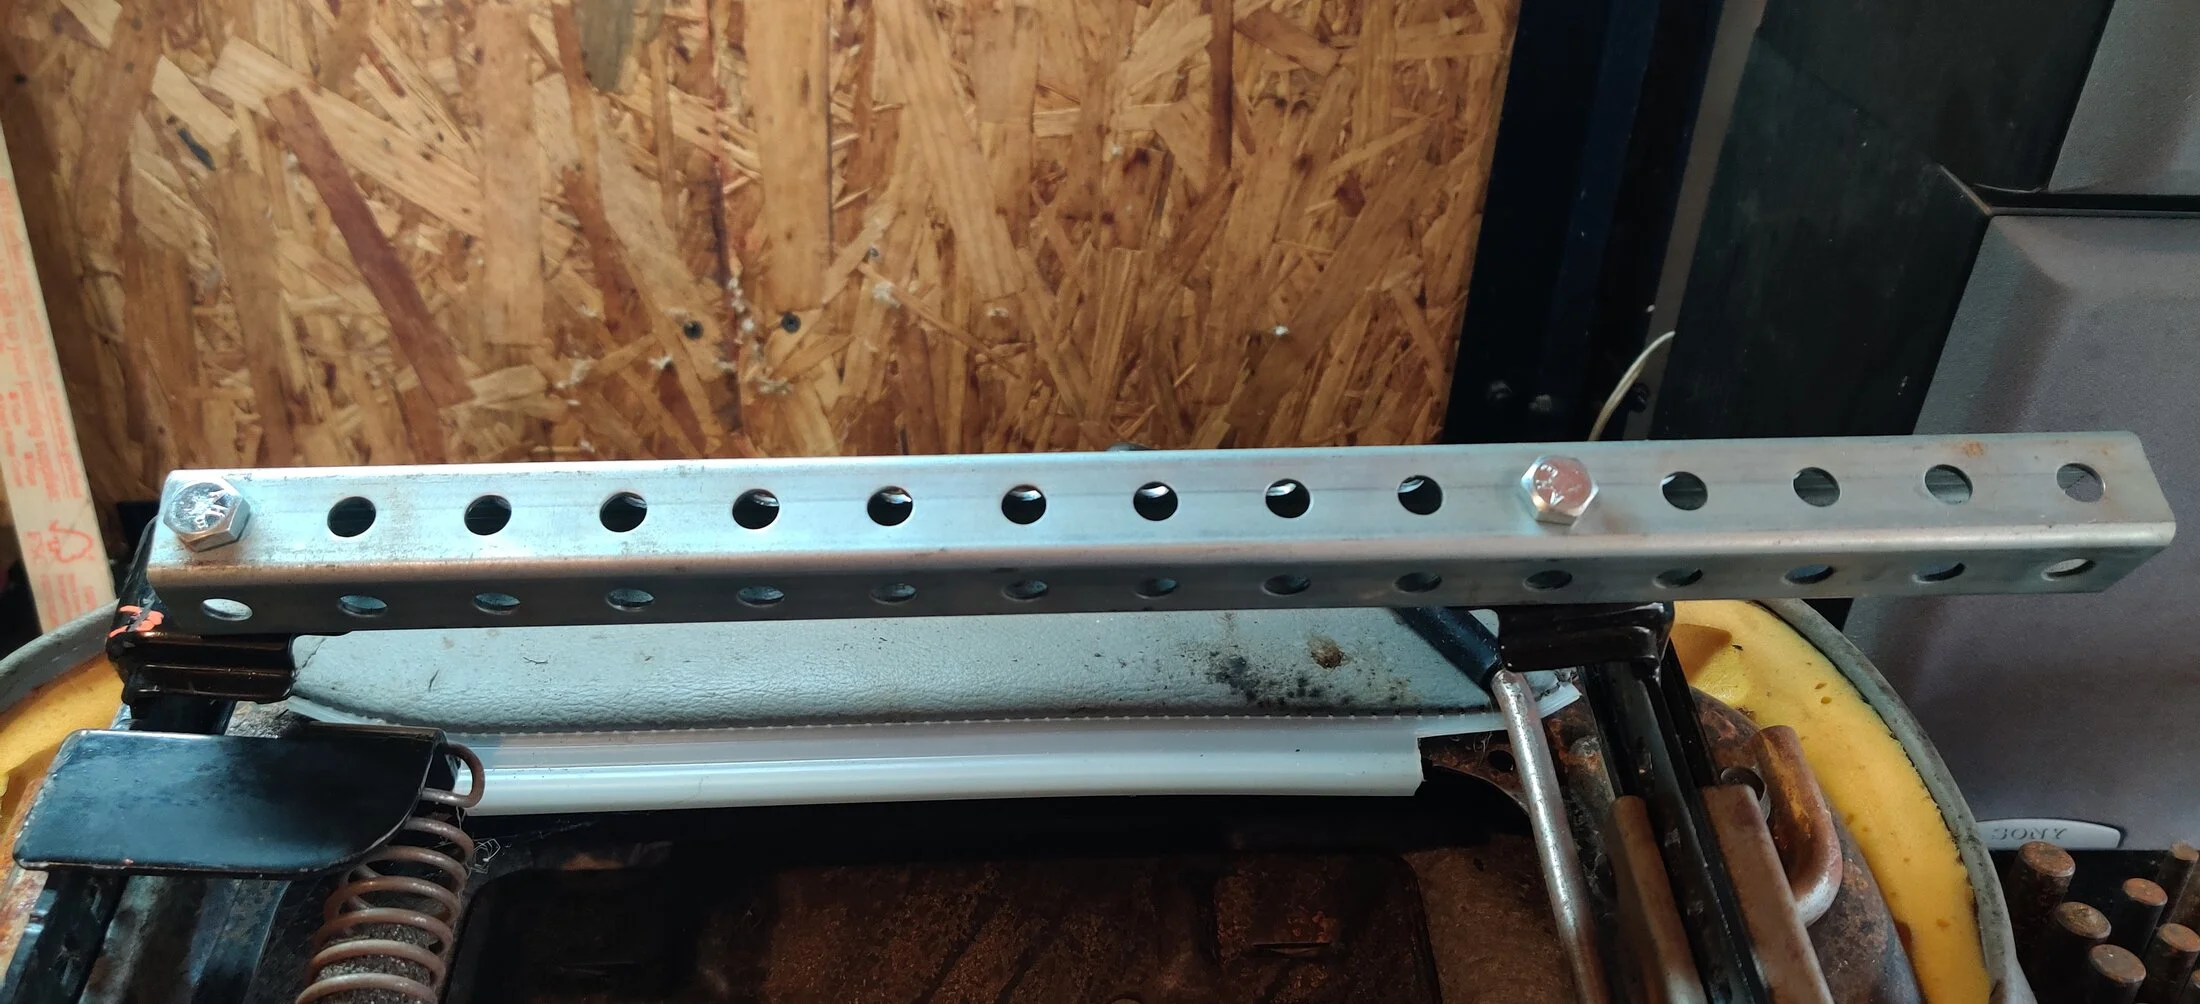
Here, the new seat's tracks have been removed and revealed multiple hole locations on the back side of the seat. The driver seat was completely different and I had to relocate all of the mounting holes. But as you can see, a pair of them lined up well with the II's seat tracks, I just had to drill them out in order to use the spacer pieces so the tracks would clear the framework.
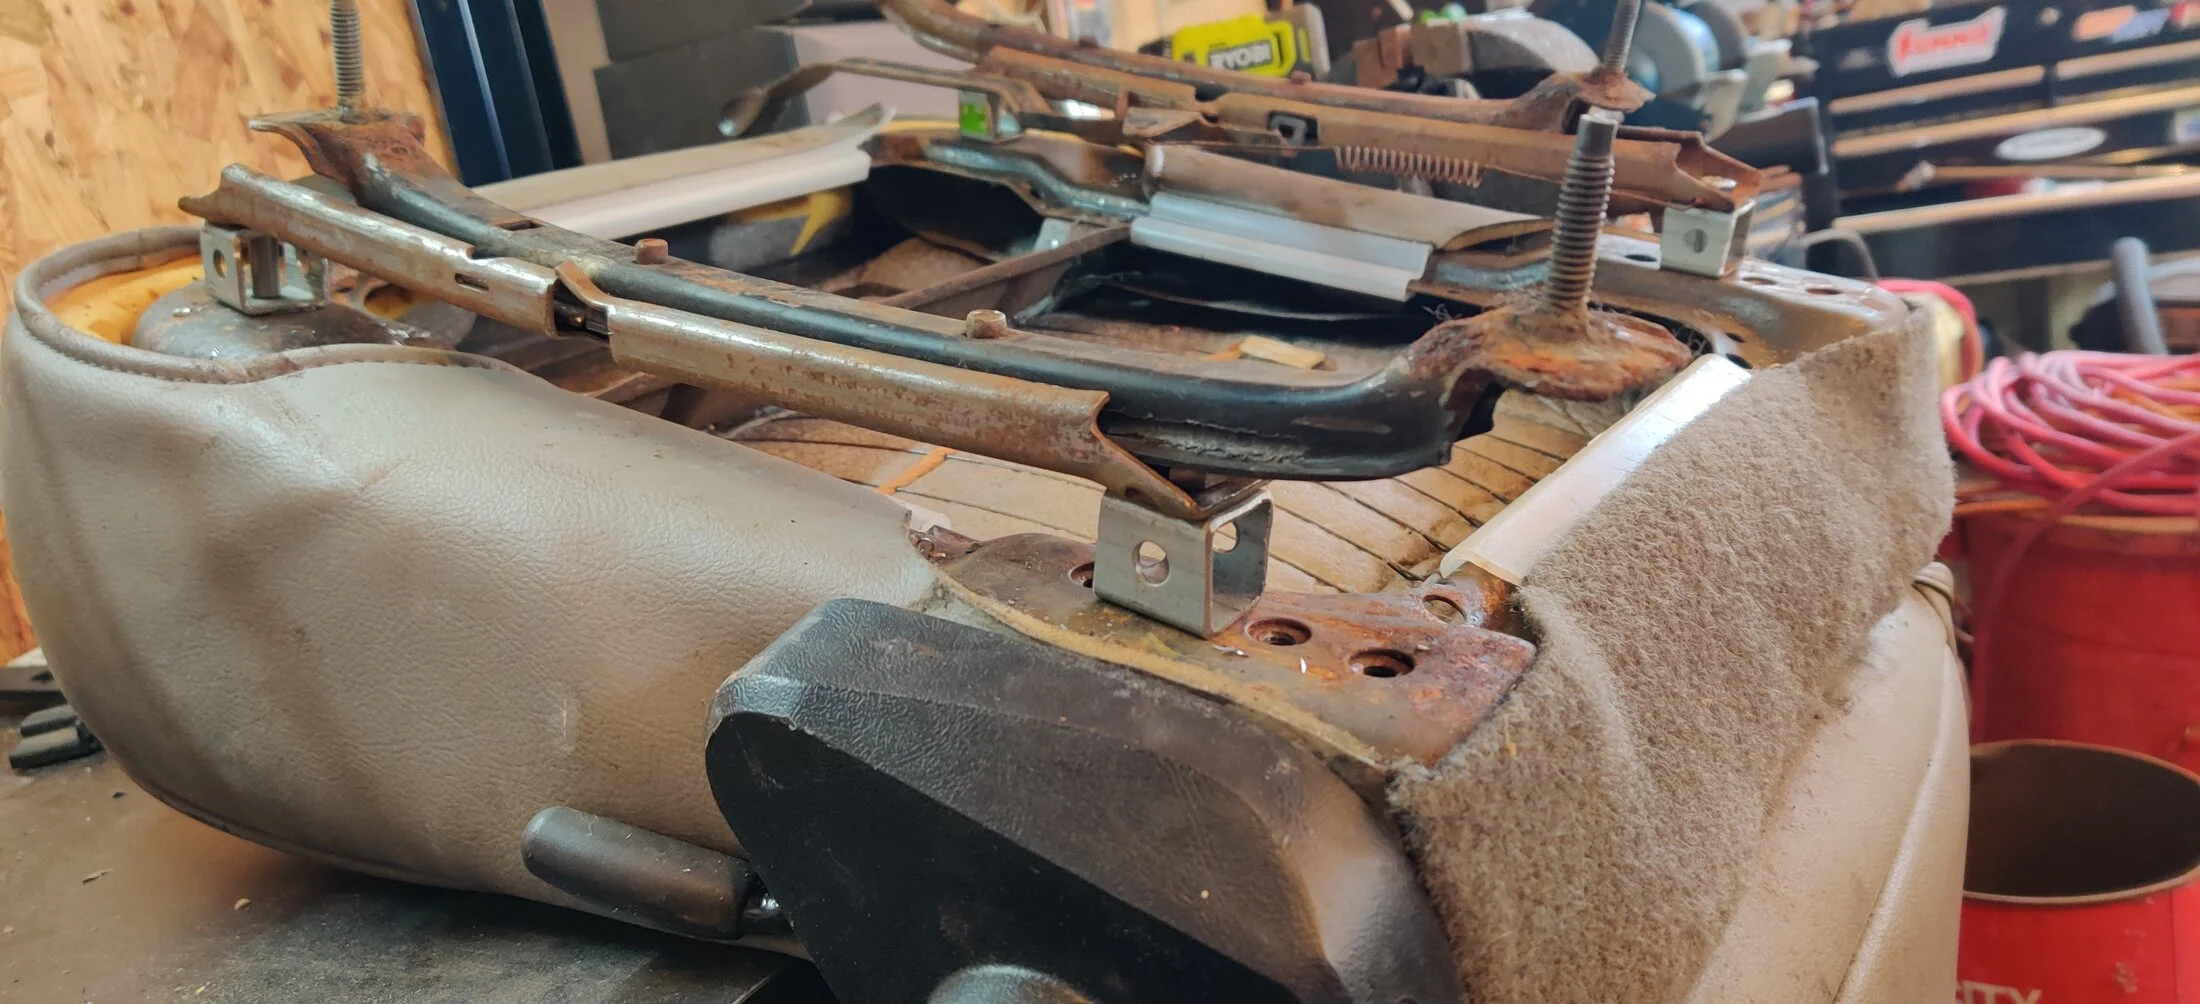
After getting them mounted, I used my jig to double check the track's mounting stud locations and bolted it into the car.
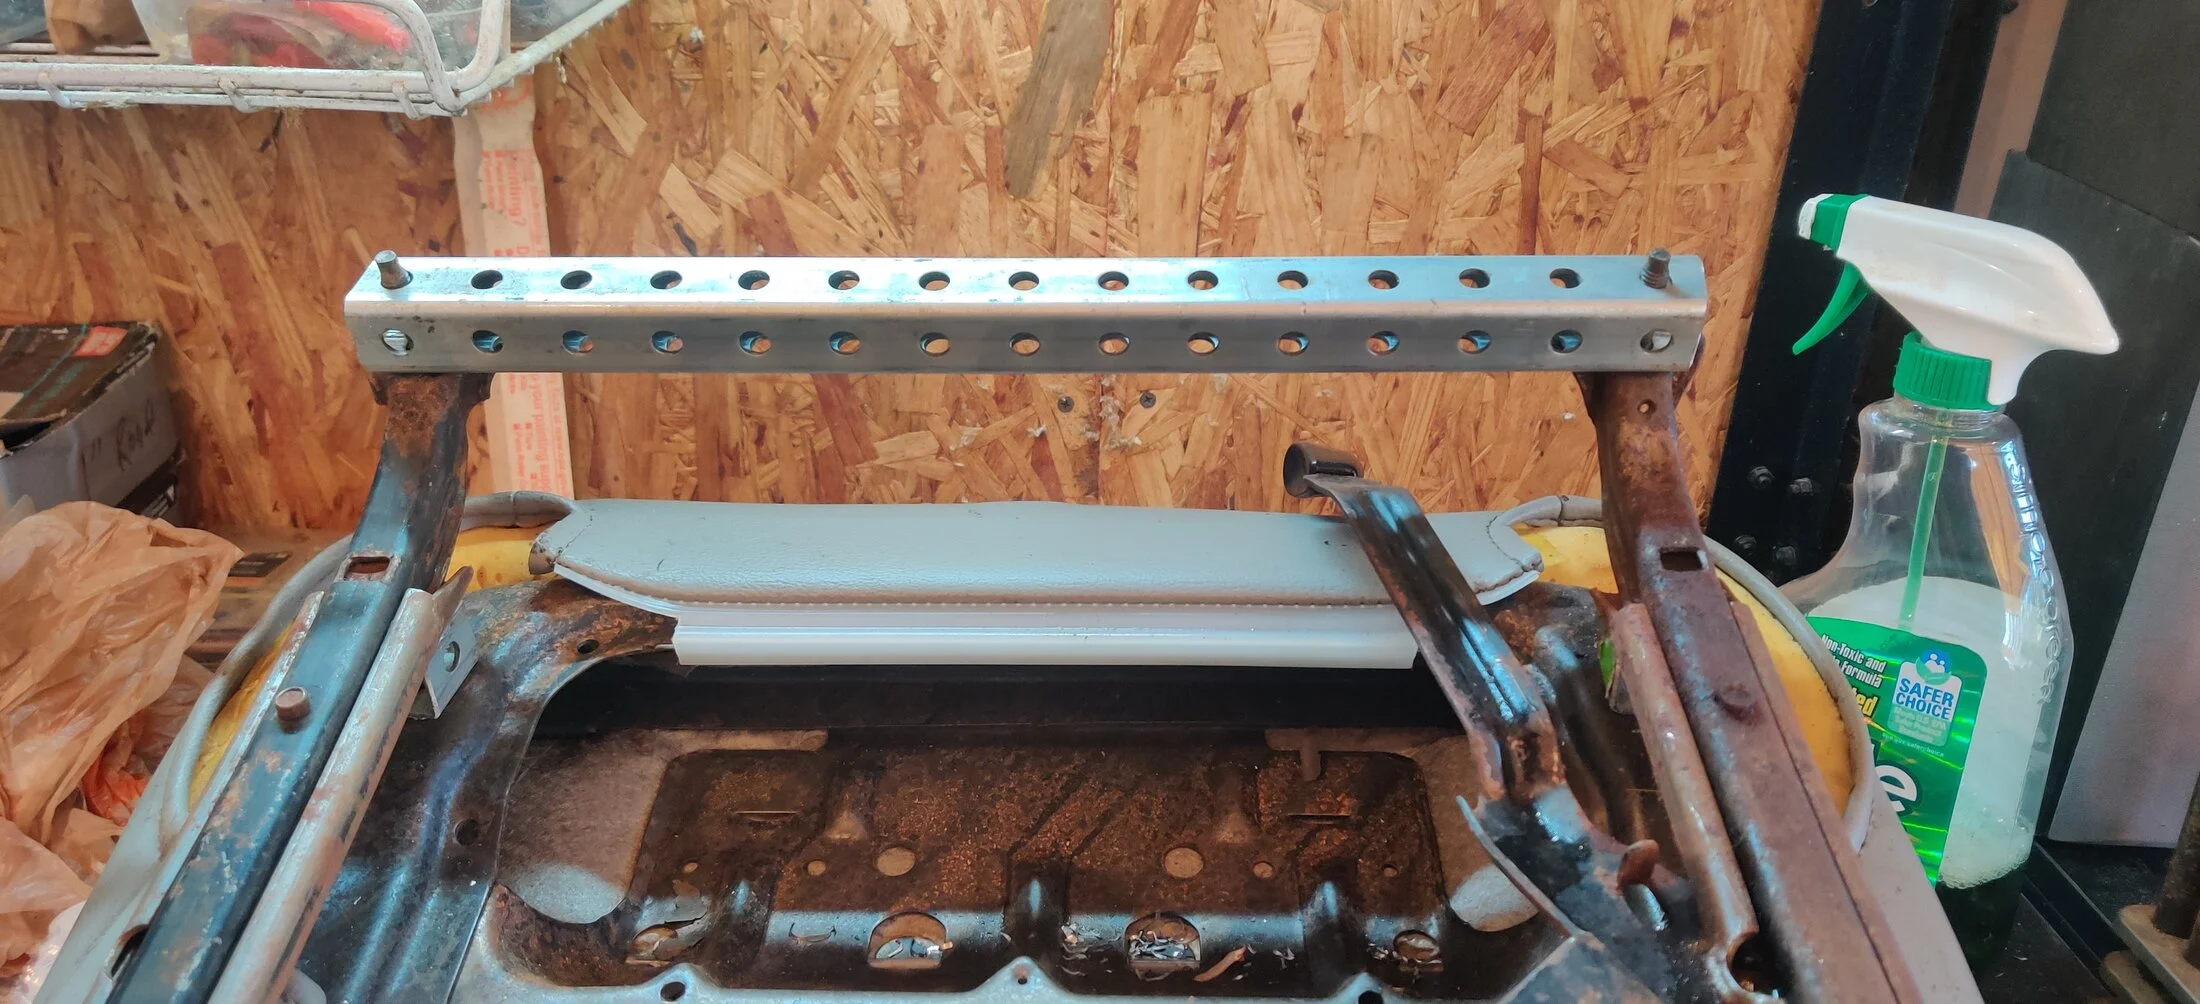
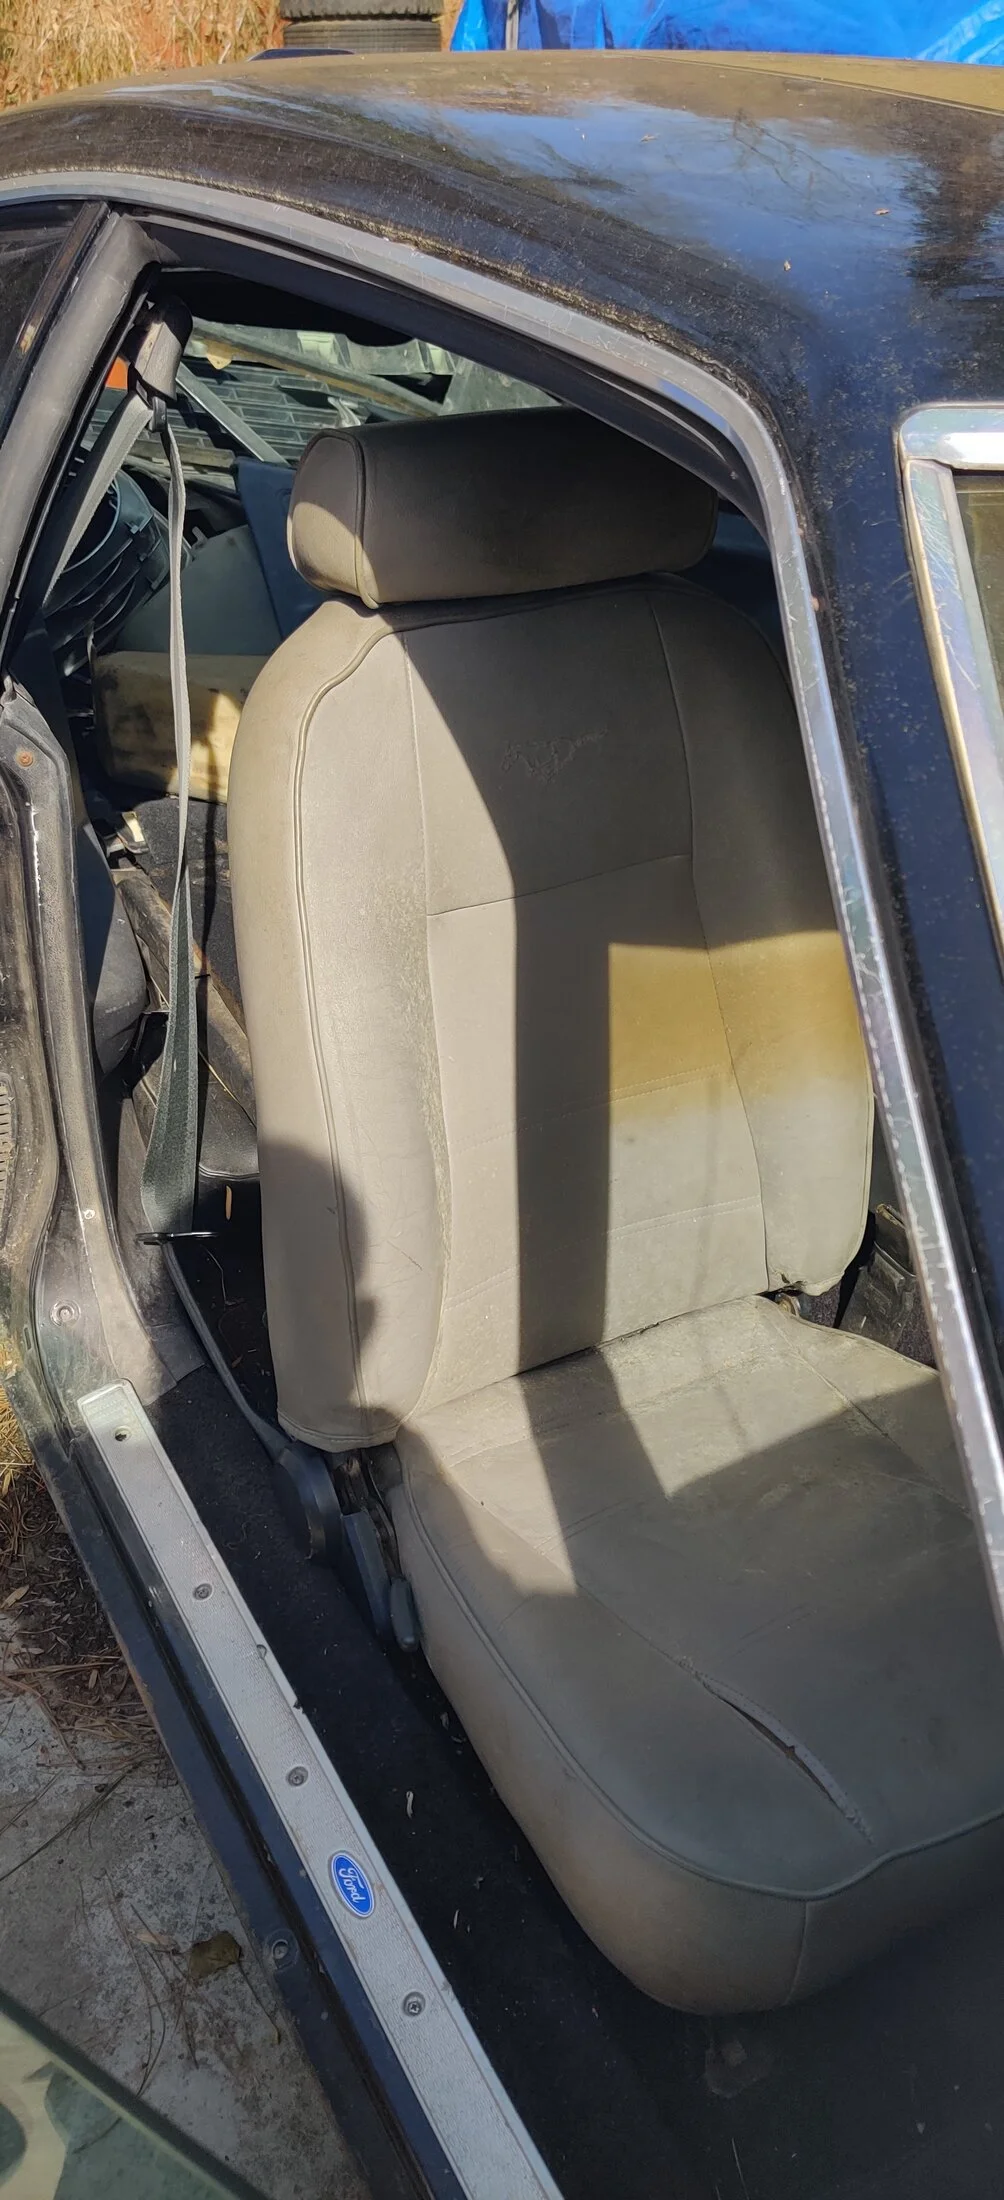
Now, it's time for a serious bath and a test drive to confirm my wiring project is up to snuff.
So, a resto-mod interior is in the works!
What's the oldest dash re-pro that you've seen that included enough pieces and parts to make it worth doing?
Oh wait... Have you seen these? I just saw them:

 classicautoreproductions.com
What's the oldest dash re-pro that you've seen that included enough pieces and parts to make it worth doing?
Oh wait... Have you seen these? I just saw them:
1974-1978 Mustang II Dash and Console
1974-1978 Mustang II Dash Inserts
classicautoreproductions.com
Yes, I have a new set of inserts on the way now.
I also have another couple of dash gauge bezel sections, I've been tossing the idea around of buying a set of all new gauges and ditching the stock stuff, but that's a little more money than I want to spend atm. If I go that route, it might be when I decide to go through this car again. The paint is now 20 years old and showing its age; some of the reason is I don't have a garage to store it in yet - which is why I was working on my house so much and not doing anything with the cars. I think the time is nearing for the garage, but I want to wait until I get the house sided - that should happen in the next couple months. Unfortunately, as how it seems everything happens, it's becoming a crappy time for a refi in comparison to what it's been....
I also have another couple of dash gauge bezel sections, I've been tossing the idea around of buying a set of all new gauges and ditching the stock stuff, but that's a little more money than I want to spend atm. If I go that route, it might be when I decide to go through this car again. The paint is now 20 years old and showing its age; some of the reason is I don't have a garage to store it in yet - which is why I was working on my house so much and not doing anything with the cars. I think the time is nearing for the garage, but I want to wait until I get the house sided - that should happen in the next couple months. Unfortunately, as how it seems everything happens, it's becoming a crappy time for a refi in comparison to what it's been....

Similar threads
What's it Worth?
1997 Cobra, a ton of mods and restoration
- Replies
- 2
- Views
- 170

- Replies
- 19
- Views
- 758

- Replies
- 1
- Views
- 1K