

You are using an out of date browser. It may not display this or other websites correctly.
You should upgrade or use an alternative browser.
You should upgrade or use an alternative browser.
Progress Thread New To Me 1988 GT - trying to set up vacuum lines for upper intake question
- Thread starter pindude80
- Start date


gkomo
now i can hopefully expect to receive the shaft
Oh one other tip i would suggest, is when putting the weatherstripping on around the corners, REALLY push it in on the corners, and hold it there with one hand while continuing on. That way the weatherstripping won't 'pull' away from the corner and when you continue on and the friction there will keep the corners in place.
The videos aerocoupe linked are great and will show you visually. You may need to loosen your A-pillar and kick panel a little to get it in those areas. I did not have to completely remove them though, just loosen it a little to make room. You will have to remove your door sill protectors as they cinch down on the weatherstripping when you reinstall them.
The videos aerocoupe linked are great and will show you visually. You may need to loosen your A-pillar and kick panel a little to get it in those areas. I did not have to completely remove them though, just loosen it a little to make room. You will have to remove your door sill protectors as they cinch down on the weatherstripping when you reinstall them.

The 555 R2's are amazing i run them at 28 psi so far no problems with balding in the middle and i love chirping 2nd gear with 4.10's and these tires are good in the rain but i also have the spare tire and jack and crowbar mounted and the battery is in the trunk too it grabs the road like glue i find it handles better with the extra weight in the trunk too.. what size did you have? i have 245 50 16Okay, I may have hosed that. Try the negative cable on the battery.
I had some Sumitomo’s a few years back and they were terrible. Would flat spot if the car sat for a couple days but once they warmed up that went away. Traction was non-existent. I have heard really good things about the Nitto 555 G2’s but only have experience with the Ridgegrappler’s and 555 R2’s of which both are great.
So I run a 245/40R17 Dunlop Direzza Z3's up front at 32 psi and 275/40R17 Nitto 555 R2's in the rear at 20 psi. The Nittos are okay but I can rip through them 1st through 2nd and just into 3rd. I may change when these are done as they are my second set.

So I run a 245/40R17 Dunlop Direzza Z3's up front at 32 psi and 275/40R17 Nitto 555 R2's in the rear at 20 psi. The Nittos are okay but I can rip through them 1st through 2nd and just into 3rd. I may change when these are done as they are my second set.
Change them to what?
I know there is a break-point between sticky tires and street tires where the sidewalls don't completely suck for cornering.

Hey guys, I might try to put the drip rail moldings on tonight. I posted what is above a few posts back. I'm curious if you guys add butyl to the factory drip rails when re-installing or just put them on with what is already there.When you guys install the drip rails do you add butyl tape to the crevice in the trim or do you just roll with the left over goop that the factory put in there? I'm not sure why they put it on there unless it's supposed to help the clips hold it on and / or dampen squeaks and rattles.

How did you get the old butyl out of the channel in the drip rail molding? It's like tar in mine.
I replaced with brand new drip rails so digging it out of the channel wasn’t needed.
The butyl that I removed was what was stuck on the cars sheet metal, the mounting surface of the pinch part that the rail snaps onto.
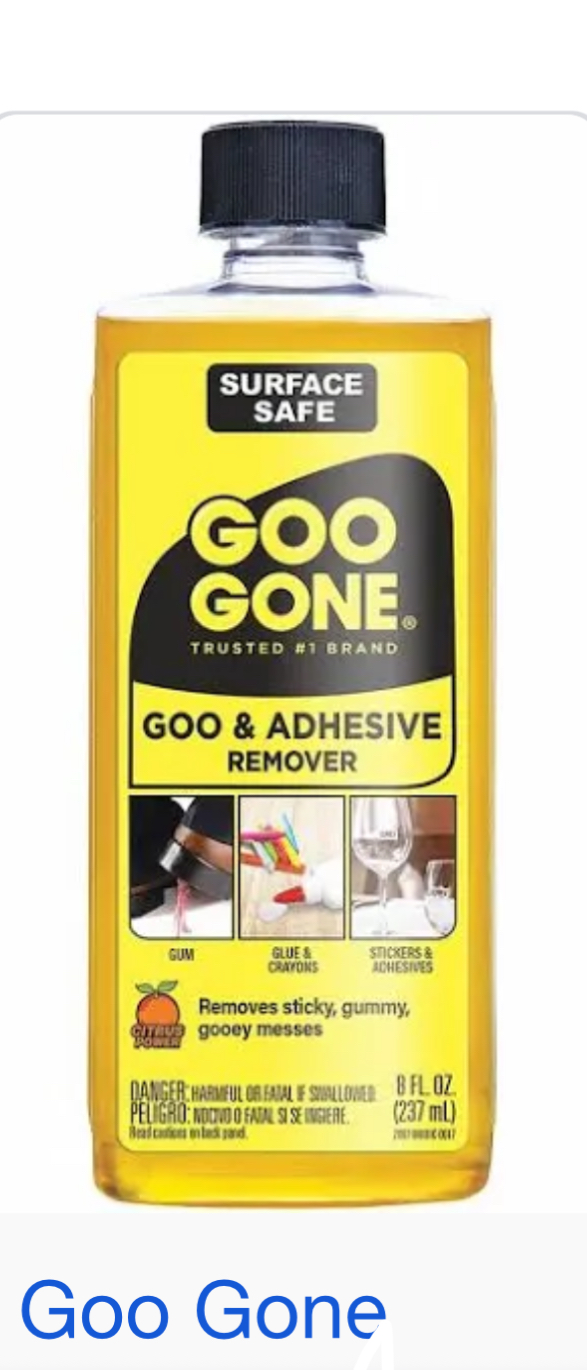
I used “Goo Gone”. After wiping it on with a rag I let it soak for a bit then peeled, pulled, and wiped back and forth with a micro fiber towel over and over again until it was all off….
Getting it all out of the channel will be a challenge but can be done if you let it soak and soften up enough depending on how much is inside I guess.
For me it was just easier to install new ones but getting the old butyl off the mounting surface with goo gone worked and it didn’t damage the paint although it did take some elbow grease to get it all off.
I then applied new butyl inside the channel of the new rails.
The butyl that I removed was what was stuck on the cars sheet metal, the mounting surface of the pinch part that the rail snaps onto.
I used “Goo Gone”. After wiping it on with a rag I let it soak for a bit then peeled, pulled, and wiped back and forth with a micro fiber towel over and over again until it was all off….
Getting it all out of the channel will be a challenge but can be done if you let it soak and soften up enough depending on how much is inside I guess.
For me it was just easier to install new ones but getting the old butyl off the mounting surface with goo gone worked and it didn’t damage the paint although it did take some elbow grease to get it all off.
I then applied new butyl inside the channel of the new rails.
If it’s to much and to hard to remove from inside the channel and your not looking to replace them with new ones try sitting them outside in the sun for a period of time to soften the old butyl up then install using the old butyl.
Nothing wrong with that either.
If so use the goo gone to remove the old butyl from the mounting surface and clean after with isopropyl alcohol prior to pushing the trim back on.
Nothing wrong with that either.
If so use the goo gone to remove the old butyl from the mounting surface and clean after with isopropyl alcohol prior to pushing the trim back on.
Oh ok, I was thinking you re-used the original drip rails and dug the adhesive out of them.
How did your replacement drip rails fit? We tried to install the RH side molding and it didn't completely cover the rounded area leading down to the pinch weld and looked kind of crappy. That is why I decided to just re-paint my factory drip rails.
I installed them, and the outer door belt molding, last night, they look pretty good. I added butyl to the factory moldings where it looked like most of it pulled out during removal. I think I may have added too much butyl on the RH side where the curve is because I still can see a little bit of the rounded area that leads down to the pinch weld. I might pull it off, remove some of the butyl I added and see if it's fits better in this area.
How did your replacement drip rails fit? We tried to install the RH side molding and it didn't completely cover the rounded area leading down to the pinch weld and looked kind of crappy. That is why I decided to just re-paint my factory drip rails.
I installed them, and the outer door belt molding, last night, they look pretty good. I added butyl to the factory moldings where it looked like most of it pulled out during removal. I think I may have added too much butyl on the RH side where the curve is because I still can see a little bit of the rounded area that leads down to the pinch weld. I might pull it off, remove some of the butyl I added and see if it's fits better in this area.
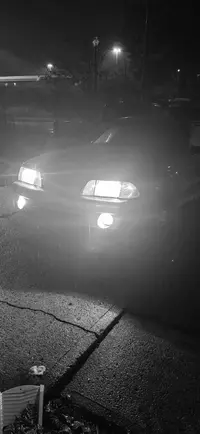
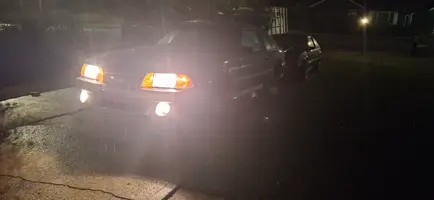
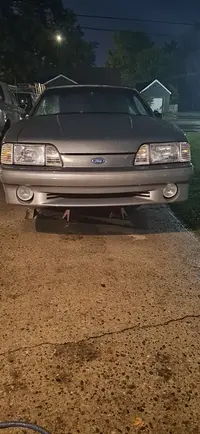
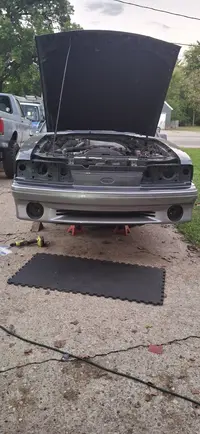
Monday night I installed the new headlight kit and re-installed the fog lights and put the Ford emblem back on the bumper. It is supposed to be getting a new windshield today. Today might be the day the wheels go back on and she can sit on the ground again.
There is a local guy, I bought my front bumper cover from him, that has the same wheels and tires that I want to buy. I might see if he would be willing to pull his rear wheels to let me see how they fit on the rear of my car.
There is a local guy, I bought my front bumper cover from him, that has the same wheels and tires that I want to buy. I might see if he would be willing to pull his rear wheels to let me see how they fit on the rear of my car.
Attachments
Last edited:
I have been looking at those as well a set of 4 x 245 50 16 for my Stang...I have right g-force comp up front and they are 6 years old , but still look brand new.Been looking at BFG g-Forces.
and nitto nt555 R2 on rear 4 years old 245 50 16 run them at 29 pounds still has alot of tread and not balding in the middle...and are good in the rain..
g-Force COMP-2 A/S Plus
The BFGoodrich Car tire G-FORCE COMP-2 A/S PLUS is designed for long-lasting performance! Discover its features and all its benefits, as well as reviews from our consumers.
 www.bfgoodrich.ca
Last edited:
Alright guys back to turning wrenches now that the paint project is mostly wrapped up.
My valve covers have been leaking so I had to remove the upper intake to change the valve cover gaskets. A friend of mine has a Cobra upper and lower intake for sale. I think now is a great time to install it. My questions are below:
1.) What, if any parts, other than gaskets, are needed to swap to the Cobra intake? Is this a direct swap or will I need to buy any adapters, different throttle cable, etc?
2.) Will my cruise control still work? I know 93 Cobras didn't have cruise control and I thought this might be related to the intake manifold
3.) My car sat off and on for at least 10 years. I was thinking now would be a good time to replace or clean the injectors. It still has the stock EV1 19 lb injectors. I do have two GT40 Explorer motors sitting in the corner. I think I heard that the Explorer injectors have a better spray pattern than the fox injectors. Is that true? If so, would you recommend swapping in the Explorer injectors? The bad thing about the injectors that I have is both Explorer motors are junkyard engines and who knows how long ago they last ran so the condition could be worse than my factory EV1 injectors
4.) Is there anything else I'm not thinking of or that you would recommend when doing the Cobra intake swap?
My valve covers have been leaking so I had to remove the upper intake to change the valve cover gaskets. A friend of mine has a Cobra upper and lower intake for sale. I think now is a great time to install it. My questions are below:
1.) What, if any parts, other than gaskets, are needed to swap to the Cobra intake? Is this a direct swap or will I need to buy any adapters, different throttle cable, etc?
2.) Will my cruise control still work? I know 93 Cobras didn't have cruise control and I thought this might be related to the intake manifold
3.) My car sat off and on for at least 10 years. I was thinking now would be a good time to replace or clean the injectors. It still has the stock EV1 19 lb injectors. I do have two GT40 Explorer motors sitting in the corner. I think I heard that the Explorer injectors have a better spray pattern than the fox injectors. Is that true? If so, would you recommend swapping in the Explorer injectors? The bad thing about the injectors that I have is both Explorer motors are junkyard engines and who knows how long ago they last ran so the condition could be worse than my factory EV1 injectors
4.) Is there anything else I'm not thinking of or that you would recommend when doing the Cobra intake swap?

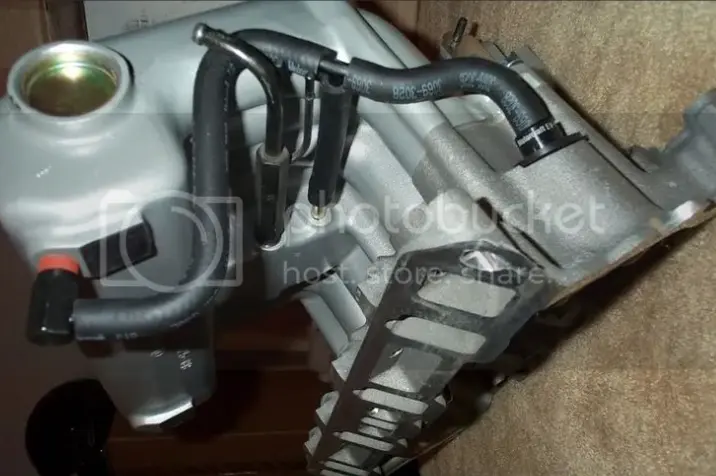
1 Just need gaskets and hardware. The upper intake uses different bolts to connect to the lower. You will also need bolts for the TB as it doesn't use studs like the stock intake. Also, the vac hose configuration is also different. You will need to take the metal vac tube off the stock intake if it isn't on the cobra intake. Vac lines will route like this
2.) Yes cruise will work. The linkage connects to the throttle body. That is not changing
3) yes the spray pattern on the explorer injectors is more improved. You can clean your injectors with a can of carb cleaner and a rubber plug with a hold drilled into it. Use that to seal where you put the carb cleaner red hose into. Get a cheap injector harness plug off amazon and a 9V battery clip and a push button switch and you can make a cheap injector firing took. Pressurize the carb cleaner and energize the injector and note the spray pattern.
Just need gaskets and hardware. The upper intake uses different bolts to connect to the lower. You will also need bolts for the TB as it doesn't use studs like the stock intake. Also, the vac hose configuration is also different. You will need to take the metal vac tube off the stock intake if it isn't on the cobra intake. Vac lines will route like this2.) Yes cruise will work. The linkage connects to the throttle body. That is not changing
3) yes the spray pattern on the explorer injectors is more improved. You can clean your injectors with a can of carb cleaner and a rubber plug with a hold drilled into it. Use that to seal where you put the carb cleaner red hose into. Get a cheap injector harness plug off amazon and a 9V battery clip and a push button switch and you can make a cheap injector firing took. Pressurize the carb cleaner and energize the injector and note the spray pattern.
Awesome, thanks for the info on what is different and what I will need to do / change to install the Cobra intake.
For the injectors, is it worth switching to the Explorer injectors?
For the injectors, is it worth switching to the Explorer injectors?

For the injectors, is it worth switching to the Explorer injectors?
It's a more efficient spray pattern, but I doubt anything you'd notice. But, if you the injectors available i'd use them.
I like the looks of the upper Cobra intake better than the upper Explorer intake.Any reason you want to use the Cobra manifold instead of one off of the Explorer engines you have?
Similar threads
- Replies
- 3
- Views
- 377
- Replies
- 2
- Views
- 96

- Replies
- 16
- Views
- 909
- Replies
- 2
- Views
- 586

- Replies
- 0
- Views
- 201