

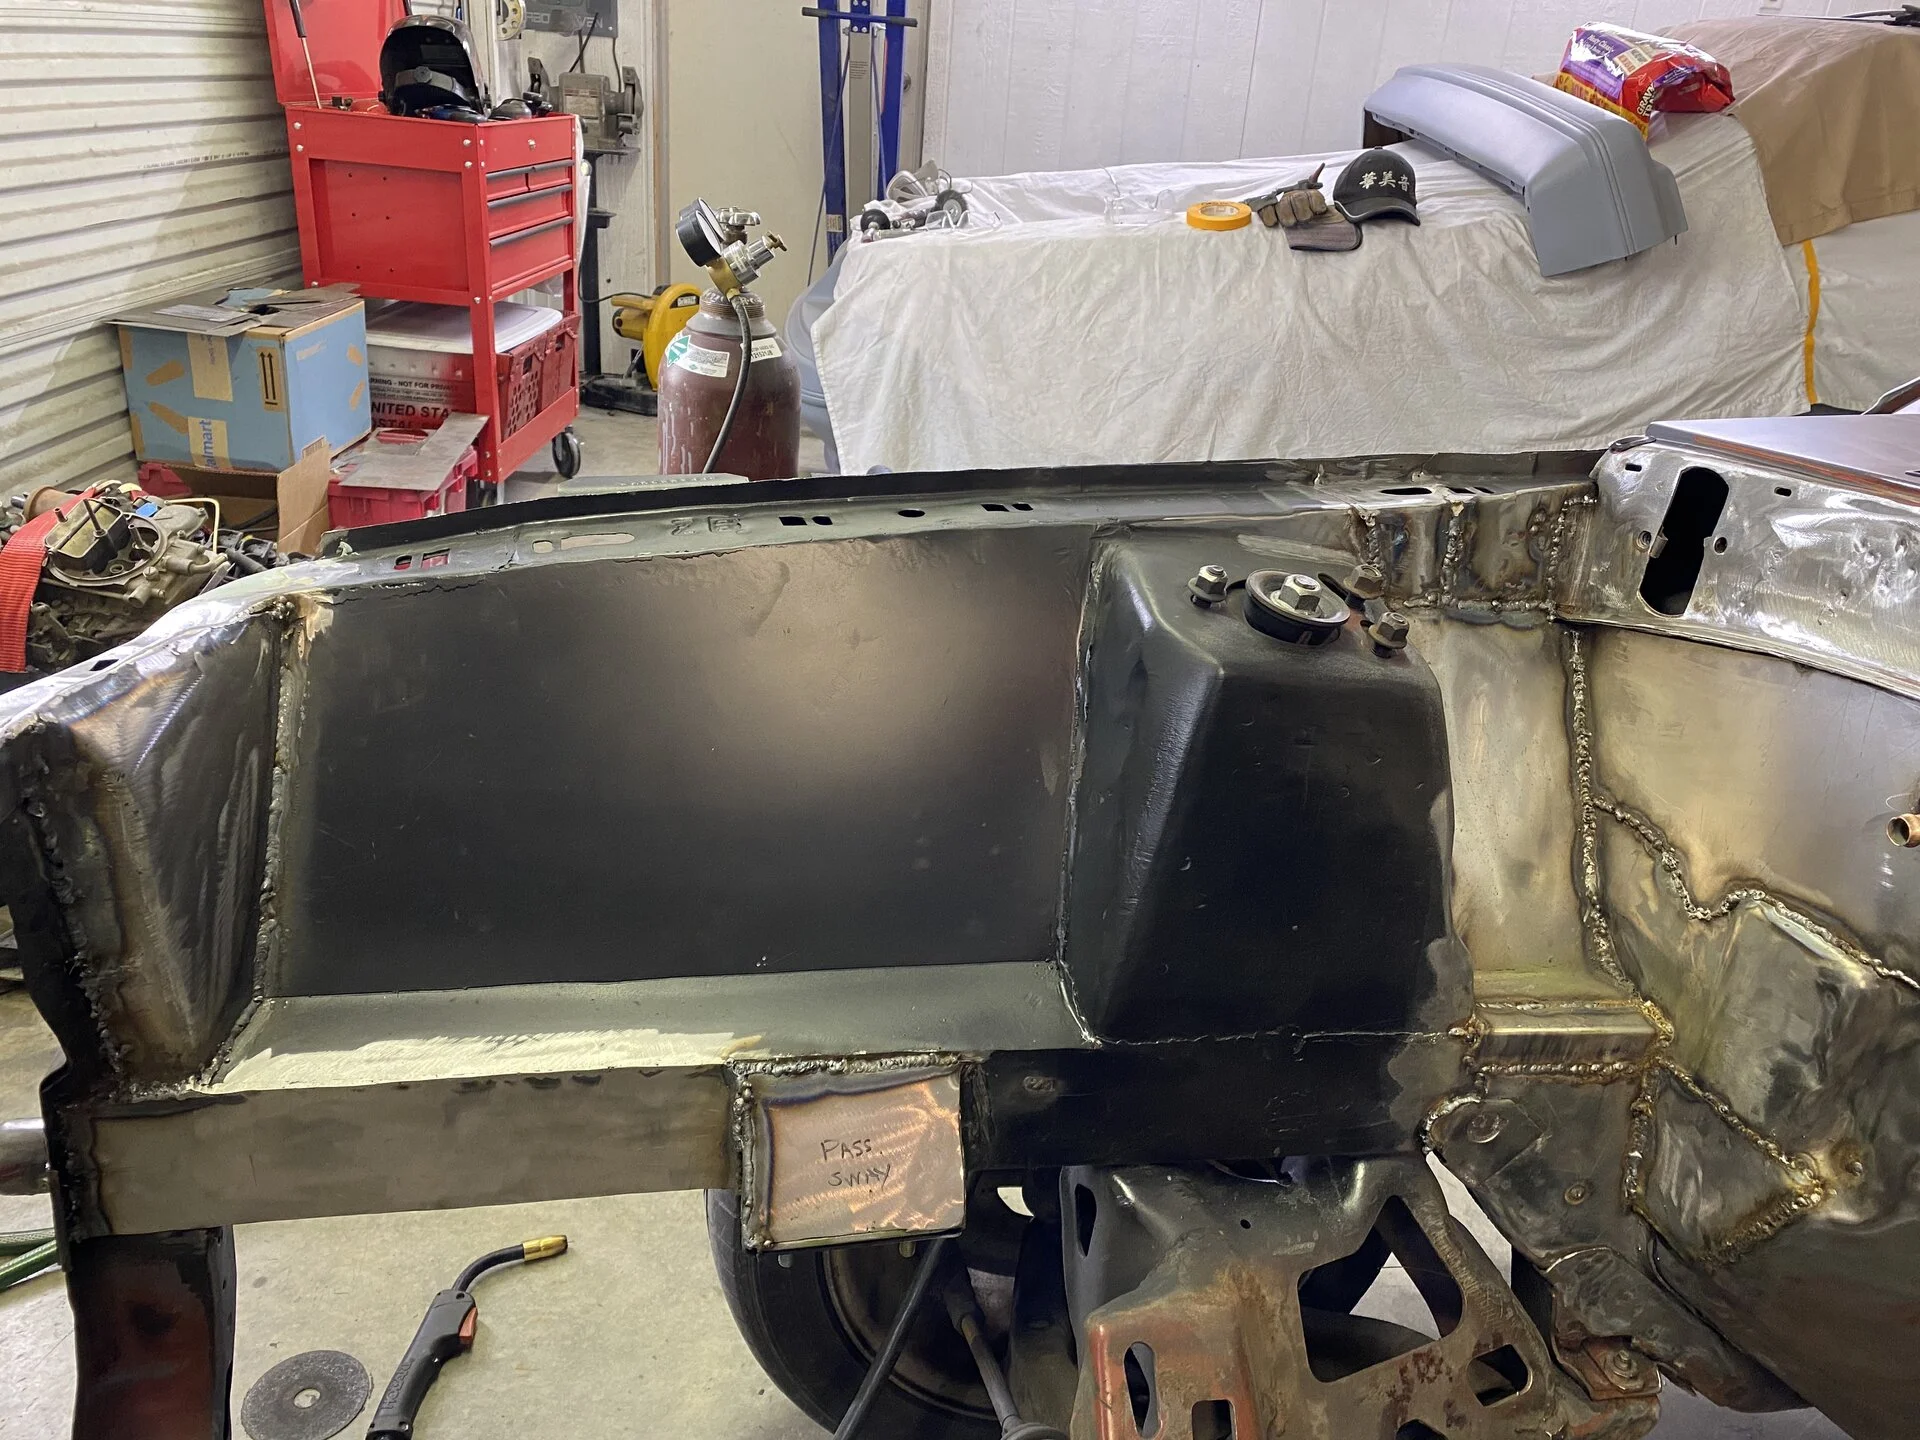
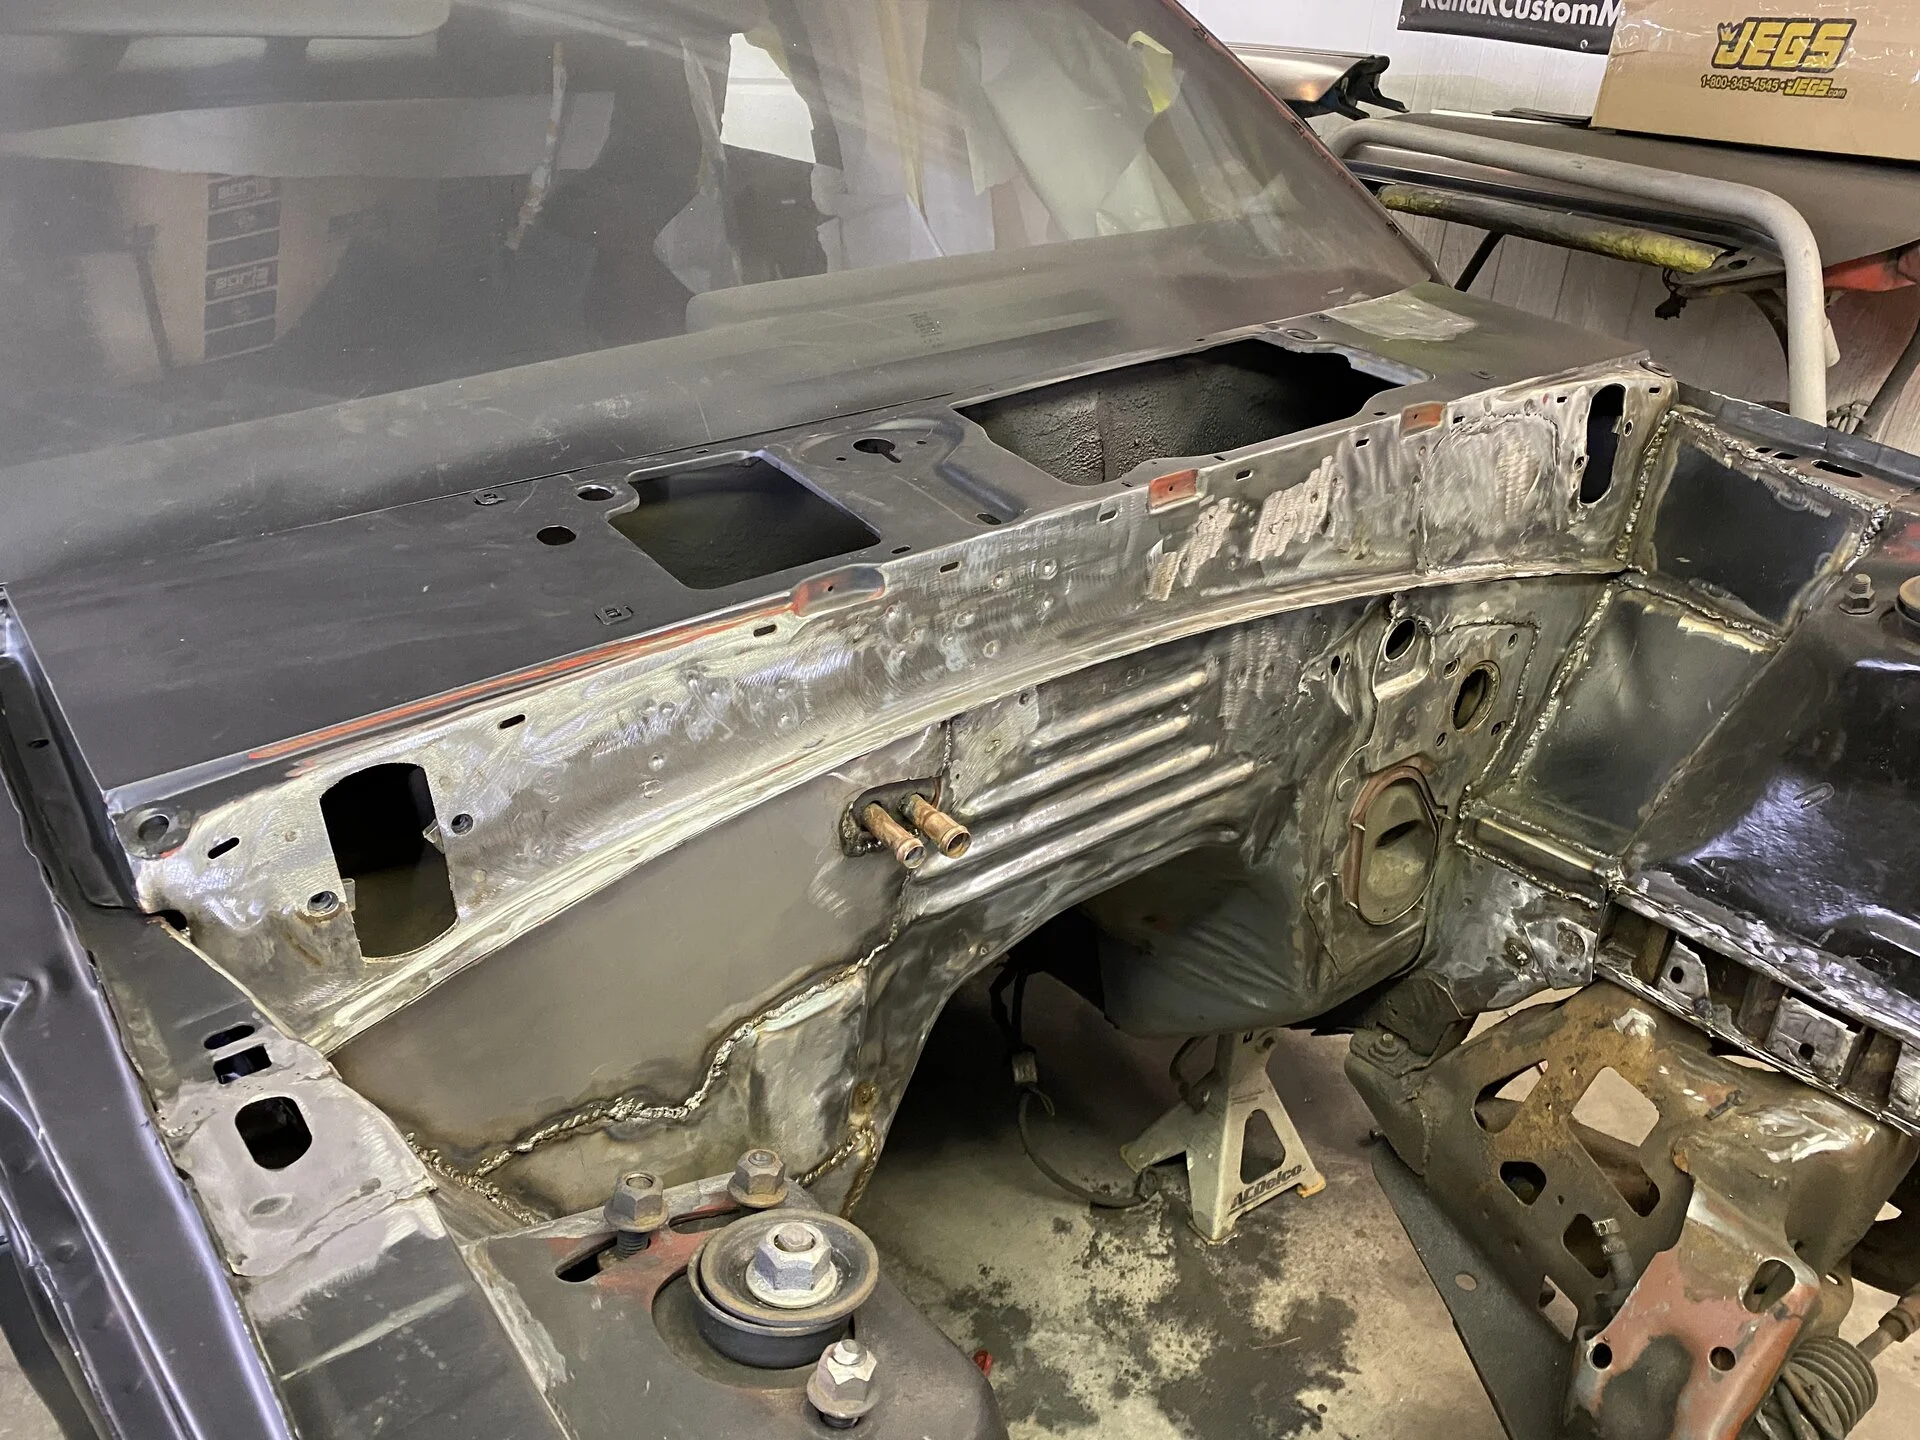
Finished welding up and smoothing the firewall As well as the passenger side of the bay.
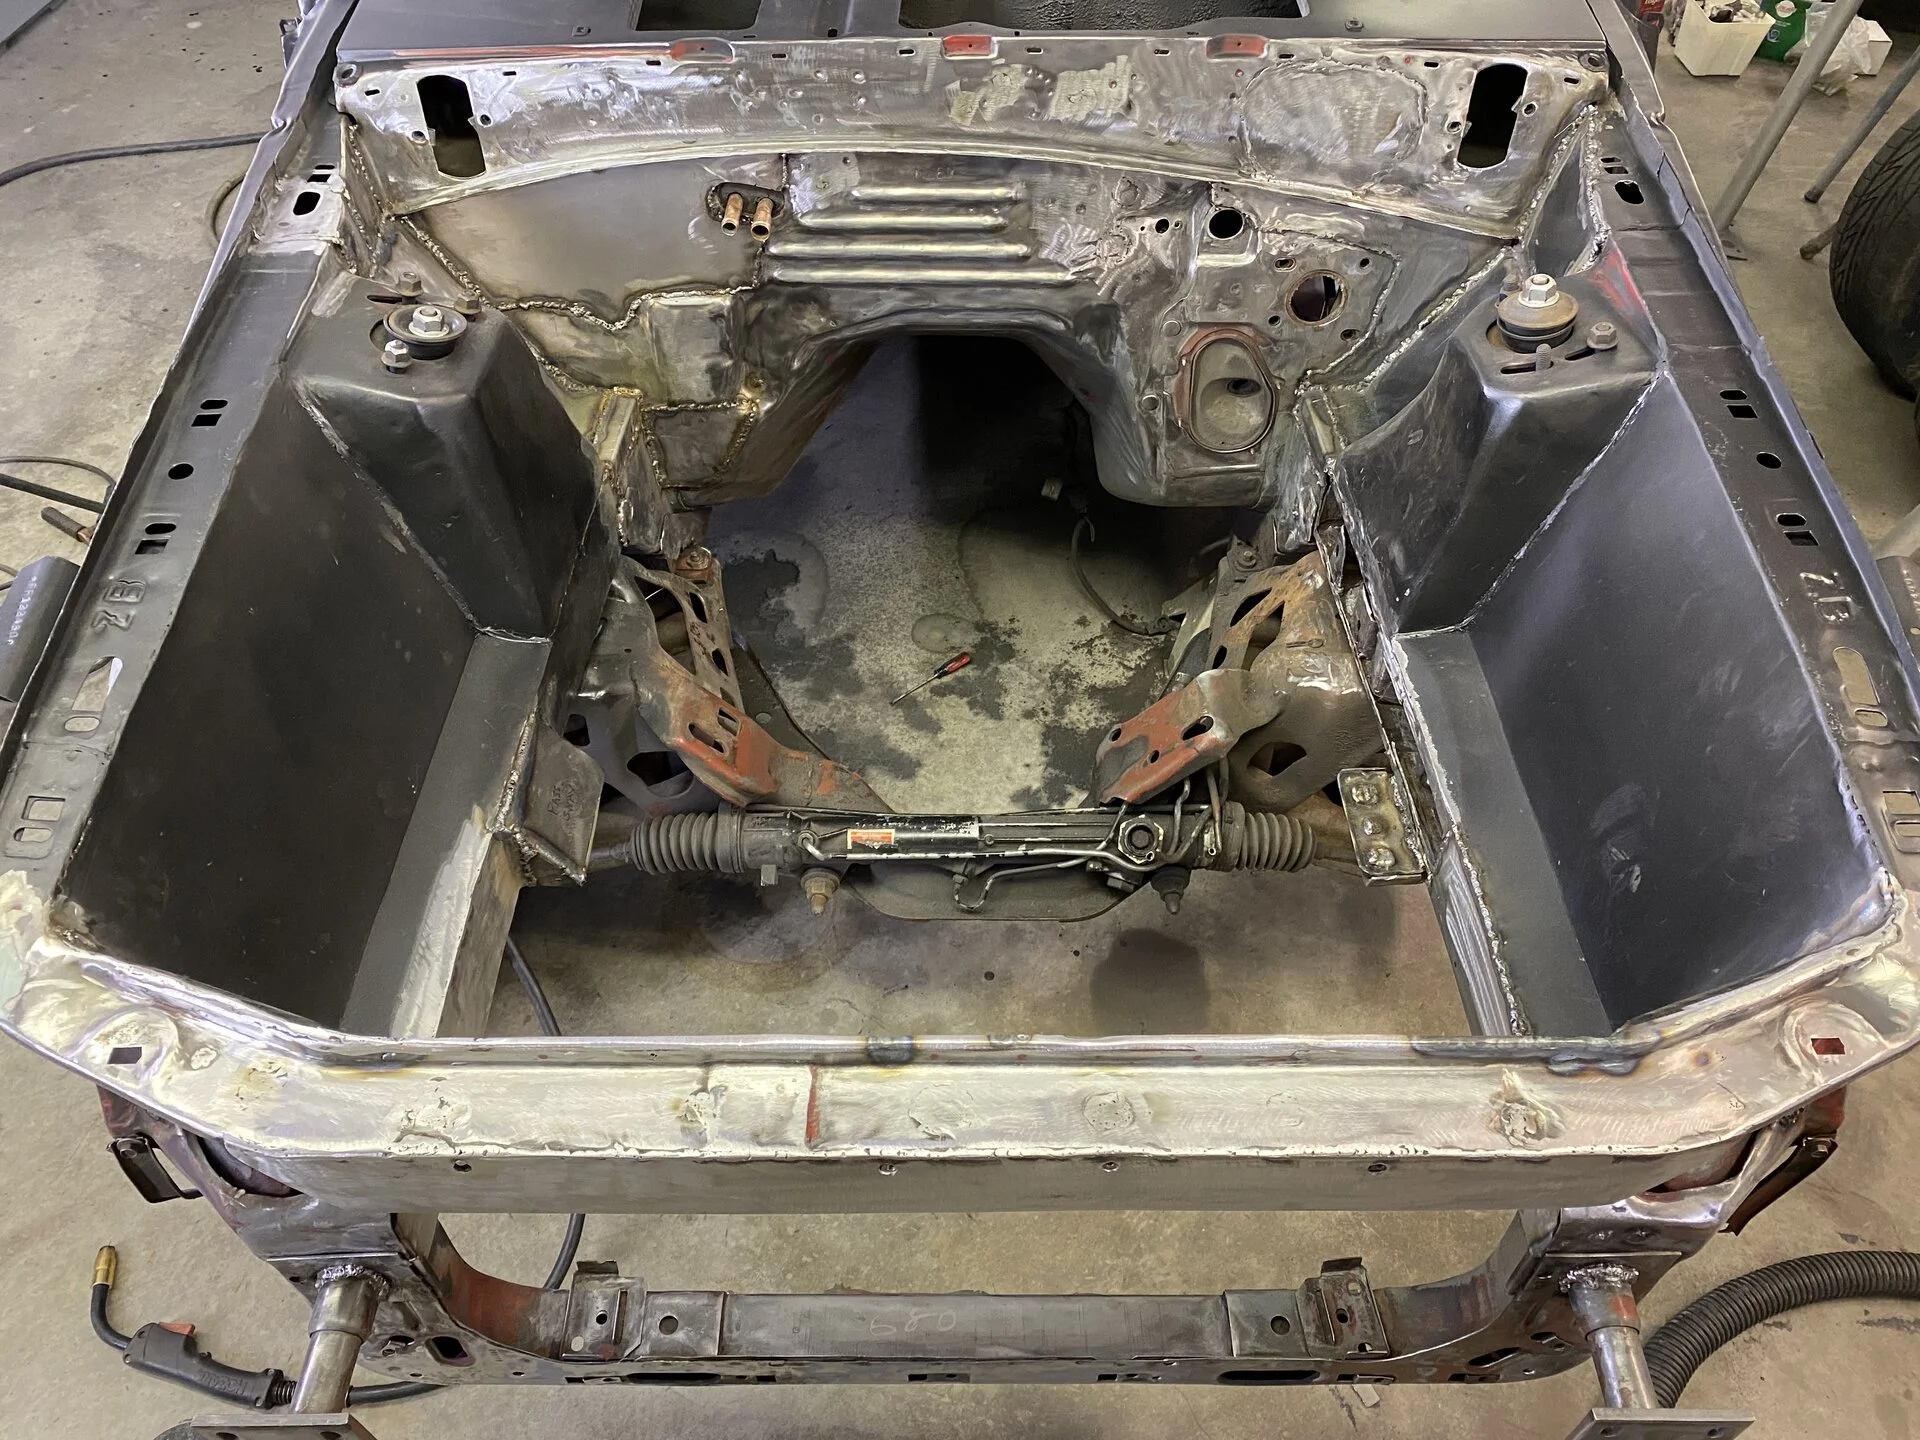
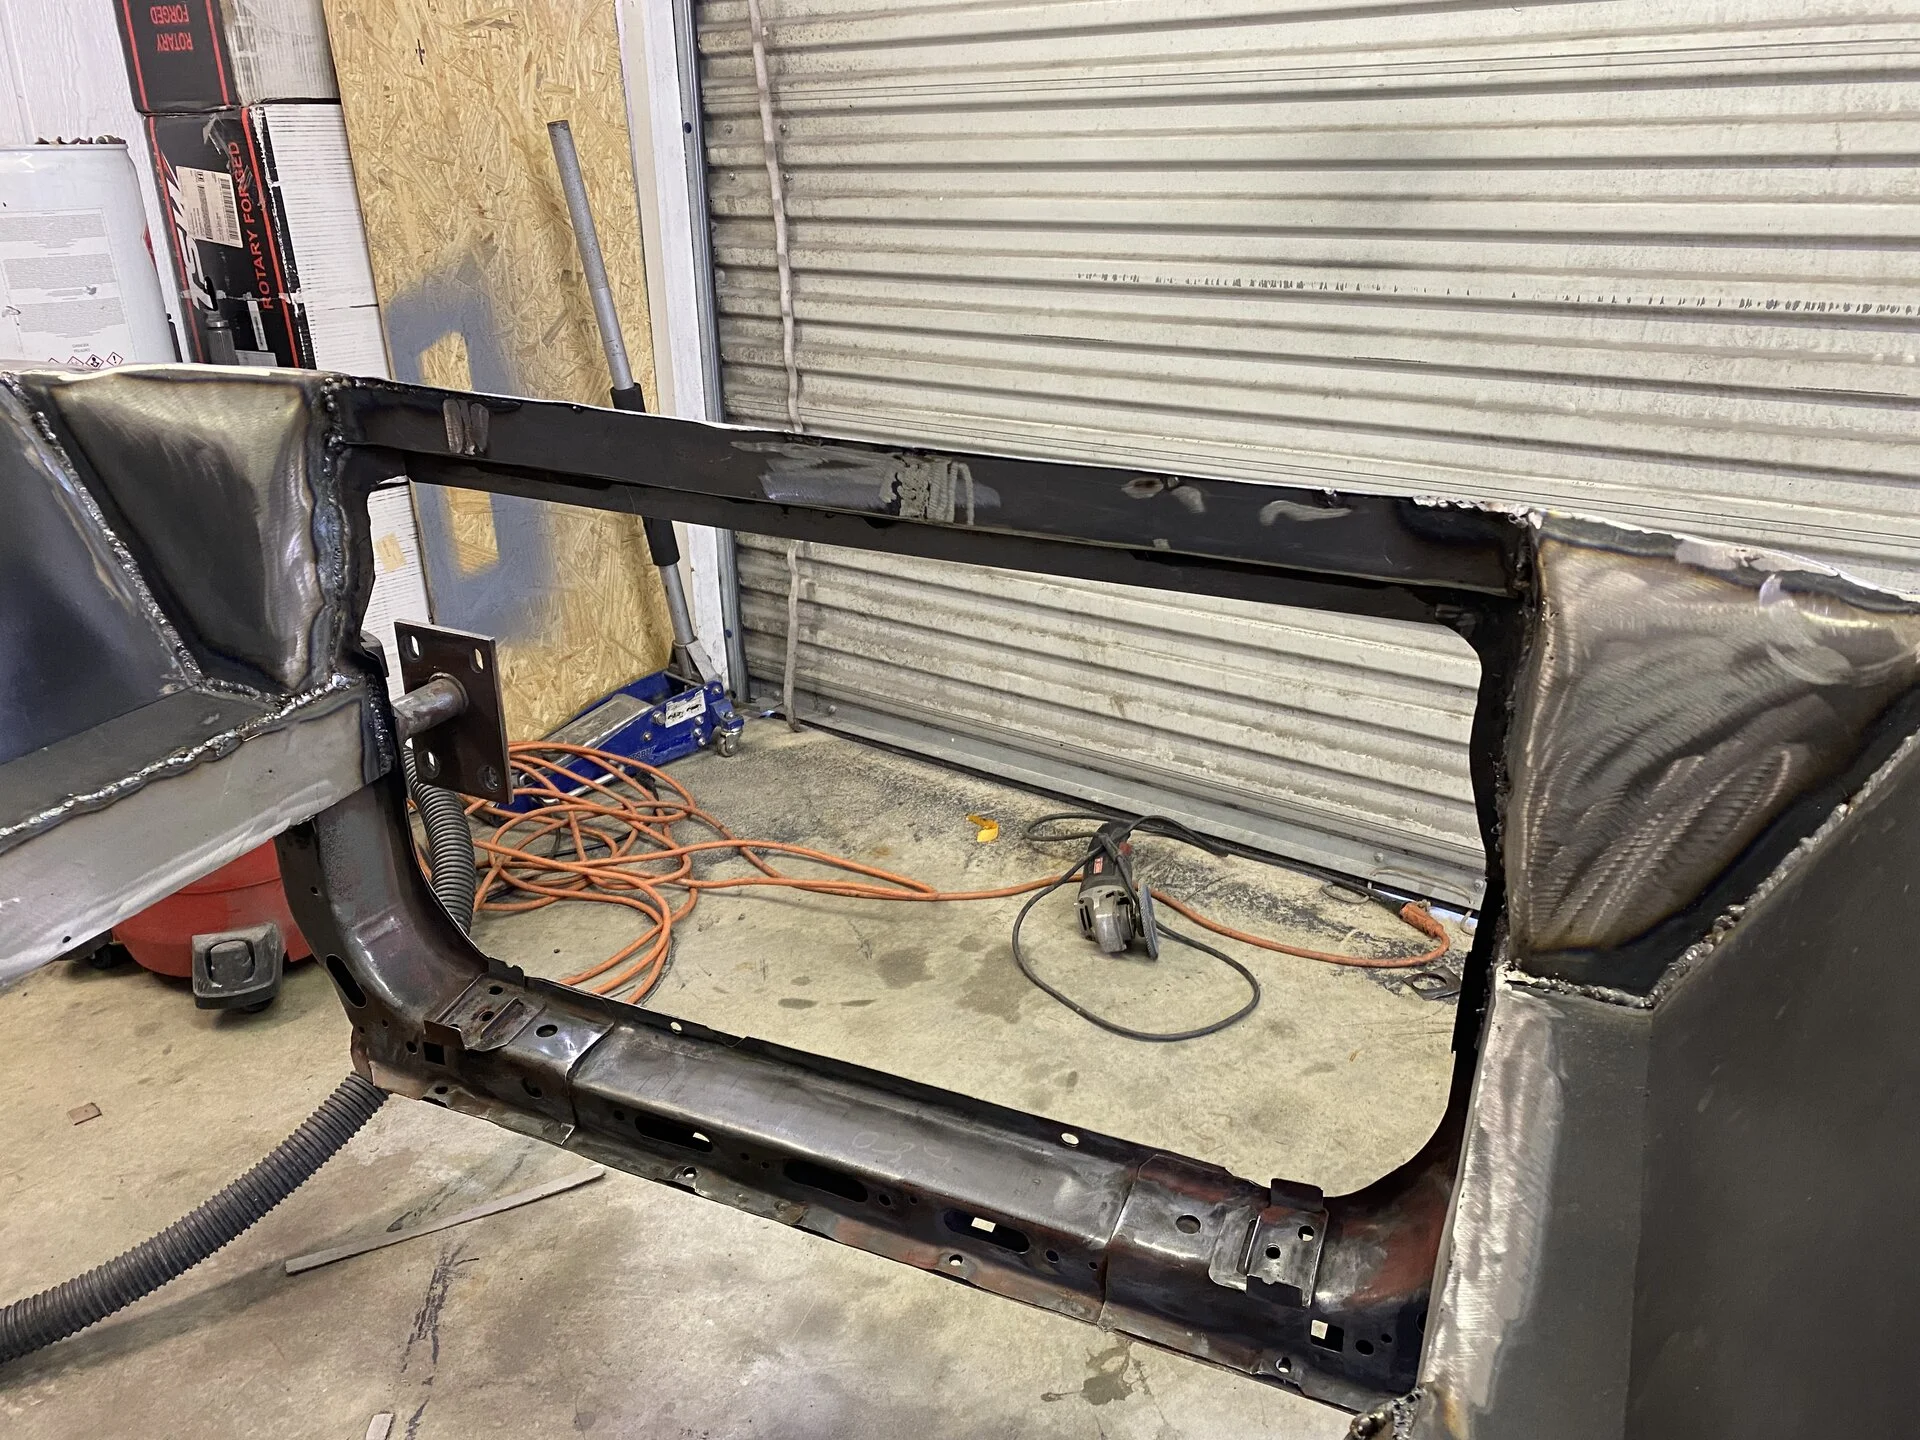

Aside from continuing the work on the unbelievable car that this will undoubtedly become...... you just made me feel a lot better about my welding skills!! LolTime to finish off the frame rail rust repair. I used 16 gauge metal which is overkill compared to factory thickness and sand the backside of the repair piece. Then coat it with weld thru primer. Weld in place. Make sure the bead is thick even if its not pretty. Dont want any holes in the metal that water can get in.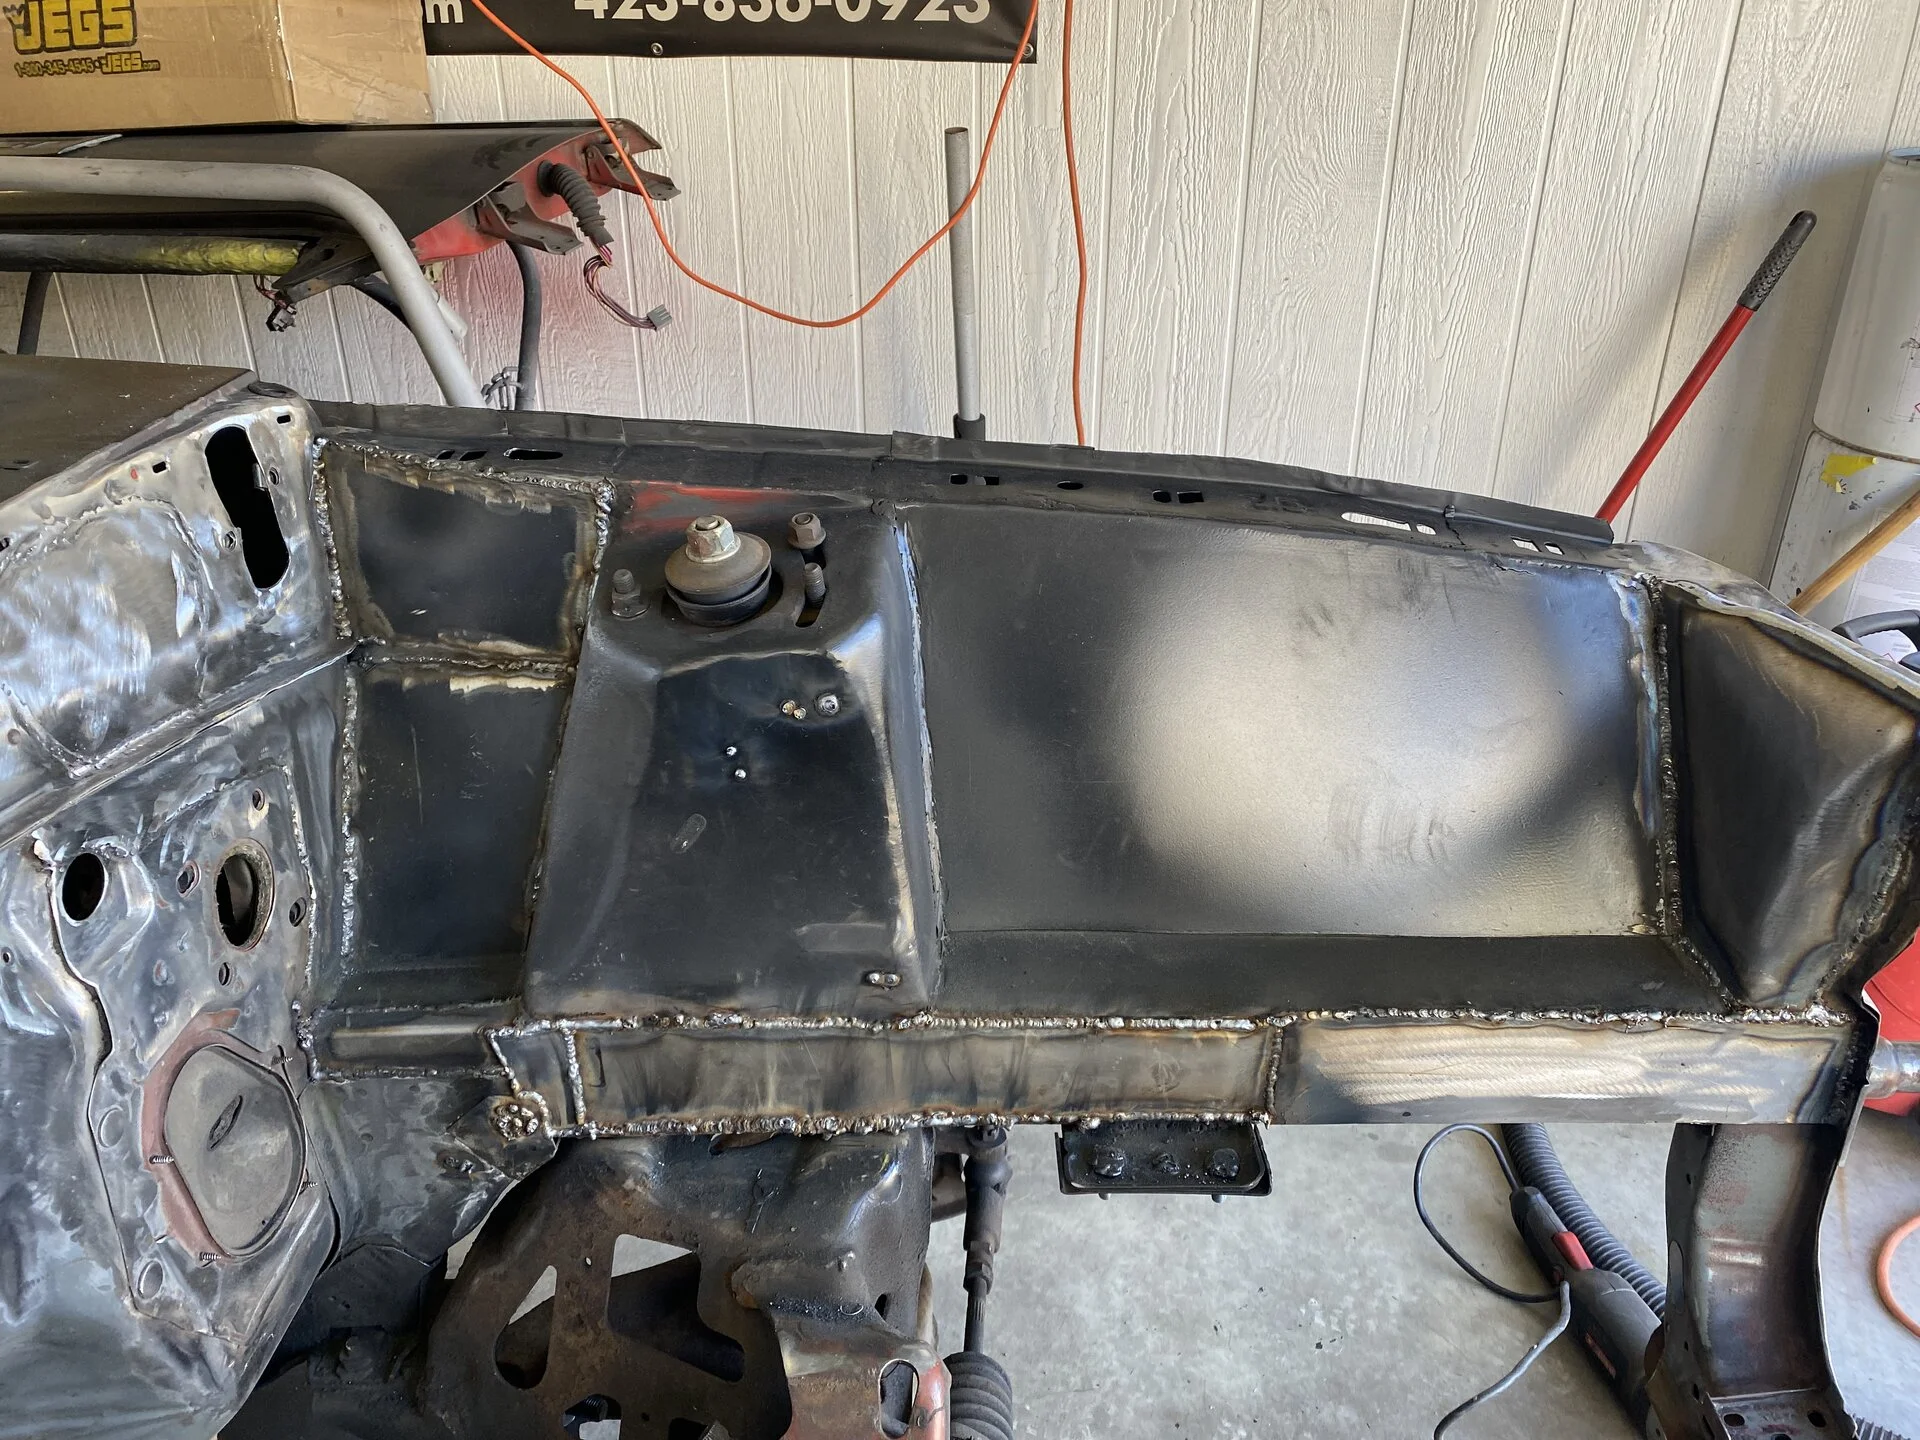
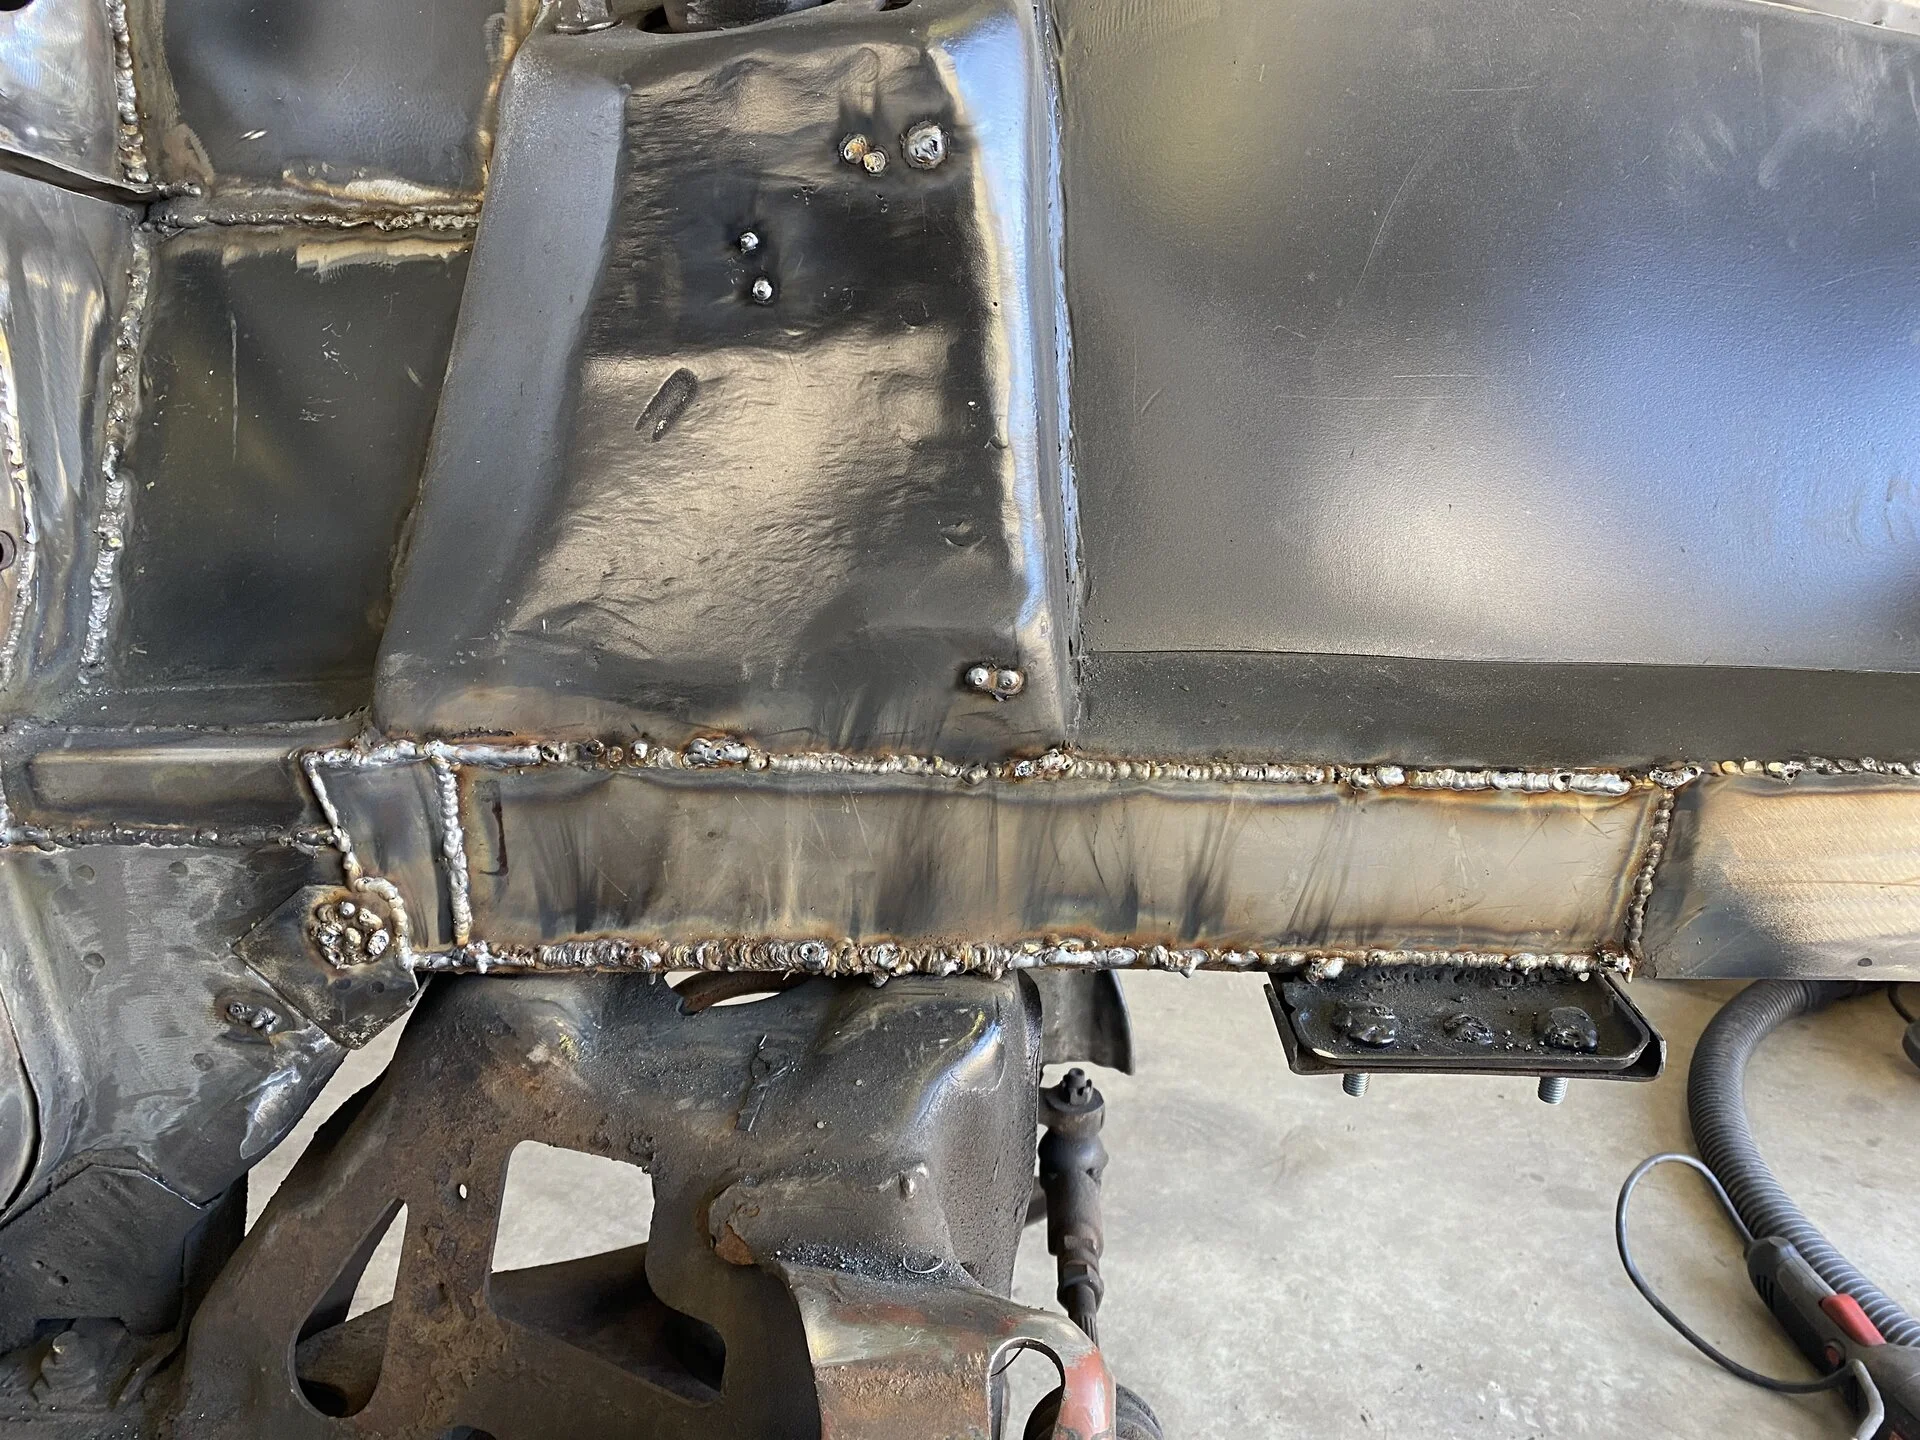
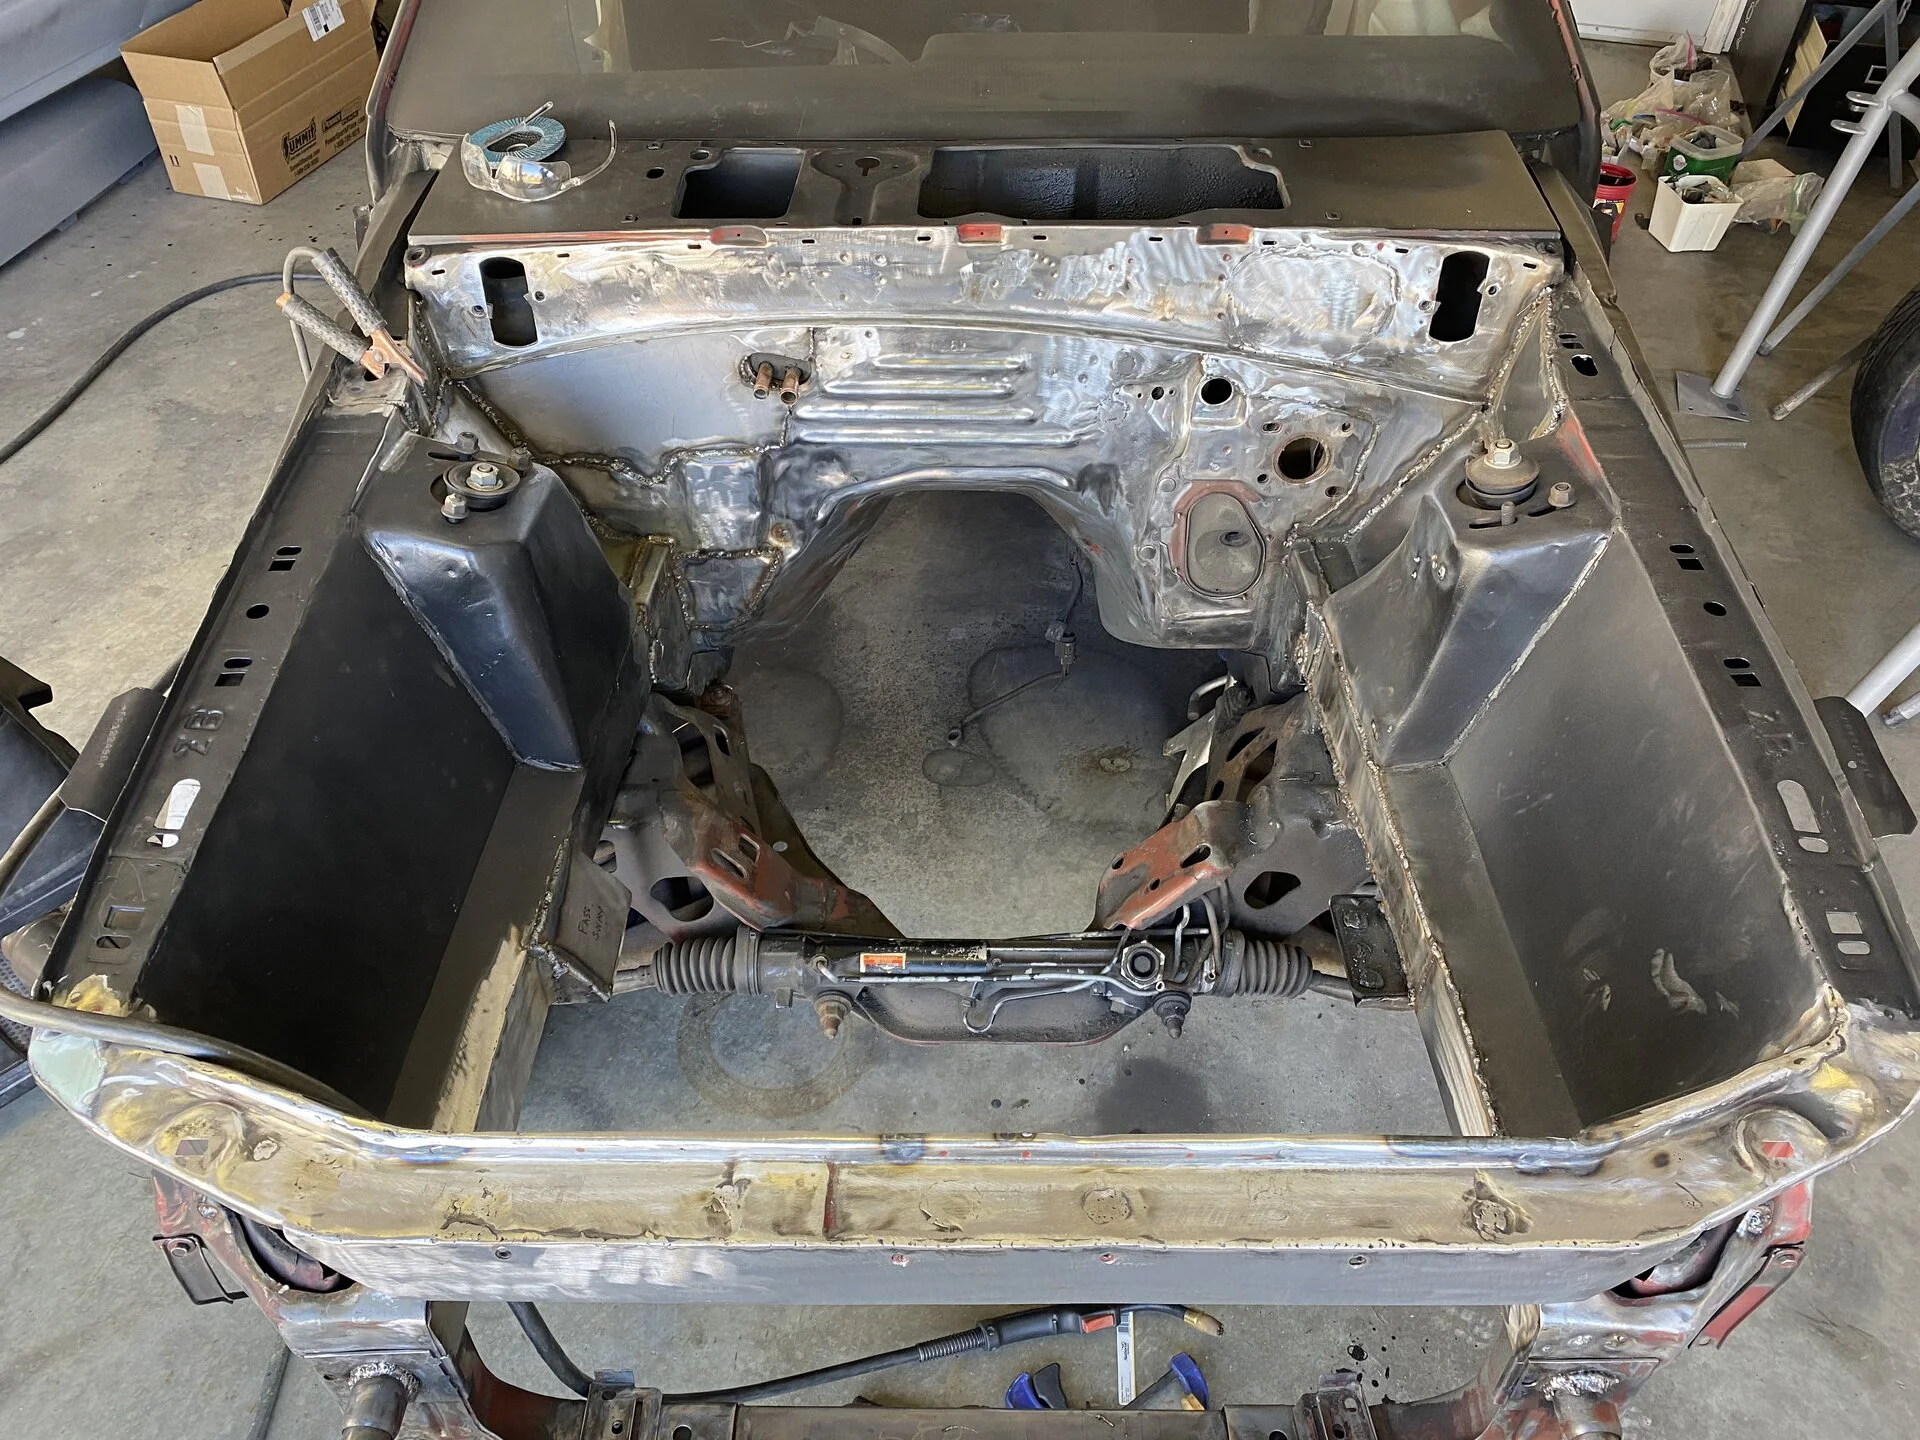
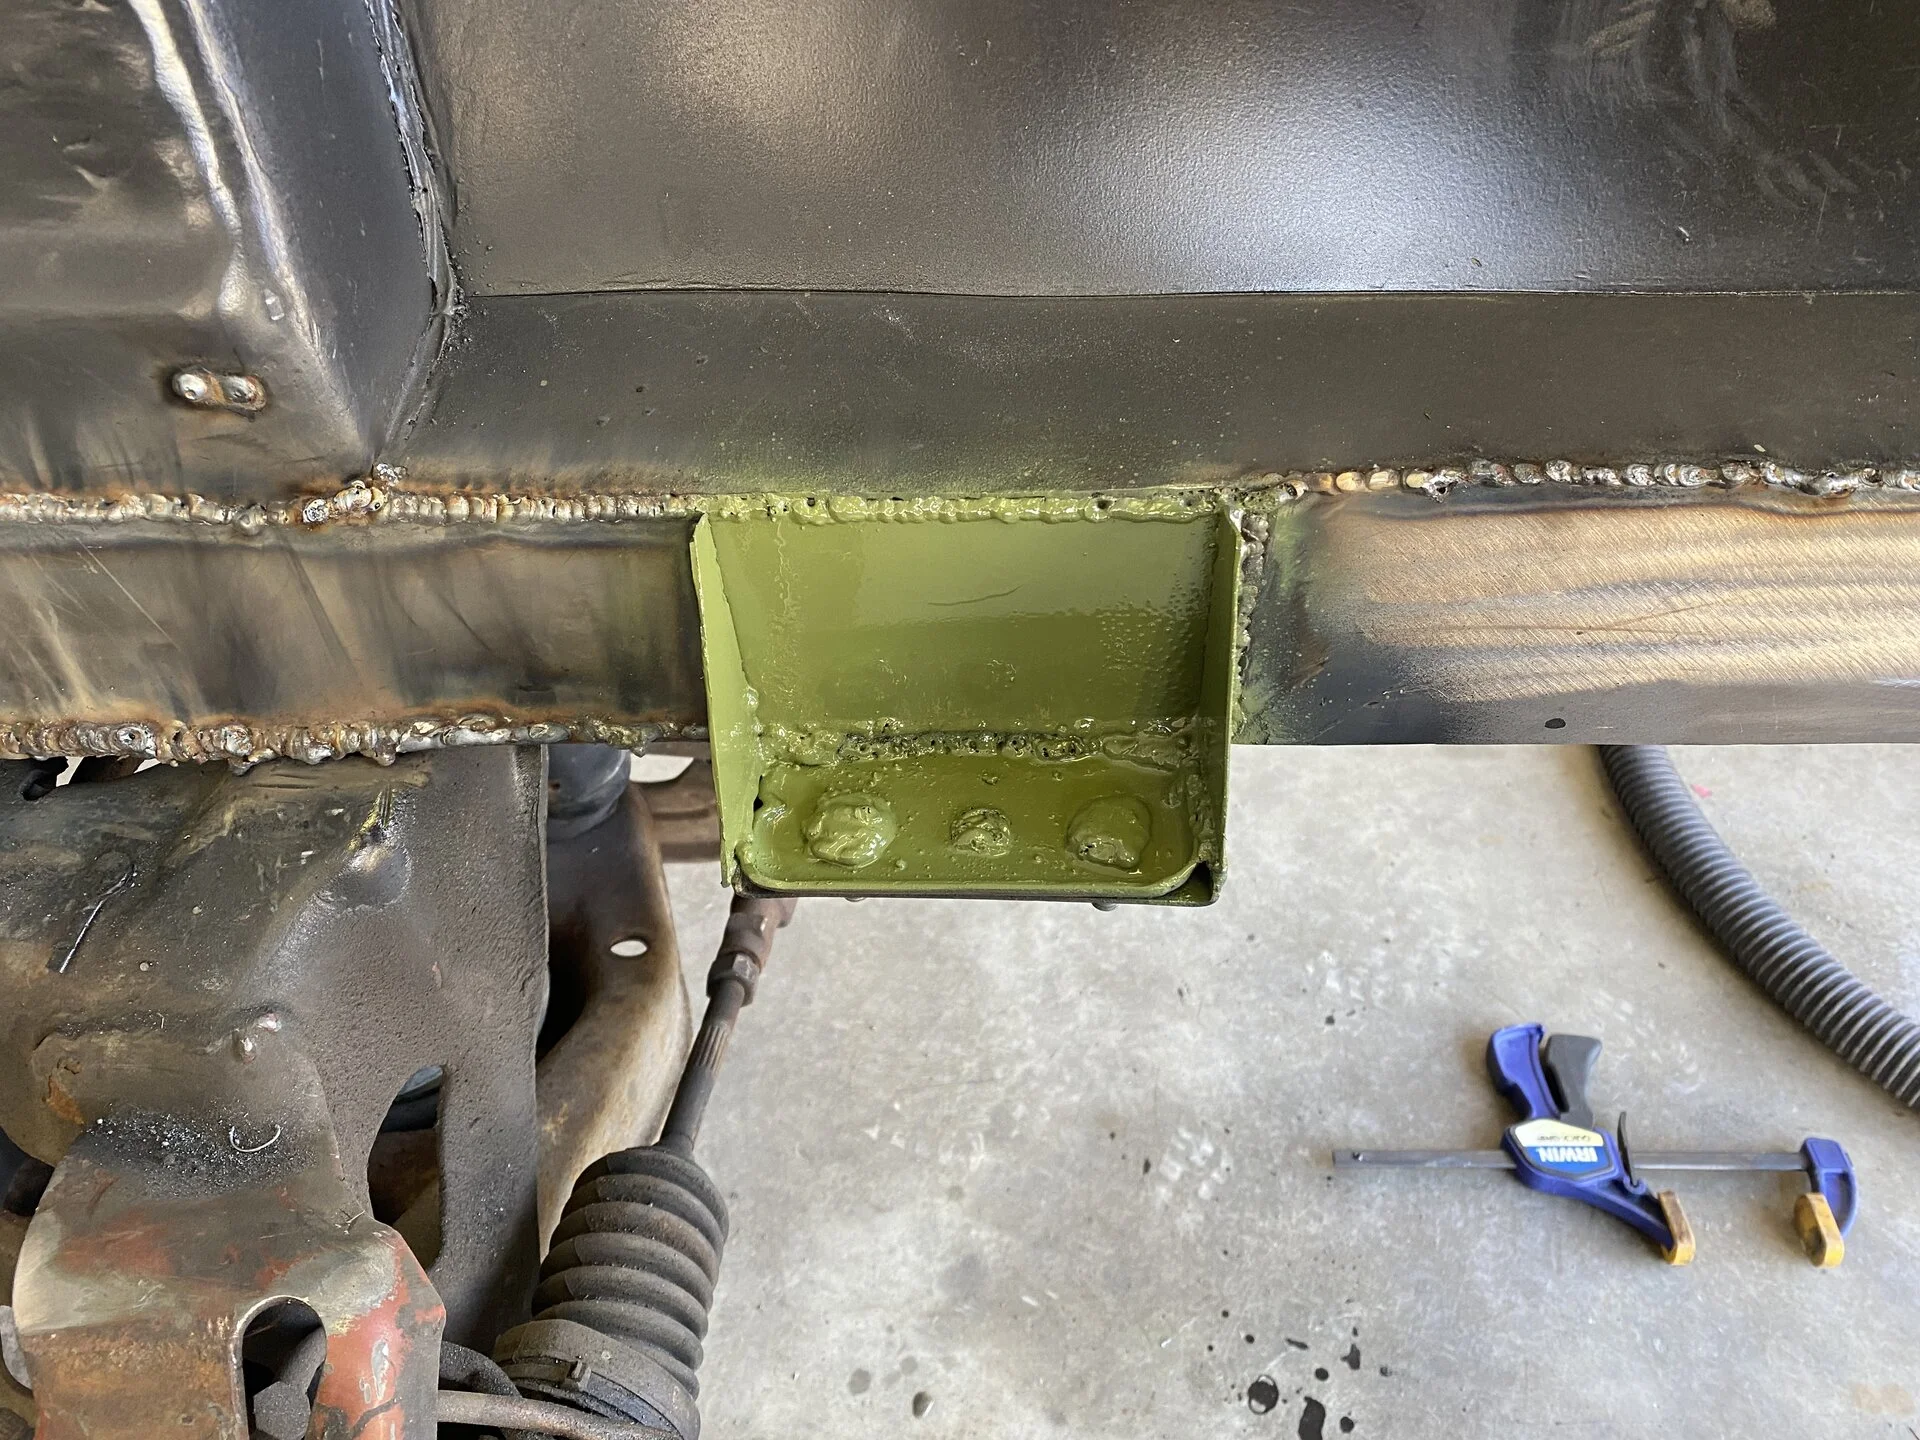
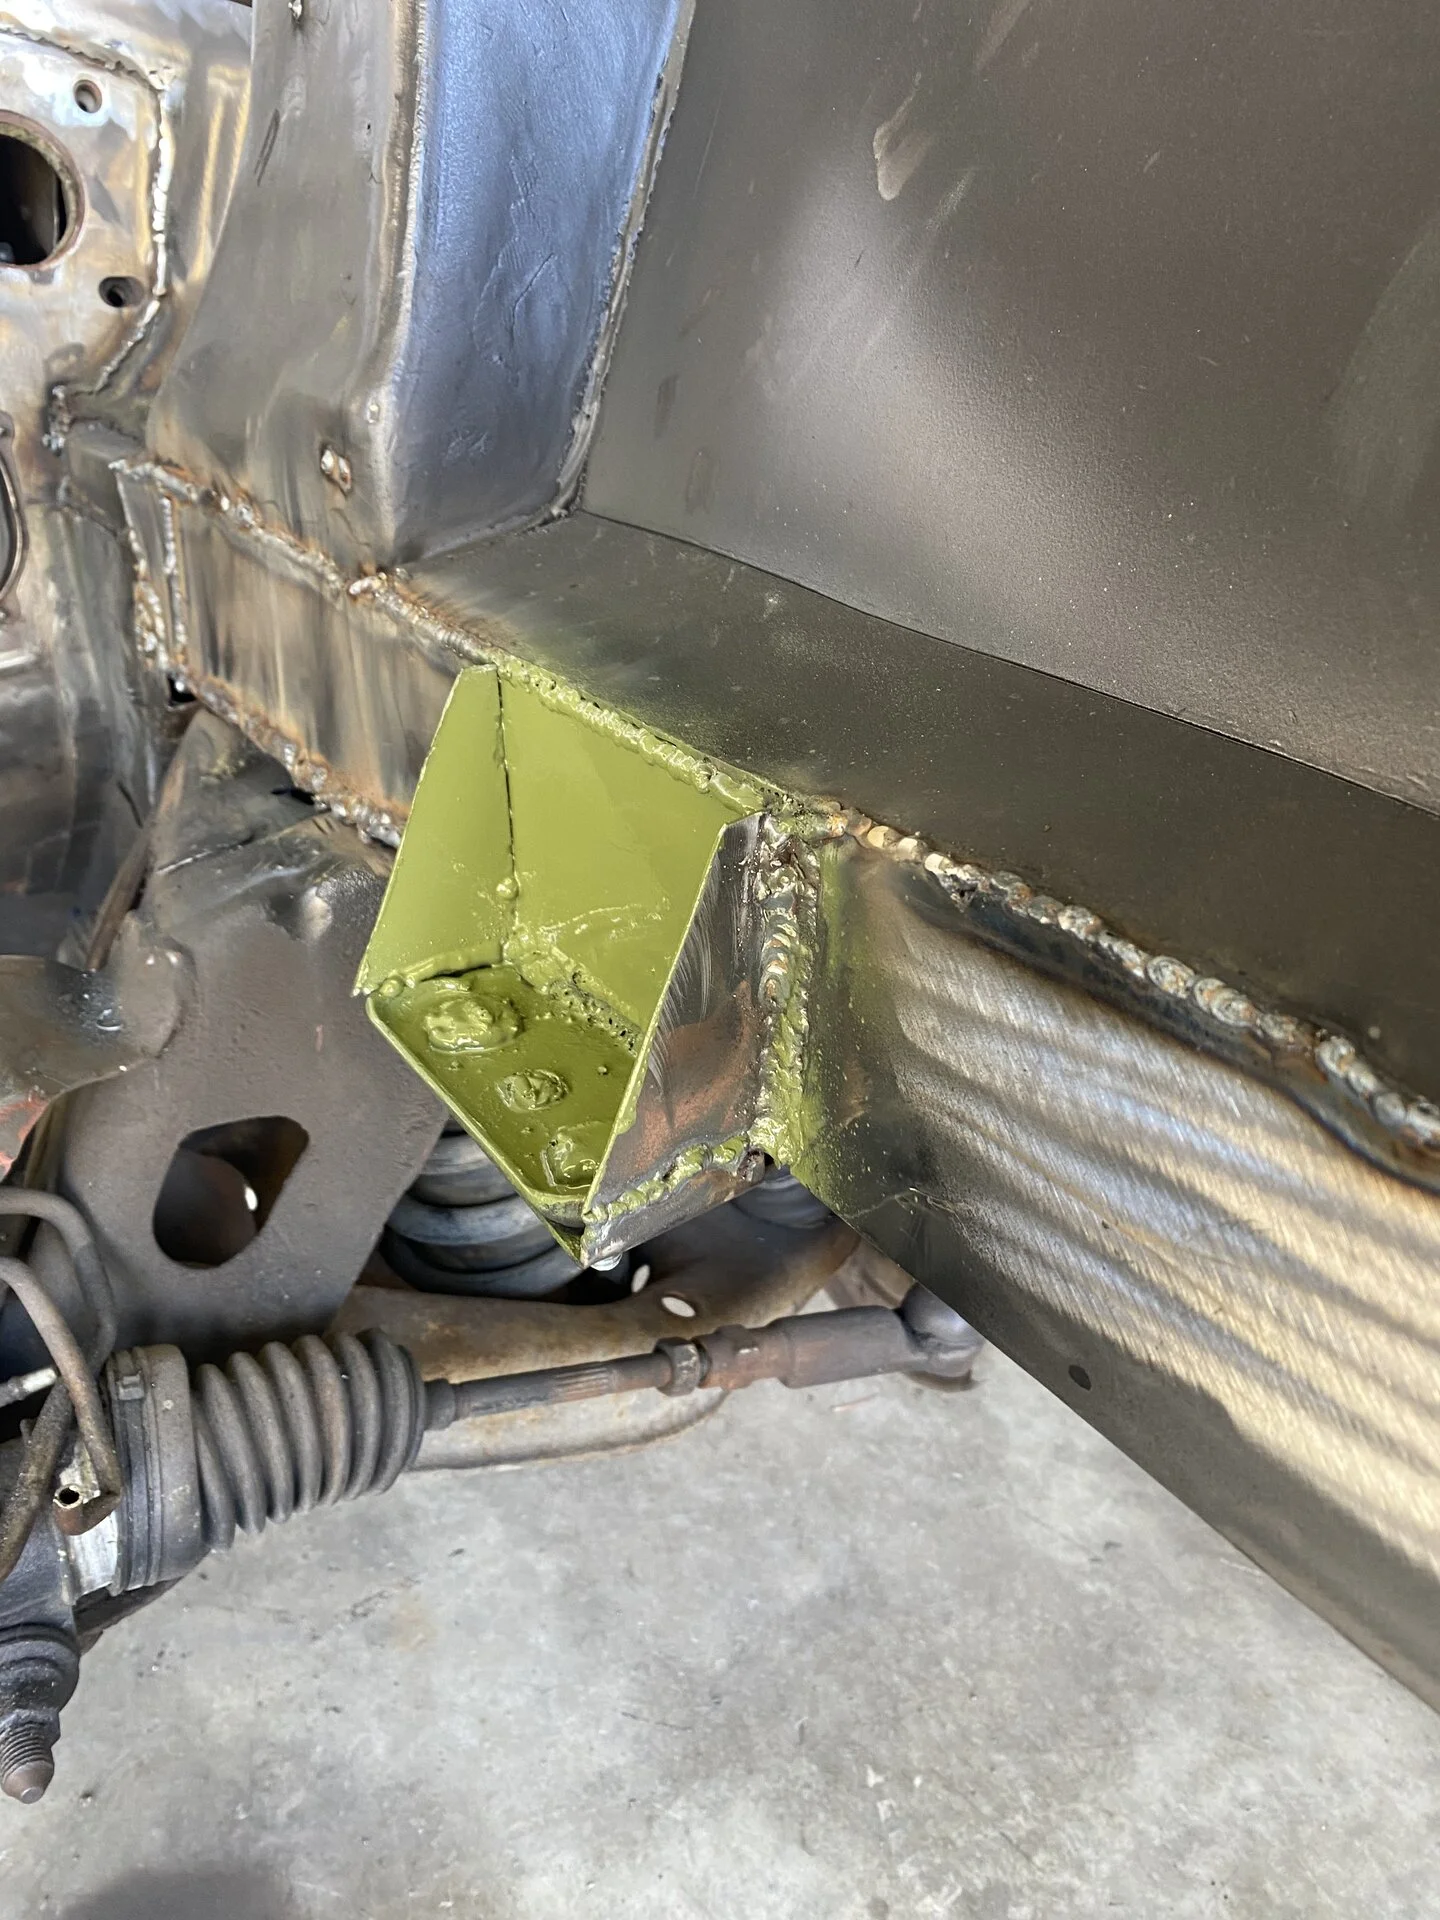
Next is to rebuild the sway bar mount. Instead Of using the rusty old metal I cut off. Just going to fab new mounts and box it in to match the other side. Before boxing in coat in weld thru primer.
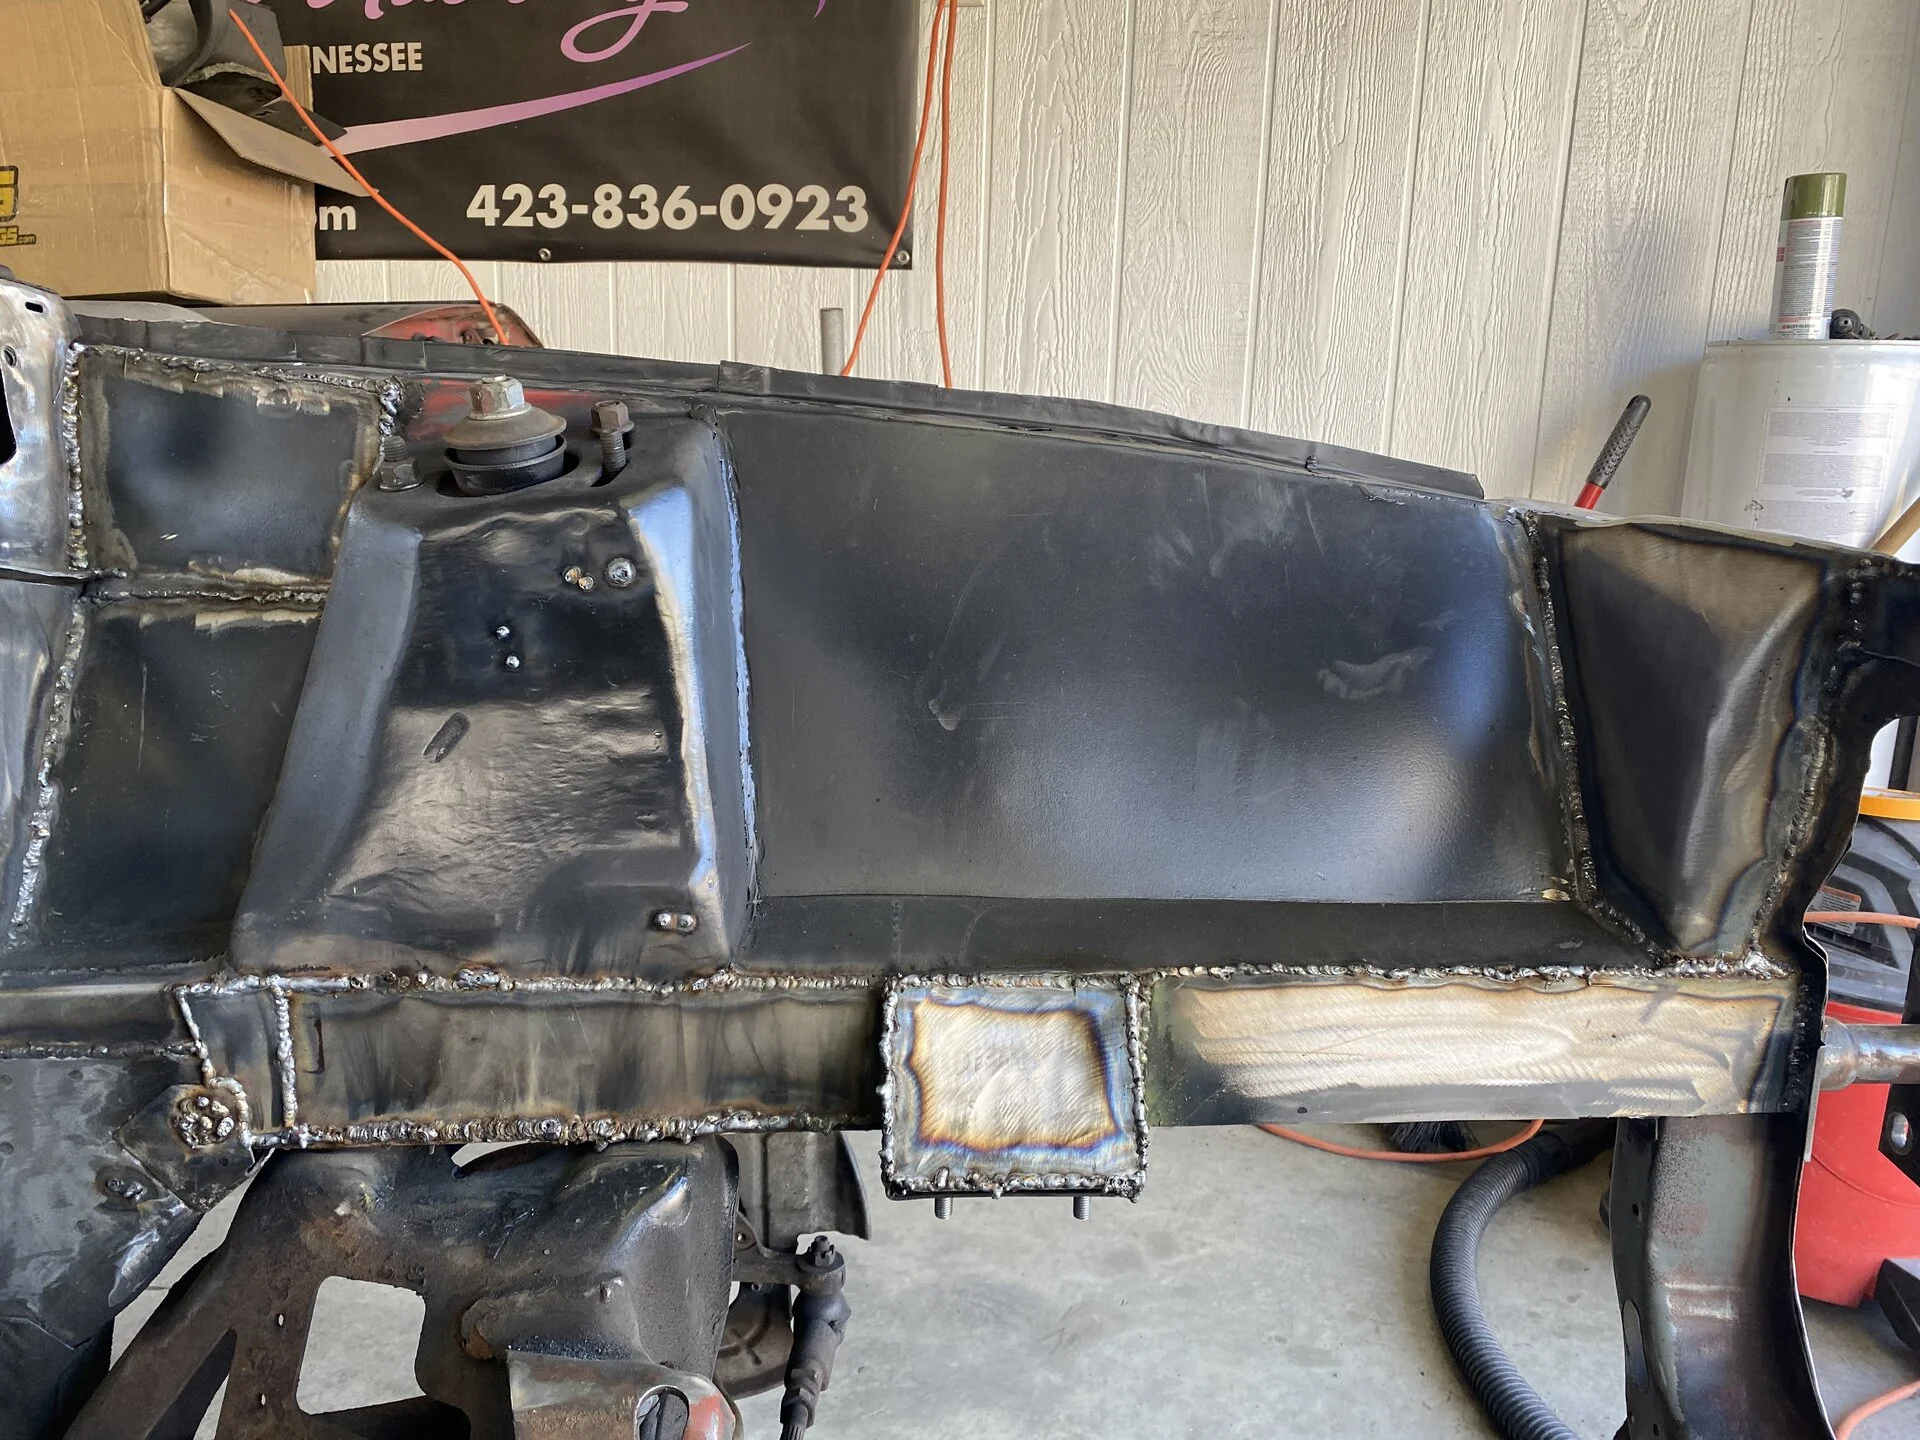
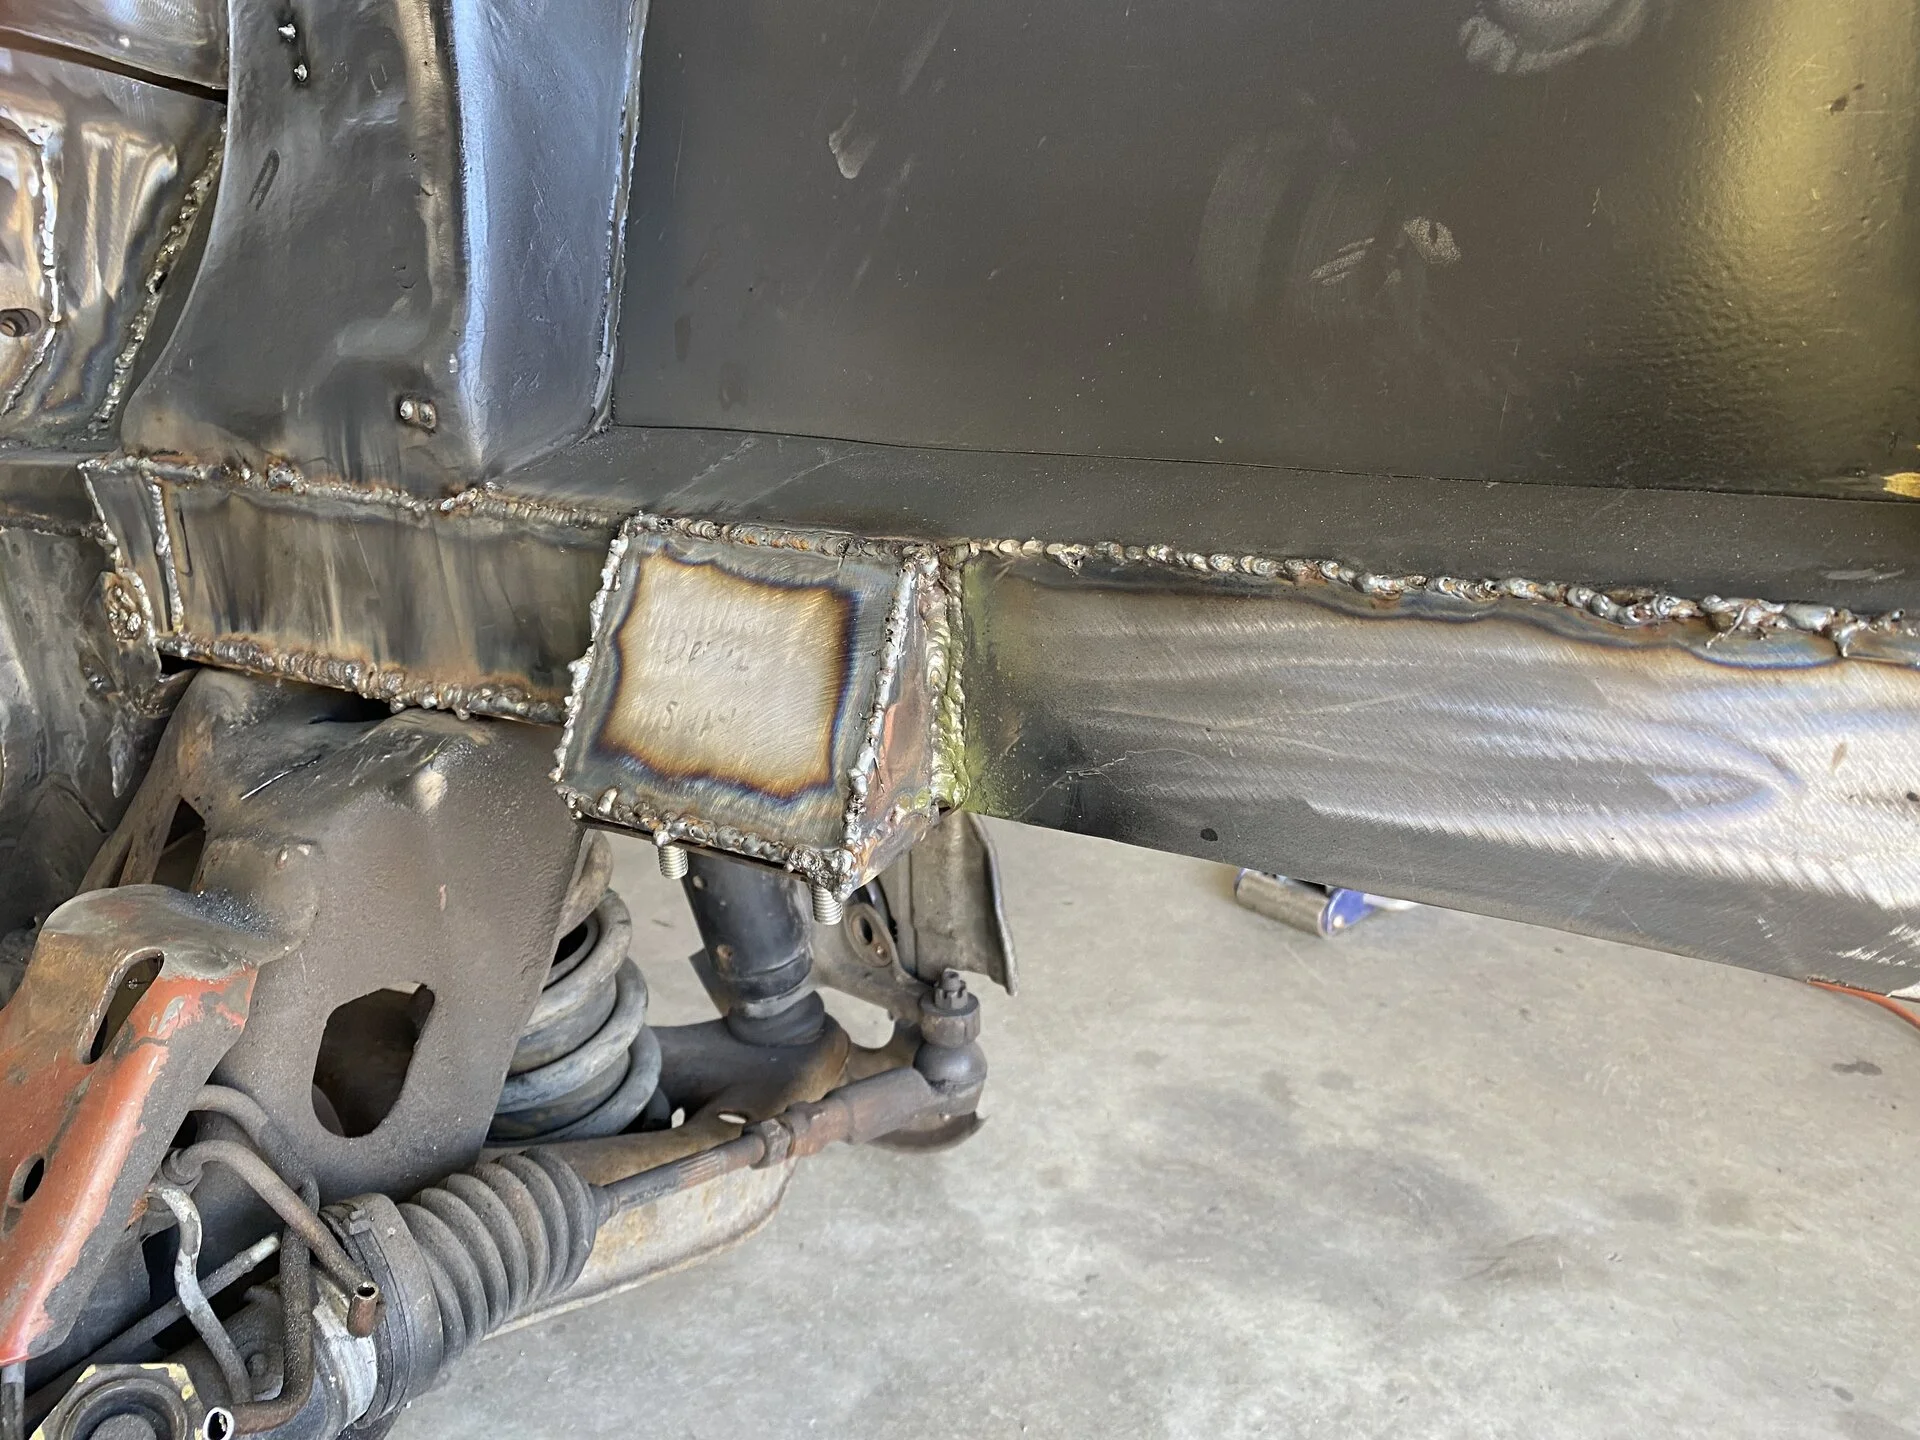
Finally just more welding of holes on the upper cowl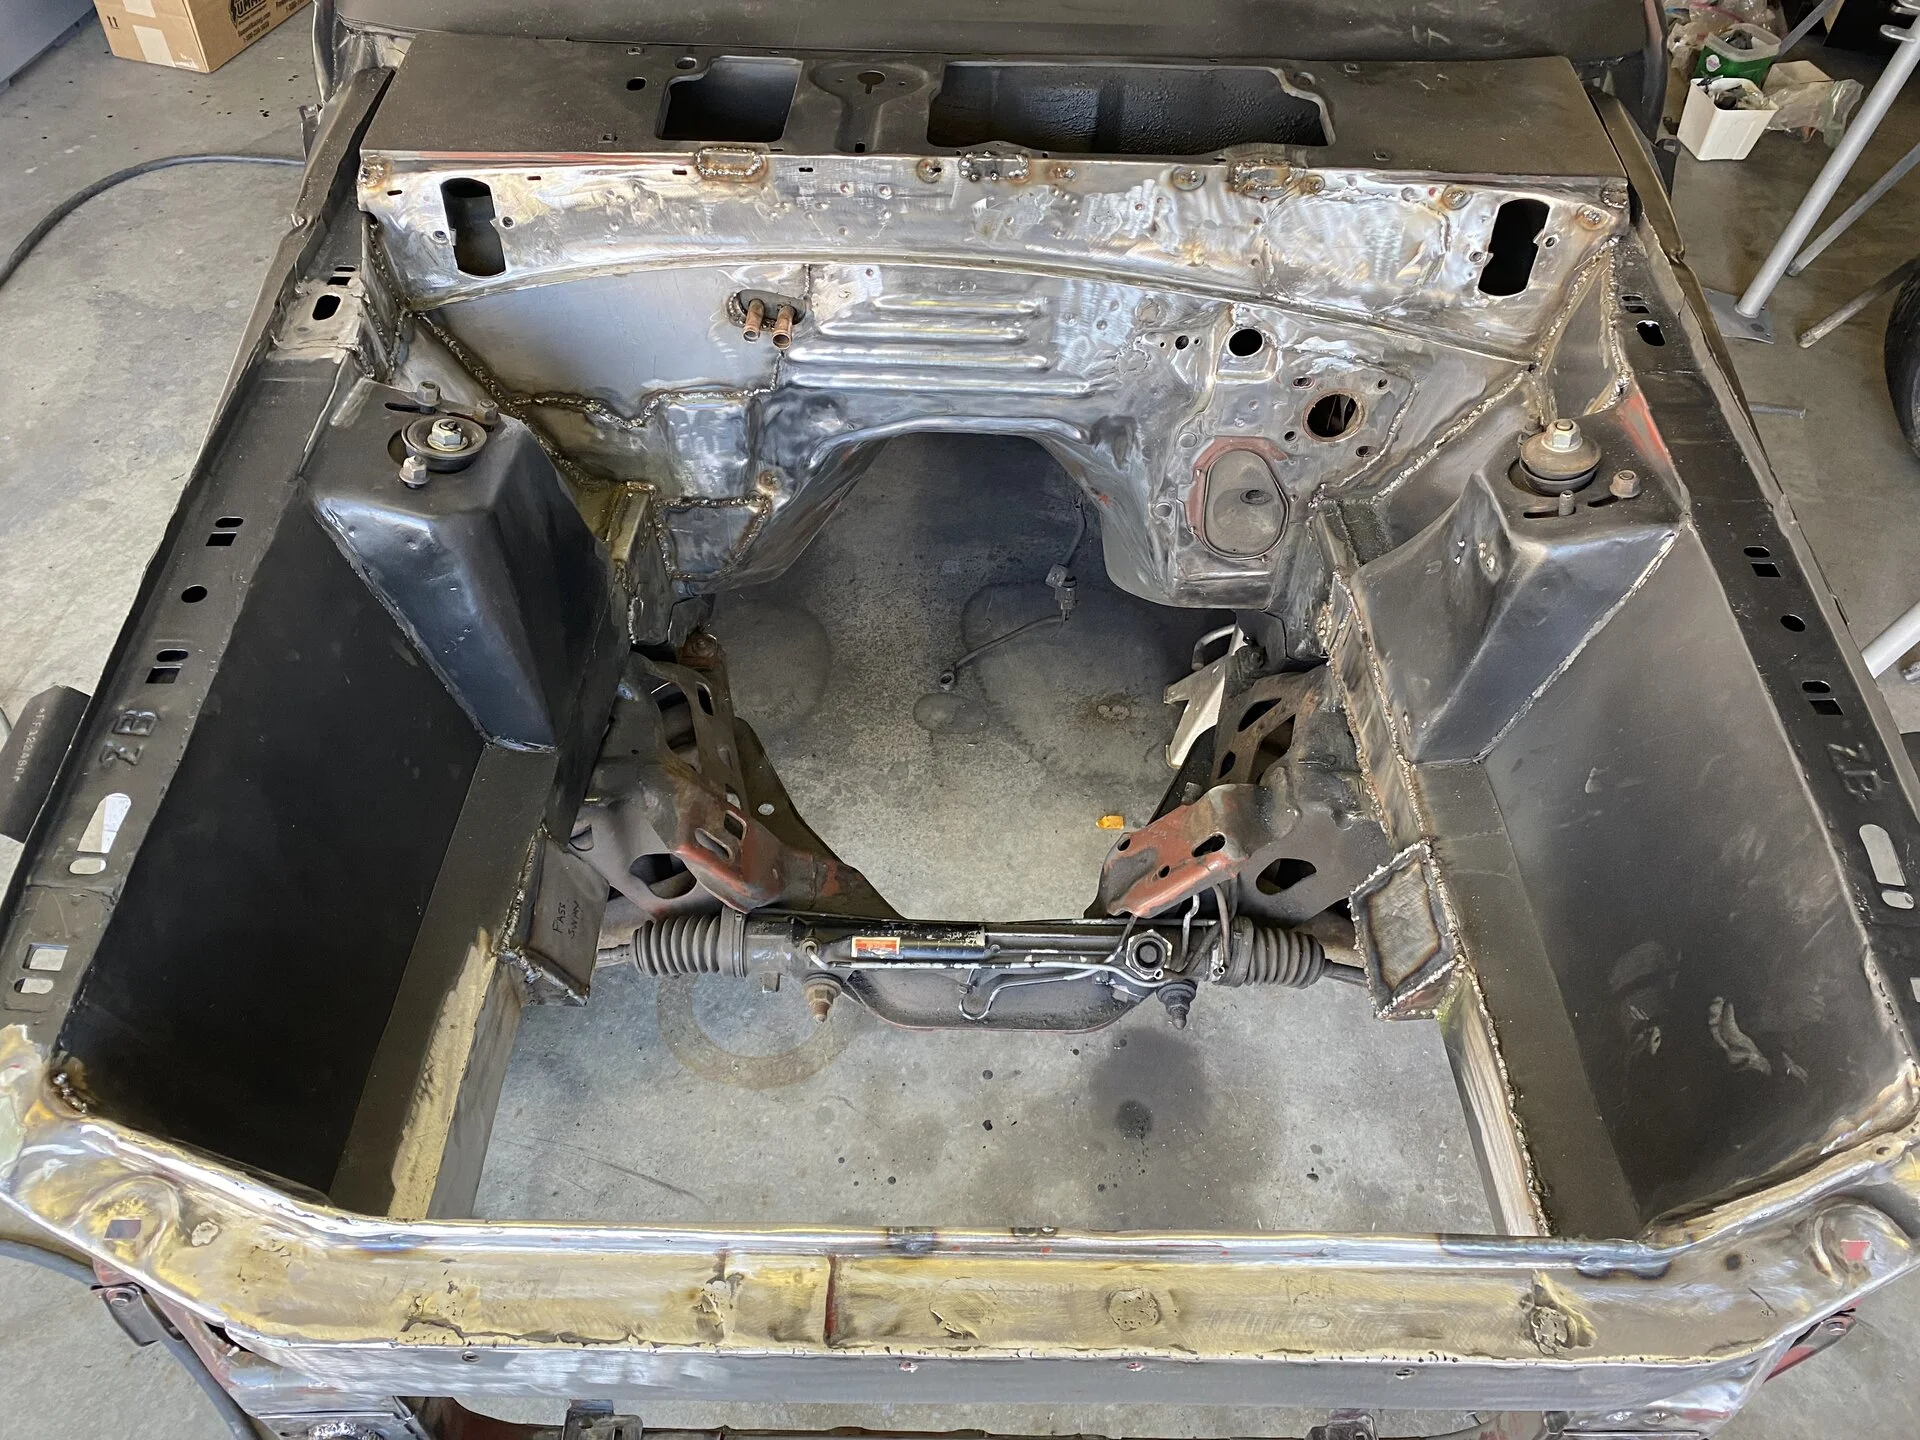
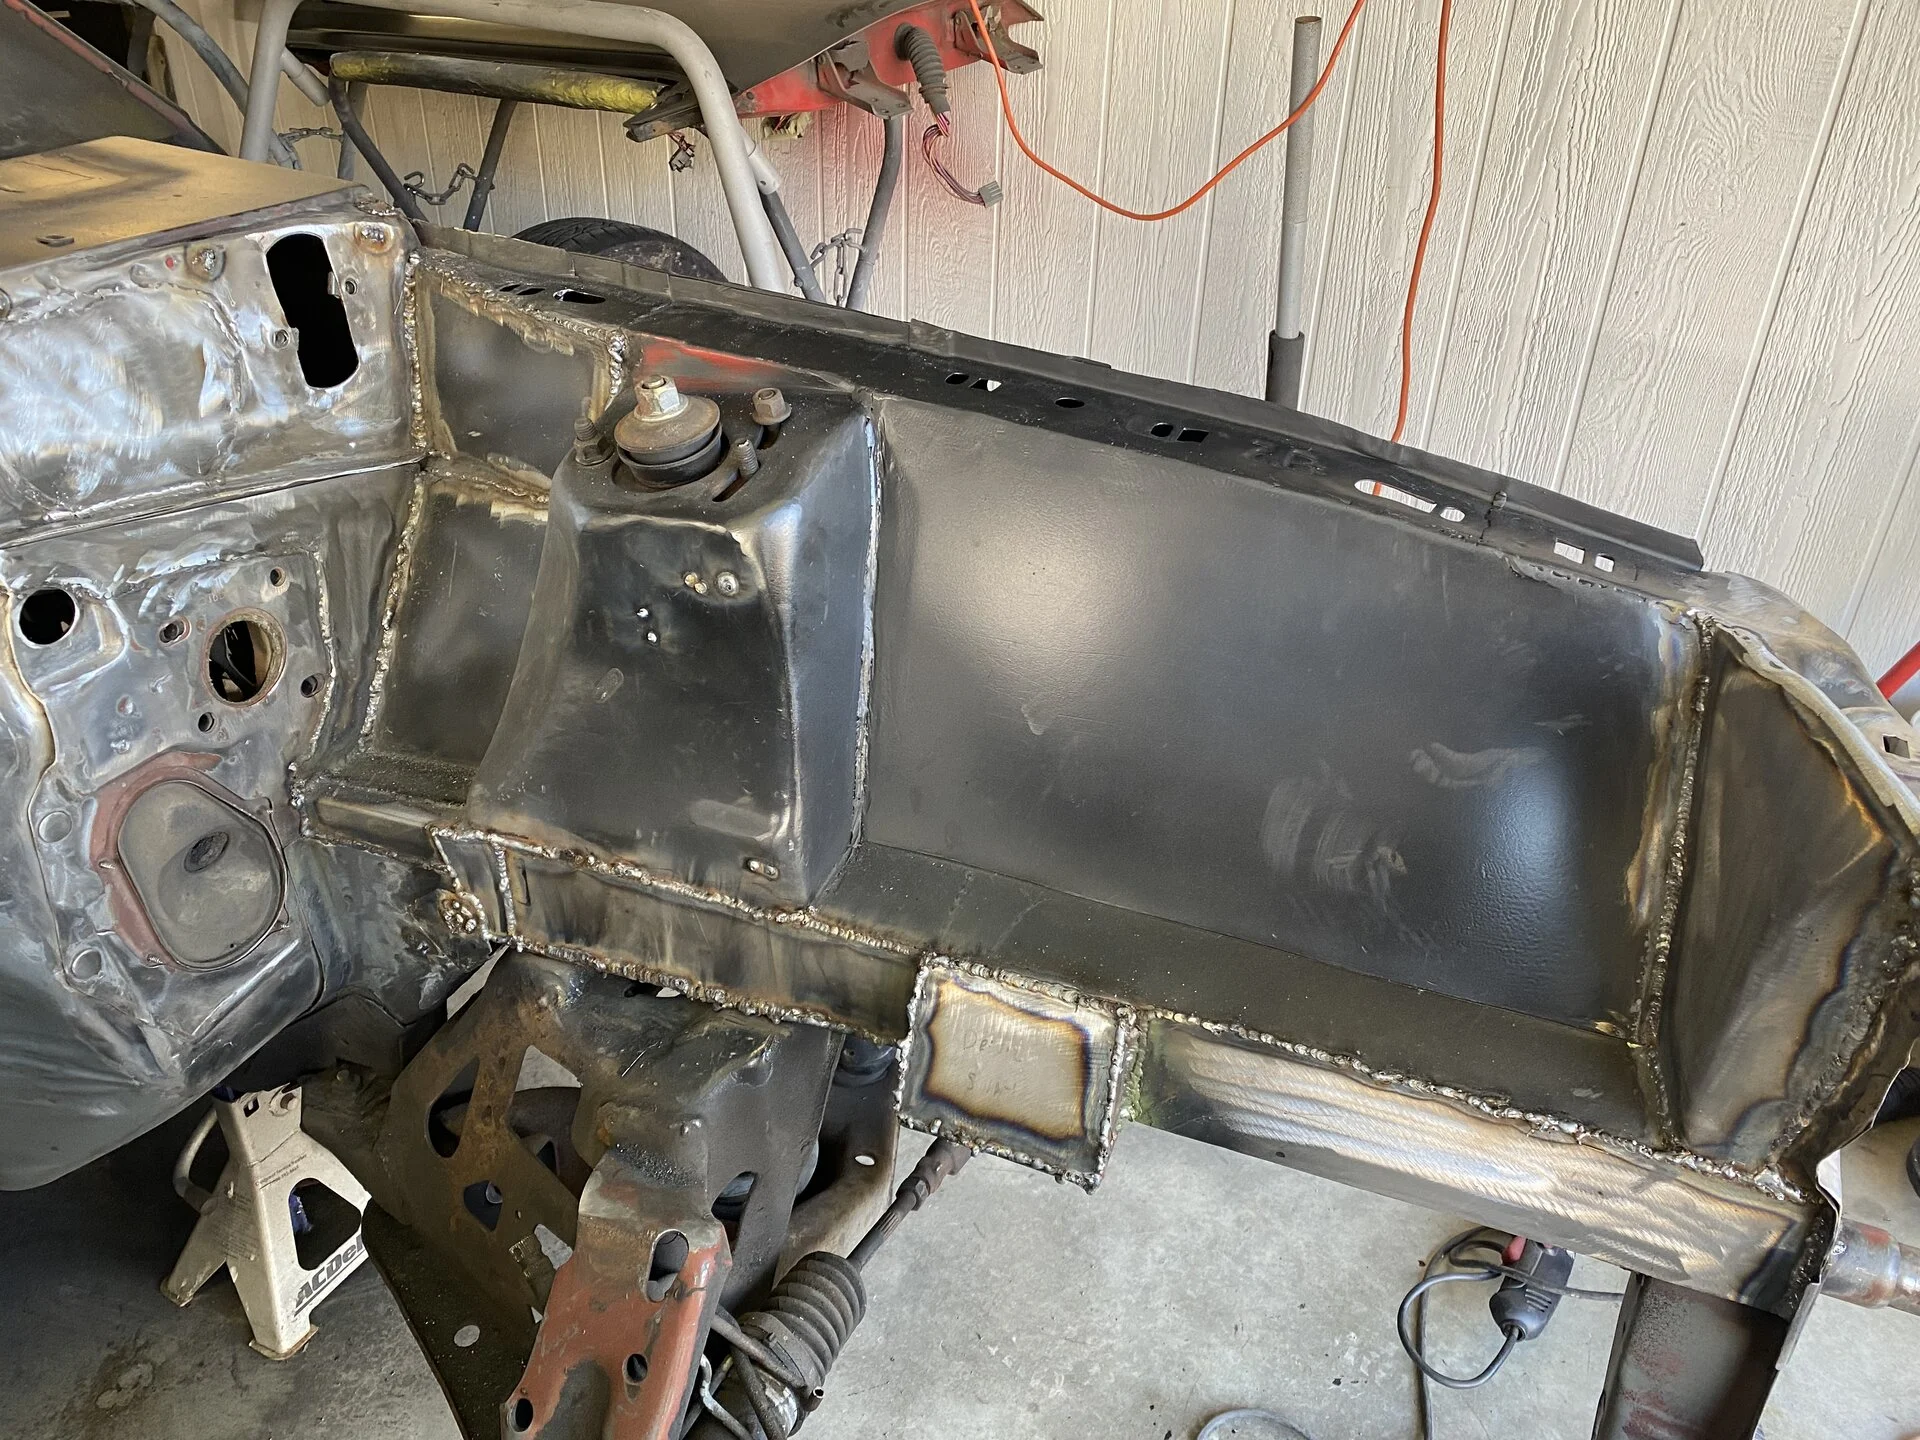
Yea. It doesnt matter. Anytime your working with thin sheetmetal and then using heavier gauge metal, it not going to be pretty. It just needs to be solid and the more weld the better because you’ll shave most of it off anyway. And when you blow thru the stock metal. Just try and do a quick weld on one side of the hole and build your weld off that.Aside from continuing the work on the unbelievable car that this will undoubtedly become...... you just made me feel a lot better about my welding skills!! Lol

Yes. Whenever accessible. Have about 20 variations of that. This is a favoriteDo you use a Copper plate on the back side when welding up the holes? Like this Amazon product ASIN B0821VR5CVView: https://www.amazon.com/Copper-Welding-Welders-Helper-Curved/dp/B0821VR5CV/ref=sr_1_1_sspa?keywords=copper+welding+spoon&qid=1643807249&sr=8-1-spons&psc=1&smid=A3AY4XM7YGOKIF&spLa=ZW5jcnlwdGVkUXVhbGlmaWVyPUEySFUxNlZWVkZQRjRaJmVuY3J5cHRlZElkPUEwMTI0ODQzMkJFNjFBUDI5VlNSVSZlbmNyeXB0ZWRBZElkPUEwOTgzODU5MkkzUE1MTldQVkpJWCZ3aWRnZXROYW1lPXNwX2F0ZiZhY3Rpb249Y2xpY2tSZWRpcmVjdCZkb05vdExvZ0NsaWNrPXRydWU=
Maybe I missed it...... did you weld nuts to the sway bar mount before you covered those spots?Finished up the welding. Now for the stud puller and some body. Even the engine bay has to be straight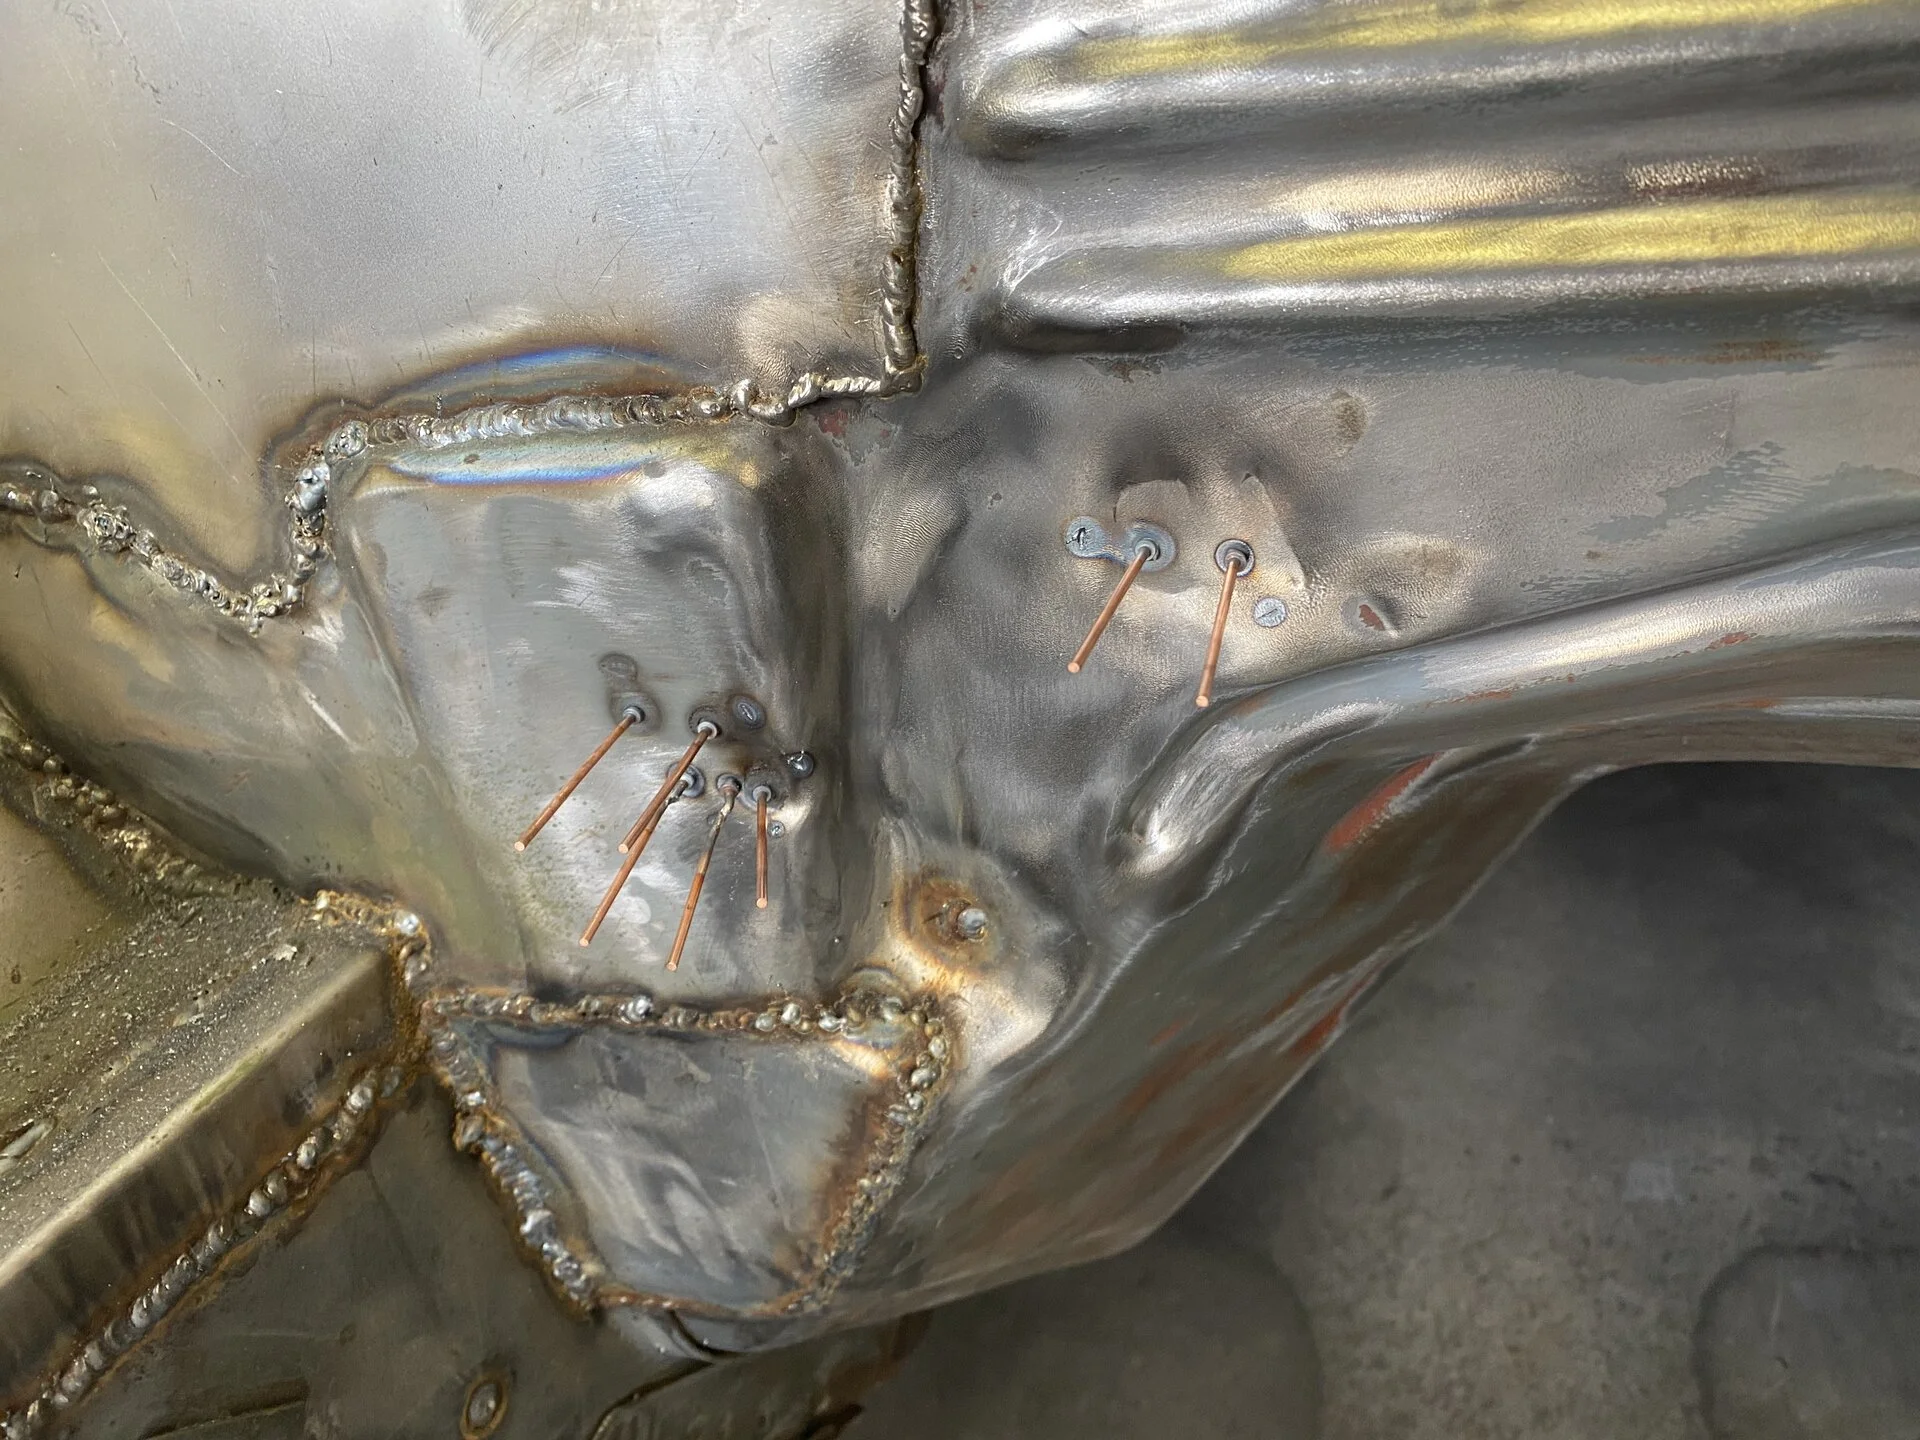
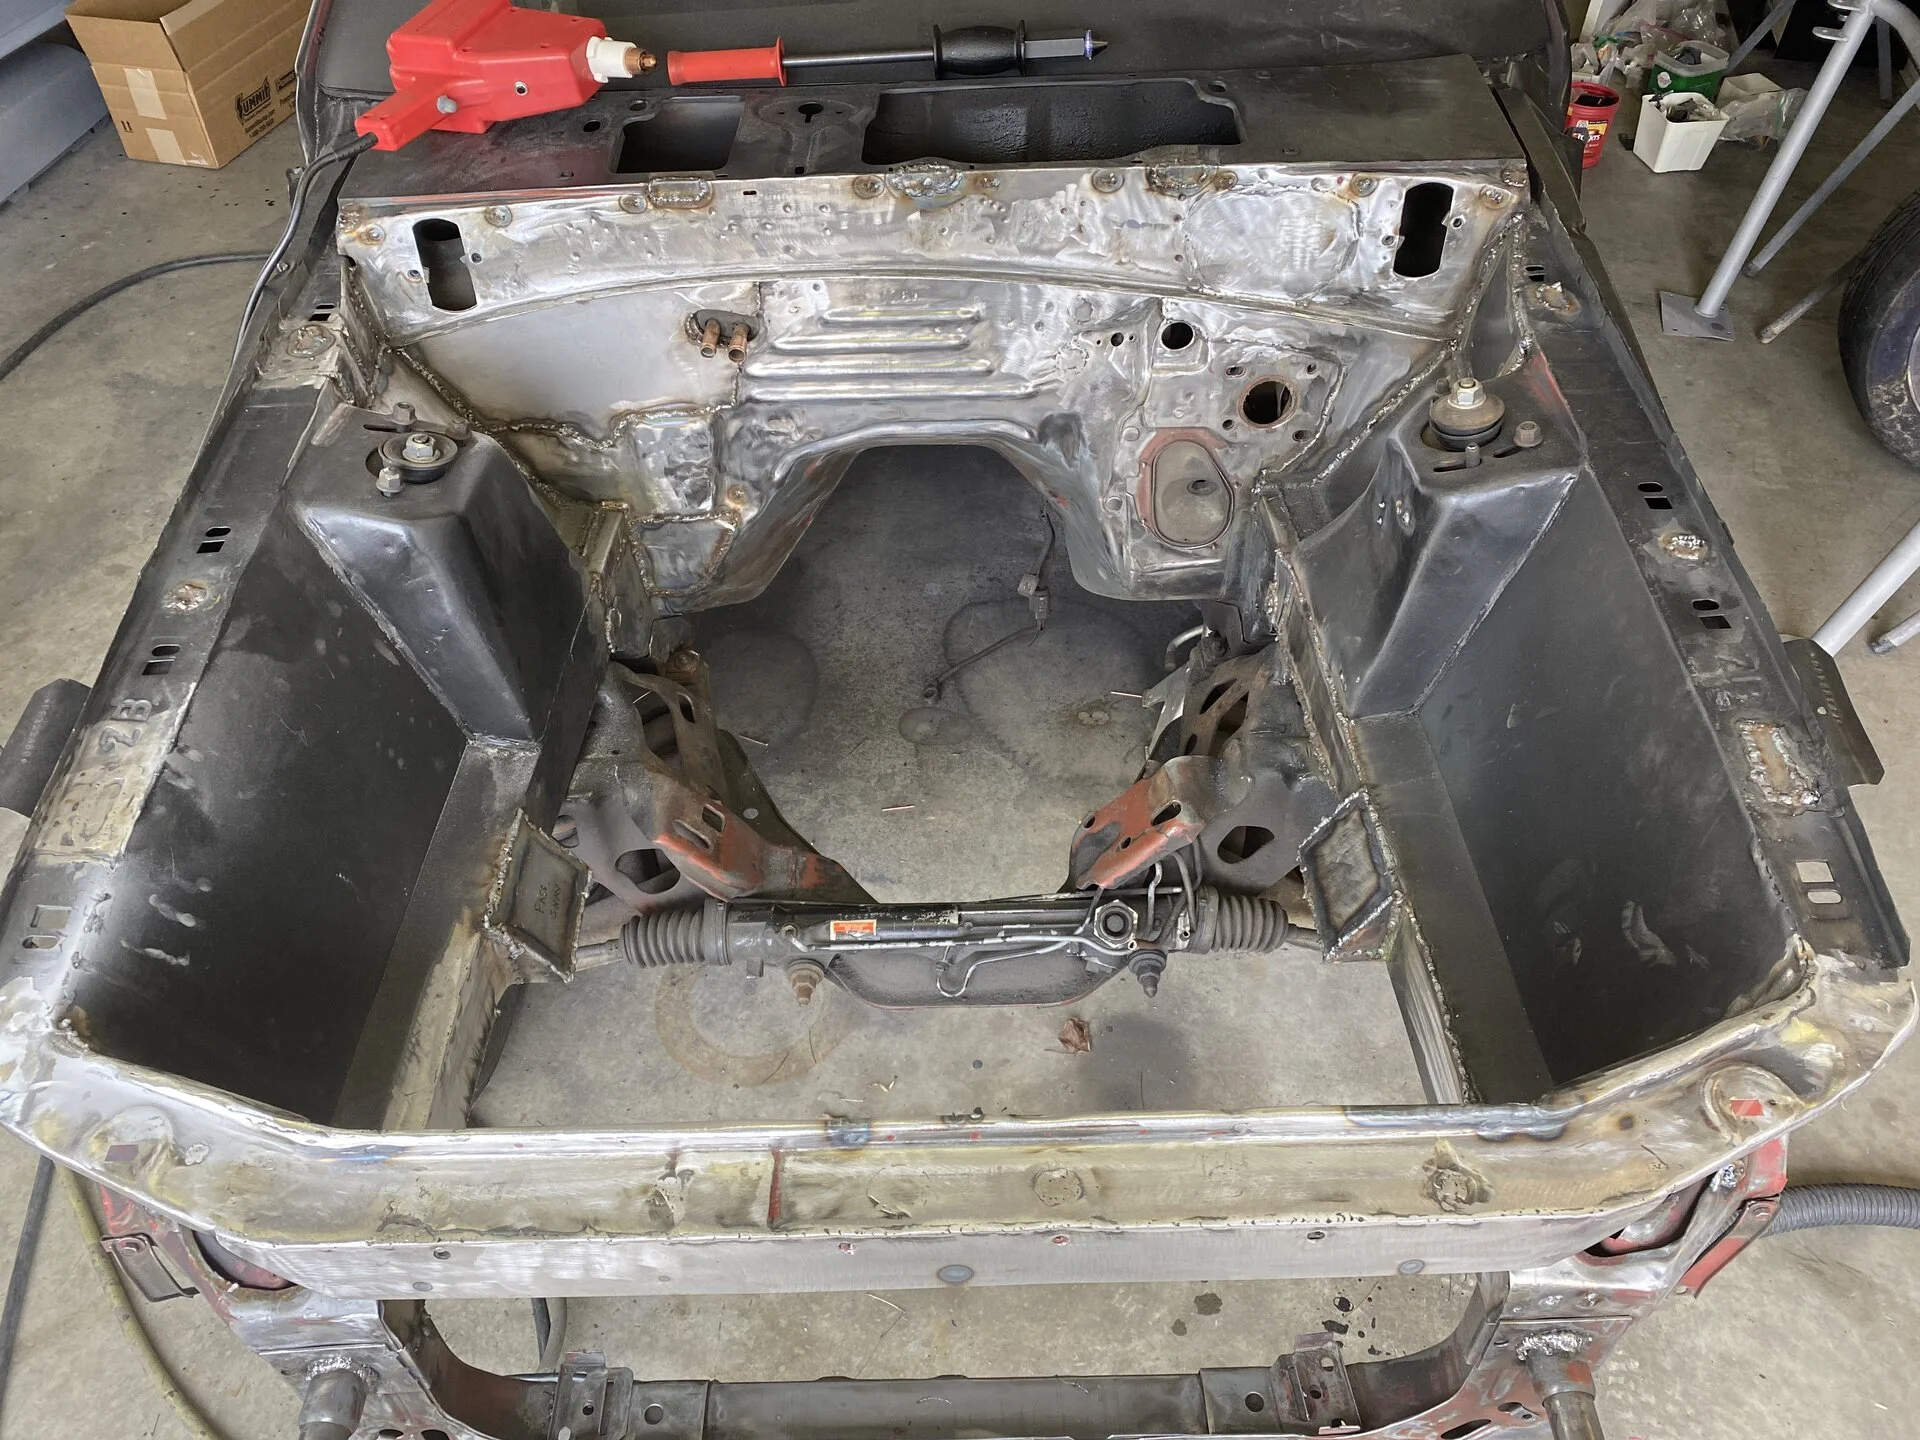

More times than I want to remember or countHow many times have you dug those out and replaced them over the years?



 looks soooo familiar


